Painting a bedroom is a fantastic way to refresh your living space and inject your personality into your home. However, achieving a professional-looking finish requires more than just a can of paint and a brush. Having the right tools on hand is crucial for efficiency, quality, and overall success. This guide will walk you through the essential tools needed to paint a bedroom like an expert, ensuring a smooth, even, and long-lasting result.
We’ll cover everything from surface preparation to the final coat, highlighting specific tools and techniques that professionals use. Whether you're a seasoned DIYer or a first-time painter, understanding the purpose of each tool will significantly improve your painting experience and the final outcome. Get ready to transform your bedroom with confidence and precision!
-
Step 1: Preparing the Room and Surfaces
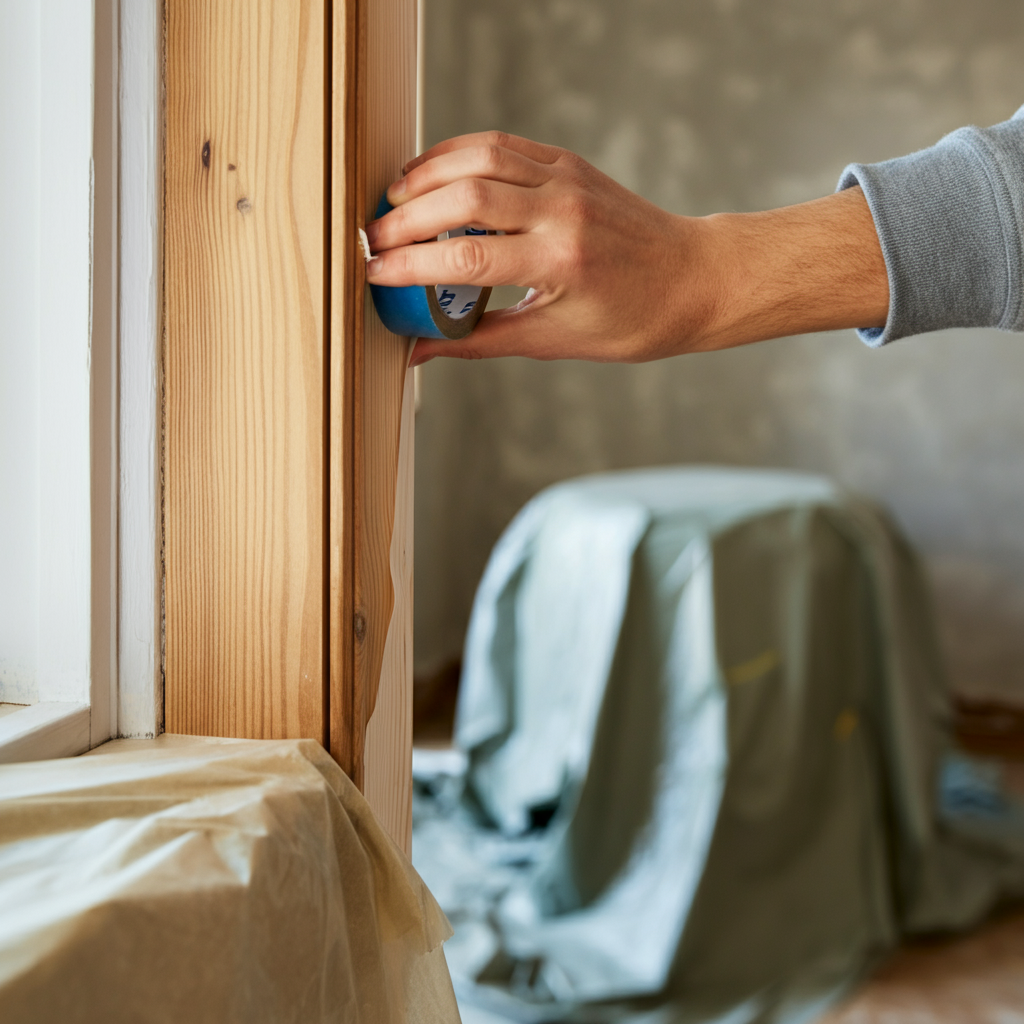
Before you even crack open a can of paint, proper preparation is key. This involves protecting your belongings, cleaning the walls, and addressing any imperfections. Start by removing all furniture from the room, or covering it completely with drop cloths. Don’t skip this step – it's far easier to prevent paint splatters than to clean them up later. Use painter's tape to mask off trim, windows, doors, and light fixtures. Finally, thoroughly clean the walls with a sponge and a mild detergent to remove dust, dirt, and grease. Rinse with clean water and let dry completely.
-
Step 2: Gathering Essential Painting Tools
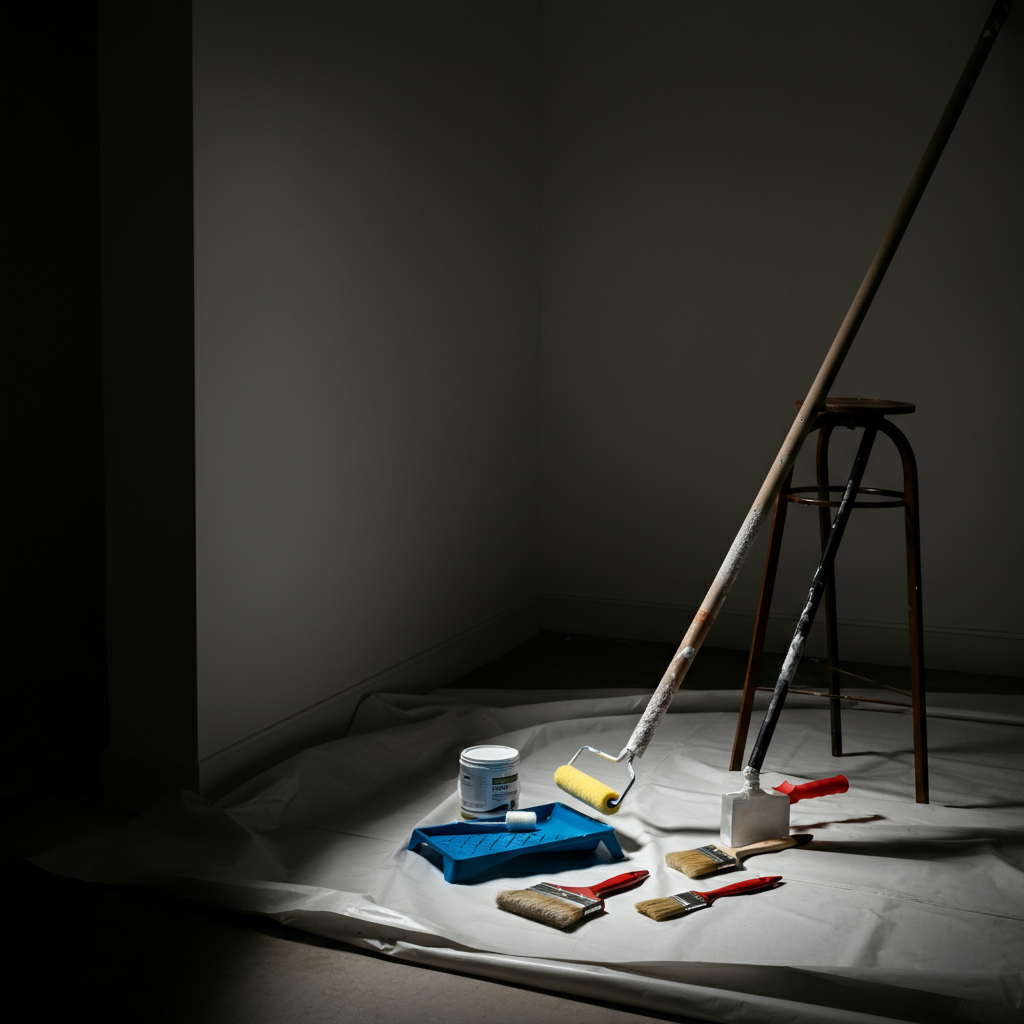
Now it’s time to gather the essential painting tools. This includes paint brushes, rollers, paint trays, extension poles, and a five-in-one tool. Invest in high-quality brushes and rollers; they’ll hold more paint, apply it more evenly, and last longer. A good quality five-in-one tool is indispensable for scraping, opening paint cans, cleaning rollers, and more. A sturdy extension pole will make painting ceilings and high walls much easier and safer. Choose a roller cover with the appropriate nap length for your wall texture—a smoother surface requires a shorter nap.
-
Step 3: Selecting the Right Paint and Primer
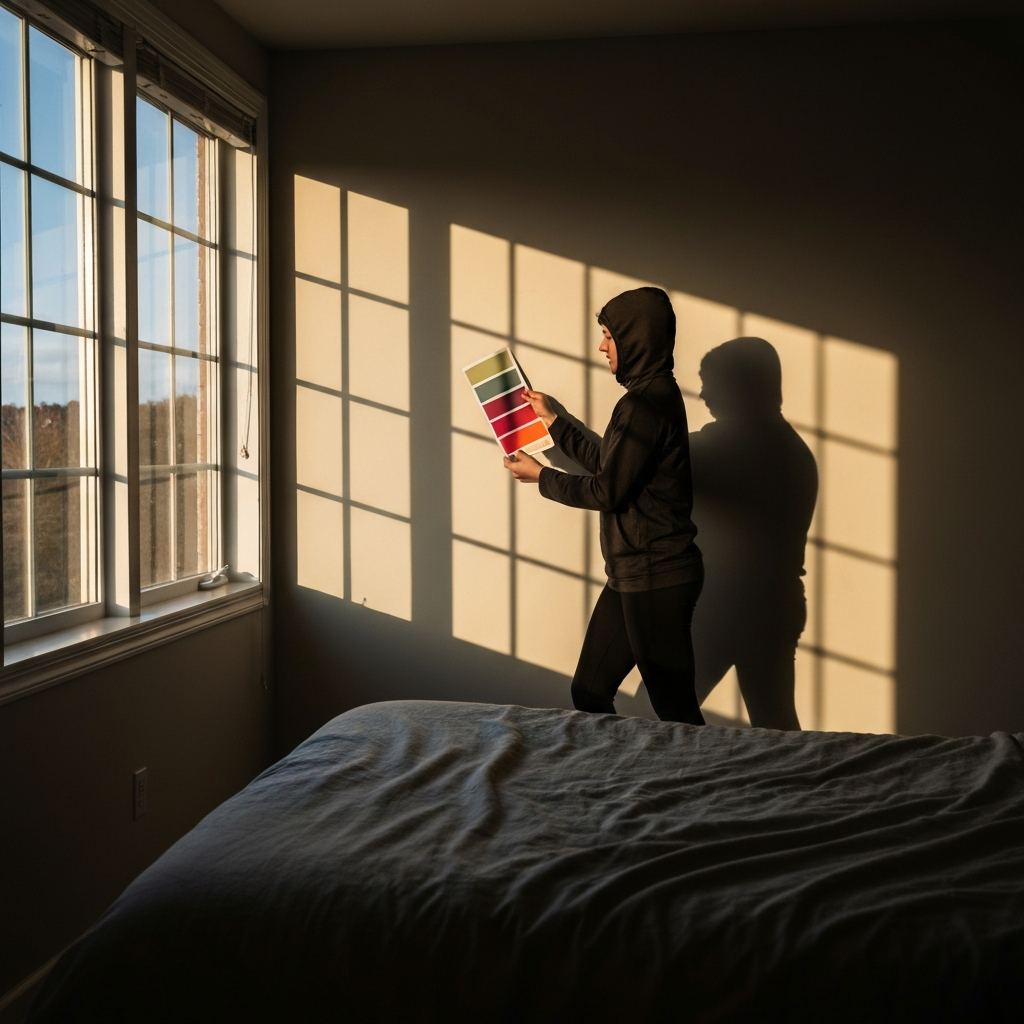
Choosing the right paint and primer is crucial for achieving the desired look and durability. Primer is essential for sealing porous surfaces, blocking stains, and ensuring proper paint adhesion. Always prime bare drywall or surfaces that have been repaired. Select a paint finish appropriate for a bedroom, such as matte, eggshell, or satin. Matte finishes are good at hiding imperfections, while eggshell and satin finishes are more durable and easier to clean. Consider the color carefully, and test samples on your walls before committing to a full gallon.
-
Step 4: Patching Holes and Cracks
Before painting, address any imperfections on the walls. Use a putty knife to apply spackle or joint compound to fill in holes, cracks, and dents. Overfill slightly, as the compound will shrink as it dries. Once the compound is completely dry, sand it smooth with fine-grit sandpaper, feathering the edges to blend seamlessly with the surrounding wall. Wipe away any sanding dust with a damp cloth before priming and painting.
-
Step 5: Cutting In and Edging
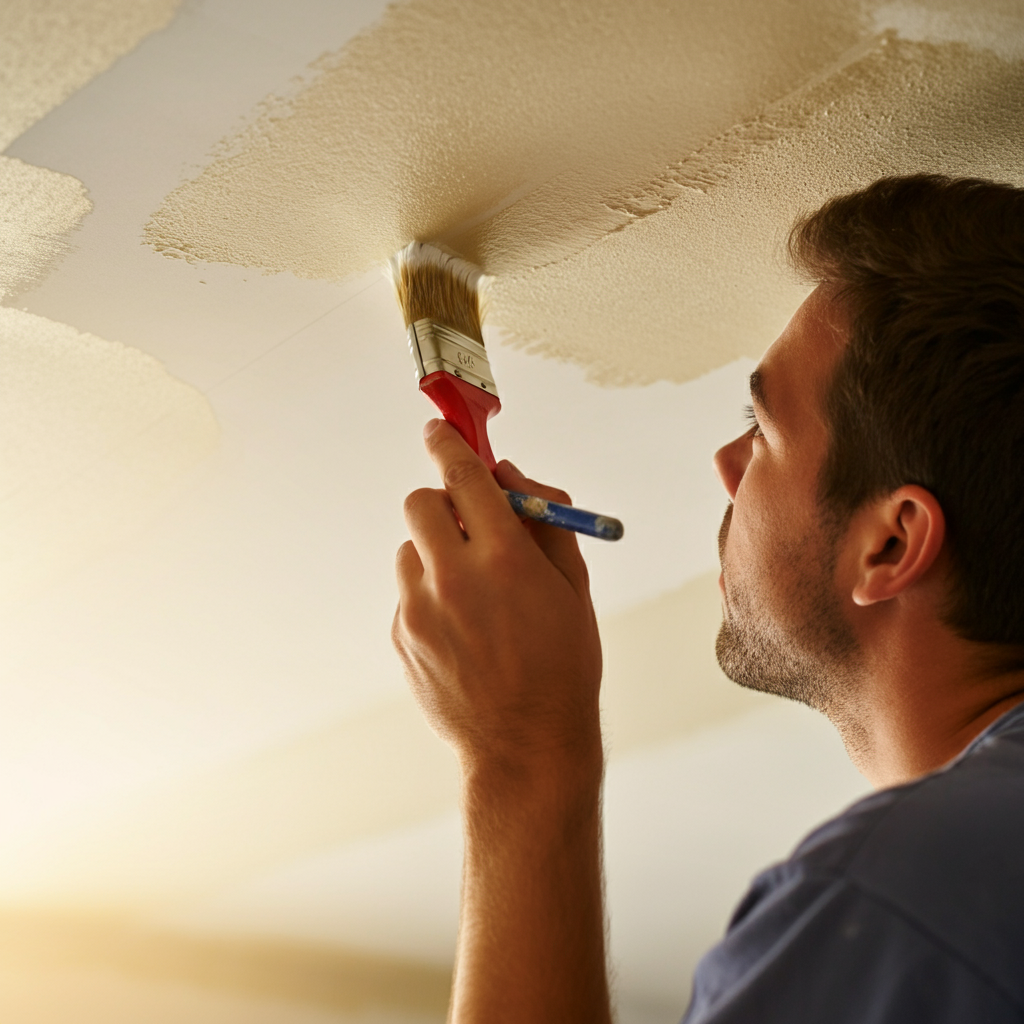
“Cutting in” refers to painting the edges of the wall where it meets the ceiling, trim, or other surfaces, using a brush. This creates a clean, crisp line and allows you to paint the main surfaces with a roller without getting paint on adjacent areas. Use a high-quality angled brush and a steady hand, and work in small sections. Load the brush with just enough paint to avoid drips and carefully apply the paint along the edge. An edging tool can also be used for this task, but many professionals prefer the control of a brush.
Tools or Materials Required
- Drop cloths
- Painter's tape
- Sponge and mild detergent
- Paint brushes (angled and flat)
- Paint rollers and roller covers
- Paint tray
- Extension pole
- Five-in-one tool
- Primer
- Paint
- Spackle or joint compound
- Putty knife
- Sandpaper (fine-grit)
- Ladder or step stool
- Mixing sticks
Common Mistakes to Avoid
- Skipping surface preparation
- Using cheap brushes and rollers
- Applying paint too thickly
- Not allowing sufficient drying time between coats
- Ignoring the importance of primer
Safety Considerations
- Always work in a well-ventilated area.
- Wear safety glasses to protect your eyes from paint splatters.
- Use a sturdy ladder or step stool to reach high areas.
- Keep paint and cleaning supplies out of reach of children and pets.
In conclusion, painting a bedroom like an expert requires the right tools, careful preparation, and attention to detail. By following these steps and using the recommended tools, you can achieve a professional-looking finish that will transform your space. Remember to take your time, prioritize safety, and enjoy the process!