Installing new shingles is a significant investment in your home's protection and curb appeal. However, a poorly executed installation can lead to costly problems down the road, from leaks and structural damage to premature shingle failure. Many homeowners and even some inexperienced contractors make preventable errors during the installation process. This guide provides expert insights into common mistakes and how to avoid them, ensuring a long-lasting and effective roof.
This comprehensive guide walks you through the crucial steps of shingle installation, highlighting potential pitfalls at each stage. We'll cover everything from proper roof deck preparation to nailing techniques and flashing installation. By understanding these common mistakes and implementing best practices, you can ensure your new roof provides decades of reliable protection.
Whether you're a seasoned DIY enthusiast or a homeowner looking to hire a professional, this guide will equip you with the knowledge to ensure a successful shingle installation.
Step 1: Improper Roof Deck Preparation
The roof deck is the foundation upon which your entire roofing system rests. Failing to adequately prepare it is one of the most frequent and consequential mistakes. This includes neglecting to inspect for and repair any rotten or damaged wood, ensuring the deck is clean and free of debris, and verifying that the sheathing is properly secured. A loose, uneven, or damaged deck will compromise the integrity of the entire roof, leading to shingle deformation, leaks, and potential structural issues.

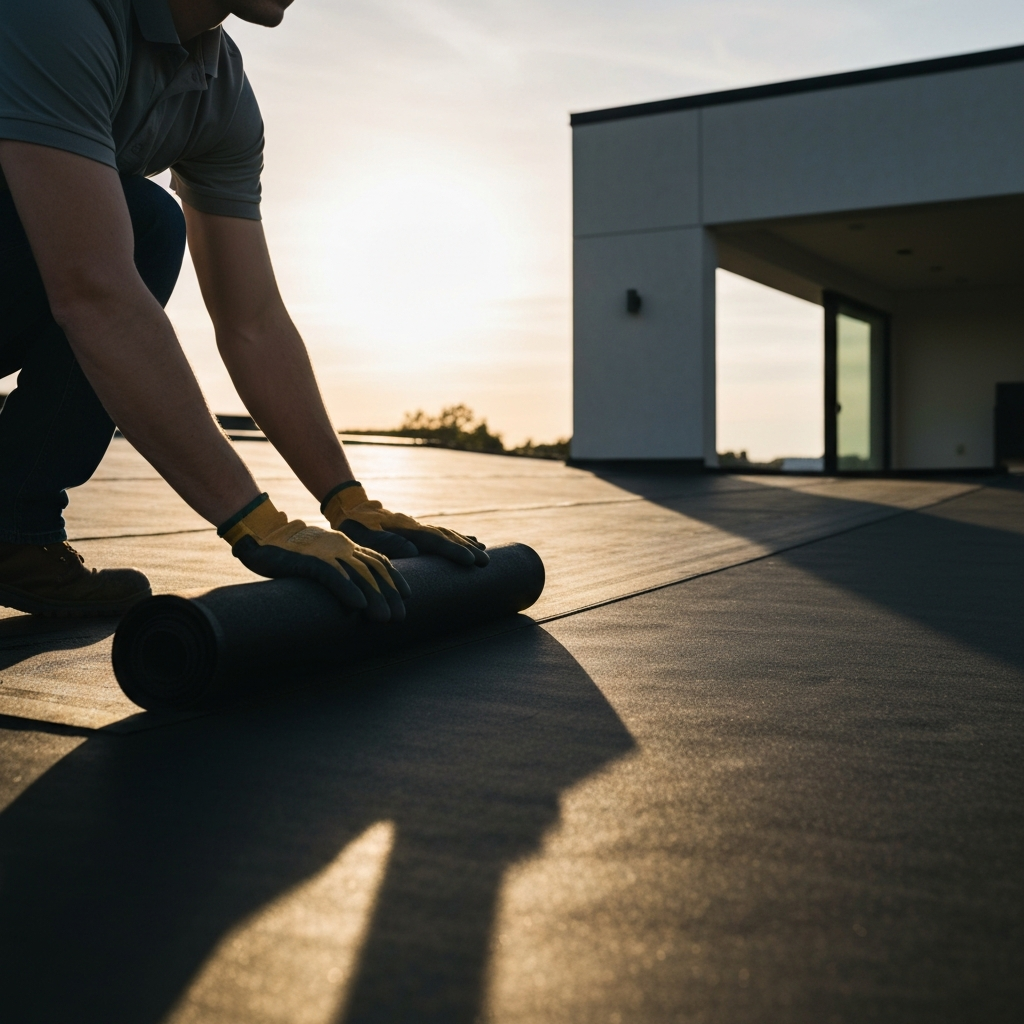
Step 2: Skipping Underlayment
Underlayment acts as a secondary barrier against moisture, protecting the roof deck from water infiltration. Many installers mistakenly believe underlayment is optional, especially with newer shingle technologies. However, underlayment provides crucial protection against wind-driven rain and ice dams, and it also helps to create a smoother surface for shingle application. Choosing the correct type of underlayment for your climate and roof slope is equally important; using the wrong type can negate its effectiveness.
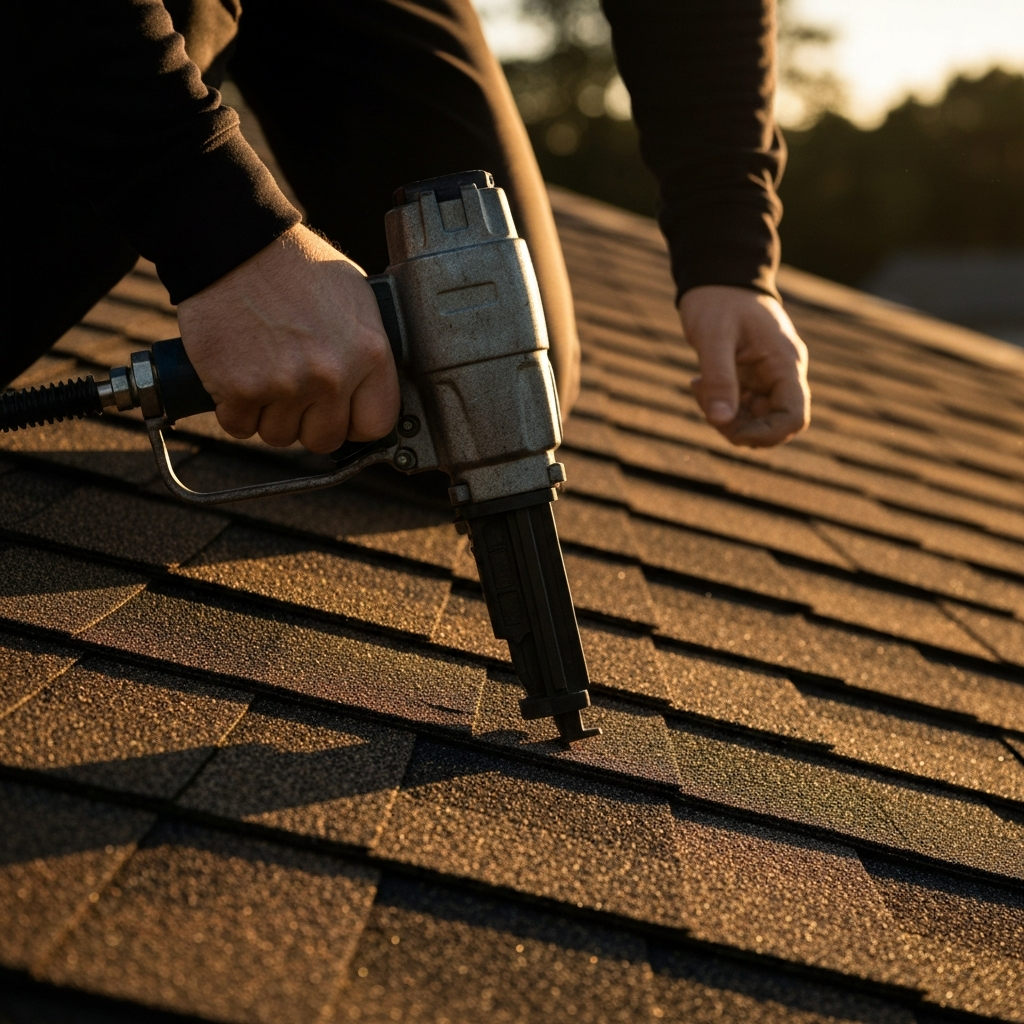
Step 3: Incorrect Nailing Techniques
Proper nailing is critical for securing shingles and preventing blow-offs. Common mistakes include using the wrong type of nails (e.g., staples instead of roofing nails), overdriving or underdriving nails, and misplacing nails. Overdriving nails can damage the shingle, while underdriving leaves the nail head exposed and prone to corrosion. Nail placement is equally crucial; nails must be driven in the designated nailing area to ensure proper adhesion and prevent shingle slippage. Always consult the shingle manufacturer's instructions for specific nailing requirements.
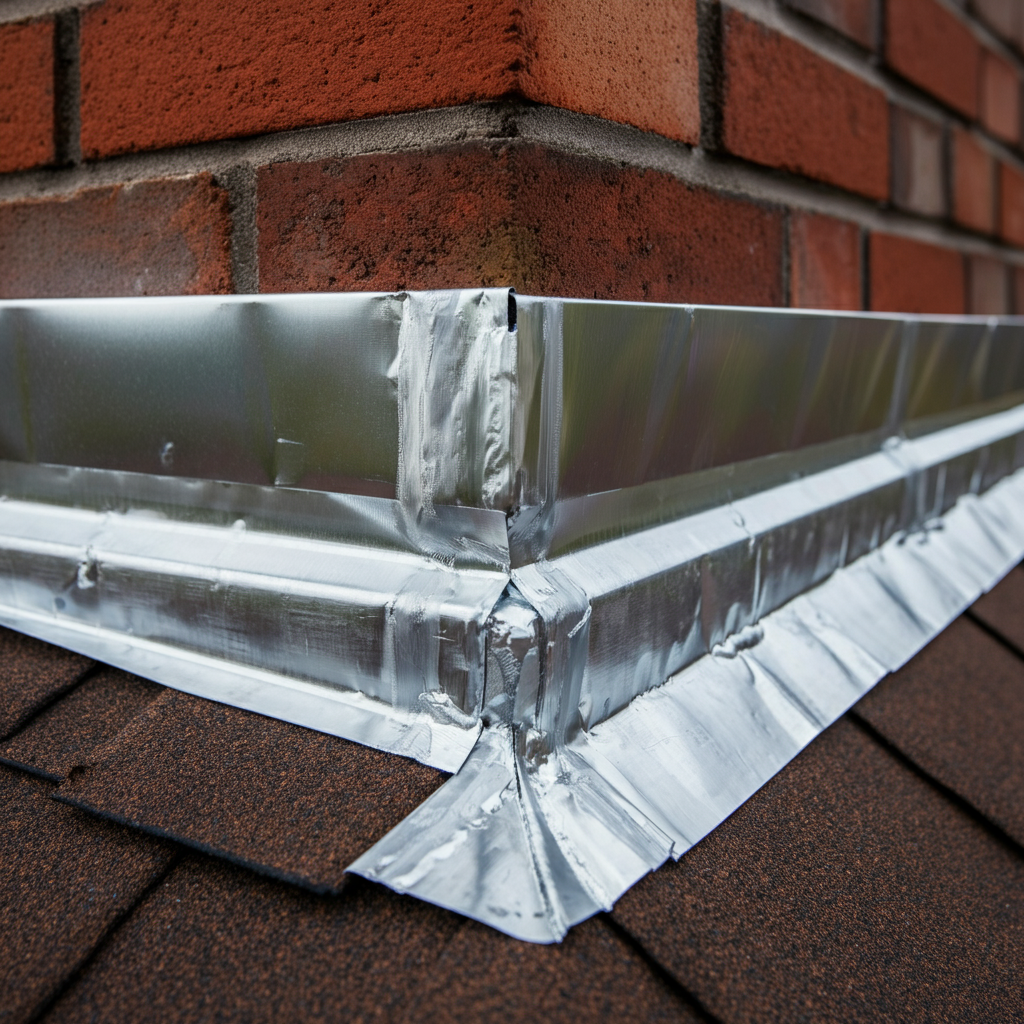
Step 4: Inadequate Flashing Installation
Flashing is a critical component for preventing water intrusion around chimneys, vents, skylights, and other roof penetrations. Improperly installed or missing flashing is a common cause of roof leaks. Flashing must be carefully integrated with the shingles to create a watertight seal. It's essential to use the correct type of flashing material (e.g., aluminum, copper) and to follow best practices for sealing and overlapping flashing sections. Neglecting to properly seal the flashing can lead to water damage and costly repairs.
Step 5: Neglecting Ventilation
Proper roof ventilation is essential for preventing moisture buildup, regulating attic temperature, and extending the lifespan of your shingles. Inadequate ventilation can lead to condensation, mold growth, and premature shingle deterioration. Common mistakes include blocking vents with insulation or failing to provide sufficient intake and exhaust vents. A balanced ventilation system is crucial for maintaining a healthy and energy-efficient roof. Consult with a roofing professional to determine the appropriate ventilation requirements for your home.

Tools or Materials Required
- Roofing nails (correct type and length)
- Nail gun or hammer
- Underlayment
- Flashing (aluminum, copper, or steel)
- Caulk
- Utility knife
- Measuring tape
- Safety harness and ropes
- Ladder
Safety Considerations
Roofing work can be dangerous. Always wear appropriate safety gear, including a safety harness, non-slip shoes, and eye protection. Never work on a roof in wet or windy conditions. Use caution when working at heights, and follow all safety guidelines. If you are not comfortable working on a roof, hire a qualified professional.
Pro Tips
- Always consult the shingle manufacturer's instructions for specific installation requirements.
- Use a chalk line to ensure straight and even shingle rows.
- Stagger shingle joints to prevent water infiltration.
- Inspect your roof regularly for signs of damage.
FAQ Section
Q: How often should I replace my shingles?
A: The lifespan of shingles varies depending on the type of shingle and the climate. Typically, asphalt shingles last 20-30 years.
Q: Can I install new shingles over old shingles?
A: In some cases, it may be possible to install new shingles over one layer of old shingles. However, this is not always recommended, as it can add weight to the roof and conceal underlying problems.
Conclusion
Proper shingle installation is crucial for protecting your home from the elements and ensuring a long-lasting roof. By avoiding these common mistakes and following best practices, you can significantly increase the lifespan and performance of your new roof. Remember to consult the shingle manufacturer's instructions, prioritize safety, and consider hiring a qualified professional if you are unsure about any aspect of the installation process. A well-installed roof is a valuable investment that will protect your home for years to come.