Defrosting your refrigerator is a crucial maintenance task that ensures its efficiency and longevity. Ice buildup can significantly reduce the refrigerator's cooling capacity, forcing it to work harder and consume more energy. This guide provides a step-by-step approach to defrosting your refrigerator quickly and effectively, minimizing inconvenience and maximizing results.
While some refrigerators have automatic defrost features, manual defrosting is still necessary for many models and can even be beneficial for those with automatic systems to ensure thorough cleaning. Proper defrosting not only improves performance but also helps maintain food safety by preventing temperature fluctuations. We'll cover everything from preparation to cleanup, ensuring a hassle-free experience.
This process may seem daunting, but with the right preparation and techniques, it can be completed in a few hours. Follow these instructions carefully, and you'll be back to enjoying a perfectly cooled refrigerator in no time. Ignoring ice buildup can lead to costly repairs in the long run, making regular defrosting a worthwhile investment of your time.
Step 1: Preparation is Key
Gather Your Supplies and Unplug the Refrigerator
Before you begin, gather all the necessary tools and supplies. You'll need towels (both bath towels and smaller cloths), containers to store food (coolers or insulated bags are ideal), a spatula or plastic scraper (never use metal!), and possibly a fan to speed up the process. Once you have everything ready, the most important step is to unplug the refrigerator from the power outlet. This eliminates any risk of electrical shock and allows the ice to melt safely. Make sure the power cord is completely disconnected.

Step 2: Empty the Refrigerator and Freezer
Remove All Food Items and Shelves
Carefully remove all food items from both the refrigerator and freezer compartments. Place perishable items into coolers or insulated bags with ice packs to maintain their temperature. This is crucial to prevent spoilage. Remove all shelves and drawers as well. These can be washed separately while the refrigerator is defrosting. Take this opportunity to discard any expired or unwanted food items. Clean the shelves and drawers with warm, soapy water, rinse thoroughly, and set them aside to dry.

Step 3: Protect Your Floors
Place Towels and Containers Strategically
As the ice melts, water will accumulate. To protect your floors from water damage, place bath towels around the base of the refrigerator and inside the freezer compartment. You can also place a shallow container or baking sheet underneath the refrigerator to catch any excess water. Regularly check and replace the towels as they become saturated to prevent water from seeping into the flooring.

Step 4: Accelerate the Melting Process
Utilize Gentle Methods to Speed Up Defrosting
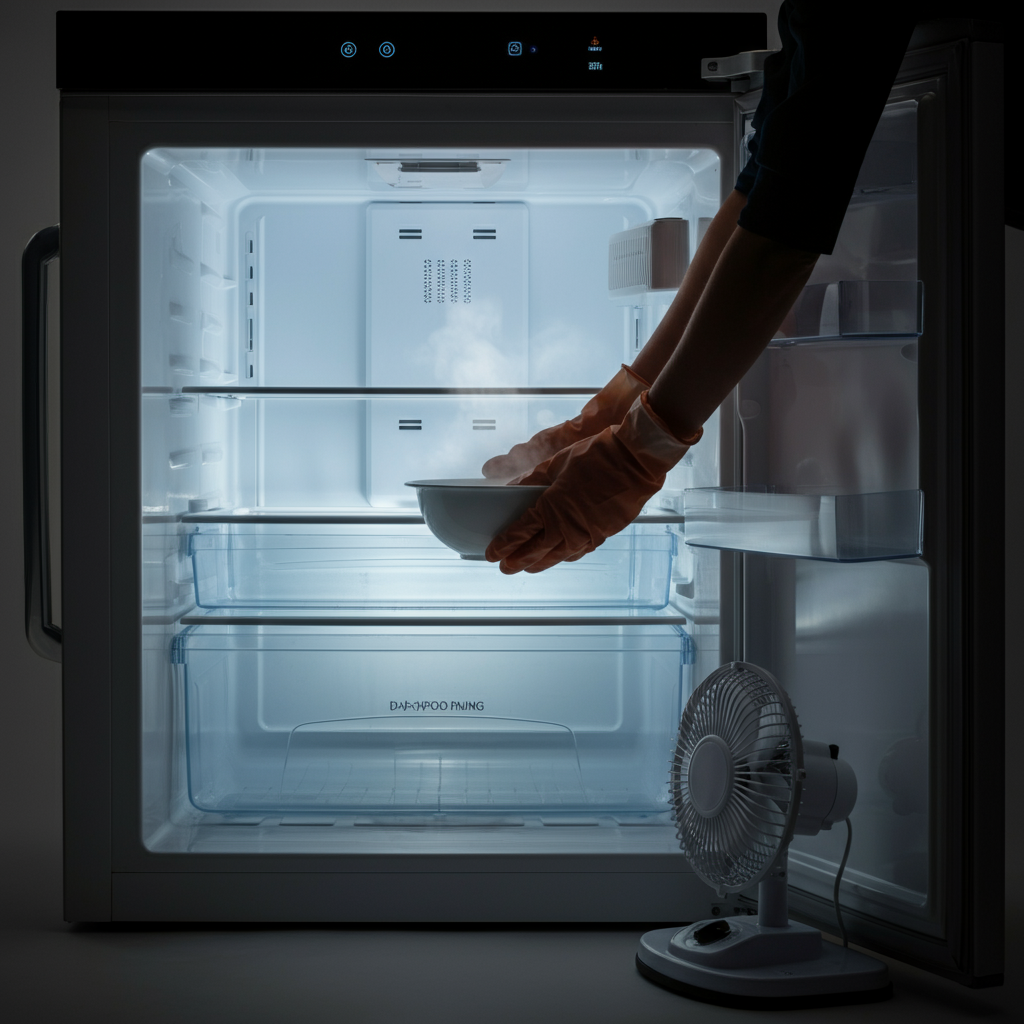
To speed up the defrosting process, you can use several methods. Place a bowl of hot (not boiling) water inside the refrigerator or freezer. The steam will help to melt the ice. Alternatively, you can use a fan to circulate air inside the refrigerator. Never use sharp objects or tools like knives or screwdrivers to chip away at the ice, as this can damage the refrigerator's interior. A plastic spatula can be used gently to help loosen the ice once it has started to melt. Some models have a drain plug to remove excess water during the defrosting process, consult the user manual.
Step 5: Clean and Dry the Interior
Wipe Down All Surfaces Thoroughly
Once all the ice has melted, wipe down the interior of the refrigerator and freezer with a clean cloth and warm water. For stubborn stains or odors, you can use a solution of baking soda and water. Pay special attention to any areas where spills may have occurred. After cleaning, thoroughly dry all surfaces with a clean, dry cloth to prevent mold and mildew growth. Ensure all traces of moisture are removed before proceeding.

Step 6: Reassemble and Restart
Replace Shelves, Return Food, and Plug In
Once the interior is completely dry, replace the shelves and drawers. Return the food items to the refrigerator and freezer, ensuring that perishable items are stored at the appropriate temperature. Plug the refrigerator back into the power outlet. Allow the refrigerator to reach its optimal temperature before adding new items or filling it completely. This may take several hours. Monitor the temperature to ensure it is cooling properly. It is recommended to wait at least 2 hours.

Tools or Materials Required
- Towels (bath towels and smaller cloths)
- Coolers or insulated bags with ice packs
- Plastic spatula or scraper
- Bowls or containers
- Warm water
- Baking soda (optional)
- Fan (optional)
Common Mistakes to Avoid
- Using metal objects to scrape ice.
- Using boiling water directly on the ice.
- Forgetting to unplug the refrigerator.
- Not protecting the floors from water damage.
- Not drying the interior thoroughly after cleaning.
Safety Considerations
- Always unplug the refrigerator before defrosting.
- Never use sharp objects to remove ice.
- Be careful when handling hot water.
- Ensure the floor is not slippery during the defrosting process.
Pro Tips
- Schedule defrosting for a day when you have time to monitor the process.
- Consider using a wet/dry vacuum to quickly remove melted water.
- Clean the refrigerator coils (located at the back or bottom) regularly to improve efficiency.
FAQ Section
Q: How often should I defrost my refrigerator?
A: It depends on the model, but generally, every 6-12 months or when you notice significant ice buildup.
Q: Can I leave the refrigerator door open to defrost it?
A: Yes, but it's more efficient to use other methods like hot water or a fan to speed up the process.
Q: What if I don't have coolers for my food?
A: Use insulated bags or ask a neighbor to store your perishable items temporarily.
Conclusion
Defrosting your refrigerator is a simple yet essential task that contributes to its optimal performance and longevity. By following these steps, you can efficiently remove ice buildup, improve energy efficiency, and maintain food safety. Remember to prioritize safety and avoid common mistakes. With regular defrosting and maintenance, your refrigerator will continue to serve you reliably for years to come.