Is your refrigerator failing to keep your food at the optimal temperature? A refrigerator that's not cold enough can lead to food spoilage and wasted money. Understanding how to properly adjust your refrigerator settings and troubleshoot potential issues is crucial for maintaining food safety and extending the life of your appliances. This guide provides a step-by-step approach to effectively lower the temperature in your refrigerator.
Before resorting to expensive repairs or replacements, there are several simple checks and adjustments you can make. From evaluating the thermostat setting to ensuring proper ventilation and addressing potential obstructions, this guide covers the most common reasons why your refrigerator might not be performing as expected. We will walk you through each process, highlighting crucial details and preventative measures.
This guide provides the knowledge to diagnose and resolve common temperature issues, helping you to save money, reduce food waste, and keep your refrigerator running smoothly. Follow these steps to achieve the ideal cooling environment for your food storage needs.
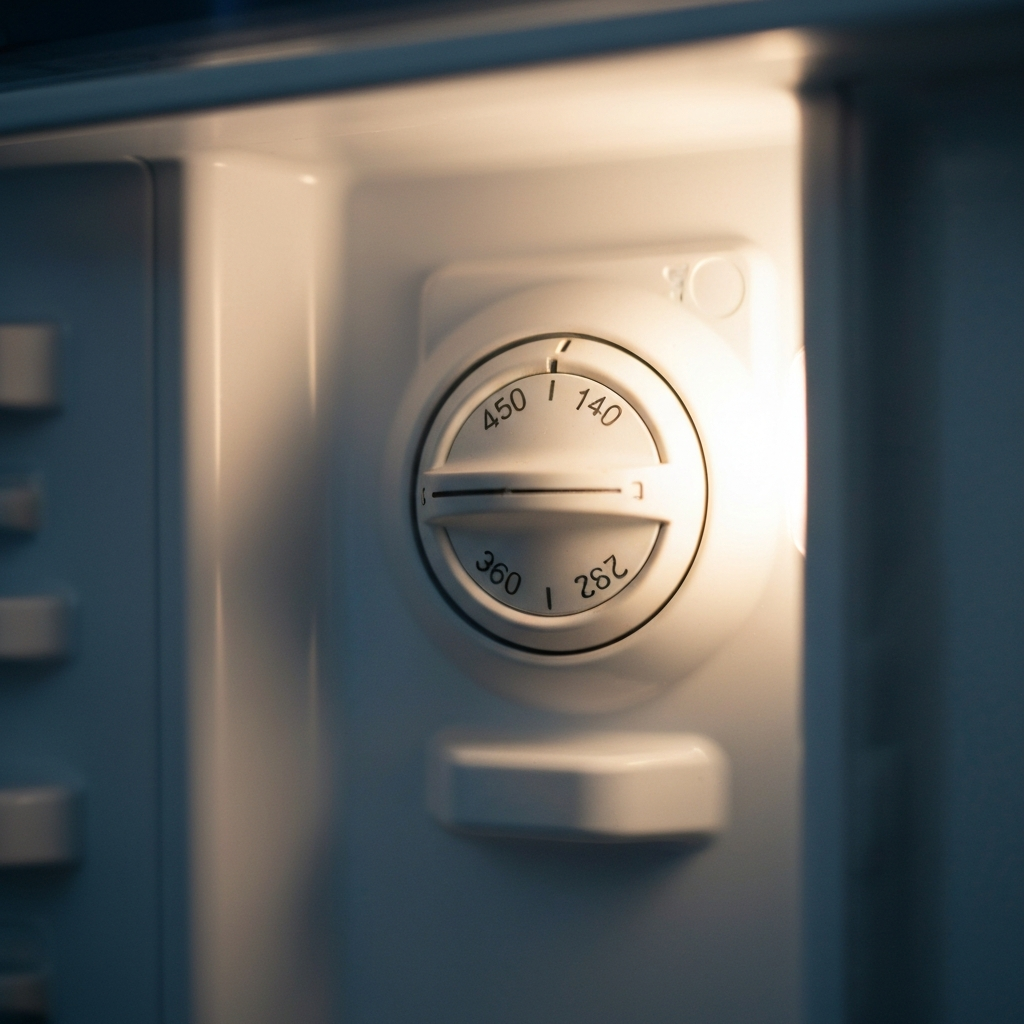
Step 1: Adjust the Thermostat Setting
The first and most obvious step is to check your refrigerator's thermostat. The ideal temperature range for a refrigerator is between 35-38°F (1.7-3.3°C). Locate the thermostat dial or digital control panel, usually found inside the refrigerator compartment. If the setting is already at the coldest, skip to the next steps; otherwise, decrease the temperature setting by one increment. Wait at least 24 hours for the refrigerator to adjust to the new setting before making further changes. Avoid making drastic adjustments, as this can lead to frozen food or inefficient operation.
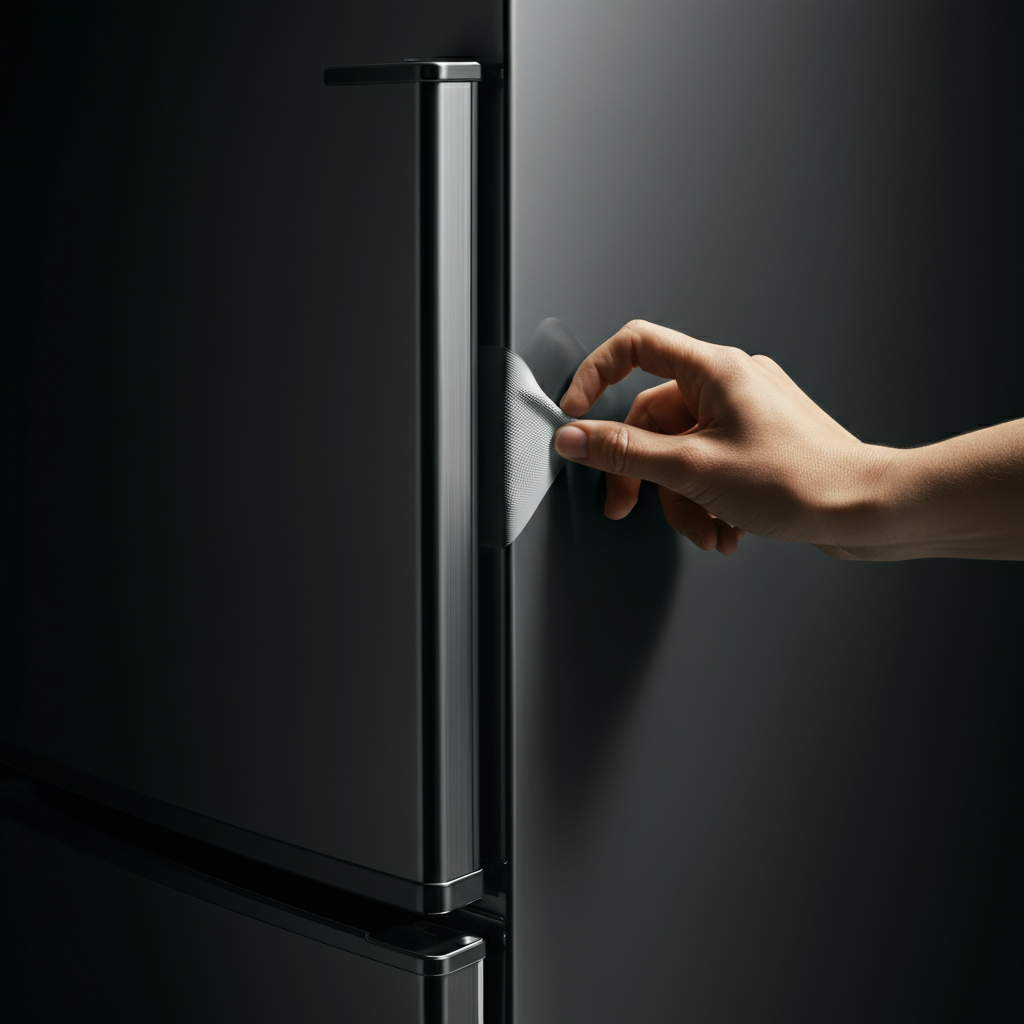
Step 2: Check the Door Seals
Faulty door seals are a common cause of temperature problems. Inspect the rubber gaskets around the refrigerator and freezer doors for any signs of damage, such as cracks, tears, or gaps. A simple test involves closing the door on a piece of paper. If you can easily pull the paper out with the door closed, the seal is likely compromised and needs to be cleaned or replaced. To clean the seals, use warm soapy water and a soft cloth, ensuring you remove any debris that may be preventing a tight seal. Replacement seals are generally available from appliance parts retailers.
Step 3: Ensure Proper Ventilation
Refrigerators rely on adequate airflow to maintain consistent temperatures. Make sure the vents inside the refrigerator compartment are not blocked by food items. Overcrowding can restrict airflow and prevent the refrigerator from cooling evenly. Arrange items so that air can circulate freely around them. Also, check the condenser coils, usually located on the back or bottom of the refrigerator. These coils dissipate heat, and if they are covered in dust and debris, the refrigerator will struggle to cool efficiently. Unplug the refrigerator and use a vacuum cleaner with a brush attachment to clean the coils thoroughly at least twice a year.

Step 4: Avoid Overloading the Refrigerator
While a full refrigerator generally maintains temperature better than an empty one, overcrowding can hinder air circulation. Avoid stuffing the refrigerator with too many items, particularly warm or hot foods. Allow hot foods to cool to room temperature before placing them in the refrigerator. Overloading forces the refrigerator to work harder to maintain the desired temperature, increasing energy consumption and potentially shortening the lifespan of the appliance. Periodically assess the contents of your refrigerator and remove any expired or unnecessary items.

Step 5: Check the Condenser Fan
The condenser fan helps to cool the condenser coils. Locate the condenser fan (usually near the compressor at the back of the refrigerator) and ensure it is running properly. If the fan is not running, it may be faulty and require replacement. First, unplug the refrigerator and visually inspect the fan for any obstructions. If there are no obstructions and the fan still doesn't run when the refrigerator is plugged back in, consult a qualified appliance repair technician to diagnose and replace the fan motor.

Tools or Materials Required
- Soft cloth
- Warm soapy water
- Vacuum cleaner with brush attachment
- Screwdriver (for accessing condenser coils and fan)
Common Mistakes to Avoid
- Making drastic temperature adjustments at once.
- Overlooking dirty condenser coils.
- Overcrowding the refrigerator with food.
- Ignoring damaged door seals.
Safety Considerations
- Always unplug the refrigerator before cleaning condenser coils or working on any electrical components.
- Avoid using sharp objects to remove ice buildup, as this could damage the refrigerator.
- If you are unsure about any repair procedures, consult a qualified appliance repair technician.
FAQ Section
- Q: How long does it take for the refrigerator temperature to adjust after changing the thermostat?
- A: It typically takes at least 24 hours for the refrigerator temperature to stabilize after adjusting the thermostat.
- Q: How often should I clean the condenser coils?
- A: You should clean the condenser coils at least twice a year, or more frequently if you have pets or live in a dusty environment.
By following these steps, you can effectively diagnose and address the most common reasons why your refrigerator may not be cold enough. Regular maintenance, proper airflow, and appropriate temperature settings are crucial for keeping your refrigerator running efficiently and ensuring the freshness of your food. If you've exhausted these troubleshooting steps and are still experiencing problems, it may be time to consult a qualified appliance repair technician.