Congratulations on your successful cannabis harvest! But the journey doesn't end there. Properly drying and curing your buds are crucial steps that significantly impact the final product's quality. These processes determine the flavor, aroma, potency, and overall smoothness of your smoke. Rushing or skipping these steps can lead to harsh, unpleasant, and less effective cannabis.
This comprehensive guide will walk you through the optimal methods for drying and curing your cannabis, ensuring you unlock its full potential. We'll cover everything from setting up your drying environment to the nuances of the curing process, equipping you with the knowledge to consistently produce top-shelf results. Mastering these techniques elevates your homegrown cannabis from good to exceptional.
Whether you're a first-time grower or a seasoned cultivator looking to refine your techniques, this guide offers valuable insights and practical tips to help you achieve the best possible outcome. Get ready to transform your harvest into a connoisseur-grade experience.
Step 1: The Drying Phase - Preparing for Perfection
The initial drying phase is about gradually removing excess moisture from your harvested buds. This step typically takes 1-2 weeks and is critical for preventing mold growth and preserving the desirable compounds in your cannabis. The goal is to create an environment that encourages a slow, even drying process, which helps retain terpenes and cannabinoids. Drying too quickly can lead to a hay-like aroma and a harsh smoke. Conversely, drying too slowly can create a breeding ground for mold and bacteria.
Step 2: Setting Up Your Drying Environment
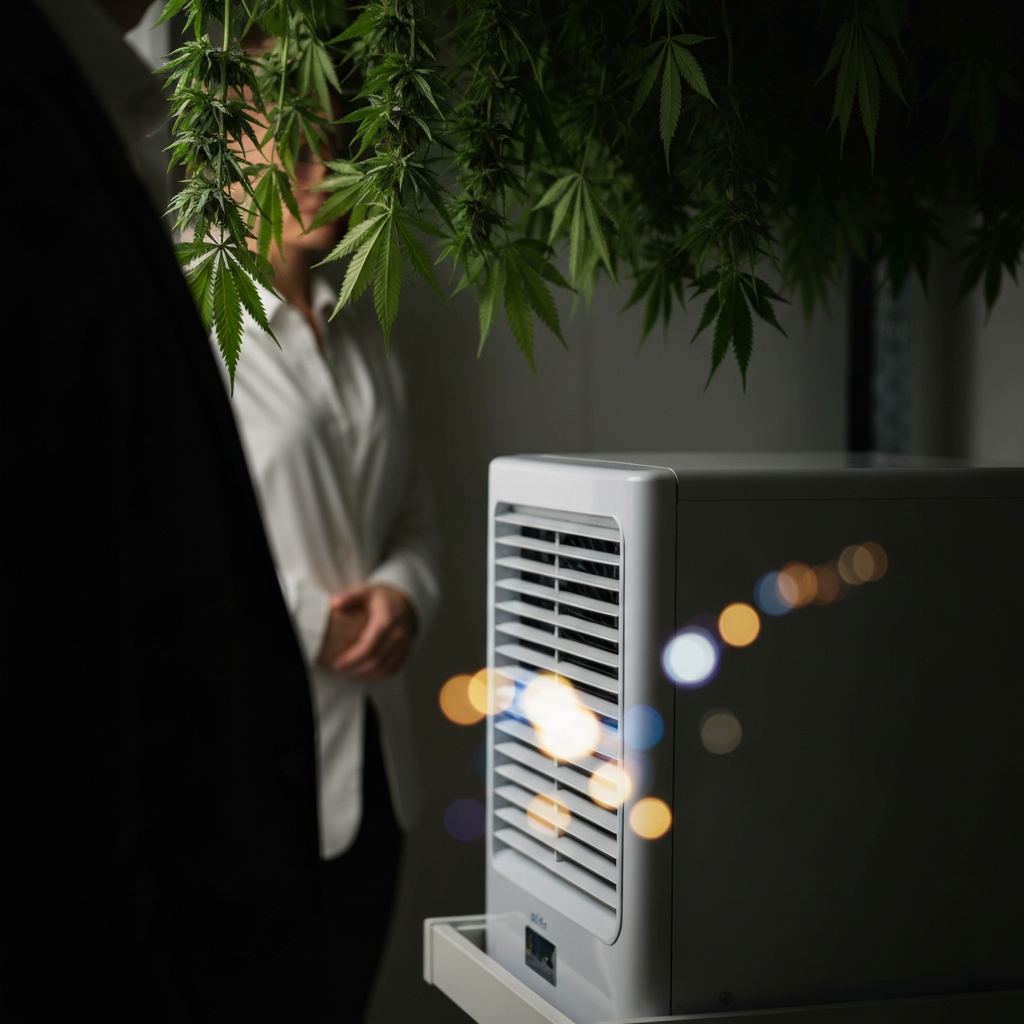
Creating the right environment is paramount. Aim for a temperature of 60-70°F (16-21°C) and a relative humidity of 50-55%. A dark room with good ventilation is ideal. Light degrades THC, so complete darkness is crucial during drying. You can use a spare room, closet, or even a grow tent dedicated to drying. Use a dehumidifier if your humidity is too high, and a humidifier if it's too low. A small fan can help circulate air, but avoid pointing it directly at the buds, as this can dry them too quickly.
Step 3: Hanging or Rack Drying
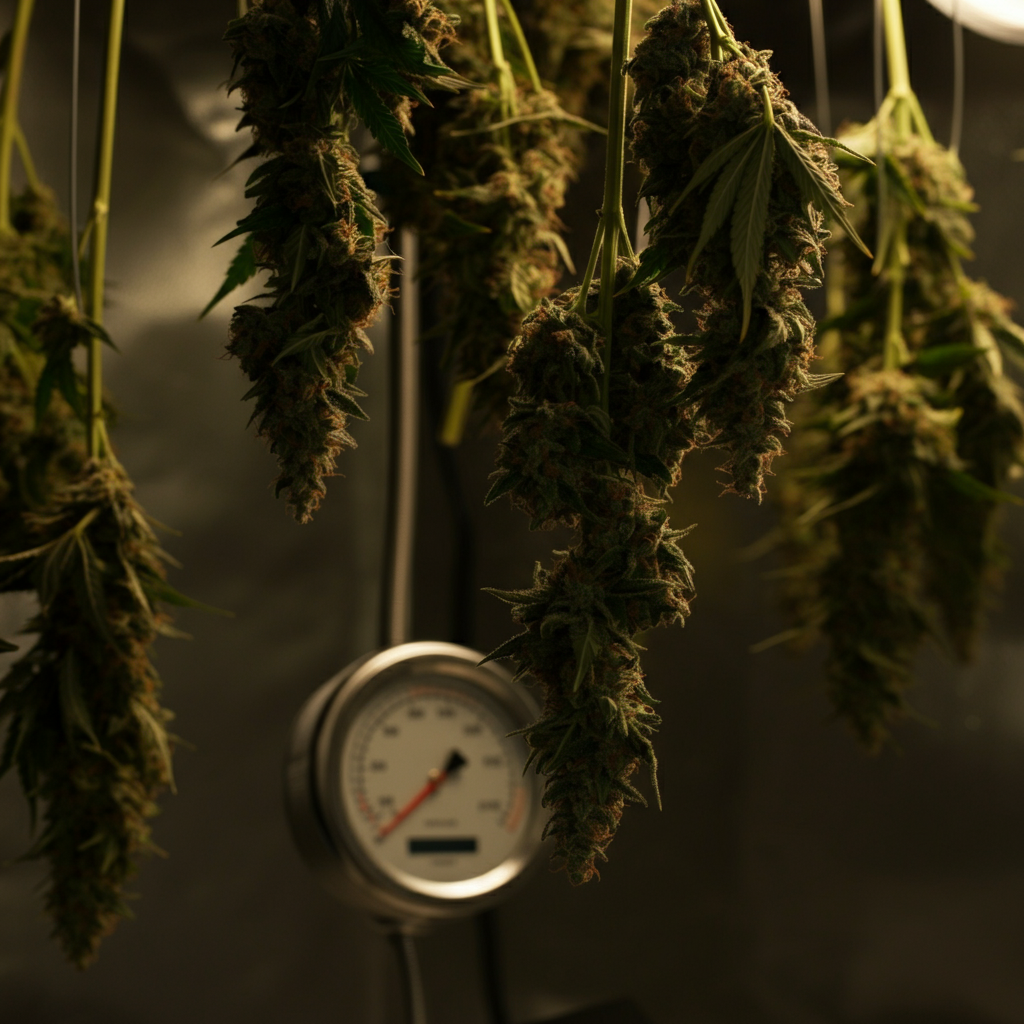
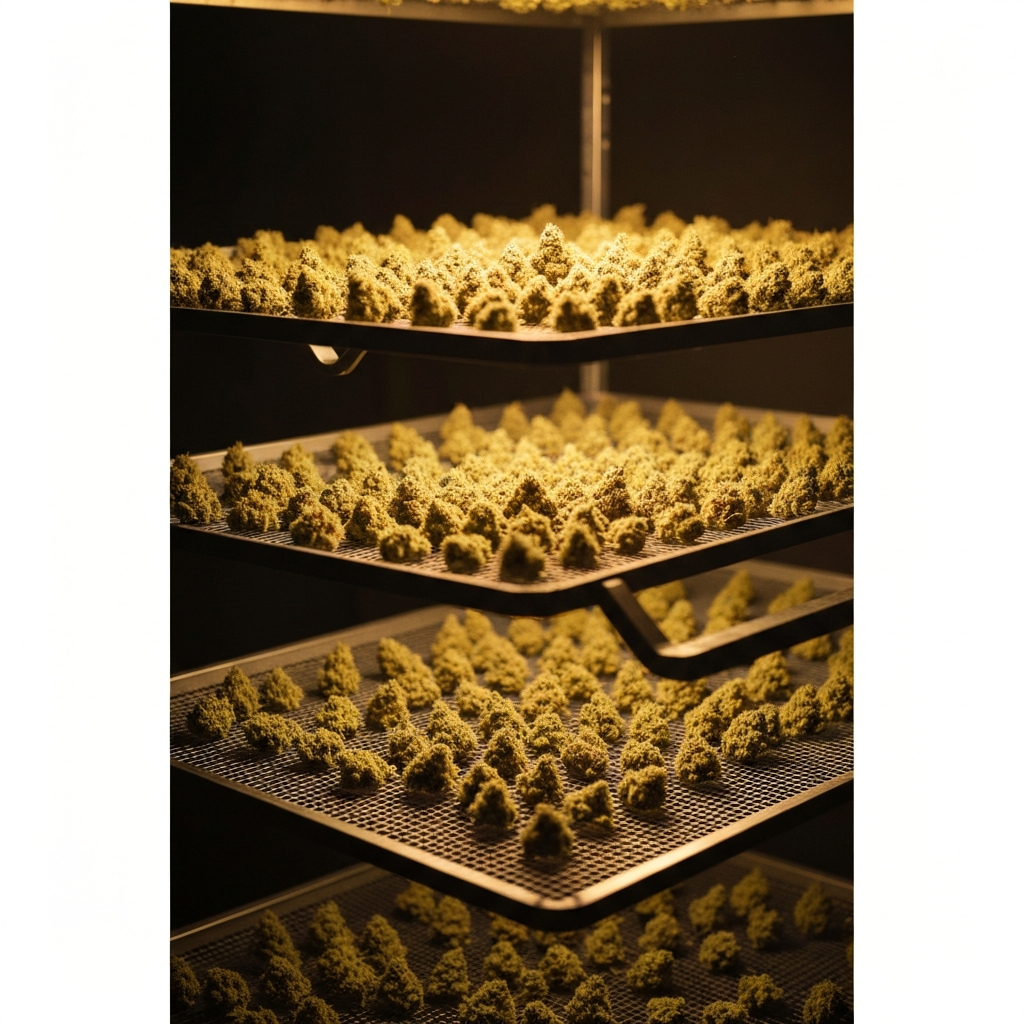
There are two primary methods for drying cannabis: hanging the entire branches upside down or using a drying rack. Hanging allows for more even drying and is generally preferred for larger harvests. Simply cut the branches and hang them using string, wire, or clothespins. Rack drying involves trimming the buds from the branches and placing them on a mesh rack. This method is suitable for smaller harvests and provides excellent airflow around the buds. Ensure the buds don't overlap on the rack to prevent moisture buildup.
Step 4: Monitoring and Adjusting
Regularly check your drying cannabis. The stems should gradually become more brittle. After about a week, start bending the stems. When they snap instead of bending, the buds are ready for curing. The "snap test" is the most reliable indicator of proper dryness. If the buds are drying too quickly, increase the humidity or lower the temperature. If they're drying too slowly, decrease the humidity or increase airflow.

Step 5: The Curing Phase - Enhancing Flavor and Potency
Once the buds are properly dried, it's time to move on to curing. Curing is a slow aging process that further enhances the flavor, aroma, and potency of your cannabis. It involves storing the dried buds in airtight containers under controlled conditions. This process allows for the breakdown of chlorophyll and other compounds, resulting in a smoother, more flavorful smoke. Proper curing is what separates amateur cannabis from professional-grade flower.
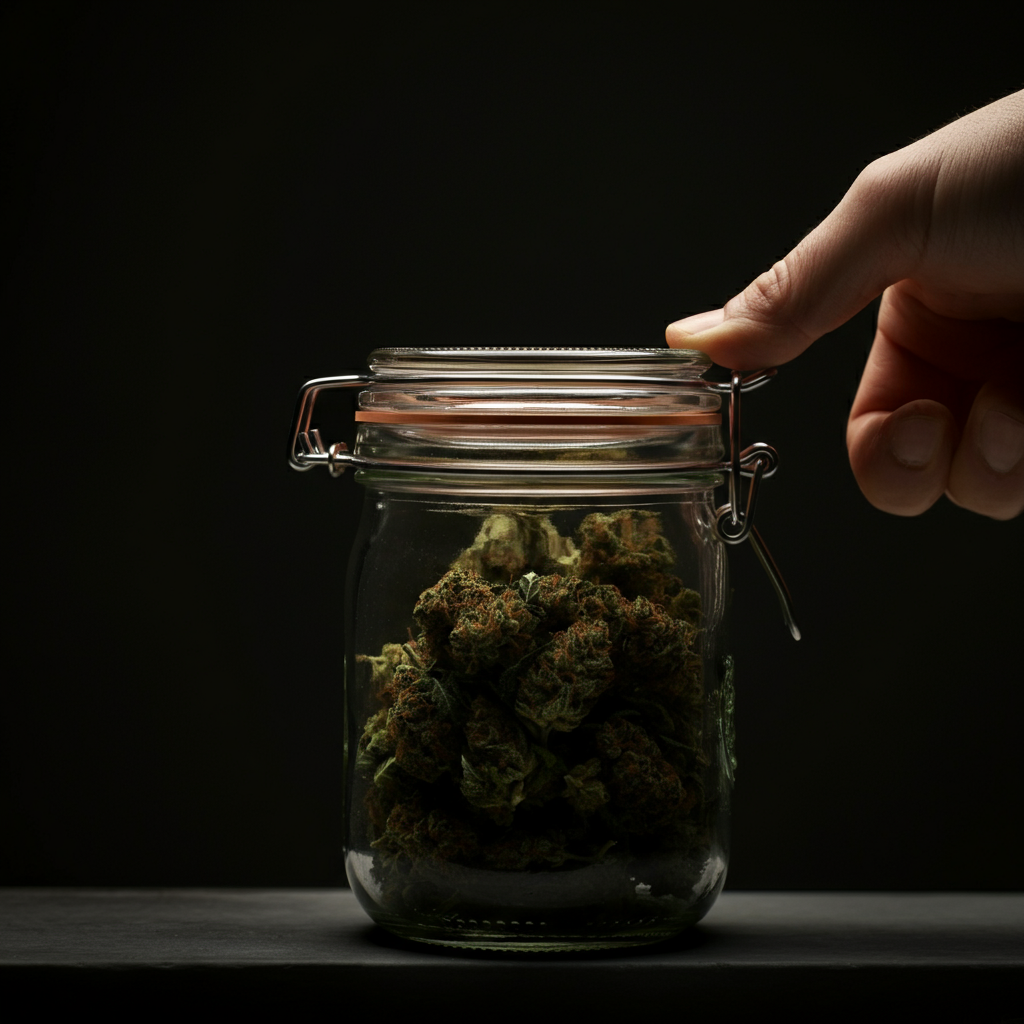
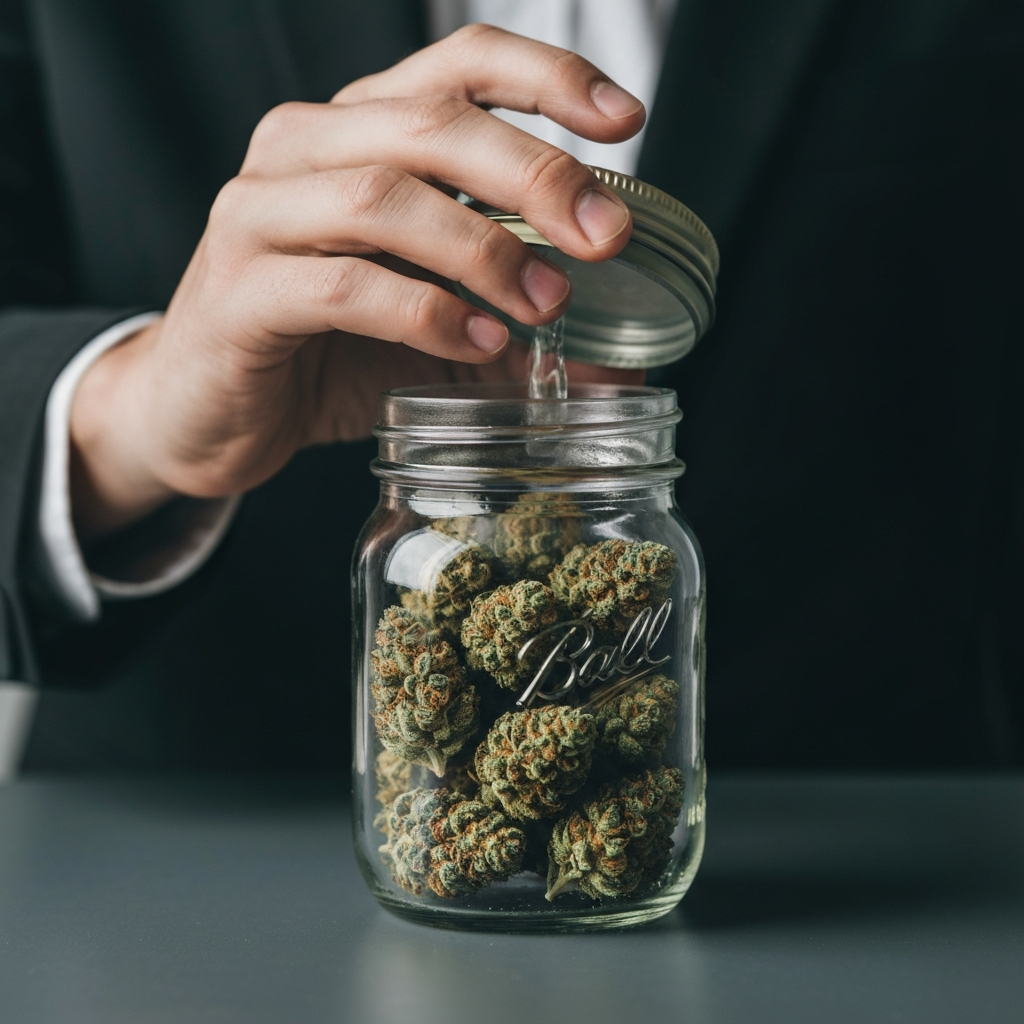
Step 6: Selecting Your Curing Containers
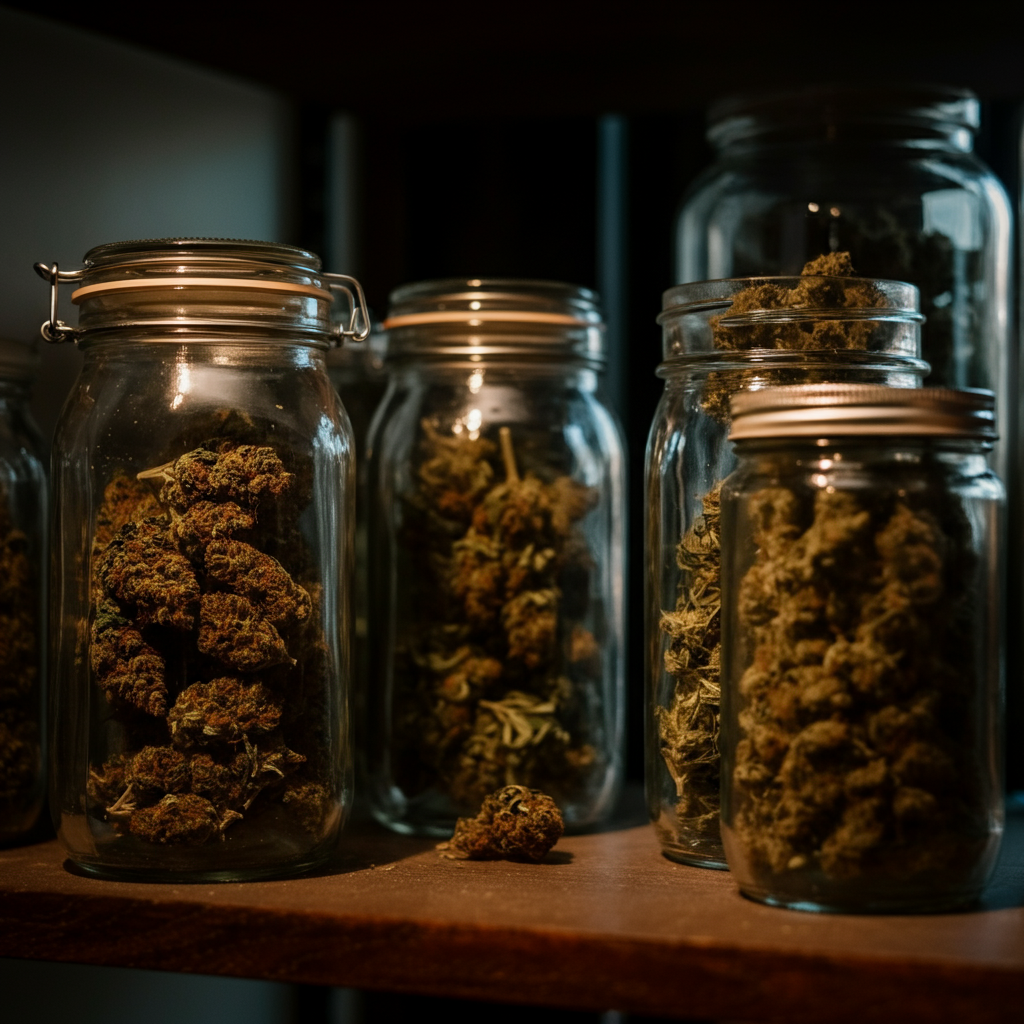
Glass mason jars are the most popular choice for curing cannabis. They are airtight, readily available, and don't impart any unwanted flavors to the buds. Other options include stainless steel containers or food-grade plastic containers, but glass is generally preferred. Avoid using containers that have a strong odor, as this can transfer to your cannabis. Make sure the containers are clean and dry before use.
Step 7: Filling and Storing the Containers
Fill each container about three-quarters full with your dried buds. This allows for adequate airflow and prevents the buds from getting compressed. Seal the containers tightly and store them in a cool, dark place at room temperature (around 70°F or 21°C). Light and heat degrade cannabinoids, so a cool, dark storage location is essential. Basements or closets are often ideal.

Step 8: "Burping" the Containers
During the curing process, it's crucial to "burp" the containers daily. This involves opening the jars for a few minutes each day to allow fresh air in and release any excess moisture. This helps prevent mold growth and promotes even curing. Burping also helps to release volatile compounds, further enhancing the aroma of your cannabis. After the first week, you can reduce burping to every few days.
Step 9: Monitoring and Adjusting Humidity
Ideally, the relative humidity inside the curing containers should be between 60-70%. You can use hygrometers to monitor the humidity levels. If the humidity is too high, the buds may be at risk of developing mold. If the humidity is too low, the buds may dry out too quickly. Humidity packs can be used to regulate the humidity inside the containers. These packs either absorb or release moisture as needed to maintain the optimal humidity level.
Step 10: The Waiting Game - Patience is Key
Curing takes time. While you can start enjoying your cannabis after a few weeks, the longer you cure it, the better it will become. Most growers cure their cannabis for at least 4-8 weeks, and some even cure it for several months. The longer the cure, the smoother and more flavorful the smoke will be. Be patient and trust the process. Your efforts will be rewarded with a truly exceptional product.
Tools or Materials Required
- Drying room or space
- Thermometer
- Hygrometer
- Dehumidifier or Humidifier (optional)
- Fan (optional)
- String, wire, or clothespins (for hanging)
- Drying rack (optional)
- Glass mason jars or airtight containers
- Humidity packs (optional)
Common Mistakes to Avoid
- Drying too quickly
- Drying in direct sunlight
- Failing to monitor humidity
- Overfilling curing containers
- Forgetting to burp the containers
- Curing in a warm or humid environment
Pro Tips
- Consider using a small fan to circulate air in your drying room, but avoid pointing it directly at the buds.
- Invest in a quality hygrometer to accurately monitor the humidity levels in your drying and curing environments.
- Label your curing containers with the strain name and harvest date for easy identification.
- Don't be afraid to experiment with different curing times to find what works best for you and your preferences.
FAQ Section
Q: How long should I dry my cannabis?
A: Drying typically takes 1-2 weeks, depending on the environmental conditions. The stems should snap instead of bending when they are ready.
Q: How long should I cure my cannabis?
A: Curing can take anywhere from 2 weeks to several months. Most growers cure for at least 4-8 weeks for optimal results.
Q: What happens if I dry my cannabis too quickly?
A: Drying too quickly can result in a hay-like aroma and a harsh smoke.
Q: Can I cure my cannabis in plastic containers?
A: While it is possible, glass mason jars are generally preferred as they don't impart any unwanted flavors to the buds.
Conclusion
Drying and curing cannabis are essential steps in the cultivation process that significantly impact the quality of the final product. By following the guidelines outlined in this guide, you can ensure that your harvest reaches its full potential, delivering exceptional flavor, aroma, potency, and smoothness. Remember to pay close attention to environmental conditions, monitor your buds regularly, and be patient. The key to success lies in creating a slow, even drying process and a carefully controlled curing environment. With practice and attention to detail, you'll be well on your way to producing top-shelf cannabis that rivals anything you can find at a dispensary.