Drawing anime characters is a rewarding artistic endeavor. However, capturing the unique proportions and stylistic elements of anime bodies can feel daunting for beginners. This guide breaks down the process into manageable steps, focusing on fundamental anatomy and techniques to help you create dynamic and expressive characters.
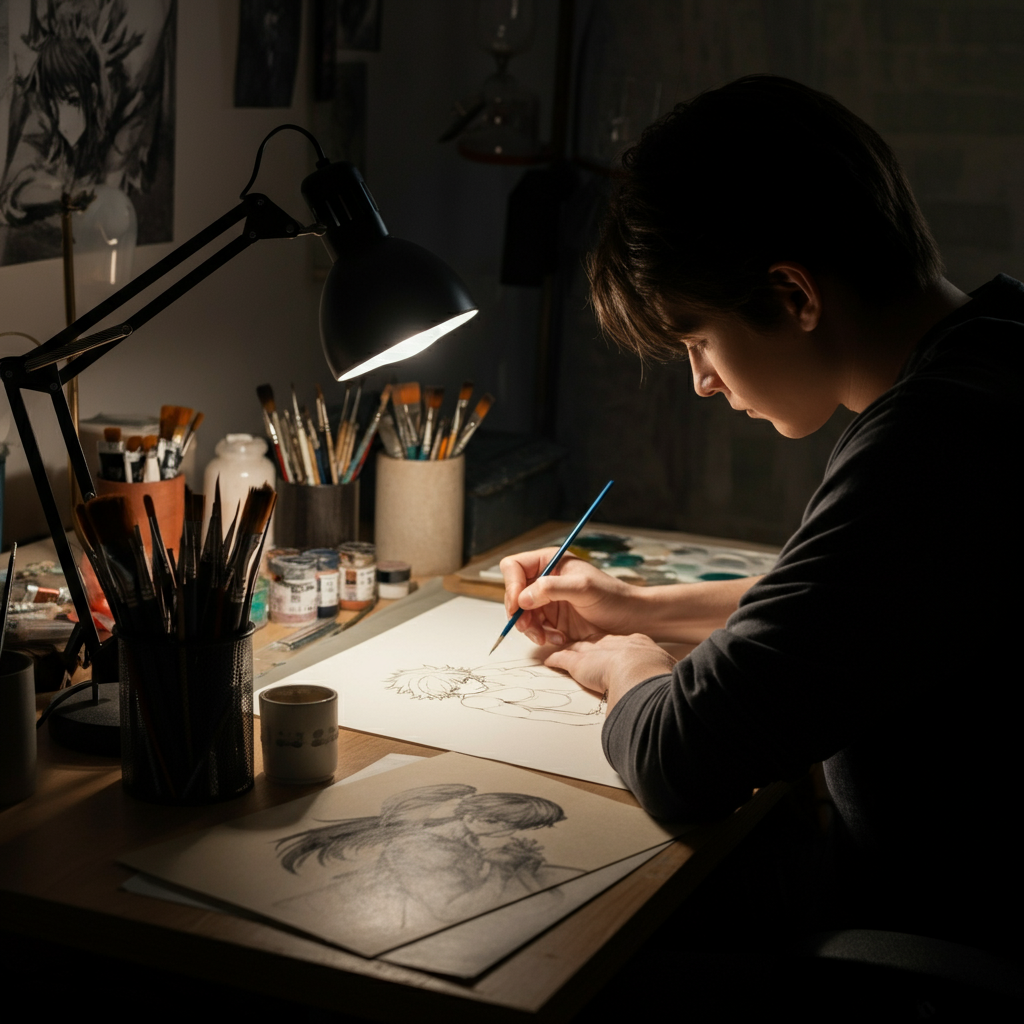
Whether you're aiming to replicate your favorite characters or design original creations, understanding the underlying structure is key. We'll start with basic skeletal frameworks and gradually add details, ensuring a solid foundation for your anime art. Remember, practice is paramount! Don't be discouraged if your first attempts aren't perfect. Every artist starts somewhere, and consistent effort will lead to significant improvement.
This guide covers both male and female anime body types, highlighting the subtle differences in proportion and form. By mastering these techniques, you'll gain the skills to draw a wide variety of characters with confidence and style. Let's begin!
Step 1: The Head and Basic Proportions
Begin by sketching a light oval shape for the head. This will serve as the foundation for your character's face. Divide the oval vertically down the center with a faint guideline. This line will help maintain symmetry throughout the drawing process. Then, establish the overall body height. Anime characters are often depicted with exaggerated proportions, but a good starting point is around 6.5 to 7 times the height of the head. Mark these intervals down a central vertical line extending from the bottom of the head. These marks act as guides for the placement of the other body parts. Focus on keeping your initial lines light and easily erasable. This allows for adjustments as you refine the figure.

Step 2: The Torso and Shoulders
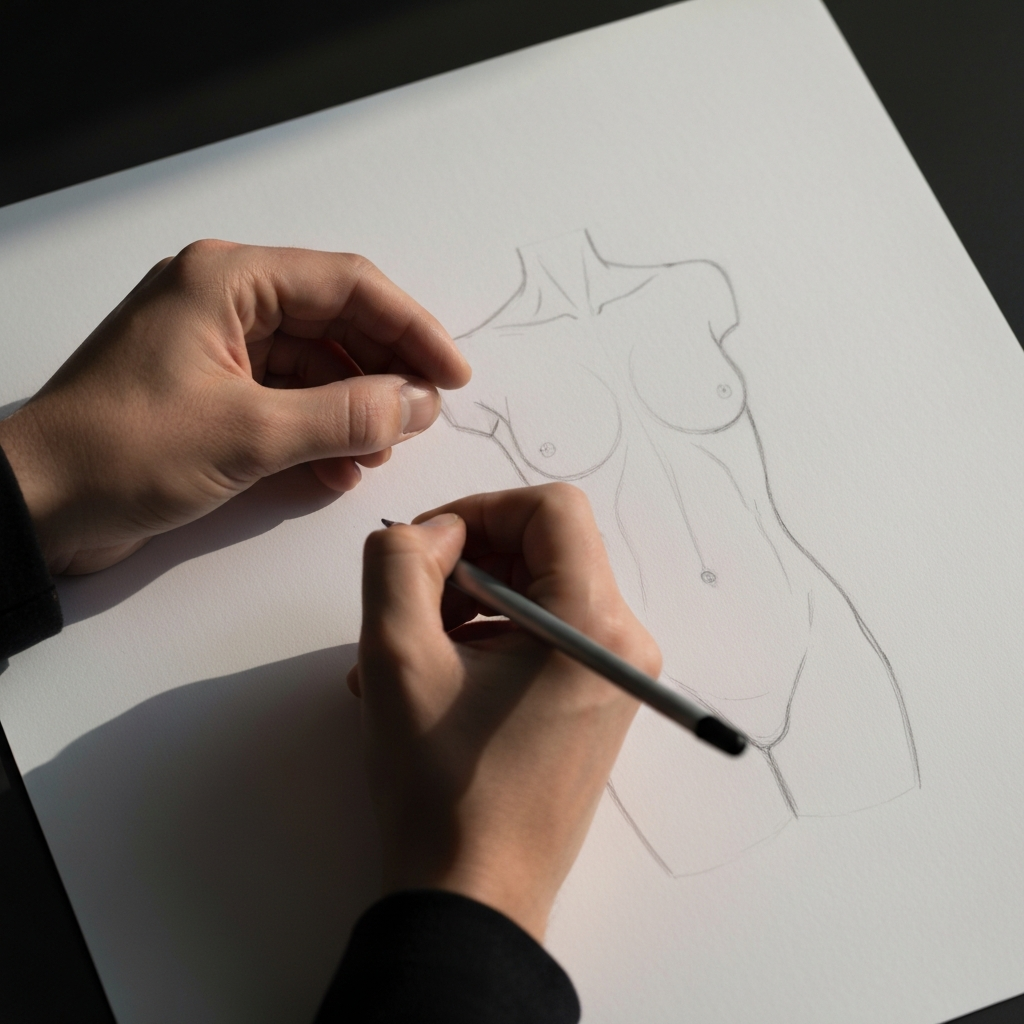
Now, let's establish the torso. For female characters, use a light hourglass shape. The top of the hourglass, representing the shoulders, should start roughly one head-height below the chin. Female anime characters typically have narrower shoulders compared to their hips. For male characters, a more rectangular or slightly tapered torso is appropriate. The shoulders are usually broader, approximately two head-widths wide. Remember to lightly sketch circles at the shoulder joints to help visualize the arm placement later. For both genders, the torso's length usually extends to about three head-heights.
Step 3: Arms and Hands
Next, draw the arms. These extend from the shoulder joints. Divide each arm into two sections: the upper arm and the forearm. The elbow is a crucial joint to mark. It typically sits roughly halfway down the torso. Pay attention to arm length, as disproportionate arms can significantly detract from the overall appearance. For anime styles, hands are often simplified. Mitten-like shapes or basic five-fingered forms are common. Consider the character's pose when drawing the hands. Are they relaxed, clenched, or holding something? The position of the hands contributes significantly to the character's expression.
Step 4: Legs and Feet
Now, let's add the legs. The legs are typically half the total height of the character. Like the arms, they are divided into two sections: the upper leg and the lower leg. The knee joint is located approximately 1.5 head-heights below the hips. Ensure both legs are symmetrical in length; otherwise, your character will appear off-balance. Feet are often simplified into trapezoid shapes or small, pointed forms. Focus on the overall silhouette and the way the feet connect to the ground, contributing to the character's sense of balance and movement.
Step 5: Refining the Body Shape
With the basic framework in place, it's time to refine the body shape. Now you can add curves and definition. For female characters, emphasize the waist and hips. For male characters, focus on broader shoulders and a straighter torso. Erase any unnecessary guidelines you previously drew. Now you have a cleaner base to work on. Consider the overall physique you want to achieve. Is your character athletic, slender, or muscular? This is where you can truly inject your own style and personality into the drawing.

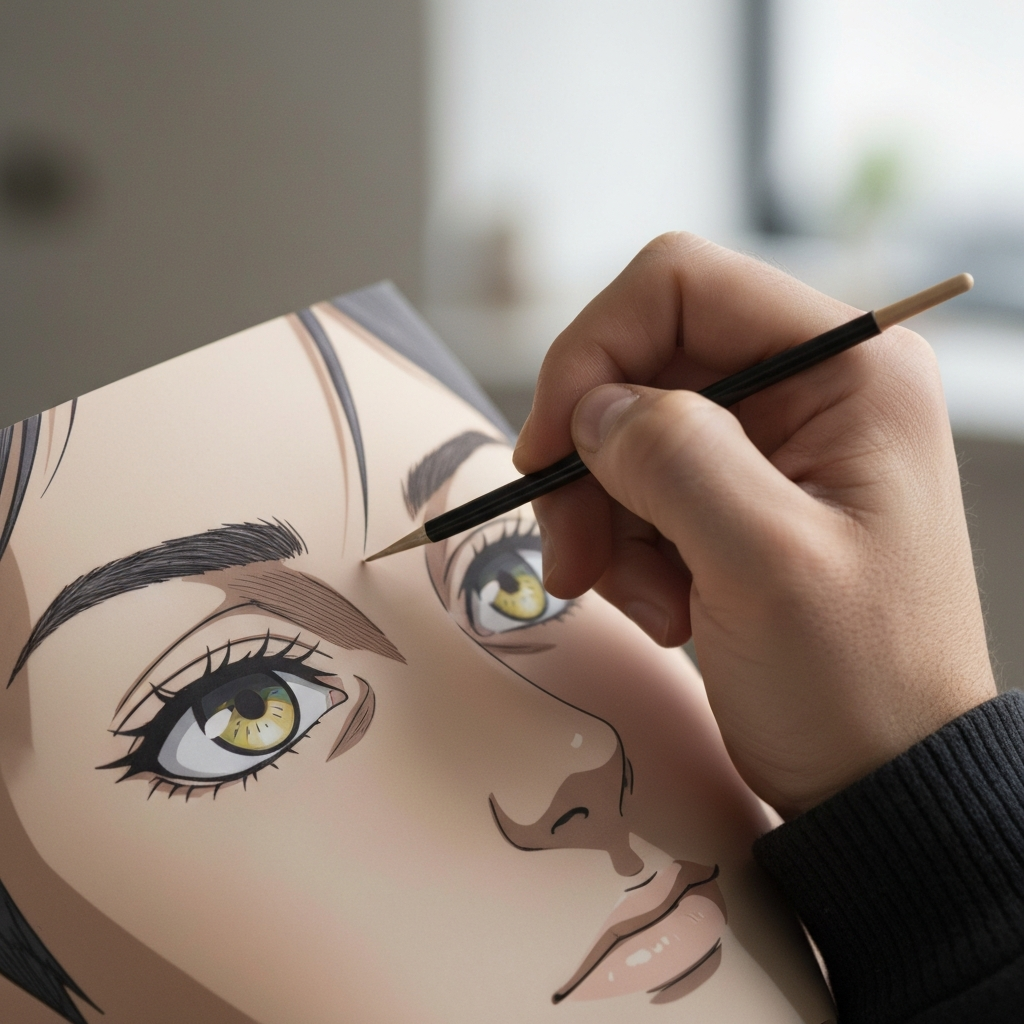
Step 6: Adding Facial Features and Hair
With the body's structure finalized, it's time to focus on the face. Anime facial features are often characterized by large eyes, small noses, and expressive mouths. The placement of the eyes is crucial for conveying emotion. High and wide-set eyes often indicate innocence or naivete, while narrower, more angled eyes can suggest cunning or intensity. Hair is another defining feature of anime characters. It's often stylized into elaborate shapes and vibrant colors. Don't be afraid to experiment with different hairstyles to find one that complements your character's personality.
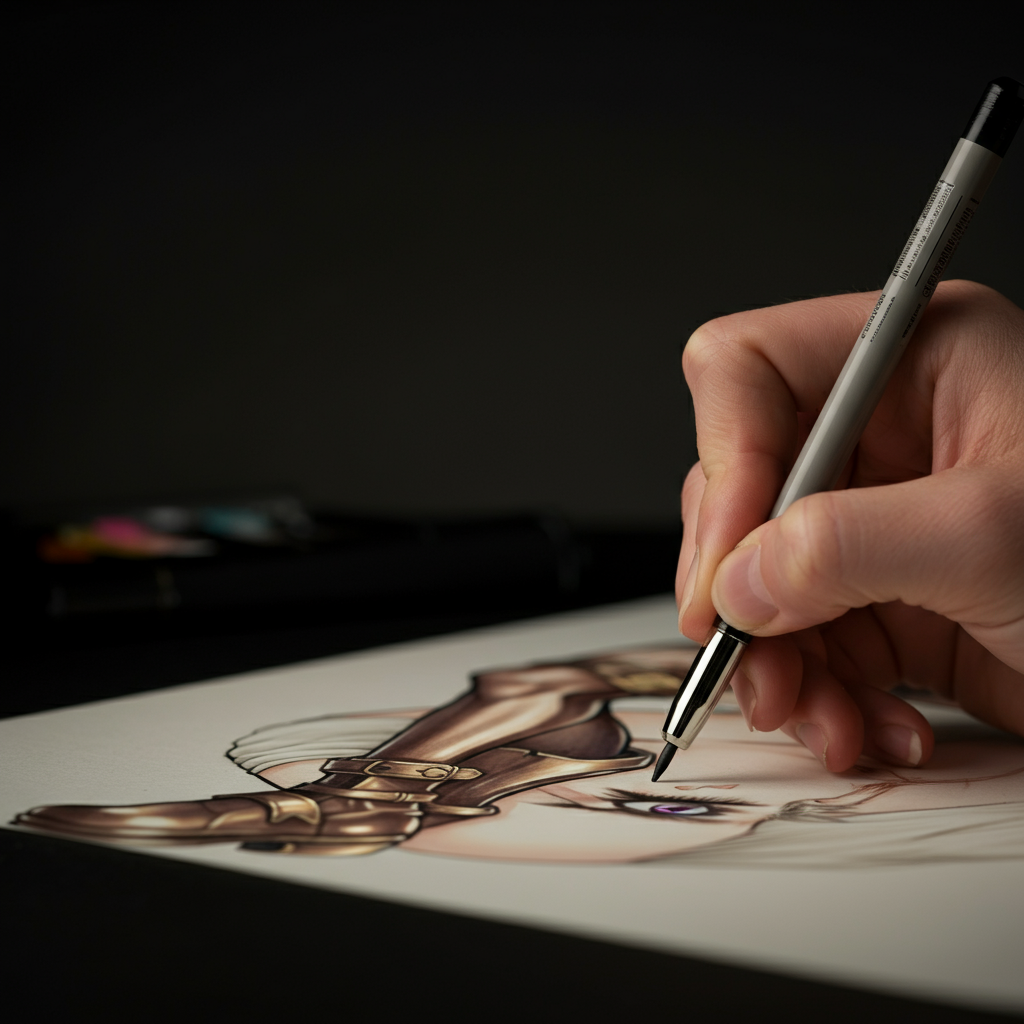
Step 7: Clothing and Details
Finally, add clothing and other details to your character. Clothing can range from simple school uniforms to elaborate fantasy armor. Consider the character's personality and background when choosing their attire. Pay attention to the way the clothing drapes and folds on the body. Adding wrinkles and creases can bring realism to your drawing. Refer to real-life clothing references to understand how fabric behaves. This attention to detail will elevate your drawing and make your character more believable.
Tools or Materials Required
- Pencils (HB, 2B, 4B)
- Eraser (kneaded eraser recommended)
- Paper (smooth drawing paper is ideal)
- Ruler (for accurate measurements)
- Reference images (for anatomy and clothing)
Common Mistakes to Avoid
- Disproportionate body parts
- Stiff or unnatural poses
- Ignoring basic anatomy
- Overcomplicating details
- Using overly dark lines in the initial sketch
Pro Tips
- Practice gesture drawing to improve your sense of movement and flow.
- Use reference images liberally, especially when drawing complex poses or clothing.
- Experiment with different line weights to add depth and visual interest.
- Don't be afraid to make mistakes! They are part of the learning process.
- Study the works of your favorite anime artists to learn from their techniques.
FAQ Section
Q: How do I draw dynamic poses?
A: Practice gesture drawing and use reference images of people in action. Pay attention to the line of action, which is an imaginary line that runs through the center of the body, indicating the direction of movement.
Q: How do I create original character designs?
A: Start with a basic concept and gradually add details, drawing inspiration from your favorite anime characters and real-life sources. Experiment with different hairstyles, clothing styles, and facial features to create a unique and memorable character.
Q: What's the best way to learn anatomy?
A: Study anatomy books and online resources. Practice drawing from life and use reference images of human figures. Pay attention to the underlying bone structure and muscle groups.
Conclusion
Drawing anime bodies is a journey of continuous learning and refinement. By mastering the fundamentals of anatomy and practicing consistently, you can create stunning characters that reflect your unique artistic vision. Remember to be patient with yourself, embrace experimentation, and never stop learning. With dedication and passion, you'll unlock your full potential as an anime artist. The key takeaway is practice makes perfect! So grab your pencils, gather your references, and start drawing!