Parallettes are a fantastic tool for developing upper body strength, improving balance, and unlocking a range of calisthenics exercises. From L-sits and handstand training to elevated push-ups and dips, these simple yet effective pieces of equipment can significantly enhance your workout routine. Building your own parallettes is a cost-effective and rewarding project that allows you to customize the dimensions to perfectly suit your individual needs and preferences.
This guide provides a detailed, step-by-step approach to constructing sturdy and reliable parallettes using readily available materials. We will walk you through the entire process, from selecting the right materials and cutting the PVC pipe to assembling the components and ensuring a secure, wobble-free structure. Whether you are a seasoned DIY enthusiast or a complete beginner, this guide will equip you with the knowledge and confidence to build your own set of parallettes.
Get ready to enhance your training with a pair of custom-built parallettes. Let's get started!
Tools or Materials Required
- Approximately 10 feet of 1 1/2" PVC pipe (Schedule 40 recommended for durability)
- Four PVC T-connectors (1 1/2" to match the pipe)
- Four PVC elbow joints (90-degree, 1 1/2")
- Eight PVC end caps (1 1/2", optional but recommended)
- Hacksaw or PVC pipe cutter
- Measuring tape or ruler
- Sandpaper or deburring tool
- PVC primer and cement (optional, for permanent assembly)
- Marker or pen
Safety Considerations
- Always wear safety glasses when cutting PVC pipe to protect your eyes from flying debris.
- Work in a well-ventilated area, especially when using PVC primer and cement, as these can release fumes.
- Secure the PVC pipe before cutting to prevent it from slipping and causing injury.
- Inspect the finished parallettes for any sharp edges or loose connections before use.
Step 1: Planning and Cutting the PVC Pipe
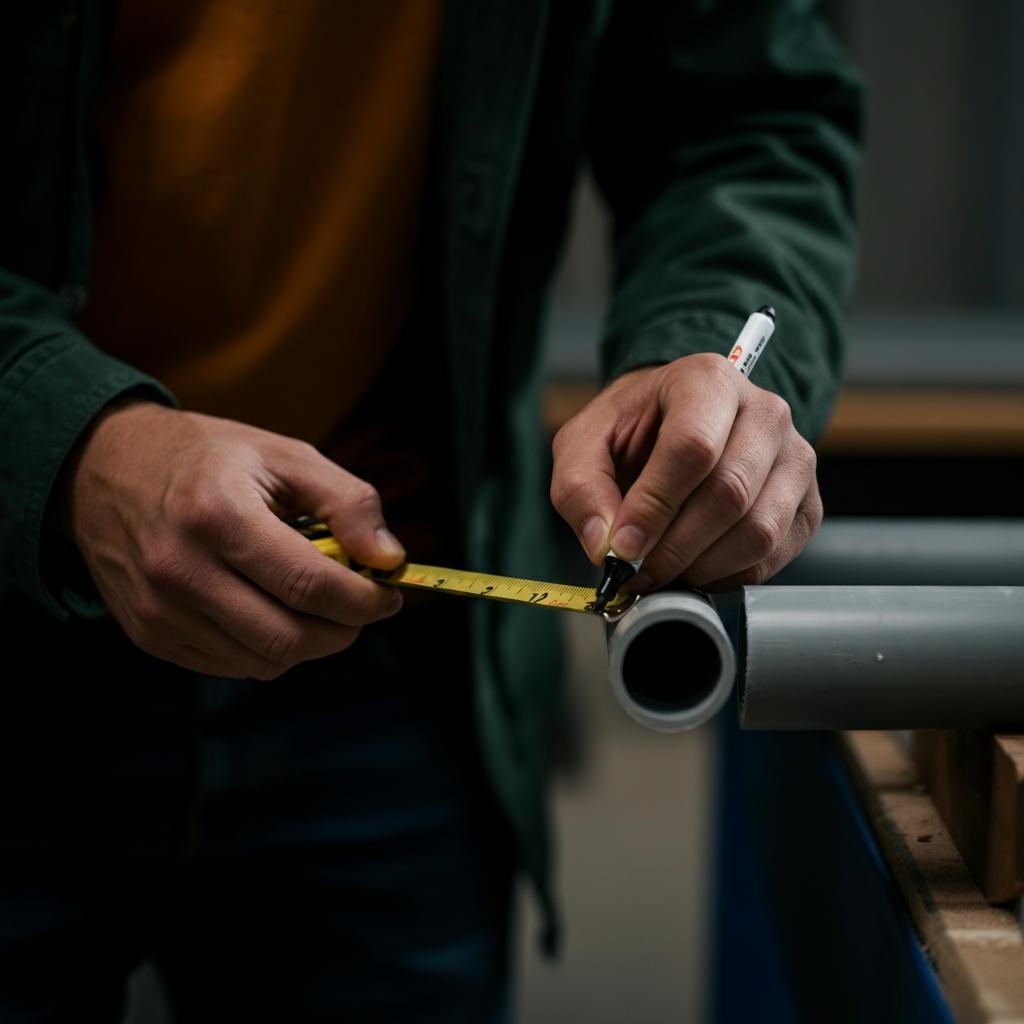
Measure and Mark the Cuts
Before you start cutting, carefully measure and mark the PVC pipe according to the following dimensions. These measurements are a good starting point, but feel free to adjust them based on your desired parallette height and length. For each parallette, you will need: two 23" sections for the handles, four 6.5" sections for the vertical supports, and eight 6" sections for the base supports. Accuracy in measurement is key to ensuring the parallettes are stable and level. Double-check your measurements before making any cuts.
Step 2: Cutting the PVC Pipe
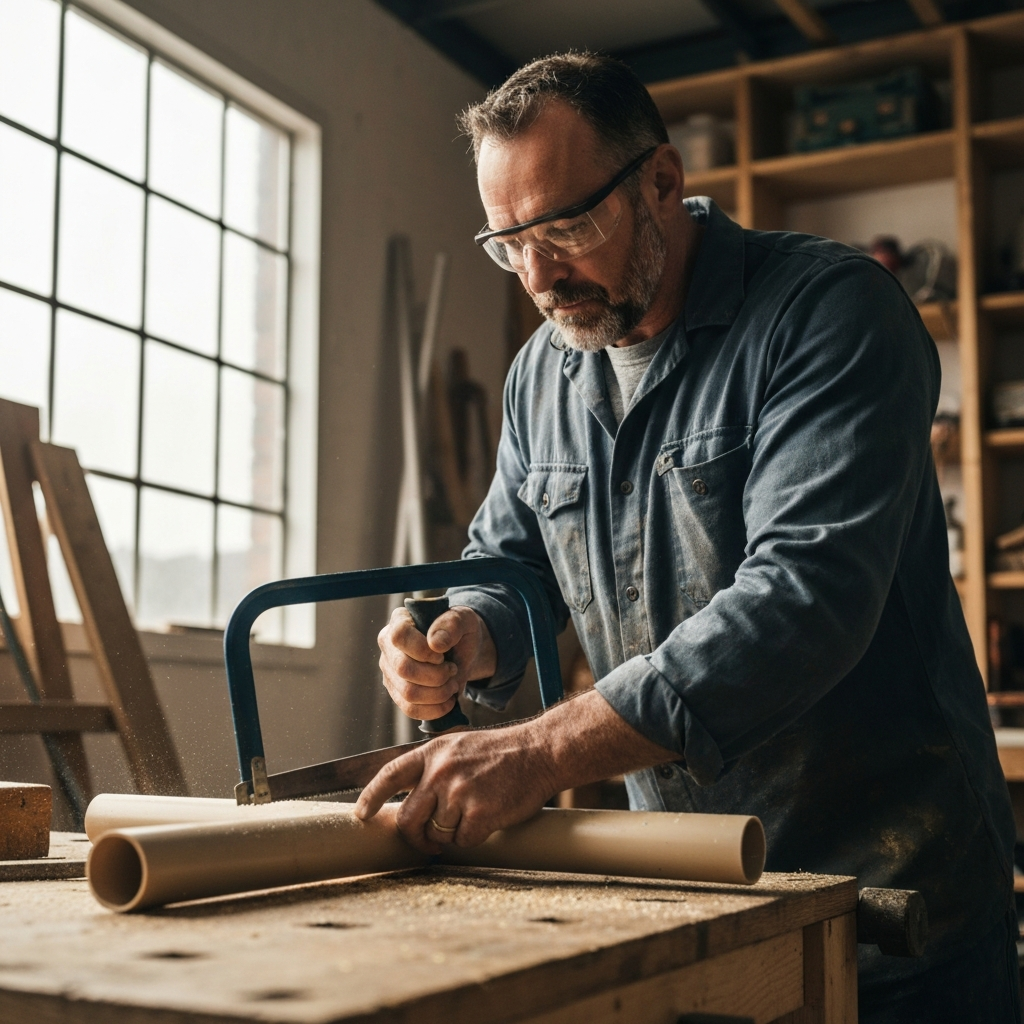
Execute the Cuts Safely
Using a hacksaw or PVC pipe cutter, carefully cut the PVC pipe at the marked locations. If using a hacksaw, ensure the blade is sharp and make smooth, even strokes to avoid splintering the plastic. A PVC pipe cutter provides a cleaner, more precise cut. Remember to prioritize safety: secure the pipe in a vise or clamp while cutting to prevent it from moving. Take your time and focus on achieving straight, accurate cuts.
Step 3: Deburring and Smoothing the Edges
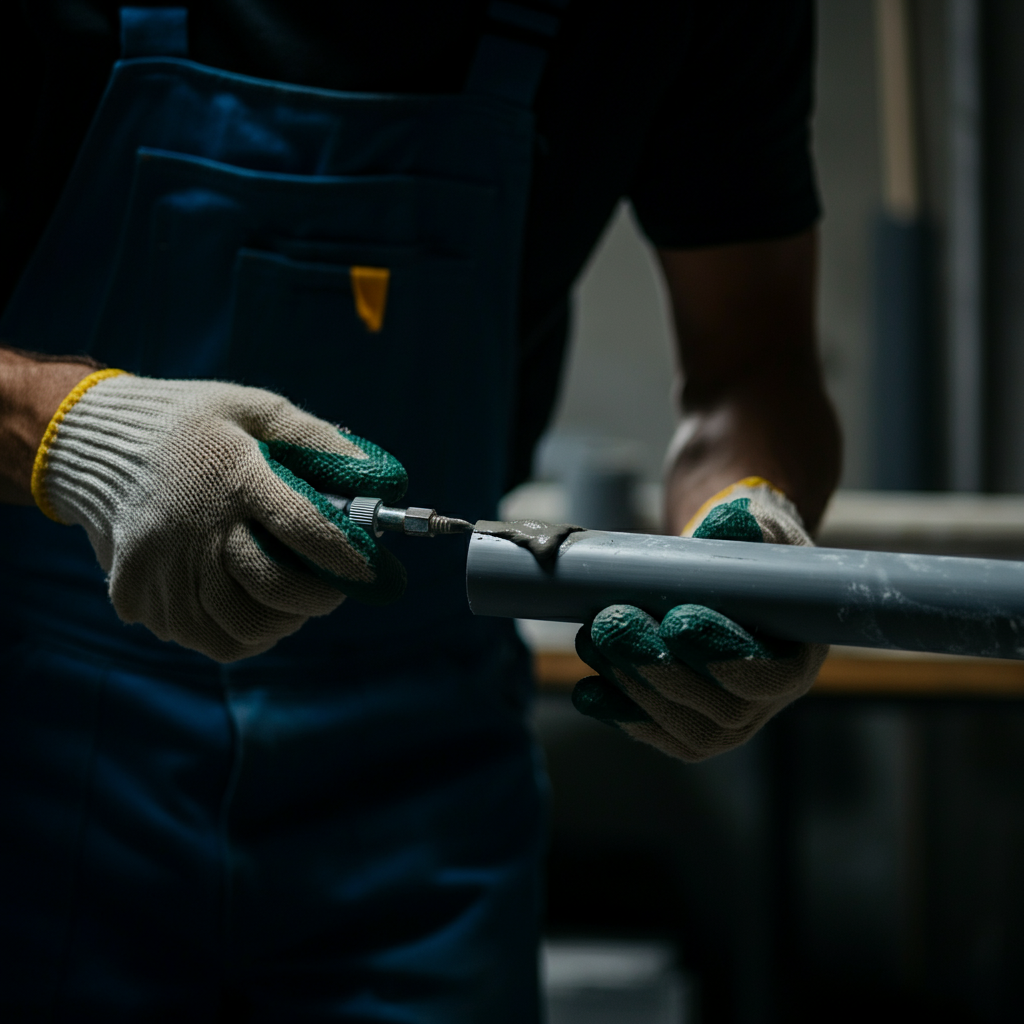
Prepare for Assembly
After cutting the PVC pipe, use sandpaper or a deburring tool to smooth the edges. This step is crucial for removing any sharp burrs or rough spots that could cause injury or prevent a secure connection with the fittings. Pay particular attention to the inside edges of the pipe, as these are often the sharpest. A smooth finish will also improve the overall appearance and feel of your parallettes.
Step 4: Assembling the Parallettes
Dry Fit Before Cementing
Now it's time to assemble the parallettes. Start by connecting the PVC pipes and fittings according to the diagram below. The 23" handle sections should be connected to one side of the elbow joints. The 6.5" vertical supports connect to the other side of the elbow joints and the T-connectors. Finally, the 6" base supports connect to the T-connectors to provide stability. Before applying any PVC cement, dry-fit all the pieces together to ensure proper alignment and fit. This is your last chance to make any adjustments before permanently bonding the components.
Step 5: Applying PVC Primer and Cement (Optional)
Permanent Bonding for Enhanced Durability
If you want to create a more permanent and durable set of parallettes, you can use PVC primer and cement to bond the pieces together. Before applying the primer, ensure all surfaces are clean and dry. Apply a generous coat of primer to both the inside of the fittings and the outside of the pipes. Then, immediately apply PVC cement to the same surfaces. Quickly insert the pipe into the fitting and give it a slight twist to ensure even distribution of the cement. Hold the connection firmly for about 30 seconds to allow the cement to set. Repeat this process for all connections.
Step 6: Adding End Caps (Optional)
Enhance Aesthetics and Safety
Adding end caps to the base supports is optional, but highly recommended. End caps provide a more finished look, prevent dirt and debris from entering the pipes, and add an extra layer of safety by covering any sharp edges. Simply press the end caps onto the ends of the base supports until they are securely in place. If desired, you can use PVC cement to permanently attach the end caps. This also helps prevent them from popping off during use. Always ensure the end caps fit snugly to avoid any wobbling.
Step 7: Final Inspection and Testing
Ensure Stability and Safety Before Use
Once the parallettes are fully assembled and the PVC cement (if used) has completely dried, conduct a thorough inspection to ensure all connections are secure and there are no sharp edges or loose parts. Test the parallettes by placing them on a flat surface and applying pressure to different points to check for stability. If you notice any wobbling or instability, re-examine the connections and make any necessary adjustments. Once you are satisfied with the stability and safety of your parallettes, they are ready to use.

Common Mistakes to Avoid
- Inaccurate measurements leading to uneven parallettes.
- Skipping the deburring step, resulting in sharp edges.
- Insufficient drying time for PVC cement, causing weak connections.
- Using the wrong size PVC pipe or fittings.
- Failing to properly clean the PVC pipe before applying primer and cement.
Pro Tips
- Consider adding rubber feet to the base supports for enhanced grip and stability, especially on smooth surfaces.
- Wrap the handles with grip tape or foam padding for improved comfort and control.
- Experiment with different parallette heights to find the optimal dimensions for your specific exercises.
- Store your parallettes in a dry place to prevent moisture buildup and potential damage to the PVC.
FAQ Section
Q: What is the best type of PVC pipe to use for parallettes?
A: Schedule 40 PVC pipe is recommended for its durability and strength. It is thicker and more resistant to bending and breaking than thinner schedules.
Q: Can I use metal pipe instead of PVC?
A: Yes, you can use metal pipe, but it will be more expensive and require different cutting and joining techniques. PVC is a more cost-effective and easier-to-work-with option for most DIYers.
Q: How do I clean my PVC parallettes?
A: You can clean your PVC parallettes with soap and water. Avoid using harsh chemicals or abrasive cleaners, as these can damage the PVC.
Conclusion
Congratulations on building your own set of parallettes! By following this comprehensive guide, you have created a valuable tool for enhancing your strength training and unlocking new levels of fitness. Remember to prioritize safety, pay attention to detail, and always inspect your equipment before each use. With proper care and maintenance, your homemade parallettes will provide years of reliable performance. Now go forth and elevate your training!