A reliable garden hose is indispensable for maintaining a vibrant lawn, lush garden, or sparkling clean car. However, a hose is only as good as its fittings. Leaky connections, worn-out ends, and incompatible sizes can quickly transform a simple watering task into a frustrating ordeal. Mastering the art of attaching garden hose fittings is a crucial skill for any homeowner or gardening enthusiast.
This comprehensive guide will walk you through various scenarios, from connecting a hose to a faucet and replacing damaged end fittings to attaching accessories and dealing with size mismatches. We'll provide step-by-step instructions, expert tips, and troubleshooting advice to ensure a secure, leak-free connection every time. With the right knowledge and tools, you can confidently tackle any hose fitting challenge and keep your watering system running smoothly.
Let's dive in and learn how to properly attach garden hose fittings like a pro! We'll cover everything from basic connections to more advanced repairs and modifications.
Step 1: Connecting a Hose to a Faucet
1. Prepare the Faucet and Hose
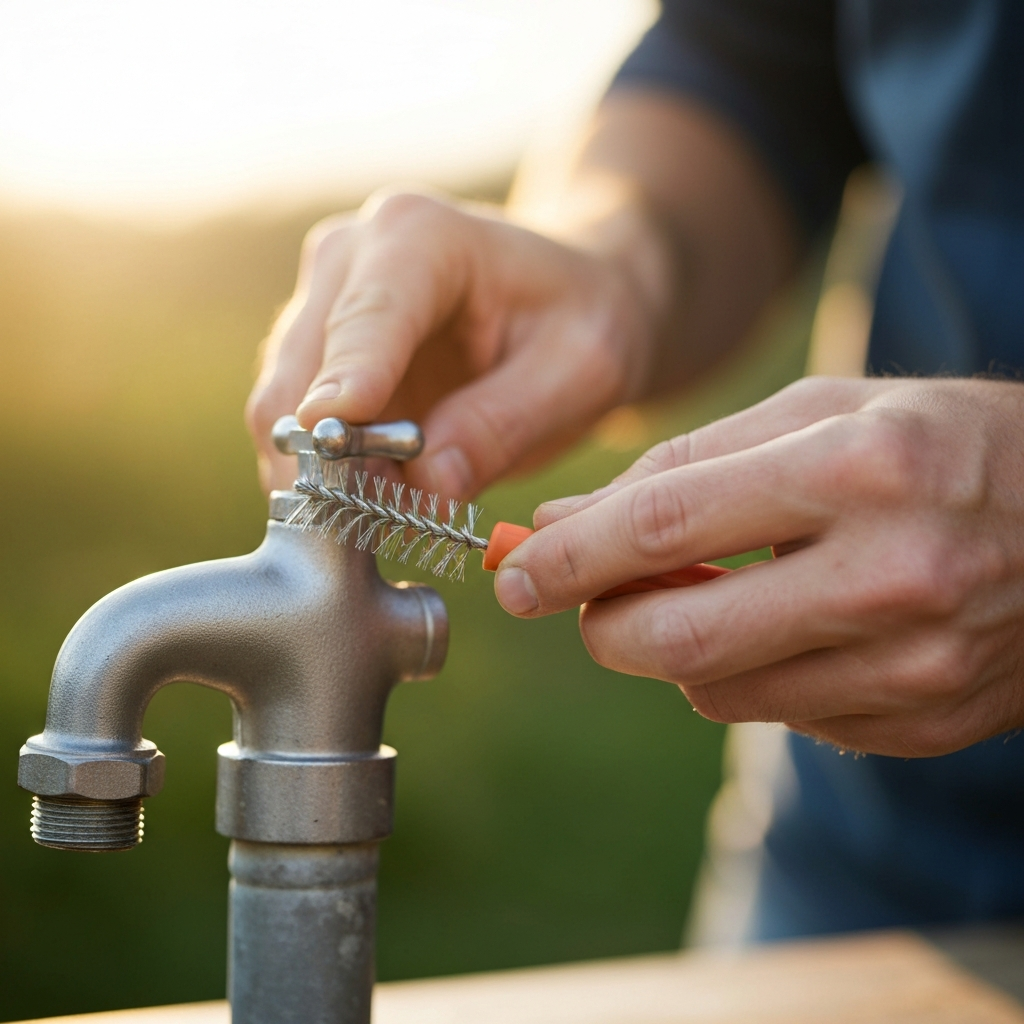
Before you begin, inspect both the faucet and the hose fitting for any damage or debris. Make sure the faucet threads are clean and free of rust or mineral buildup. If necessary, use a wire brush or vinegar solution to remove any stubborn deposits. Similarly, check the hose fitting for cracks, splits, or damaged threads. If the fitting is damaged beyond repair, it's best to replace it entirely. Ensure you have the correct type of hose fitting for the tap, noting whether it needs to be a female (internal thread) or male (external thread) connector.
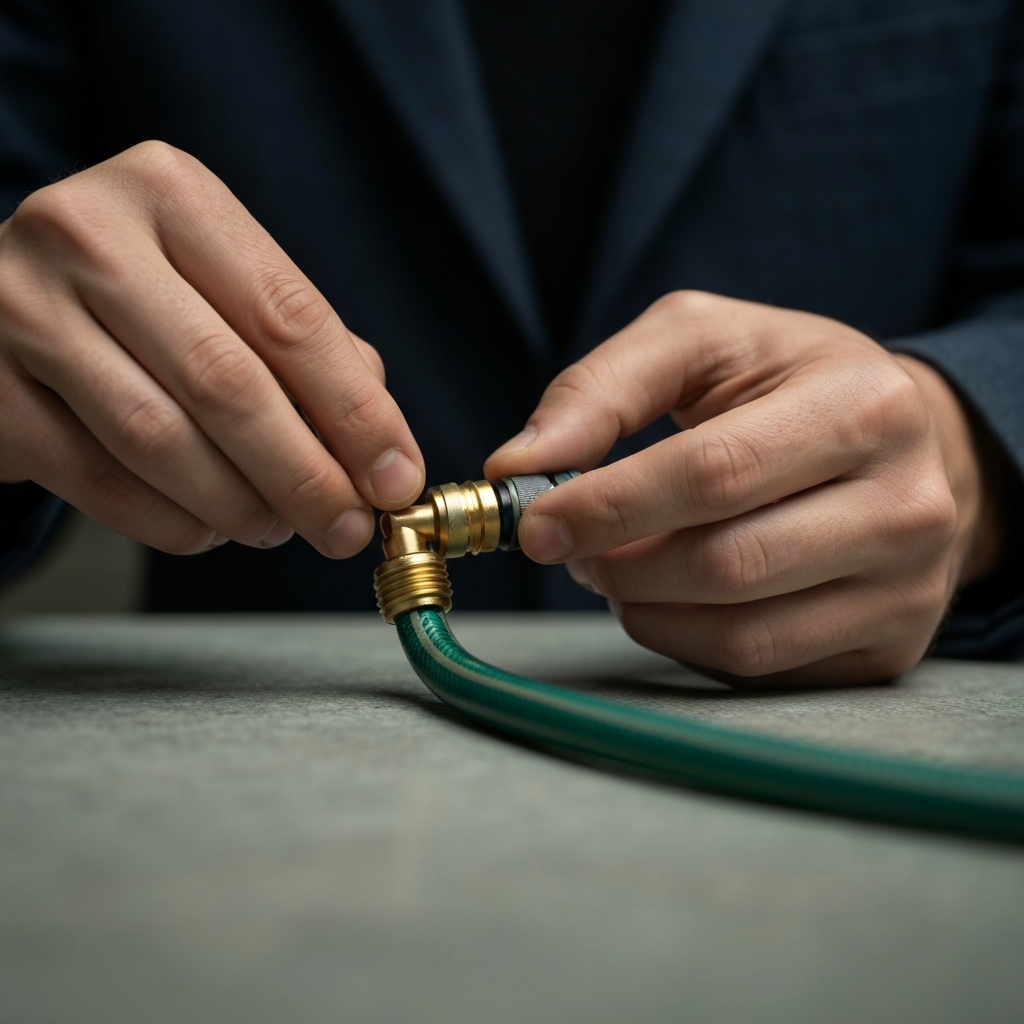
Step 2: Attaching the Hose Fitting
2. Secure the Connection
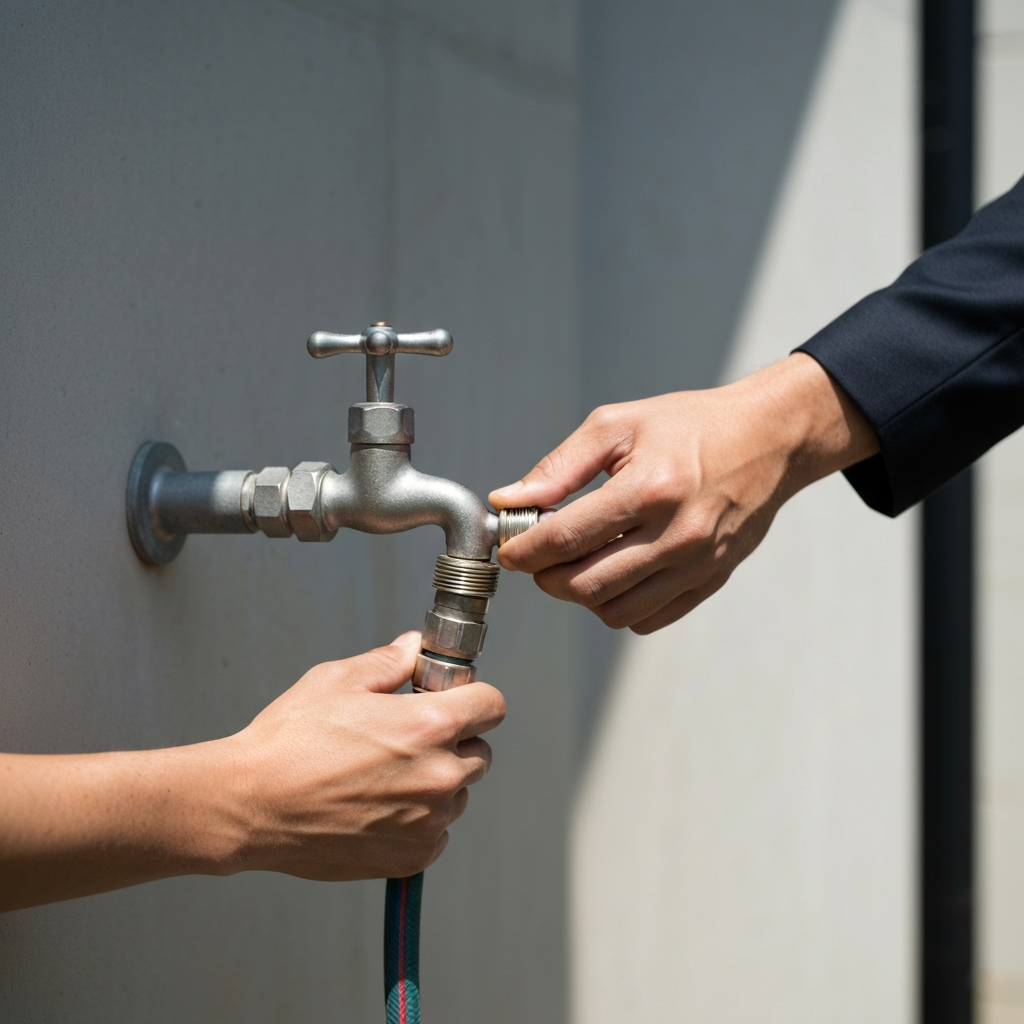
Carefully align the hose fitting with the faucet threads. Turn the fitting clockwise onto the faucet, applying even pressure. Avoid cross-threading, which can damage both the faucet and the fitting. Tighten the fitting by hand until it is snug, but don't overtighten it, as this can also damage the threads or crack the fitting. A good seal is achieved when the fitting is firmly in place without requiring excessive force. Over tightening is one of the most common mistakes.
Step 3: Checking for Leaks
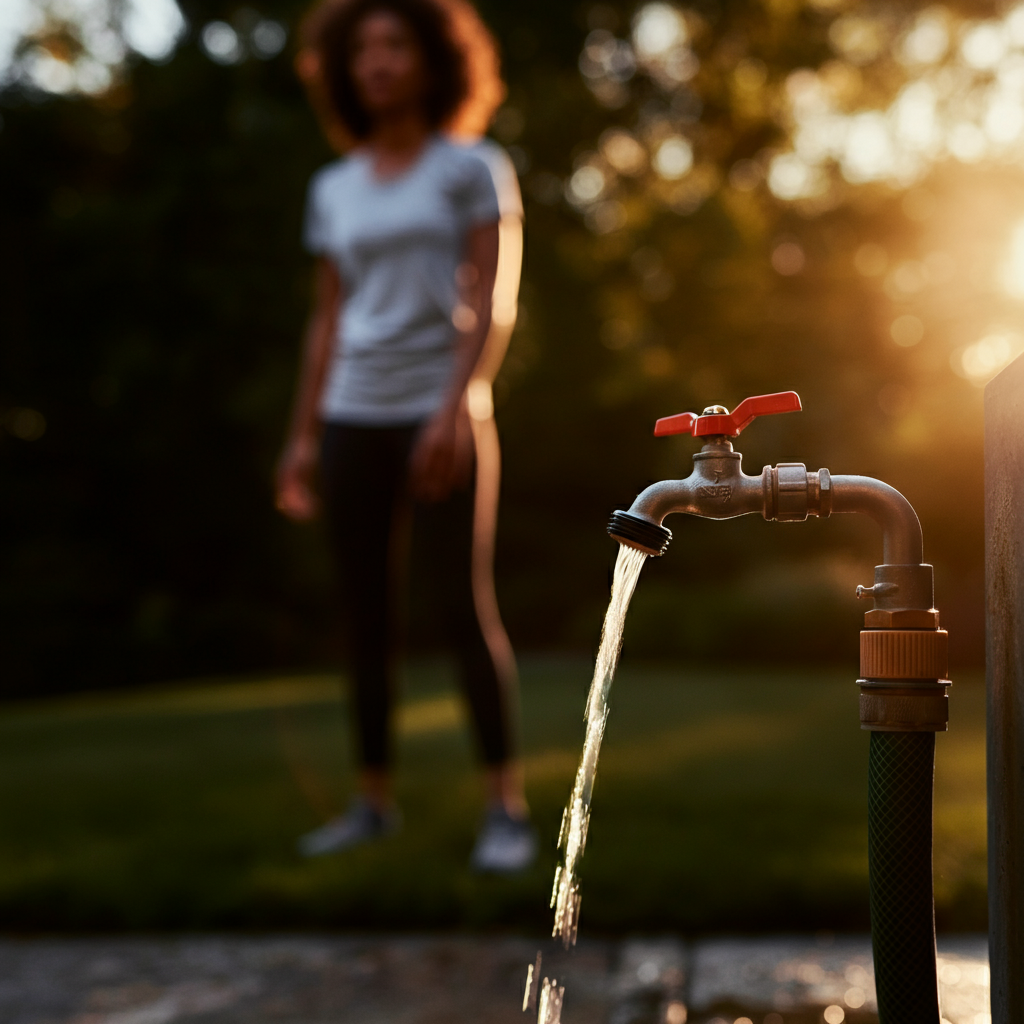
3. Test the Connection
Slowly turn on the faucet and observe the connection point for any leaks. If you see water dripping or spraying, tighten the fitting slightly. If the leak persists, try wrapping Teflon tape (plumber's tape) around the faucet threads before reattaching the hose fitting. Teflon tape creates a tighter seal by filling in any gaps between the threads. If you still have leaks, inspect the gasket inside the hose fitting – it may need to be replaced.
Step 4: Replacing a Hose End Fitting
4. Cut off the Damaged Section
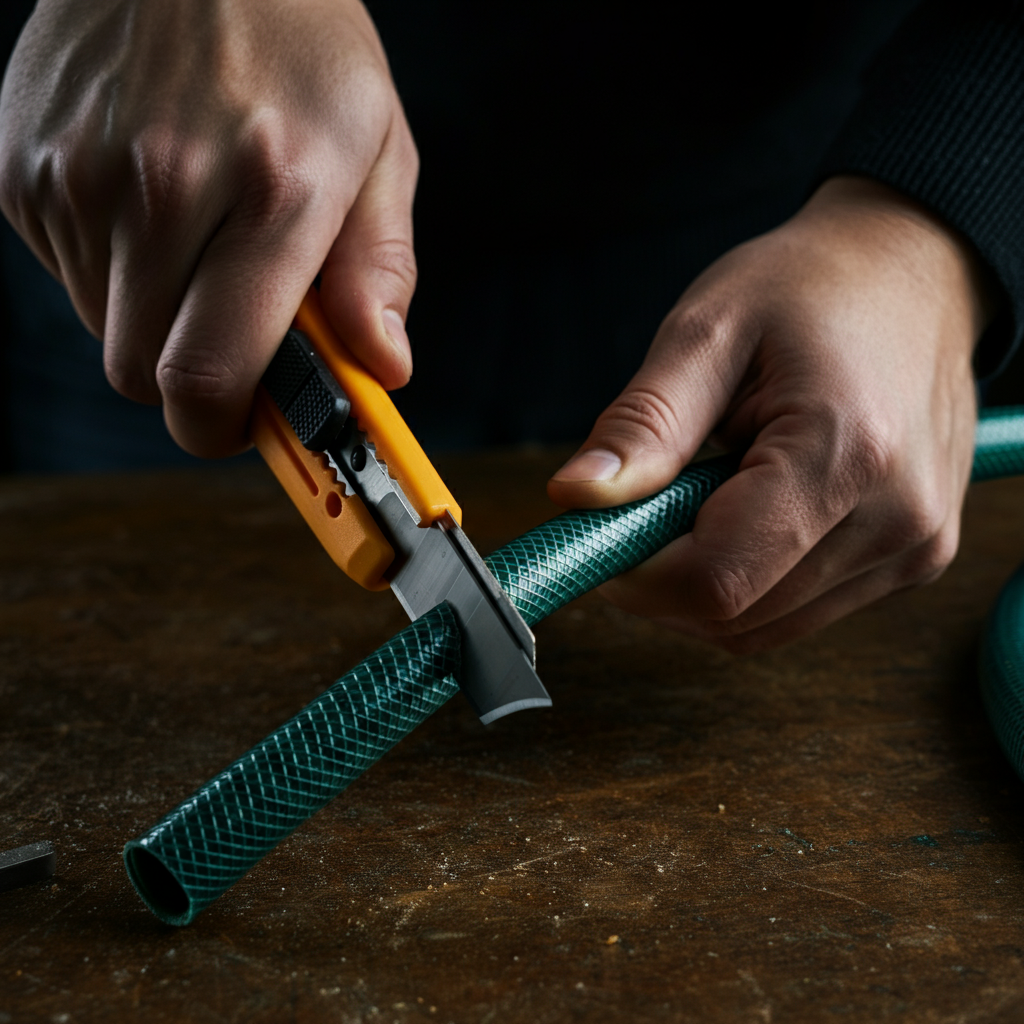
If your hose end is cracked or damaged, you’ll need to replace the fitting. Begin by using a sharp utility knife or hose cutter to cut off the damaged section of the hose. Make sure the cut is clean and straight, as a jagged edge can prevent a proper seal with the new fitting. Remove any debris from the cut end of the hose. Consider using a specialized hose cutter to ensure a perfectly clean and perpendicular cut.
Step 5: Installing the New Fitting
5. Insert the New Fitting
Most replacement hose fittings have a barbed insert that needs to be pushed into the hose. To make this easier, you can apply a small amount of soapy water or silicone lubricant to the inside of the hose. This will help the fitting slide in more easily. Push the fitting firmly into the hose until it is fully seated. This step might require some force, so be prepared to apply a steady, even pressure.
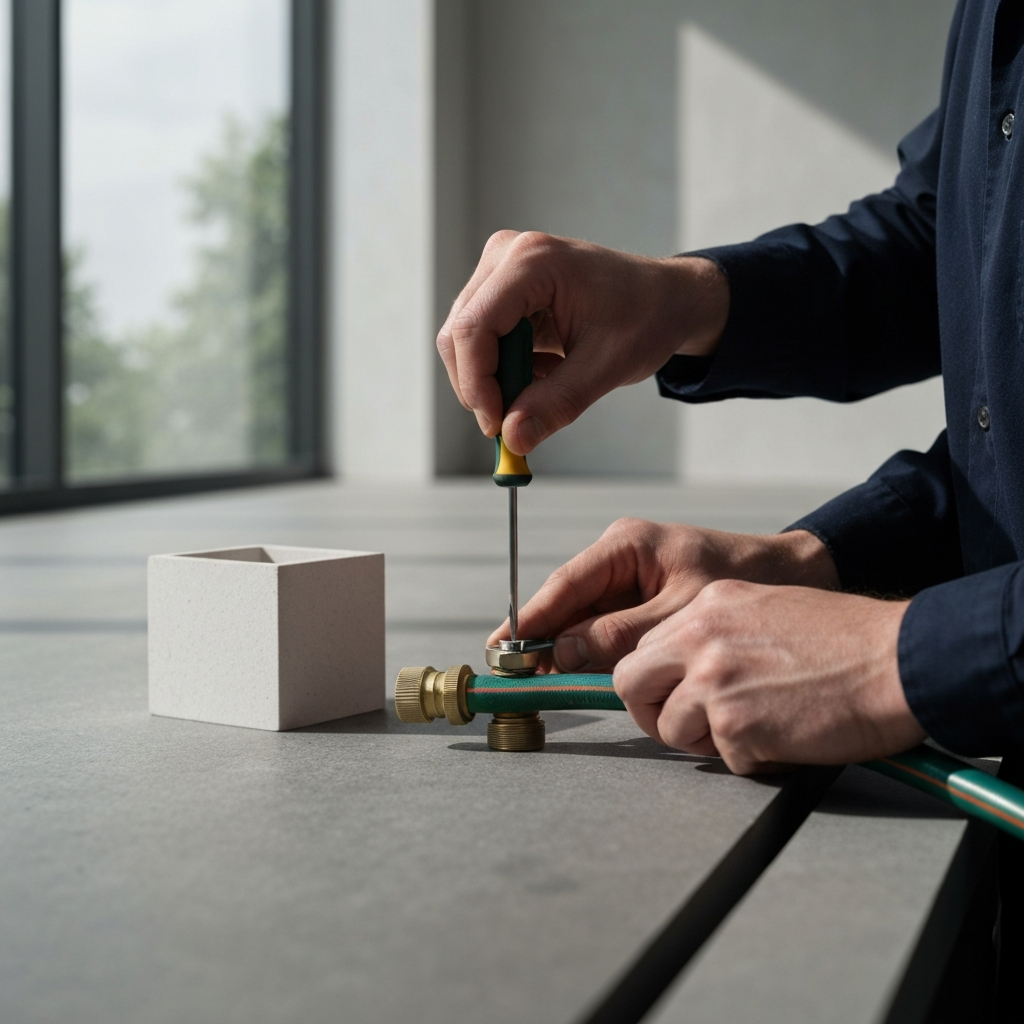
Step 6: Securing the Fitting
6. Secure the Fitting with a Clamp
Once the fitting is fully inserted, secure it with a hose clamp. Slide the clamp over the hose and position it over the barbed section of the fitting. Tighten the clamp with a screwdriver until it is snug. Avoid overtightening the clamp, as this can damage the hose. The goal is to create a firm, secure connection that will not leak under pressure. Stainless steel clamps are more durable and rust resistant than other types.
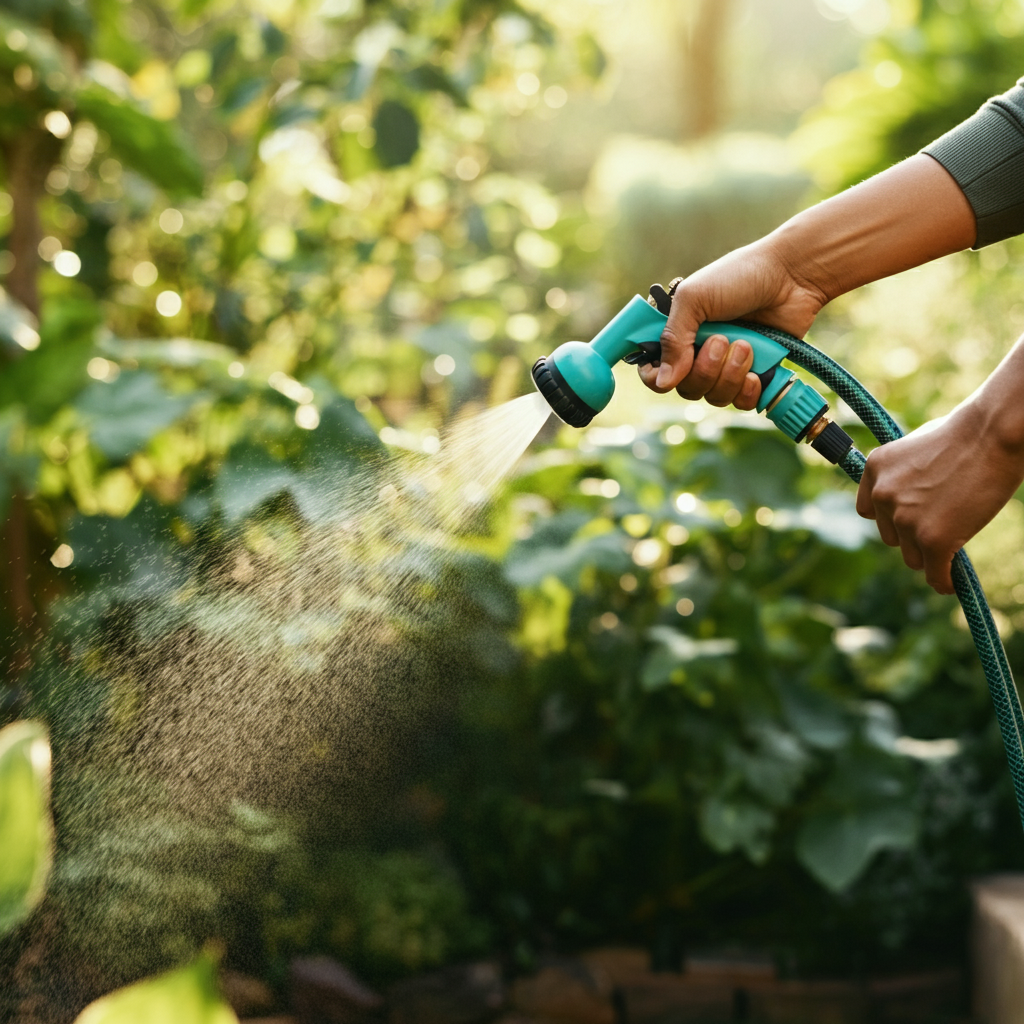
Step 7: Attaching Accessories
7. Connecting Accessories
Attaching accessories such as spray nozzles or sprinklers is usually straightforward. Most accessories have a standard hose fitting that simply screws onto the end of the hose. Ensure that the threads are aligned correctly and tighten the fitting by hand until it is snug. Avoid using tools to tighten these connections, as this can easily damage the plastic threads. If you're using a quick-connect system, follow the manufacturer's instructions for attaching and detaching accessories.
Tools or Materials Required
- Garden Hose
- Replacement Hose Fittings
- Hose Clamps
- Screwdriver
- Utility Knife or Hose Cutter
- Teflon Tape
- Soapy Water or Silicone Lubricant
- Wire Brush
- Needle-Nose Pliers (for removing old gaskets)
Common Mistakes to Avoid
- Overtightening Fittings: This can damage threads and crack fittings.
- Cross-Threading: Always align threads carefully before tightening.
- Using the Wrong Size Fittings: Ensure fittings match the hose and faucet size.
- Neglecting to Replace Gaskets: Worn gaskets are a common cause of leaks.
- Not Cleaning Threads: Debris can prevent a proper seal.
Safety Considerations
- Always turn off the water supply before disconnecting or replacing fittings.
- Use caution when using sharp tools like utility knives or hose cutters.
- Wear gloves to protect your hands from dirt and debris.
- Avoid working on hose fittings in direct sunlight to prevent overheating.
FAQ Section
Q: What size are standard garden hose threads?
A: Most garden hoses in the US have a ¾” or 11.5 NH (National Hose) thread size.
Q: How often should I replace my hose gaskets?
A: It's recommended to replace your hose gaskets every 3 to 10 years, or sooner if you notice leaks.
Q: Can I use Teflon tape on plastic fittings?
A: Yes, Teflon tape can be used on both metal and plastic fittings to create a tighter seal.
Conclusion
Attaching garden hose fittings doesn't have to be a daunting task. By following these step-by-step instructions, utilizing the right tools, and avoiding common mistakes, you can ensure a secure, leak-free connection every time. Remember to regularly inspect your hose and fittings for wear and tear, and don't hesitate to replace damaged components promptly. With a little knowledge and effort, you can keep your garden hose system in top condition and enjoy hassle-free watering for years to come.