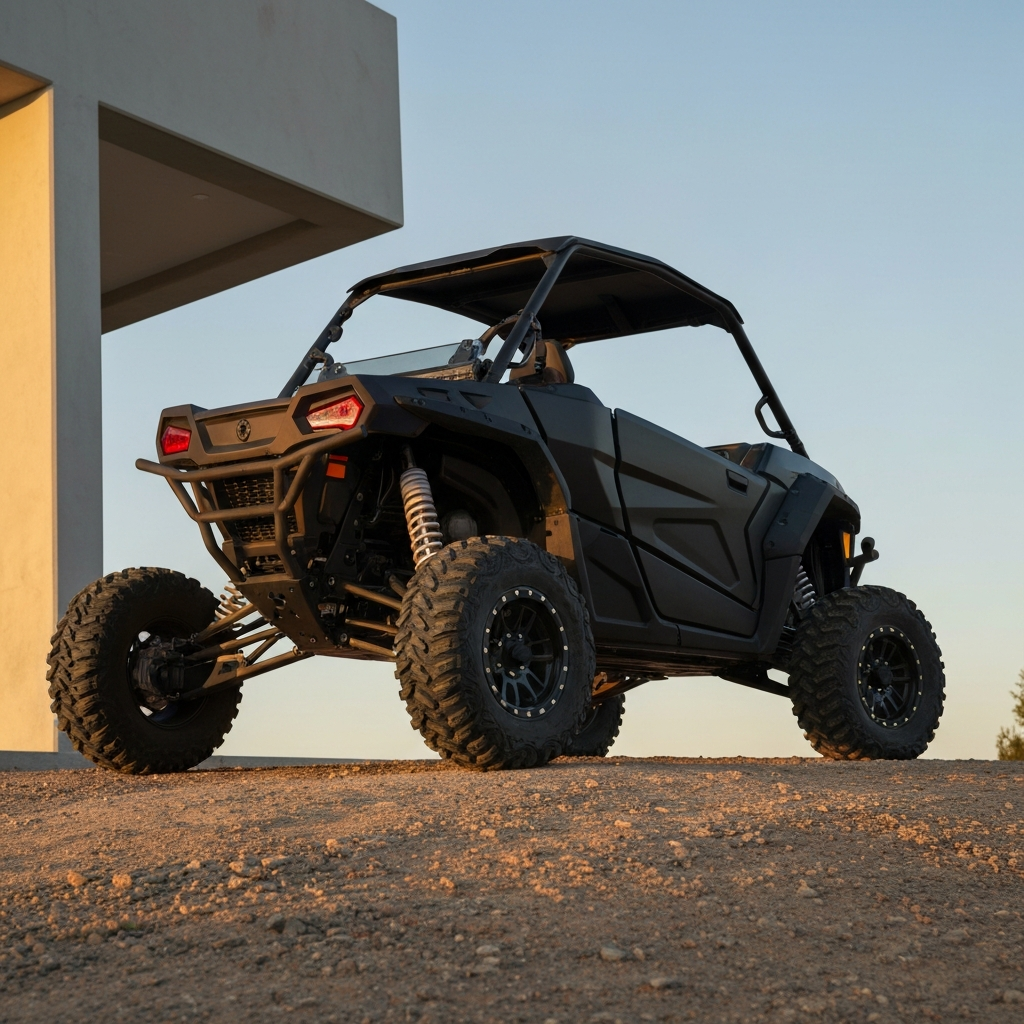
Utility Terrain Vehicles (UTVs) are incredibly versatile machines, equally at home on the farm, the job site, or tearing up the trails. While they're capable right out of the box, the real fun starts when you begin customizing them to perfectly suit your needs and riding style. Upgrading your UTV can enhance its performance, improve its comfort, and boost its overall utility. It's about making the machine an extension of yourself and tackling any terrain with confidence.
This guide will walk you through some of the most popular and effective UTV upgrades, providing step-by-step instructions and expert advice along the way. We'll cover everything from essential safety modifications to performance-enhancing tweaks and comfort-focused additions. Remember, the key is to prioritize upgrades that align with your specific riding habits and the types of terrain you typically encounter. Safety should always be your number one concern.
So, whether you're a weekend warrior, a dedicated off-roader, or a professional using your UTV for work, this guide will provide the information you need to transform your UTV into the ultimate machine. Let's get started!
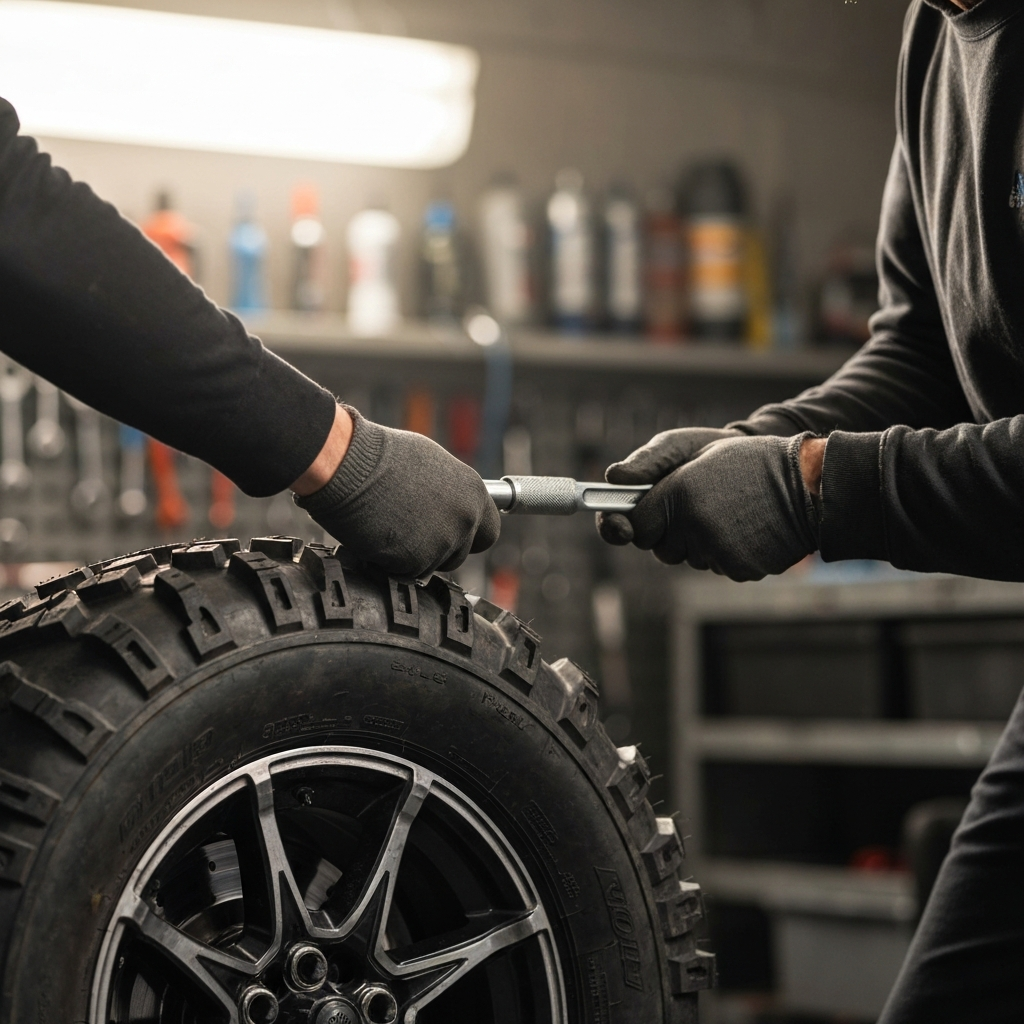
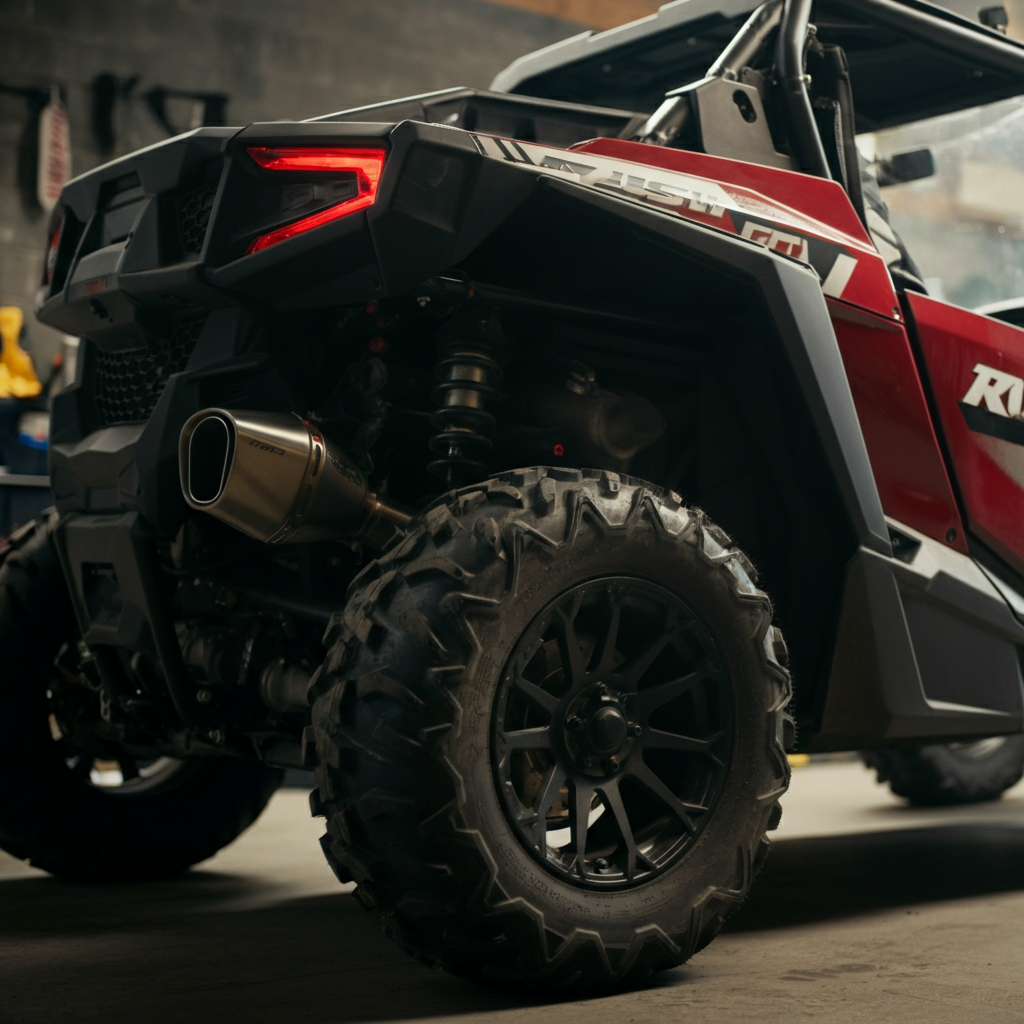
Step 1: Mud Tires
Choosing and Installing Mud Tires
If you plan on tackling muddy trails or sandy dunes, upgrading to mud tires is a must. These tires feature aggressive tread patterns designed to provide superior traction in loose or slippery conditions. When selecting mud tires, consider the tire size, ply rating (which indicates the tire's load-carrying capacity and durability), and tread pattern. A higher ply rating is generally better for rough terrain, but it can also result in a stiffer ride. Before installing, ensure the tires are compatible with your UTV's wheel size and that you have the necessary tools, including a tire iron, jack, and torque wrench. Correct inflation pressure is crucial for optimal performance and tire life. Always consult your UTV's owner's manual for recommended tire pressure.
Step 2: Lift Kit Installation
Adding Ground Clearance with a Lift Kit
A lift kit raises the UTV's body, providing additional ground clearance and allowing you to install larger tires. This is particularly beneficial when navigating rocky or uneven terrain. Lift kits come in various sizes and types, ranging from simple spacer lifts to more complex suspension lift kits. When choosing a lift kit, consider your budget, desired ride height, and the type of terrain you'll be encountering. Installation typically involves removing the wheels, disconnecting the shocks and A-arms, and installing the lift kit components according to the manufacturer's instructions. Properly torque all bolts to the specified values to ensure safety and prevent premature wear. After installation, it's highly recommended to get a wheel alignment to ensure proper handling and tire wear.
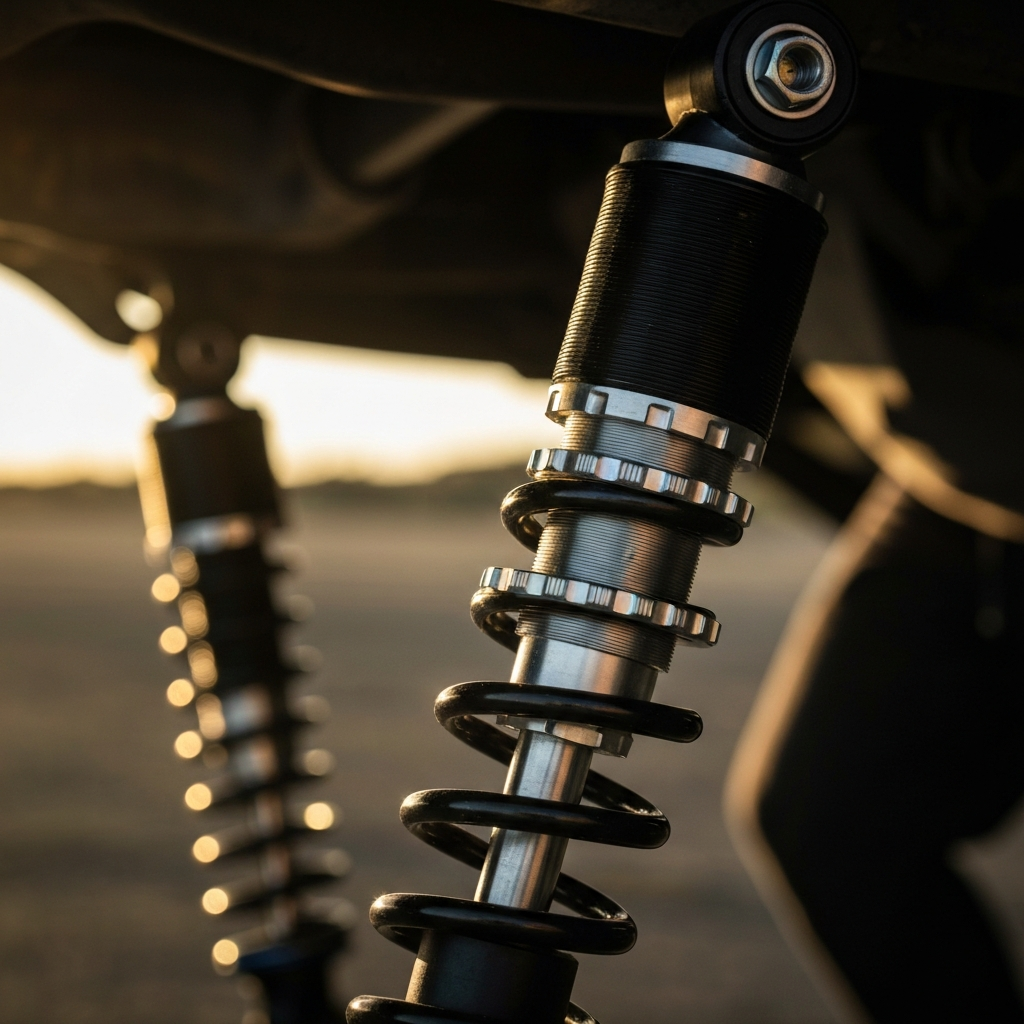
Step 3: Aftermarket Shocks
Upgrading to Aftermarket Shocks for Enhanced Ride Quality
Stock UTV shocks are often a weak point, especially when subjected to aggressive riding. Upgrading to aftermarket shocks can significantly improve ride quality, handling, and overall performance. Aftermarket shocks offer adjustable damping and rebound, allowing you to fine-tune the suspension to your specific needs and preferences. When selecting aftermarket shocks, consider the type of riding you'll be doing (e.g., trail riding, racing, rock crawling), the shock's adjustability, and its overall quality. Installation typically involves removing the old shocks and installing the new ones, ensuring proper alignment and torque. Some aftermarket shocks may require professional installation or adjustment.
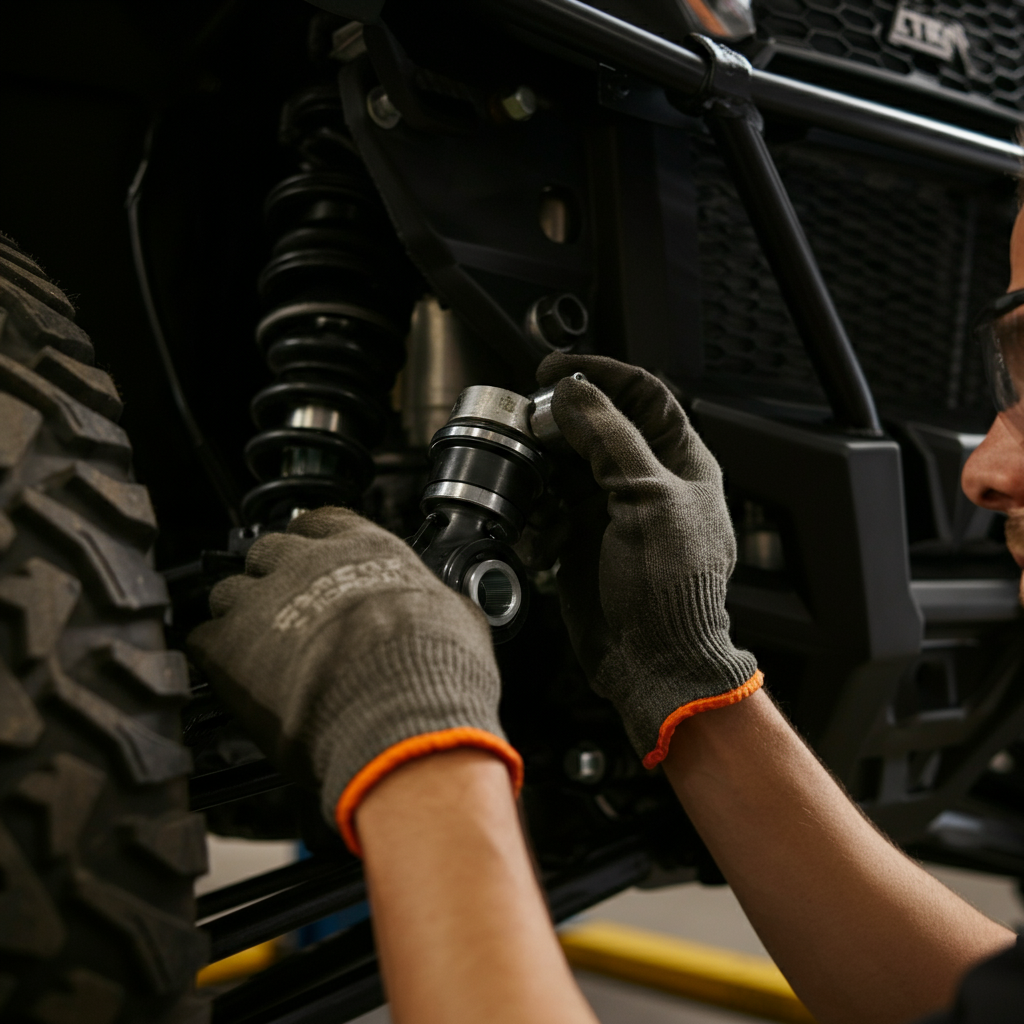
Step 4: Heavy Duty Tie Rod Ends
Reinforcing Steering with Heavy-Duty Tie Rod Ends
Tie rod ends are crucial components of the steering system, connecting the steering rack to the wheels. Stock tie rod ends can be prone to bending or breaking, especially under harsh conditions. Upgrading to heavy-duty tie rod ends provides increased strength and durability, improving handling and preventing steering failure. These tie rod ends are made of stronger materials and often feature larger diameters for increased resistance to bending. Installation involves removing the old tie rod ends and installing the new ones, ensuring proper alignment and tightening. It's important to use a torque wrench to tighten the tie rod end nuts to the specified torque value to prevent damage or loosening. A wheel alignment is recommended after installation.
Step 5: Aftermarket Exhaust System
Boosting Performance with an Aftermarket Exhaust
Replacing the stock muffler with an aftermarket exhaust system can increase horsepower and give your UTV a more aggressive sound. Aftermarket exhausts are designed to improve exhaust flow, allowing the engine to breathe more freely and produce more power. When selecting an aftermarket exhaust, consider the noise level, performance gains, and overall quality. Some exhausts are louder than others, so it's important to choose one that meets your personal preferences and any local noise regulations. Installation typically involves removing the old exhaust system and installing the new one, ensuring a proper seal and secure mounting. Be sure to allow the exhaust system to cool completely before attempting to remove it to avoid burns.
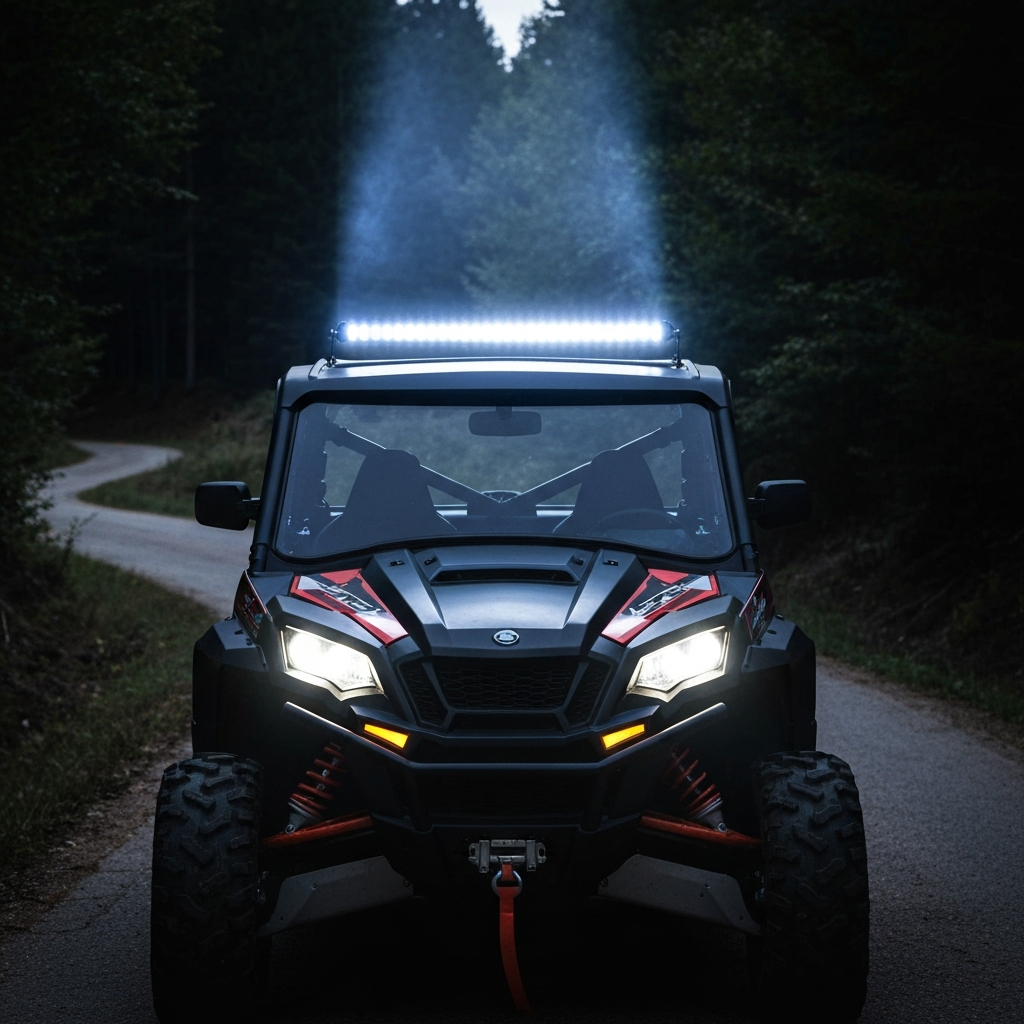
Step 6: LED Light Bar Installation
Illuminating the Night with an LED Light Bar
For riders who enjoy nighttime adventures, an LED light bar is an essential upgrade. LED light bars provide powerful illumination, significantly improving visibility in dark conditions. When choosing an LED light bar, consider the light output (measured in lumens), beam pattern (spot, flood, or combo), and overall size. A spot beam provides concentrated light for long-distance visibility, while a flood beam provides wider coverage for close-range visibility. Installation typically involves mounting the light bar to the UTV's roof or front bumper and wiring it to the battery. Use a properly sized fuse to protect the electrical system and ensure that the wiring is neatly routed and secured to prevent damage.
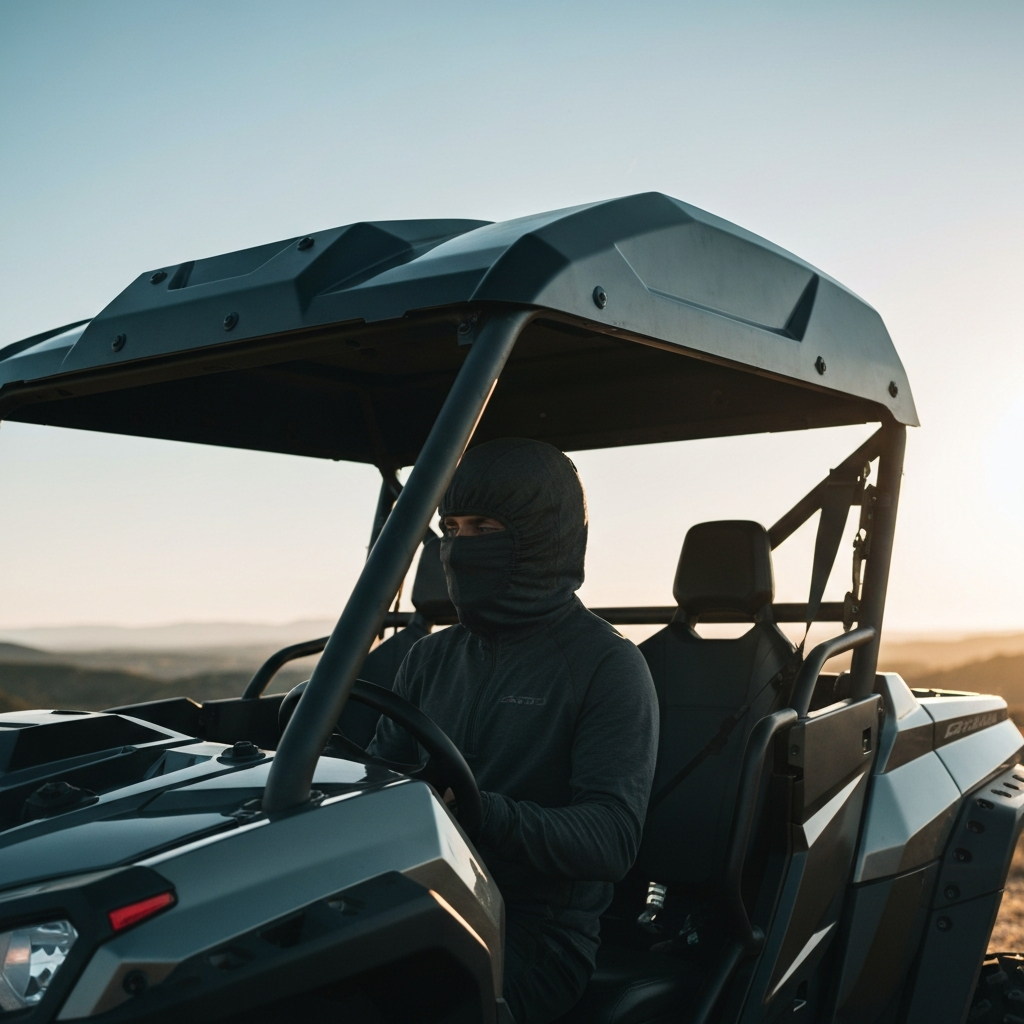
Step 7: Hard Top Roof Installation
Adding Protection with a Hard Top Roof
A hard top roof provides protection from the elements, shielding you from rain, sun, and falling debris. This upgrade can significantly improve your comfort, especially during long rides. When choosing a hard top roof, consider the material, durability, and ease of installation. Some roofs are made of plastic, while others are made of metal. Metal roofs are generally more durable but can also be heavier. Installation typically involves attaching the roof to the UTV's roll cage using clamps or bolts. Ensure that the roof is securely mounted and does not interfere with the UTV's operation.
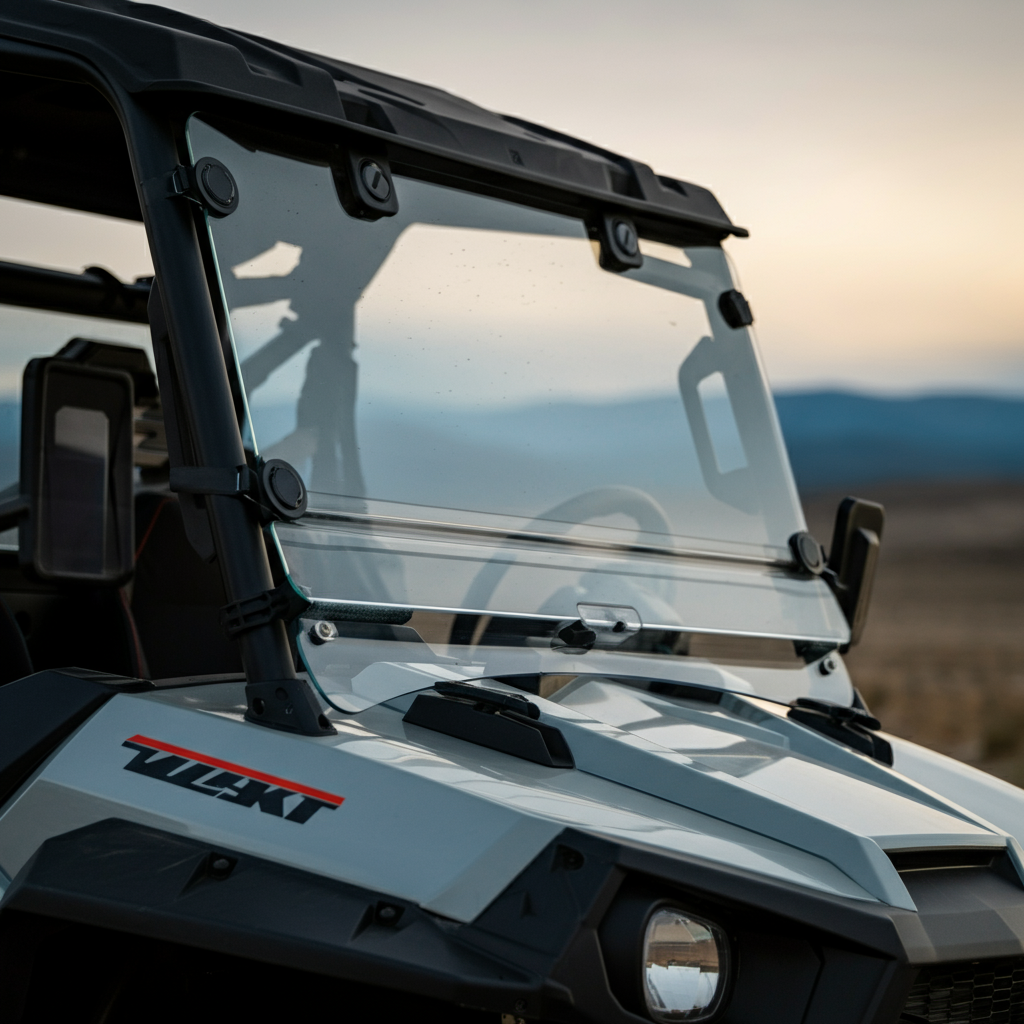
Step 8: Windshield Installation
Protecting Yourself with a Windshield
A windshield protects you from dust, rocks, insects, and other debris while riding. This upgrade can significantly improve your comfort and safety, especially at higher speeds. UTV windshields are available in glass and plastic materials. Glass windshields are more durable and scratch-resistant, while plastic windshields are lighter and more affordable. Installation typically involves attaching the windshield to the UTV's frame using clamps or bolts. Ensure that the windshield is securely mounted and does not obstruct your view.
Step 9: Aftermarket Seats
Upgrading to Comfortable Aftermarket Seats
Stock UTV seats can be uncomfortable, especially during long rides. Upgrading to aftermarket seats can significantly improve your comfort and reduce fatigue. Aftermarket seats often feature improved cushioning, lumbar support, and adjustability. When selecting aftermarket seats, consider the level of comfort, durability, and adjustability. Some seats are also designed to provide better support during aggressive riding. Installation typically involves removing the old seats and installing the new ones, ensuring proper mounting and secure fastening. Make sure the seats are compatible with your UTV's seat mounting points.
Step 10: Adding Doors
Installing Doors for Enhanced Safety
Adding doors to your UTV provides an extra layer of protection, preventing sticks, stones, and other debris from entering the cab. Doors also help to keep you inside the vehicle in the event of a rollover. When choosing doors, consider the material, durability, and ease of use. Some doors are made of metal, while others are made of plastic or fabric. Metal doors are generally more durable, while plastic and fabric doors are lighter and more affordable. Installation typically involves attaching the doors to the UTV's frame using hinges and latches. Ensure that the doors are securely mounted and easy to open and close.
Step 11: Roll Cage Installation
Adding a Roll Cage for Safety
A roll cage is one of the most important safety upgrades you can make to your UTV. It provides critical protection in the event of a rollover. When choosing a roll cage, consider the material, design, and strength. Roll cages are typically made of steel tubing and are designed to withstand significant impacts. Installation typically involves bolting the roll cage to the UTV's frame. Ensure that the roll cage is securely mounted and meets all applicable safety standards. Professional installation is highly recommended.
Step 12: Heavy Duty Bumpers
Replacing Stock Bumpers with Heavy Duty Bumpers
Stock bumpers often offer minimal protection. Replacing them with heavy-duty bumpers provides significantly greater protection to the UTV's front and rear ends. These bumpers are designed to absorb impacts and protect the vehicle's frame and vital components. When selecting heavy-duty bumpers, consider the material, design, and mounting points. Bumpers are typically made of steel and are designed to be easily bolted to the UTV's frame. Ensure that the bumpers are securely mounted and do not interfere with the UTV's operation.
Step 13: Skid Plates
Equipping Skid Plates for Underbody Protection
Skid plates protect the undercarriage of your UTV from rocks, logs, and other trail hazards. This is especially important for protecting vulnerable components like the engine, transmission, and fuel tank. When selecting skid plates, consider the material, thickness, and coverage area. Skid plates are typically made of durable plastic or metal. Installation typically involves bolting the skid plates to the UTV's frame. Ensure that the skid plates are securely mounted and do not interfere with the UTV's operation or maintenance access.
Step 14: Winch Installation
Adding a Winch for Recovery
A winch is an essential accessory for any UTV owner who ventures off-road. It allows you to pull yourself out of difficult situations, such as deep mud or steep inclines. When choosing a winch, consider the pulling capacity, cable type, and mounting location. Winches are typically rated in pounds of pulling force. Select a winch with a pulling capacity that is at least 1.5 times the weight of your UTV. Installation typically involves mounting the winch to the UTV's front bumper or roll cage and wiring it to the battery. Ensure that the winch is securely mounted and that the wiring is properly routed and protected.
Safety Considerations
- Always wear a helmet and other appropriate safety gear when operating a UTV.
- Familiarize yourself with the UTV's controls and operating procedures before driving.
- Never operate a UTV under the influence of alcohol or drugs.
- Be aware of your surroundings and avoid operating the UTV in hazardous conditions.
- Regularly inspect and maintain your UTV to ensure it is in safe operating condition.
Pro Tips
- Research thoroughly before making any modifications to your UTV. Consider the impact of each modification on the UTV's performance, handling, and safety.
- Prioritize safety upgrades over cosmetic enhancements. Your safety should always be your top concern.
- Consider having a professional install complex modifications. Incorrect installation can lead to safety issues and damage to your UTV.
- Keep a record of all modifications you make to your UTV. This will be helpful for future maintenance and repairs.
Conclusion
Upgrading your UTV can significantly enhance its performance, comfort, and safety. By carefully selecting and installing the right modifications, you can transform your UTV into the ultimate machine for your specific needs and riding style. Remember to prioritize safety, research thoroughly, and consider professional installation when necessary. With the right upgrades, you'll be able to tackle any terrain with confidence and enjoy your UTV for years to come.