Tired of checking the weather every morning? Power Automate can automate that for you! This guide will walk you through creating a simple yet effective flow that sends you a daily email with the current weather conditions for your chosen location. No more opening apps or browsing websites – the information will be delivered directly to your inbox.
Power Automate, formerly known as Microsoft Flow, is a powerful tool that allows you to automate tasks and workflows between different applications and services. By connecting to services like MSN Weather and Outlook, you can create automated processes that save you time and effort. This tutorial assumes you have a basic understanding of cloud services and email.
Get ready to harness the power of automation! Let's dive into the steps required to build your personalized daily weather update.
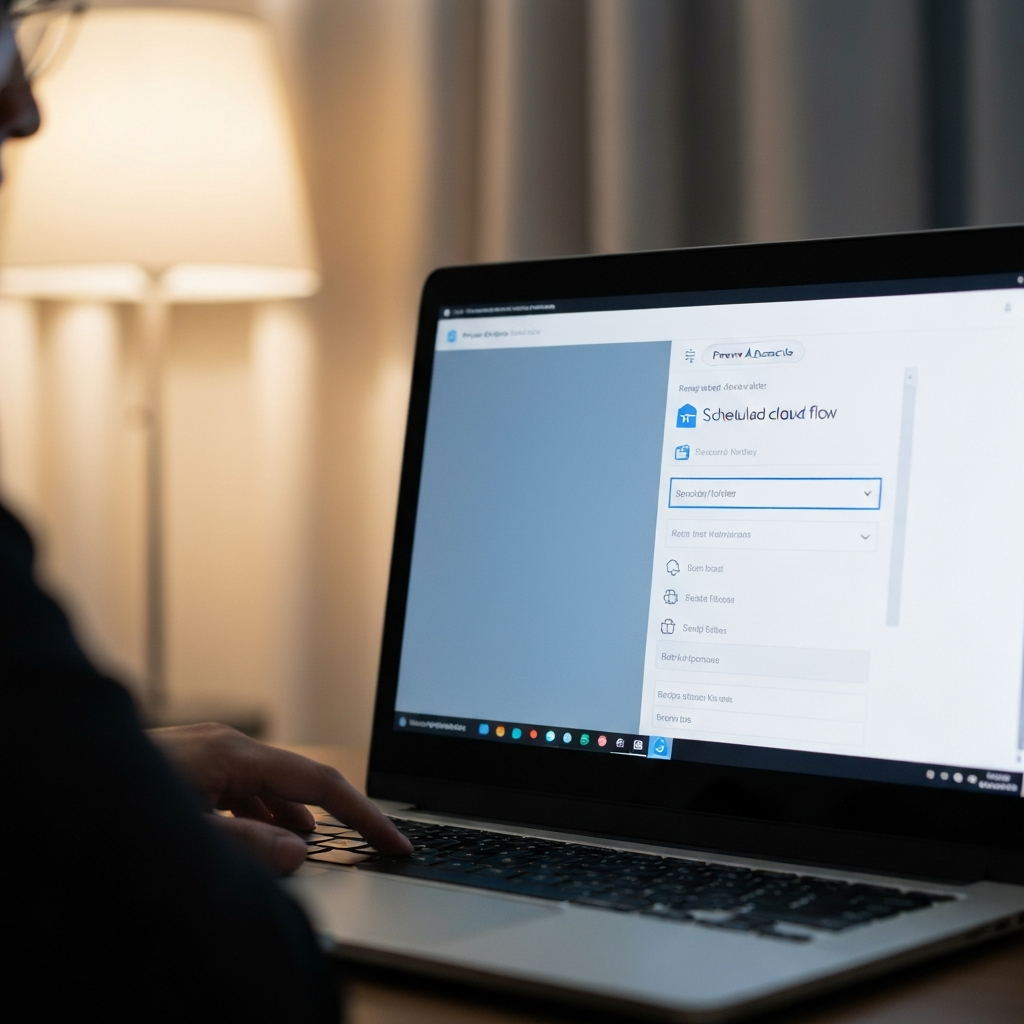
Step 1: Create a Scheduled Cloud Flow
The first step is to create a scheduled cloud flow in Power Automate. This flow will trigger automatically at a specific time each day. Open your web browser and navigate to flow.microsoft.com. Sign in with your Microsoft account. Once logged in, click "Create" on the left-hand menu and select "Scheduled cloud flow". Give your flow a descriptive name, such as "Daily Weather Email". Choose a start date and time for the flow to begin running. Select "Daily" as the recurrence frequency. Click "Create" to initialize the flow. A blank canvas will appear, ready for you to add actions.
Step 2: Add the MSN Weather Action
Now, let's add the action that retrieves the weather information. Click the "+ New Step" button on the flow canvas. In the search bar, type "Weather". You'll see a list of weather connectors; select "Get current weather (from MSN Weather connector)". This action will connect to MSN Weather and retrieve the current weather conditions for a specific location. After selecting the action, you’ll be prompted to enter the location for which you want the weather. Enter the city name in the designated field. Finally, choose your preferred unit of measurement, either Fahrenheit (°F) or Celsius (°C). Ensure you accurately type the city name to avoid incorrect weather data. It is crucial you select the accurate location, or your results will be incorrect.
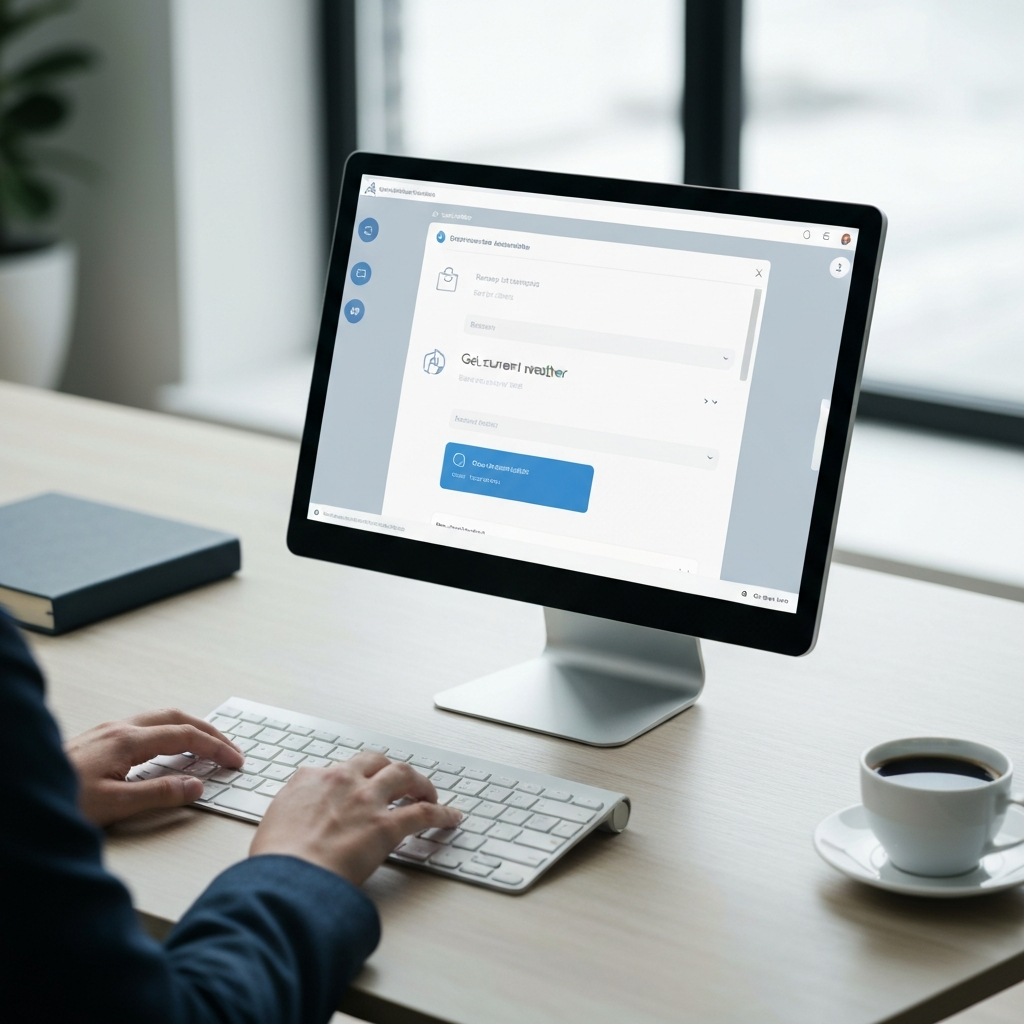
Step 3: Configure the Email Action
Next, we'll add the action that sends the email. Click "+ New Step" again and search for "Send an email (V2)". Select the "Send an email (V2)" action (it's the most common and reliable email action). You might be prompted to connect your Outlook account or another email service if you haven't already. Once connected, enter your email address in the "To" field. This is the address where you'll receive the daily weather updates. In the "Subject" field, type a descriptive subject line, such as "Today's Weather Update" or "Daily Weather Forecast". A clear subject line will help you easily identify the email in your inbox. Consider including the city name in the subject.
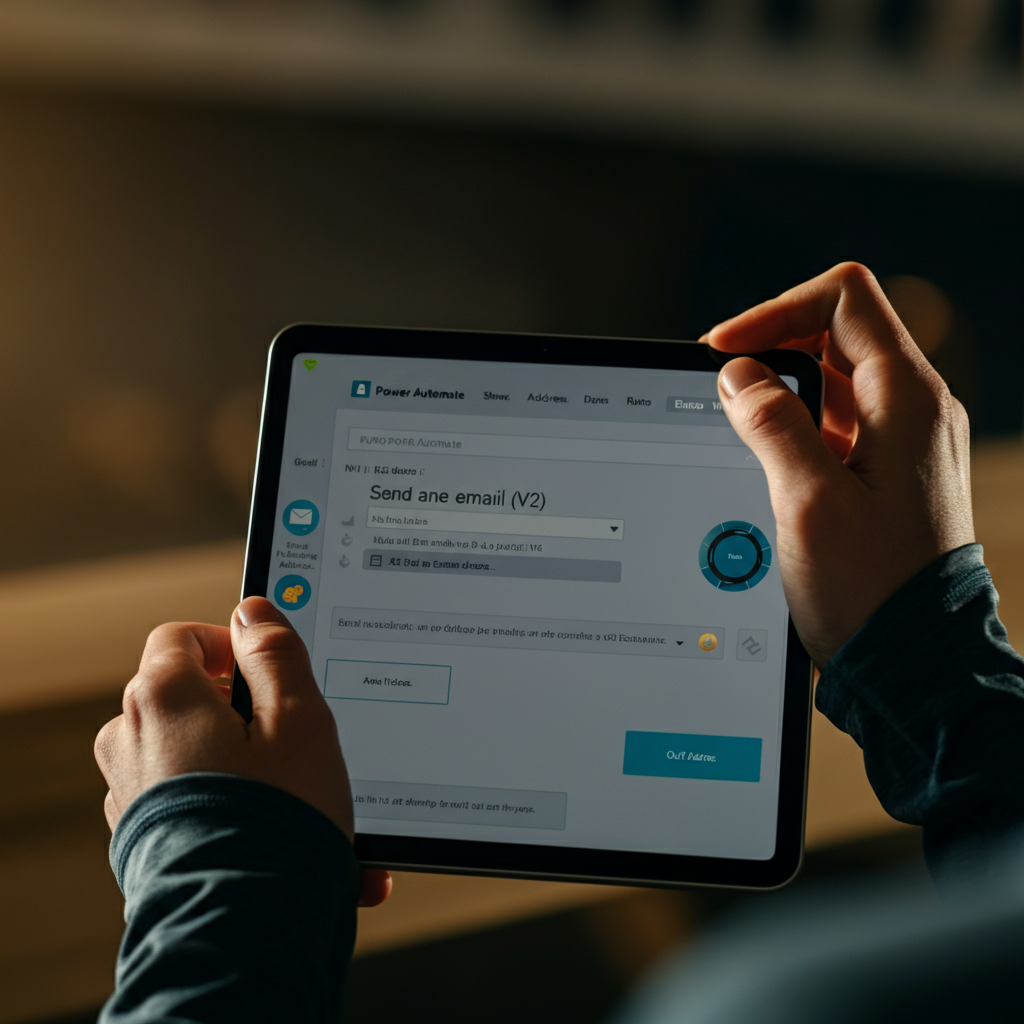
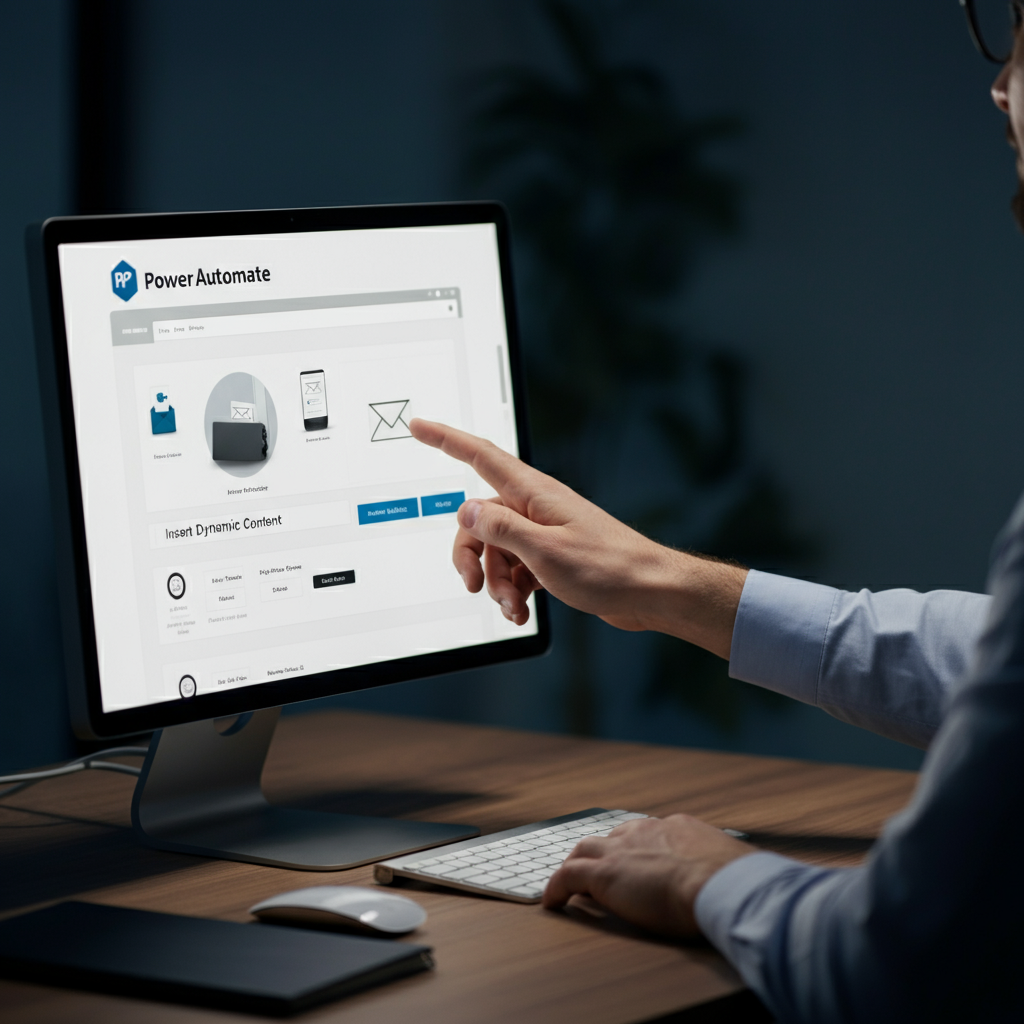
Step 4: Populate the Email Body with Dynamic Content
This is where the magic happens! Now we'll populate the email body with the actual weather information retrieved from the MSN Weather action. In the body of the email, type the text you want to appear in your daily weather update. For example, you might start with "Good morning! Here's your weather update for today:". Then, to insert the dynamic weather information, click within the email body where you want the data to appear. You’ll see a "Insert Dynamic Content" prompt, often displayed as a lightning bolt icon. Click it, and a panel will appear listing the available data points from the "Get current weather" action. You can insert data points like Temperature, Humidity, Wind Speed, and Weather Description. Simply click on each data point to insert it into your email body. Format the email body to your liking, adding labels and spacing to make the information easy to read. For instance: "Temperature: [Temperature] °F, Conditions: [Weather Description], Wind Speed: [Wind Speed] mph".
Step 5: Save and Test Your Flow
Before setting your flow to run automatically, it's crucial to save and test it. Click the "Save" button located at the top right corner of the Power Automate interface. Once the flow is saved, click the "Test" button. A panel will appear asking how you want to test the flow. Select "Manually" and then click "Test". Power Automate will prompt you to run the flow. Click "Run flow". The flow will execute, retrieving the weather data and sending you an email. Check your inbox to confirm that you receive the email and that the weather information is accurate. If you don't receive the email, check your spam folder and verify that your email address is entered correctly in the "Send an email (V2)" action. If the data is incorrect, double-check the city name and units of measurement in the "Get current weather" action.

Pro Tips
- You can add multiple "Get current weather" actions for multiple locations and include weather data from all locations in a single email.
- Experiment with different data points available from the MSN Weather connector to customize your weather update.
- Consider adding a delay action if you want the email to be sent at a specific time of day after the flow initially triggers.
- Use expressions to format the weather data, such as converting temperature values or adding conditional text based on weather conditions.
Common Mistakes to Avoid
- Incorrectly typing the city name in the "Get current weather" action.
- Forgetting to save the flow before testing.
- Entering the wrong email address in the "Send an email (V2)" action.
- Failing to test the flow before leaving it to run automatically.
- Not checking the spam folder if you don't receive the test email.
FAQ Section
- Q: Can I use a different weather service other than MSN Weather?
- A: Yes, Power Automate offers connectors for various weather services. You can search for alternative weather connectors in the "Add an action" step.
- Q: Can I send the weather update to multiple email addresses?
- A: Yes, you can add multiple email addresses to the "To" field in the "Send an email (V2)" action, separated by semicolons.
- Q: How do I change the time the email is sent?
- A: You can modify the start time and recurrence frequency in the trigger settings of the scheduled cloud flow.
- Q: What if the flow fails to run?
- A: Check the flow's run history in Power Automate for error messages. Common causes include incorrect credentials, service outages, or incorrect configuration of actions.
Congratulations! You've successfully created a Power Automate flow that sends you daily weather updates. By following these steps, you've automated a task that would otherwise require manual effort. Remember to test your flow regularly and adjust the configuration as needed to ensure it continues to meet your needs. Power Automate offers a vast array of possibilities for automating tasks, so explore further and discover how you can streamline other aspects of your daily life.