So, you dream of stepping into the WWE ring? The roar of the crowd, the bright lights, and the thrill of competition – it's a captivating vision. While professional wrestling training academies offer structured programs, it's possible to start your journey towards becoming a WWE Superstar even without immediate access to those resources. This guide is designed for teenagers who are passionate about wrestling and want to begin self-training safely and effectively.
This isn't a shortcut to overnight success. Becoming a professional wrestler takes years of dedication, hard work, and a commitment to physical and mental conditioning. However, by following the steps outlined below, you can build a solid foundation, develop essential skills, and increase your chances of being noticed by wrestling schools and potential recruiters. Remember to prioritize safety and listen to your body throughout the entire process.
Before you dive in, understand this: Professional wrestling involves significant risk. This guide provides introductory steps. It is crucial to seek professional training at a reputable wrestling school as soon as possible to learn the necessary skills and techniques safely.
Step 1: Building a Cardio Foundation
Cardiovascular Endurance: The Unsung Hero
Wrestling demands exceptional cardiovascular endurance. Matches can be physically grueling, requiring you to maintain a high level of activity for extended periods. Aerobic capacity, the ability to efficiently deliver oxygen to your muscles, is paramount. Without a strong cardio base, you'll fatigue quickly, hindering your performance and increasing your risk of injury. Prioritize exercises that elevate your heart rate and challenge your stamina.
Practical details: Incorporate activities like running, swimming, cycling, or even brisk walking into your routine. Aim for at least 30-60 minutes of moderate-intensity cardio most days of the week. Consider interval training – alternating between high-intensity bursts and periods of rest – to further improve your cardiovascular fitness. A common mistake is starting too intensely, leading to burnout or injury. Start slow and gradually increase the intensity and duration of your workouts.

Step 2: Developing Strength and Power
Strength Training: Essential for Performance and Safety
Strength is vital for performing wrestling moves, protecting yourself from injury, and projecting an imposing presence in the ring. Focus on building a well-rounded strength base, targeting all major muscle groups. Compound exercises, which engage multiple muscle groups simultaneously, are particularly effective. These include squats, deadlifts, bench presses, and overhead presses (modified to be safe for a home gym). Starting slowly and gradually increasing the weight or resistance is very important.
Practical details: If you don't have access to a gym, bodyweight exercises can be a great starting point. Push-ups, pull-ups (or assisted pull-ups), squats, lunges, and planks are all excellent options. You can also use household items like water jugs or books as makeshift weights. Remember proper form is paramount. Watch videos and practice in front of a mirror to ensure you're performing exercises correctly. Avoid the common mistake of lifting too heavy too soon. Progress gradually to prevent injury.

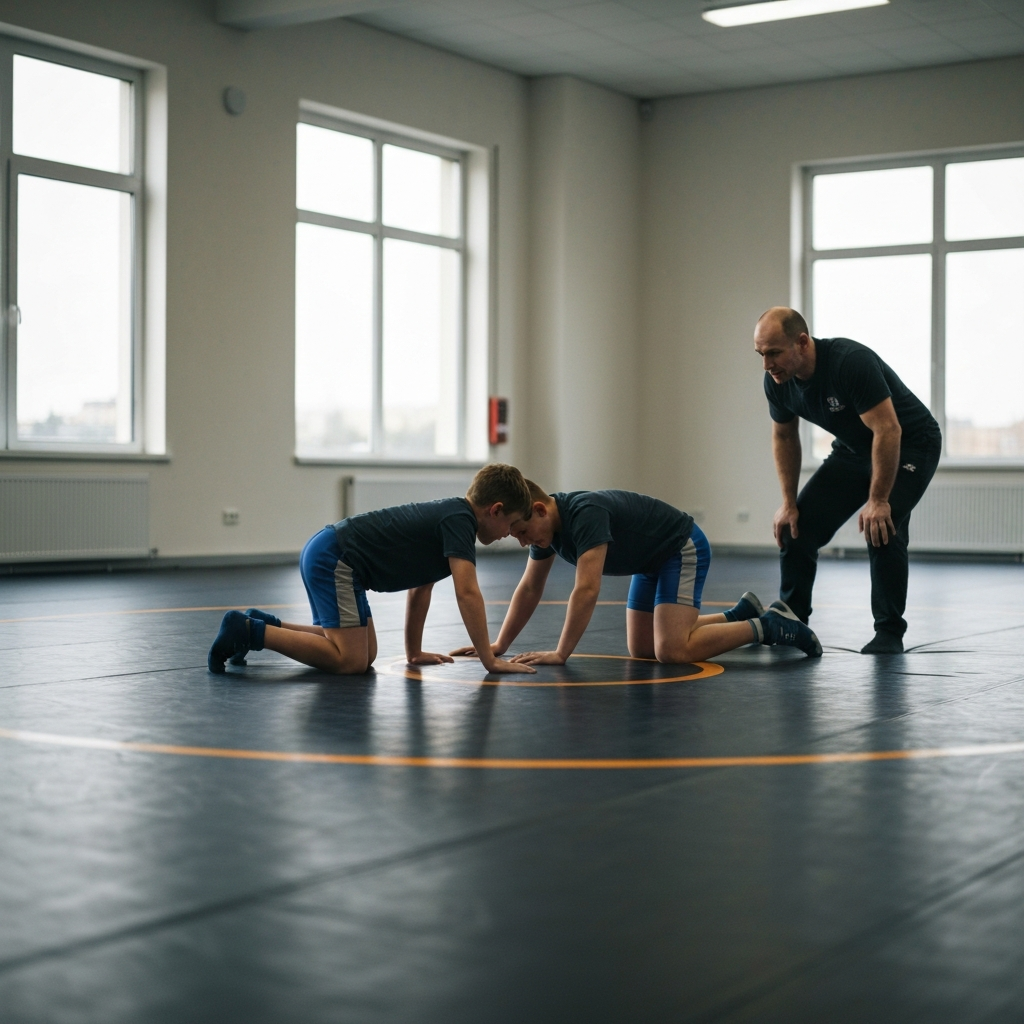
Step 3: Safe Introduction to "Bumps" (Falling Techniques)
Learning to Fall: A Necessary Evil
In professional wrestling, "taking a bump" refers to falling safely onto your back. It's a fundamental skill that requires proper technique to minimize the risk of injury. This step should be approached with extreme caution and only practiced under the supervision of a qualified trainer. However, if you're limited to self-training, start with very basic drills in a safe environment. Begin on a soft surface and work your way up to firmer surfaces. Bumps help with learning how to safely land after being thrown or dropped.
Practical details: Begin by practicing back rolls on a padded surface like a thick mattress or a pile of mats. Focus on tucking your chin to your chest, rounding your back, and slapping the mat with your arms to dissipate the impact. Progress to taking flat-back bumps from a kneeling position, then from a standing position. Always maintain proper form and control. Never attempt to take bumps on hard surfaces without adequate training and supervision. This is extremely dangerous. The most common mistake is not protecting your head and neck. Prioritize safety above all else.
Step 4: Crafting Your In-Ring Persona
Developing a Character: More Than Just Moves
Professional wrestling is as much about character and storytelling as it is about athleticism. A compelling in-ring persona is essential for connecting with the audience and creating memorable moments. Think about what makes you unique and how you can translate that into a character that resonates with fans. The character should be relatable to the audience.
Practical details: Consider your personality, interests, and background. Do you want to be a villain (heel) or a hero (face)? What are your character's motivations and goals? Develop a backstory, mannerisms, and catchphrases that bring your character to life. Watch wrestling matches and analyze the characters that you find most engaging. Don't simply copy existing characters; strive to create something original and authentic. A common mistake is creating a character that is inauthentic or unsustainable. Choose a character that you can embody and that reflects your own strengths and personality.
Step 5: Designing a Signature Move and Finisher
The Art of Offense: Developing Your Arsenal
Every wrestler needs a signature move – a recognizable maneuver performed regularly – and a finisher – a devastating move that signals the end of a match. These moves should be visually impressive, impactful, and suited to your character and physical abilities. The Signature helps to set up for the finisher.
Practical details: Research different wrestling moves and consider which ones align with your strengths and limitations. Start with basic moves and gradually progress to more complex maneuvers. Practice your moves on a soft surface with a willing and experienced partner. Focus on proper technique and control to prevent injury. A submission move isolates the target. The top rope move gets height and velocity. Launch moves create power. Choose moves that you can perform consistently and safely. The most common mistake is attempting moves that are too advanced or that you're not physically prepared for. The most important thing to remember is to be safe, and not hurt yourself.
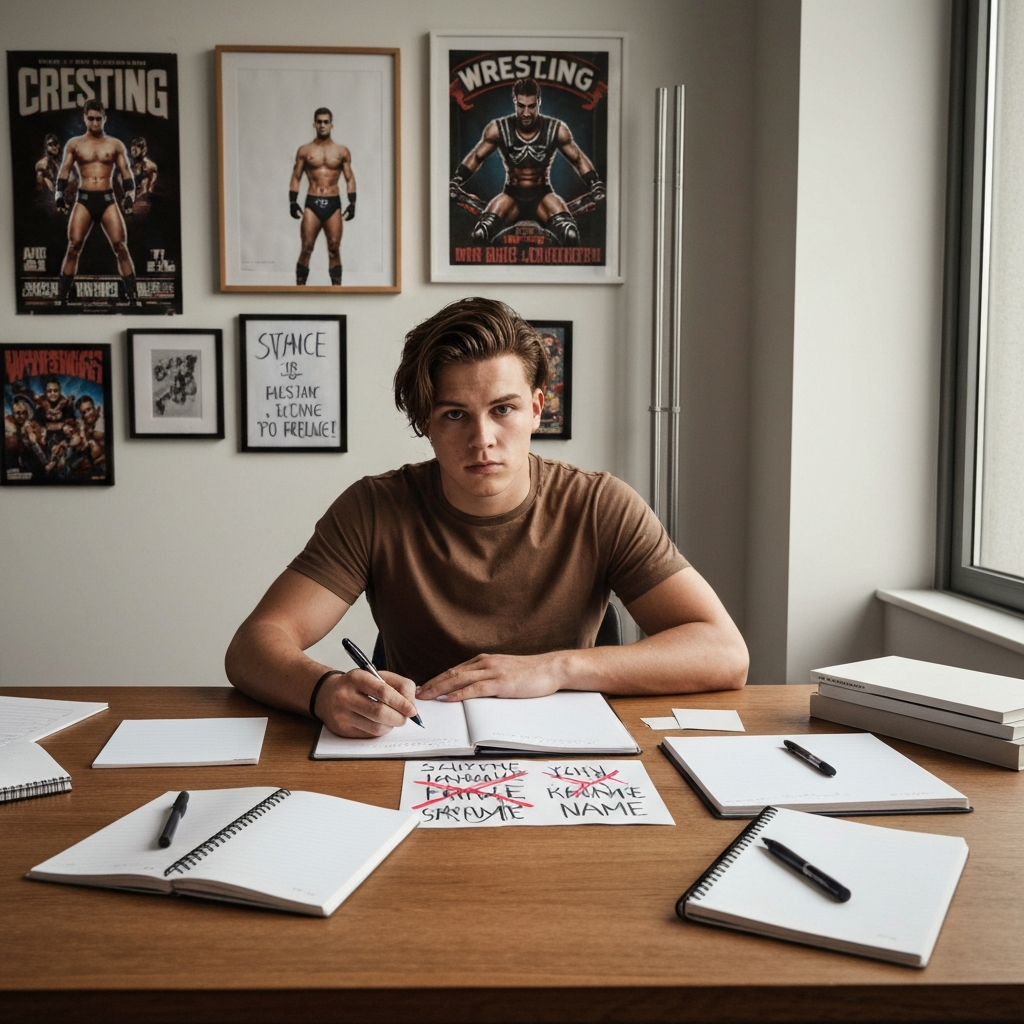
Step 6: Choosing Your In-Ring Name
Naming Your Star: Creating an Identity
Your in-ring name is your brand. It's how the fans will remember you, and it's a crucial part of your overall persona. Choose a name that is memorable, easy to pronounce, and reflects your character. It should also stick to who you are.
Practical details: Brainstorm a list of potential names that you find appealing. Consider your character's background, personality, and fighting style. Test out different names and see how they sound when announced in the ring. Get feedback from friends and family. Choose a name that you're comfortable with and that you believe will resonate with the audience. A good test is to see if the fans can easily chant the name A common mistake is choosing a name that is too generic, difficult to pronounce, or offensive. The name will be around for your career, so pick wisely.
Step 7: Bringing It All Together
The Final Piece: Integrating Everything
Once you have your character, moves, and name, it's time to integrate everything into a cohesive package. Practice embodying your character in all aspects of your training, from your workouts to your promos. Refine your moves, perfect your timing, and develop your stage presence. Turn yourself into your ring persona.
Practical details: Rehearse your matches with a partner, paying attention to your character's reactions and interactions. Watch recordings of your performances and identify areas for improvement. Seek feedback from experienced wrestlers or trainers. The biggest mistake is creating a disconnect between your character, moves, and overall presentation. Everything needs to be authentic. The persona and name must match, as well as the character matching the name and moves.

Tools or Materials Required
- Gym membership (optional, but highly recommended)
- Basic workout equipment (weights, resistance bands, etc.)
- Padded surface for practicing bumps (thick mattress, mats)
- Willing and experienced training partner
- Protective gear (knee pads, elbow pads, mouthguard)
- Notebook and pen for character development
- Access to wrestling videos and resources
Safety Considerations
- Always warm up properly before training.
- Listen to your body and stop if you feel pain.
- Never attempt moves that you're not properly trained for.
- Use proper form and technique when performing exercises.
- Train with a qualified and experienced partner.
- Prioritize safety above all else.
Common Mistakes to Avoid
- Starting too quickly, leading to burnout or injury.
- Attempting moves that are too advanced.
- Neglecting proper form and technique.
- Ignoring pain or discomfort.
- Failing to seek guidance from experienced trainers.
FAQ Section
Q: How long will it take to become a professional wrestler?
A: It varies, but generally takes several years of dedicated training and hard work.
Q: Do I need to be incredibly strong to become a wrestler?
A: Strength is important, but technique, agility, and charisma are equally crucial.
Q: Is it possible to train for wrestling without a gym?
A: Yes, but it's more challenging. Focus on bodyweight exercises and using household items as weights.
Conclusion
Self-training for WWE as a teenager requires discipline, dedication, and a commitment to safety. By building a strong cardio base, developing strength and power, learning to fall safely, crafting a compelling in-ring persona, designing signature moves, and choosing the right name, you can begin your journey towards achieving your wrestling dreams. Remember to prioritize safety, seek guidance from experienced trainers, and never stop learning. Good luck, and have fun!