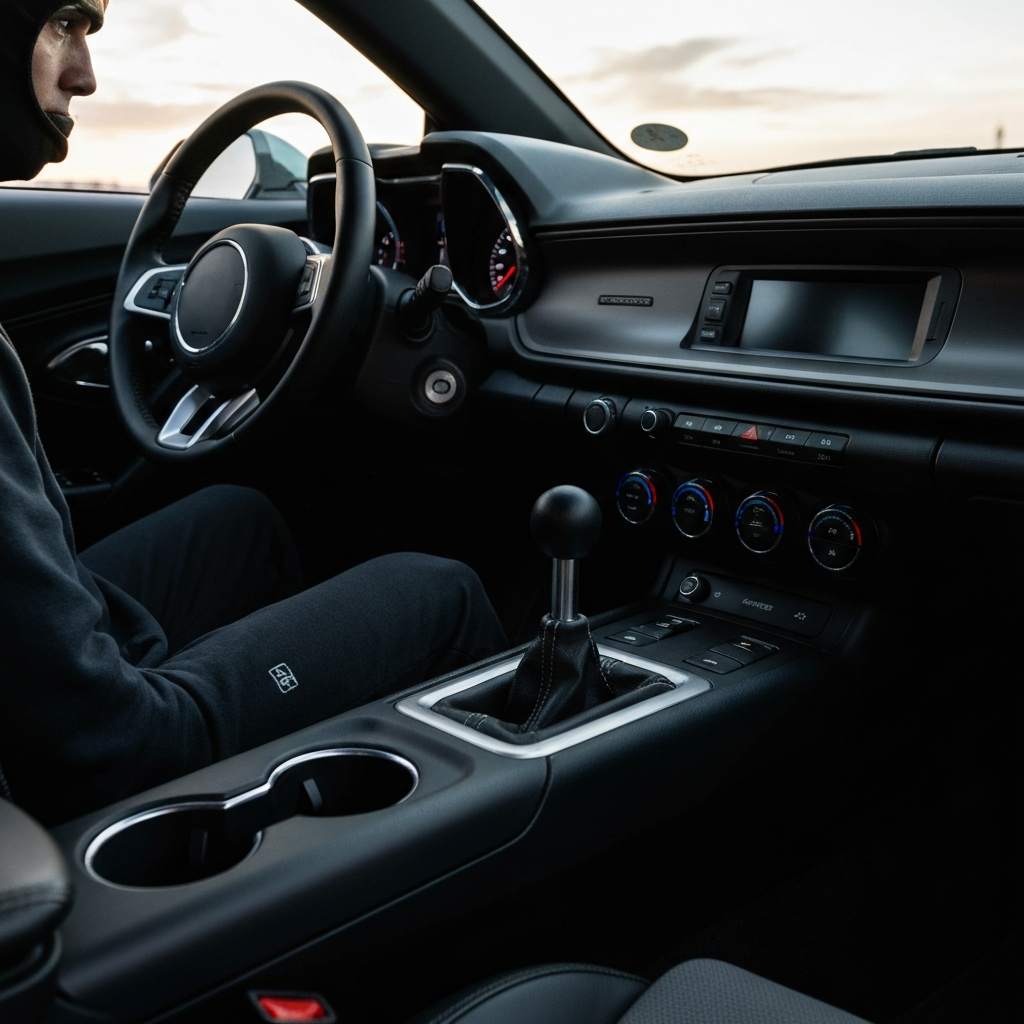
Replacing the automatic transmission shifter in your 2016-2022 (Gen6) Chevy Camaro is a relatively straightforward process that can be accomplished with basic tools and some patience. Whether you're looking to upgrade to a custom shifter for aesthetic reasons or replacing a damaged unit, this guide will walk you through the steps necessary to get the job done right. It's crucial to follow these instructions carefully to avoid damaging surrounding components.
This project is suitable for the average DIY enthusiast and should take approximately 30-60 minutes to complete. Prior to starting, gather all necessary tools and the replacement shifter. Ensuring you have everything on hand will streamline the process and minimize downtime. Remember to work in a well-lit area and take your time.
The following steps assume you have already purchased a compatible replacement shifter for your Gen6 Camaro's automatic transmission. Compatibility is key; double-check part numbers before starting the removal process.
Step 1: Vehicle Preparation
Before commencing any work, ensure the vehicle is safely prepared. Place the Camaro in Park (P) and turn off the ignition. Engage the parking brake firmly. This prevents any accidental movement during the shifter replacement process. Double-check that the gear selector is fully engaged in the Park position. Remove the key from the ignition to further ensure the vehicle cannot be started accidentally.

Step 2: Disengaging the Shifter Boot Clips
The shifter boot is held in place by four snap clips that attach it to the shifter trim bezel. Use a plastic trim removal tool to carefully disengage these clips. Insert the tool between the boot and the trim, gently prying outwards and forwards. Work slowly and methodically to avoid scratching or damaging the surrounding plastic. There are typically two clips on each side of the boot. Ensure each clip fully disengages before proceeding.

Step 3: Lifting the Shifter Boot
Once all four clips are disengaged, carefully lift the shifter boot upwards. This will reveal the clips that secure the shift lever to the shifter rod. Lifting the boot provides the necessary access to disconnect the shift lever. Take care not to snag the boot on any of the surrounding trim pieces as you lift it.

Step 4: Disengaging the Shift Lever Retaining Clips
Now that the shifter boot is lifted, you'll see the clips that hold the shift lever to the shifter rod. These clips are typically located on either side of the shift lever. Use the plastic trim removal tool again to carefully disengage these clips. Insert the tool into the gap of each clip and gently pry outwards. Apply even pressure to both sides to avoid damaging the clips or the shift rod. These clips can be quite stubborn, so be prepared to apply some force, but always proceed with caution.
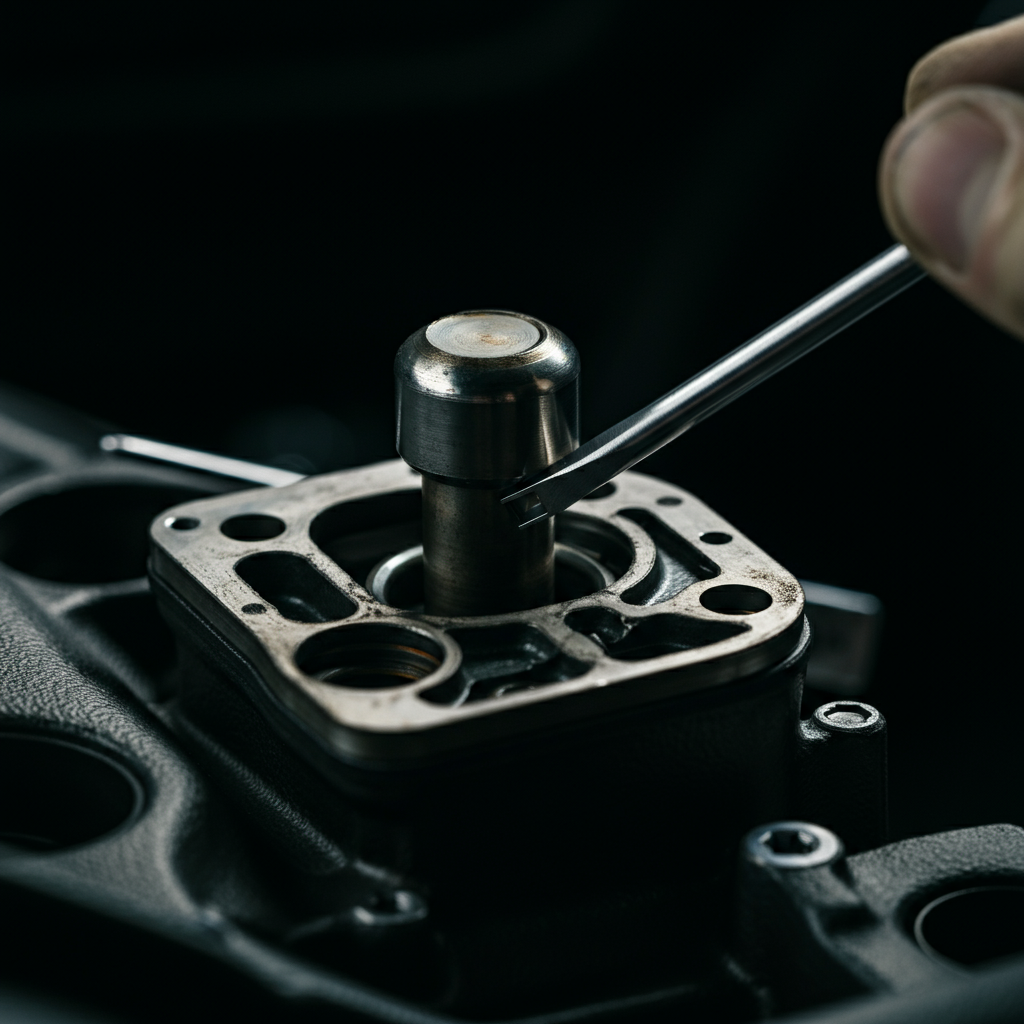
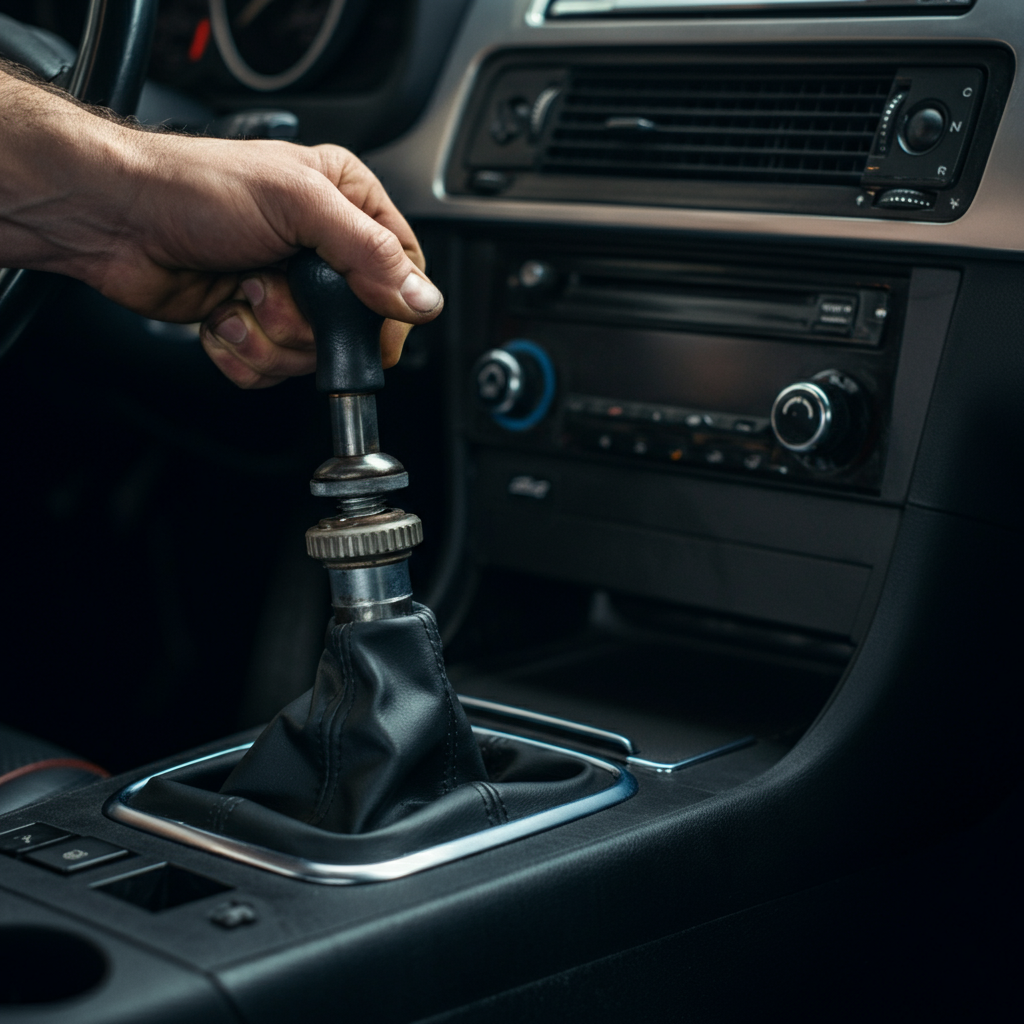
Step 5: Removing the Old Shift Lever
With both retaining clips disengaged, you should now be able to remove the old shift lever. Grab the shift lever firmly and pull upwards with a steady, controlled motion. Be prepared for some resistance, as the lever may be tightly fitted onto the shift rod. Avoid jerking or applying excessive force, as this could potentially damage the shift rod or surrounding components, particularly the infotainment display. If the lever is particularly stubborn, try wiggling it gently from side to side while pulling upwards.
Step 6: Installing the New Shift Lever
Installation is essentially the reverse of removal. Align the new shift lever with the shift rod and slide it into place. Ensure that the retaining clips engage properly and securely. You should hear a distinct "click" as each clip snaps into place. Once the shift lever is securely attached, carefully lower the shifter boot back down and re-engage the four snap clips that hold it to the shifter trim bezel. Press firmly on each clip until you hear it click into place.

Step 7: Final Check
After installing the new shift lever and reattaching the shifter boot, perform a final check to ensure everything is properly secured. Gently try to wiggle the shift lever to verify that it is firmly attached to the shift rod. Shift through the gears (with the engine off and your foot on the brake) to ensure smooth and proper operation. Make sure the shifter boot is securely fastened to the trim bezel. If everything checks out, you're all set!
Tools or Materials Required
- Plastic trim removal tool
- Rag (for cleaning)
- New or replacement shift lever
Safety Considerations
Always ensure the vehicle is parked on a level surface and the parking brake is engaged before starting any work. Disconnect the negative battery terminal if you're concerned about electrical interference. Wear appropriate safety glasses to protect your eyes from debris.
Common Mistakes to Avoid
A common mistake is using excessive force when disengaging the clips, which can lead to damage to the plastic trim. Always use a plastic trim removal tool to avoid scratching or marring the surrounding components. Another mistake is failing to properly align the new shift lever with the shift rod, which can prevent the retaining clips from engaging securely.
Pro Tips
Use the rag to clean the area where the shifter was located before installing the new one. This is a good opportunity to remove any dirt and grime that may have accumulated over time. Consider applying a small amount of silicone grease to the shift rod to make installation easier.
FAQ Section
Q: What if I break one of the clips?
A: Replacement clips can often be purchased online or at your local auto parts store. Make sure to get the correct type for your Gen6 Camaro.
Q: Can I use a screwdriver instead of a plastic trim removal tool?
A: It's not recommended, as a screwdriver is more likely to scratch or damage the plastic trim. A plastic trim removal tool is designed specifically for this purpose and is much safer to use.
Conclusion
Replacing the automatic transmission shifter in your Gen6 Chevy Camaro is a satisfying DIY project that can enhance the look and feel of your vehicle. By following these steps carefully and taking your time, you can successfully complete the replacement without damaging any components. Remember to prioritize safety and use the correct tools for the job. Enjoy your upgraded shifter!