Replacing the handbrake on a Ford Transit Connect might seem daunting, but with the right tools and a methodical approach, it's a manageable DIY task. This guide provides a detailed walkthrough, ensuring you can confidently tackle this repair. A properly functioning handbrake is crucial for safety, so don't delay this repair if you're experiencing issues such as excessive travel, weak holding power, or complete failure. Always prioritize safety by using proper jacking procedures and wheel chocks.
Before starting, assess your skill level. If you're uncomfortable working under a vehicle or dealing with braking components, it's best to consult a qualified mechanic. However, for those with basic mechanical knowledge and a willingness to learn, this guide will provide the necessary information to get the job done. Remember to work in a well-lit and organized workspace.
This process involves working under the vehicle and disconnecting/reconnecting cables. Accuracy is paramount. Take your time, double-check your work, and consult the vehicle's service manual if you encounter any uncertainties. We'll cover everything from preparing the vehicle to adjusting the handbrake cable for optimal performance.
Tools or Materials Required
- Jack and axle stands
- Wheel chocks
- Socket set (metric)
- Wrench set (metric)
- Pliers
- Screwdrivers (various sizes)
- New handbrake assembly
- Gloves
- Safety glasses
- Penetrating oil (optional, for rusted nuts)
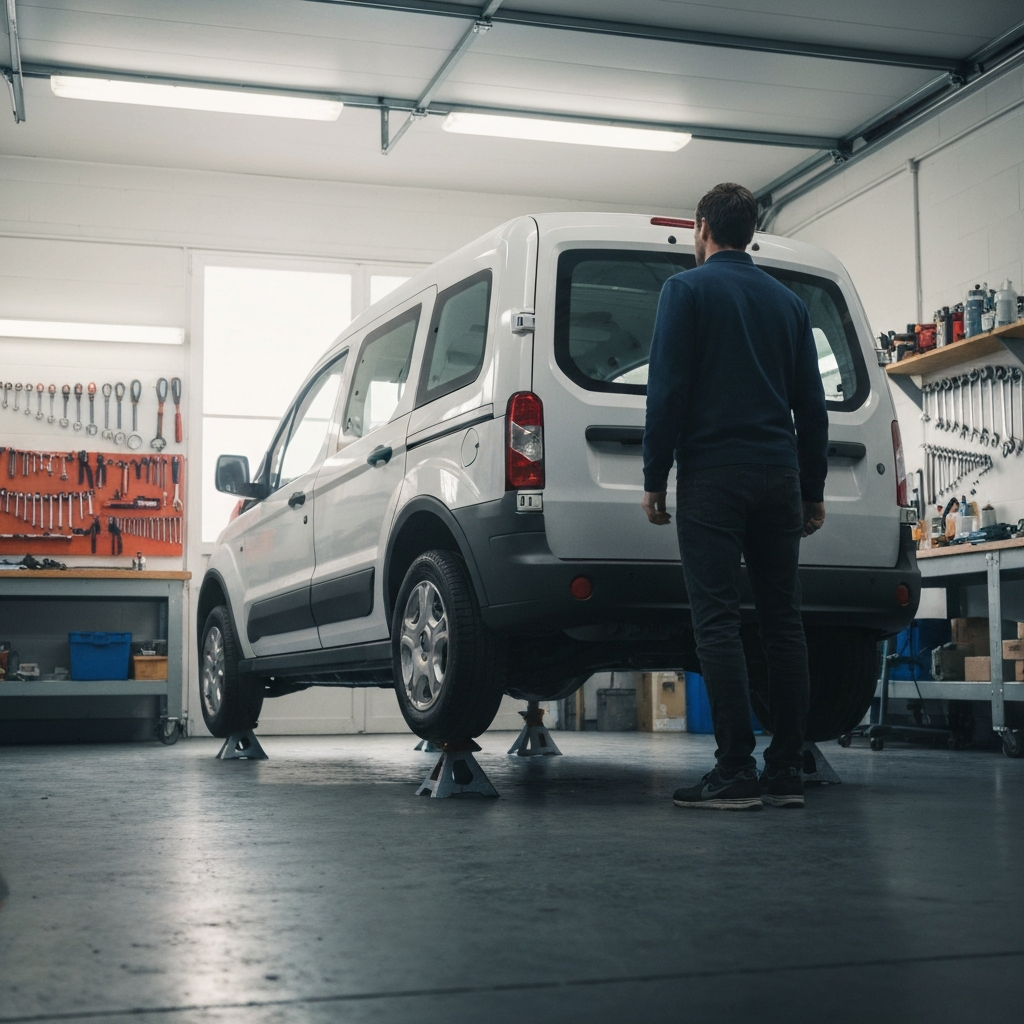
Step 1: Prepare the Vehicle
Safely Jack Up and Secure the Van
Begin by parking the Transit Connect on a level surface. Engage the parking brake (if functional) and chock the rear wheels opposite the side you'll be working on. Loosen the lug nuts on the front wheels, but don't remove them yet. Using a suitable jack, raise the front of the van and securely support it with axle stands placed under the designated jacking points. Never work under a vehicle supported only by a jack. Double-check the stability of the van before proceeding. Now, fully remove the front wheels and set them aside.
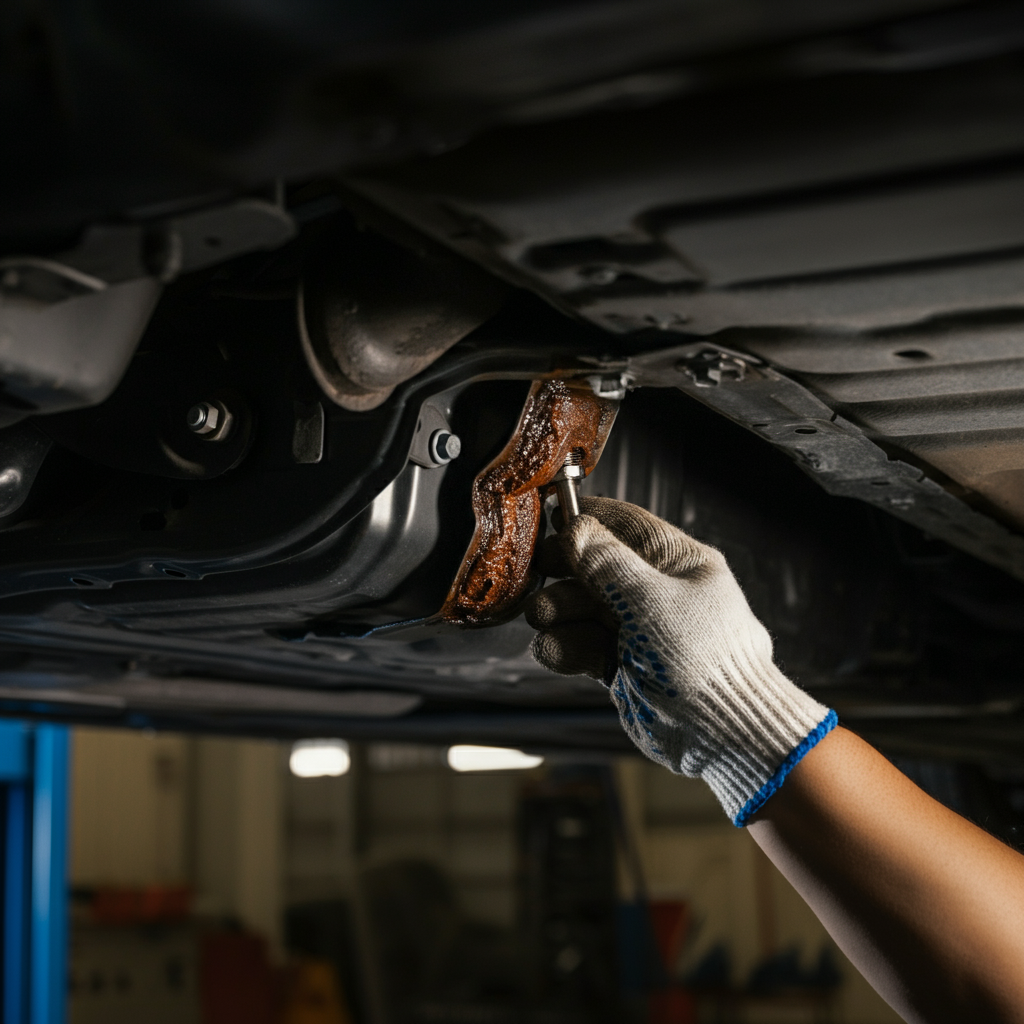
Step 2: Access the Handbrake Cable (Underneath)
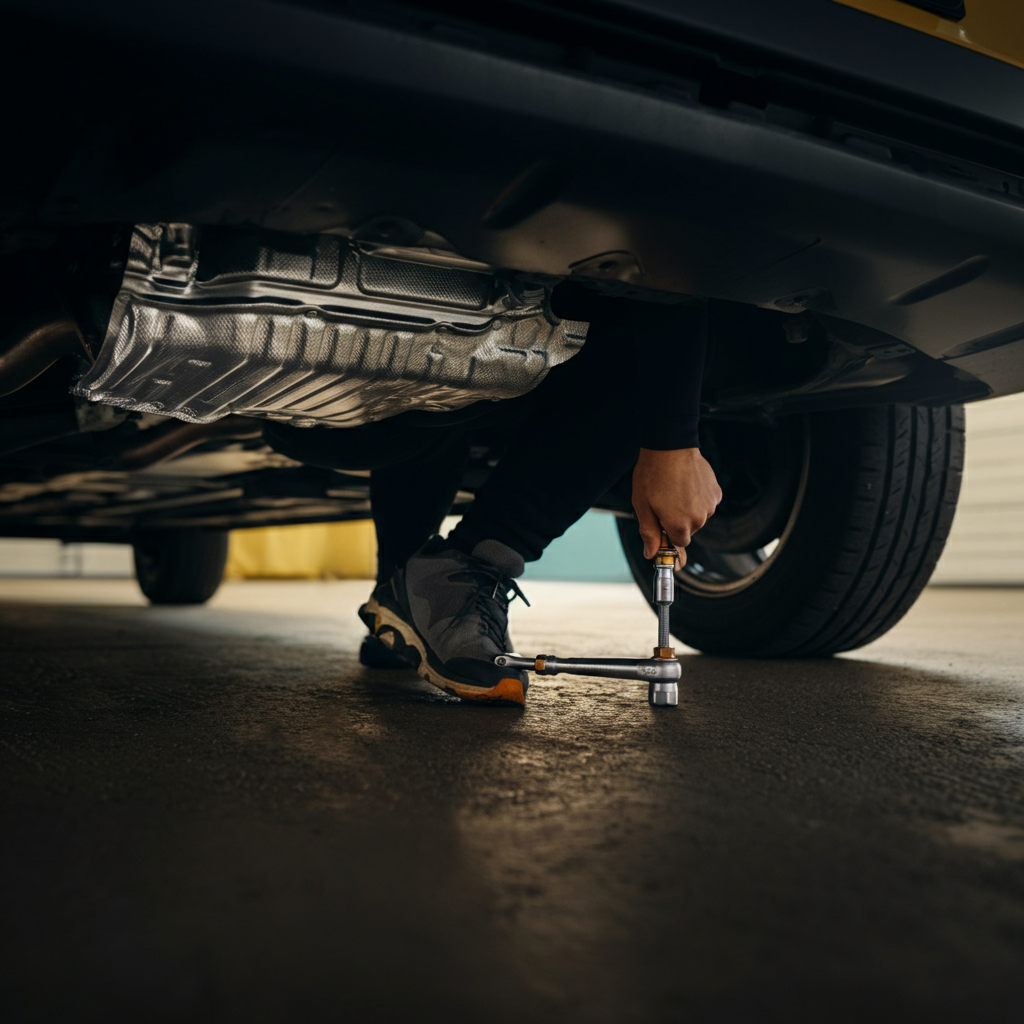
Remove the Heat Shield
Locate the thin, middle section of the aluminum heat shield positioned behind the exhaust pipe. This shield protects the handbrake cable from excessive heat. It's typically held in place by around six steel nuts attached to studs. Carefully remove these nuts using a socket wrench. Be cautious when removing these nuts, as they can be corroded and may shear off. If necessary, apply penetrating oil to help loosen them. Once the nuts are removed, gently pull the shield away from the studs and slide it back to expose the area where the handbrake cable connects to the rear brake cables. Some bending of the shield may be required to maneuver it around the fixed back section.
Step 3: Disconnect the Handbrake Cable (Inside the Cab)
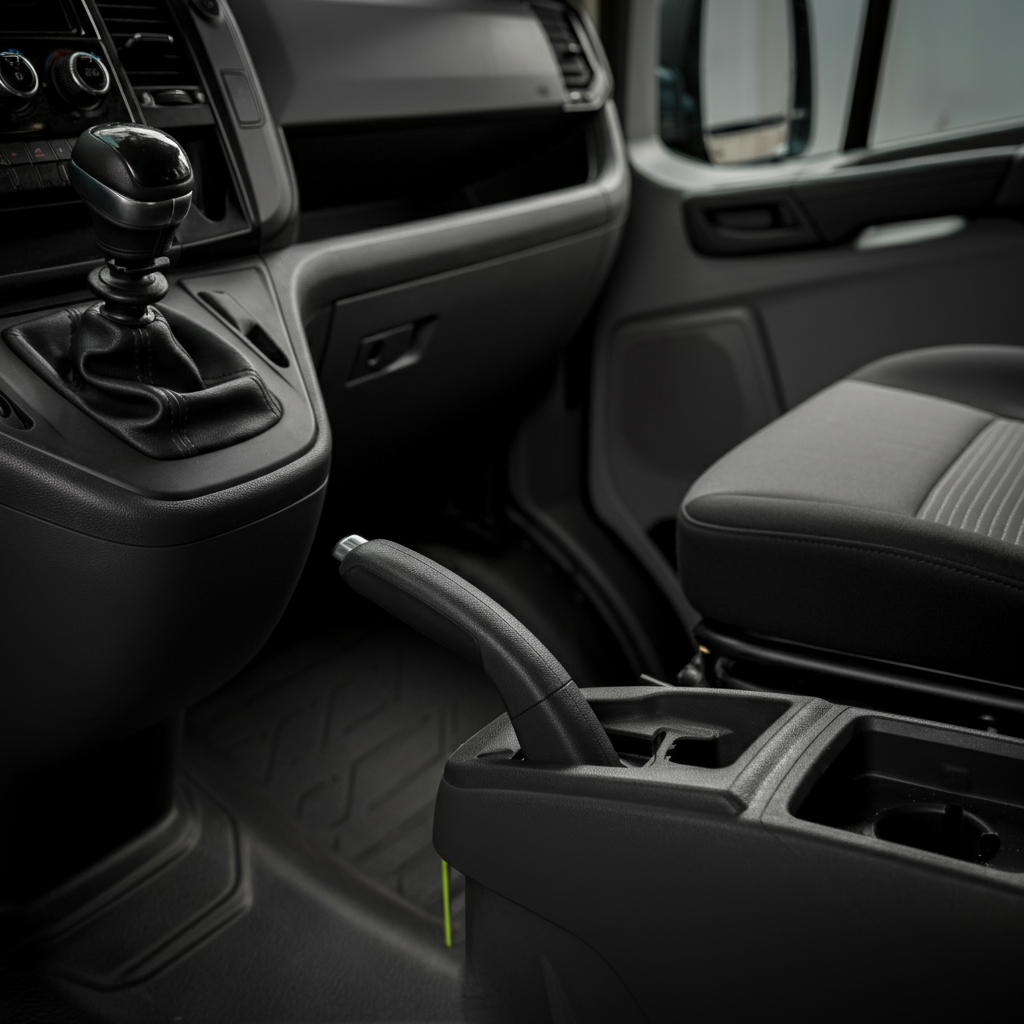
Remove the Handbrake Garter and Cable Connector
Moving inside the cab, carefully remove the handbrake garter, which is the trim piece surrounding the handbrake lever. This piece is often fragile, so use caution to avoid breaking it. It's usually held in place by clips or friction. Once the garter is removed, disconnect the spade connector that provides power to the brake light indicator. This connector is essential for the handbrake warning light to function properly. Next, completely remove the nut securing the end of the brake cable to the handbrake lever. This will detach the cable from the lever within the cab.

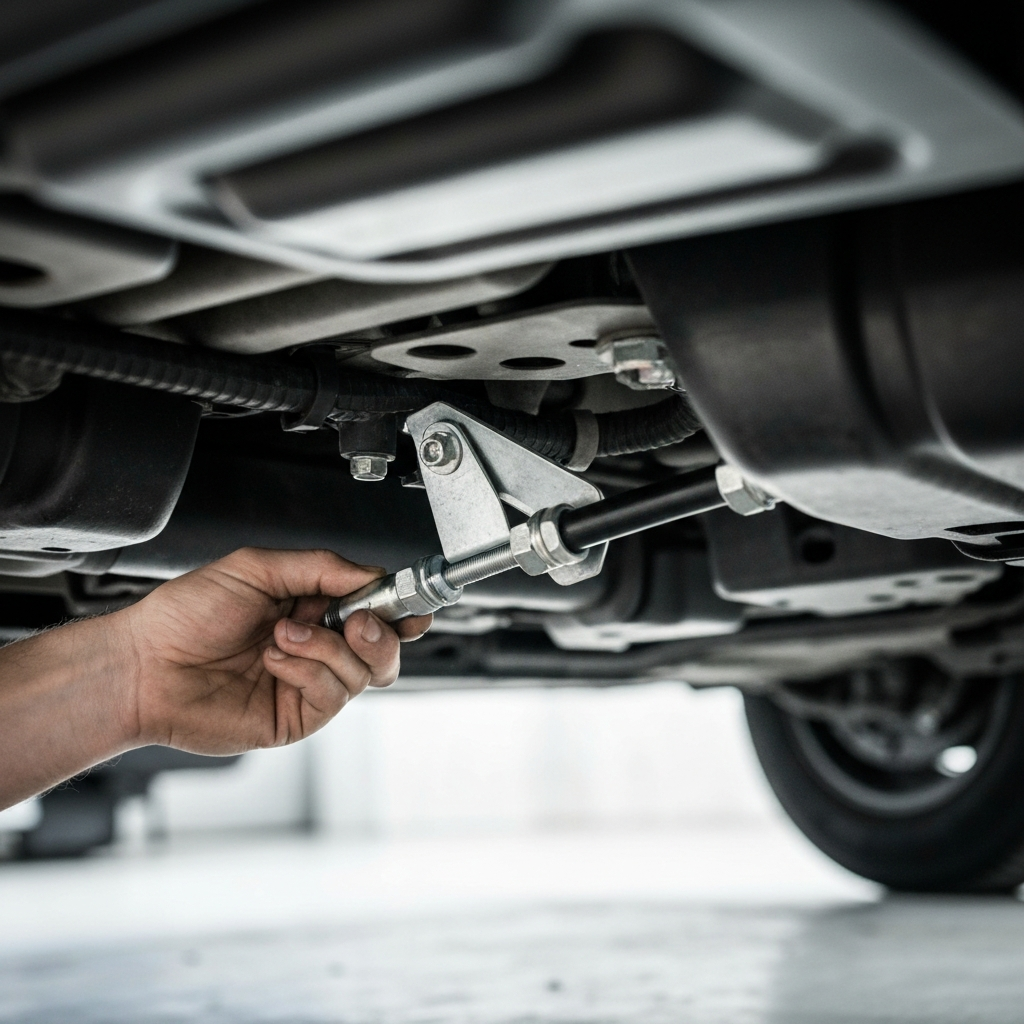
Step 4: Disconnect the Handbrake Cable (Underneath - Continued)
Detach the Main Brake Cable
Return to working underneath the van. With the nut removed in the cab, you should now be able to pull the main brake cable back towards the front of the vehicle. Continue pulling until the end nipple of the cable clears the cradle that holds the two rear cables. This may require some maneuvering and slight force. Ensure you have enough clearance to completely remove the cable from the cradle.
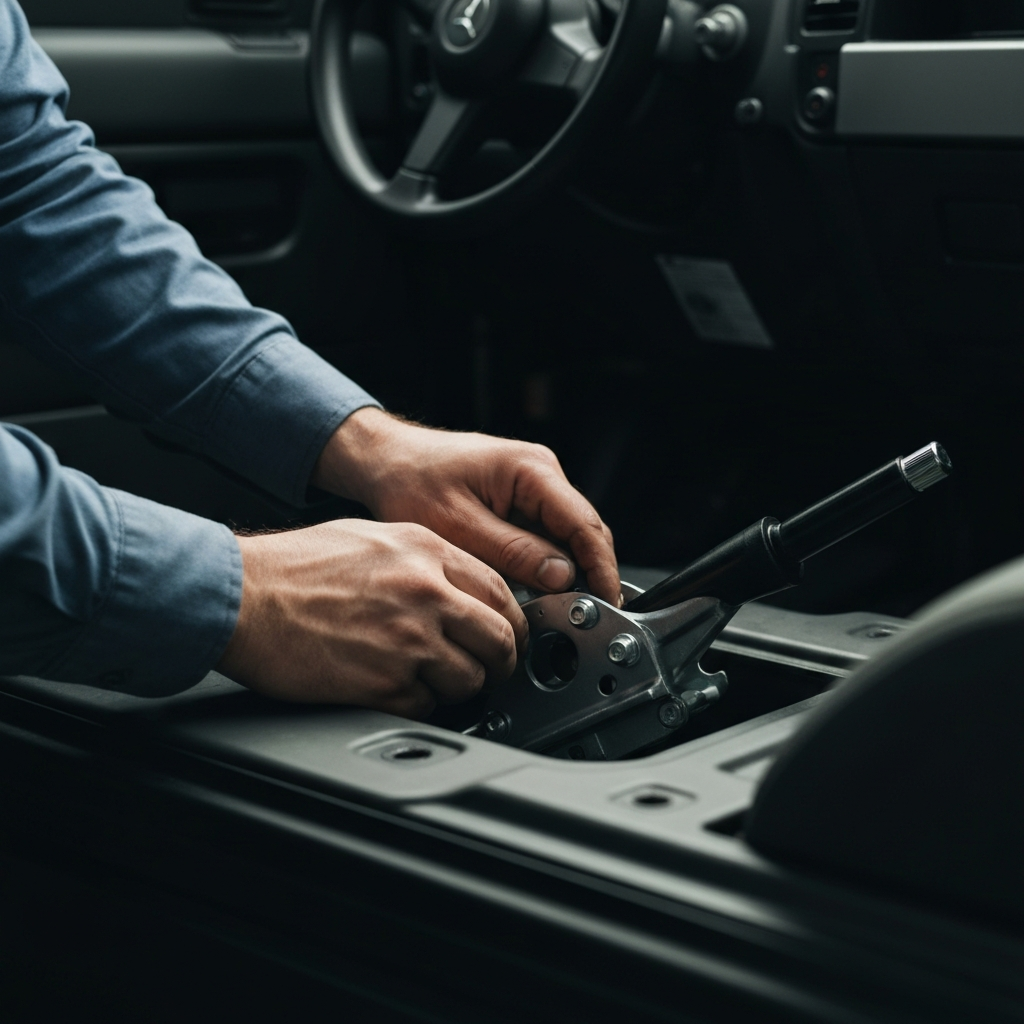
Step 5: Remove the Old Handbrake Assembly
Extract the Handbrake
Go back inside the cab. With the cable disconnected both inside and outside the vehicle, you can now remove the handbrake assembly itself. Carefully angle the handbrake sideways as you lift it, allowing it to clear the edges of the hole in the floor. It may require some gentle manipulation to get it out. Once clear, remove the entire old handbrake assembly from the vehicle.
Step 6: Install the New Handbrake Assembly
Reverse the Removal Process
Now it's time to install the new handbrake assembly. Reverse the removal procedure, starting by carefully angling the new handbrake sideways to fit it through the hole in the floor. Ensure it's properly seated and aligned. Reconnect the main brake cable from underneath the van, making sure the end nipple is securely positioned in the cradle. Then, reconnect the cable to the handbrake lever inside the cab, tightening the nut securely. Reattach the spade connector for the brake light indicator. Finally, carefully reinstall the handbrake garter. Double-check all connections to ensure they are secure and properly seated.
Step 7: Reinstall the Heat Shield
Secure the Heat Shield
Return to working underneath the vehicle. Carefully slide the heat shield back into its original position, ensuring it covers the handbrake cable and exhaust pipe. Reinstall the steel nuts onto the studs, tightening them securely. Avoid over-tightening the nuts, as this could damage the studs or the heat shield itself. Make sure the heat shield is properly aligned and provides adequate protection for the handbrake cable.
Step 8: Reinstall Wheels and Lower the Vehicle
Final Steps
Reinstall the front wheels, tightening the lug nuts hand-tight. Carefully lower the vehicle using the jack until the wheels are on the ground. Then, fully tighten the lug nuts in a star pattern to the manufacturer's specified torque. Remove the wheel chocks. Test the handbrake functionality by applying it firmly and ensuring it holds the vehicle securely on an incline. If necessary, adjust the handbrake cable tension according to the vehicle's service manual to achieve optimal performance.
Safety Considerations
- Always use jack stands when working under a vehicle.
- Wear safety glasses to protect your eyes from debris.
- Disconnect the negative battery terminal to prevent electrical shorts.
- Use gloves to protect your hands.
- If you're unsure about any step, consult a qualified mechanic.
Common Mistakes to Avoid
- Forgetting to chock the wheels.
- Working under a vehicle supported only by a jack.
- Over-tightening nuts and bolts.
- Damaging the heat shield.
- Not properly adjusting the handbrake cable.
FAQ Section
Q: How do I know if my handbrake needs replacing?
A: Common signs include excessive lever travel, weak holding power, a grinding noise when engaged, or complete failure to hold the vehicle.
Q: How often should I adjust my handbrake?
A: It's recommended to check and adjust your handbrake cable tension during routine servicing, or if you notice any of the symptoms mentioned above.
Q: Can I use a universal handbrake cable?
A: It's generally recommended to use a cable specifically designed for your Ford Transit Connect to ensure proper fit and function.
Conclusion
Replacing the handbrake on a Ford Transit Connect is a manageable task for the DIY enthusiast. By following these steps carefully and prioritizing safety, you can restore the functionality of your parking brake and ensure your vehicle is safe and reliable. Remember to double-check all connections and adjustments before putting the vehicle back into service. If you encounter any difficulties, don't hesitate to seek assistance from a qualified mechanic.