Mudding is an exhilarating off-road adventure, but it demands careful preparation to ensure both your safety and the longevity of your ATV. Plunging into deep mud can quickly reveal the weak points of an unprepared machine. This guide provides a step-by-step approach to modifying and protecting your ATV, transforming it from a trail rider into a mud-conquering beast. Ignoring these preparations can lead to costly repairs, frustrating breakdowns, or even dangerous situations on the trail. Proper preparation is the key to a successful and enjoyable mudding experience.
From selecting the right tires to installing essential protective gear, each modification serves a specific purpose in mitigating the challenges of mudding. We'll delve into the practical aspects of each step, highlighting potential pitfalls and offering expert tips to optimize your setup. Remember, mudding puts immense stress on your ATV's components, so investing in quality parts and taking the time to install them correctly is crucial.
This guide aims to equip you with the knowledge and confidence to tackle even the muddiest terrain. We'll cover everything from basic bolt-on modifications to more advanced upgrades, empowering you to customize your ATV to match your specific mudding needs and skill level. So, let's get started and transform your ATV into a mud-slinging machine!
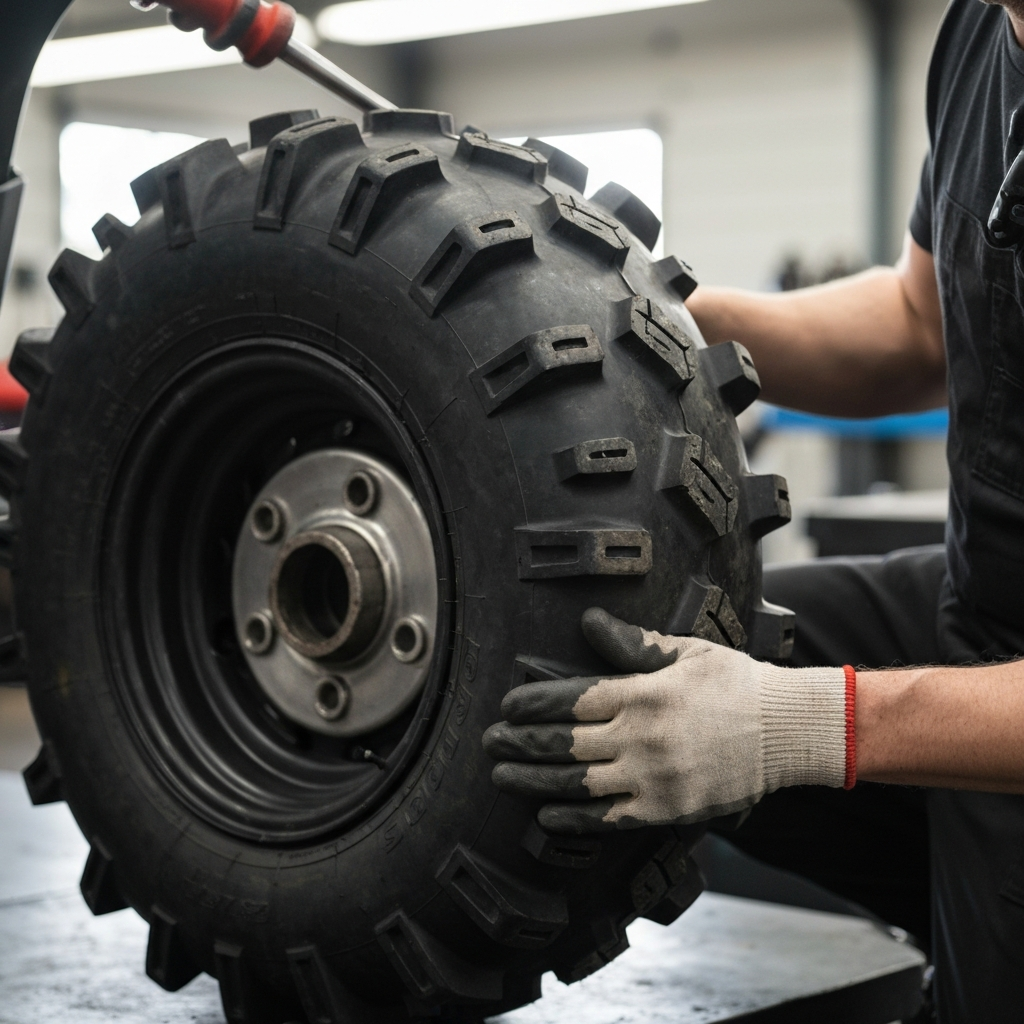
Step 1: Install Mud Tires
Upgrading to mud tires is arguably the most critical step in preparing your ATV for mudding. Standard tires simply lack the aggressive tread pattern and sidewall strength needed to grip effectively in thick, viscous mud. Mud tires feature large, widely spaced lugs that dig deep into the muck, providing superior traction and forward momentum. Consider the type of mud you'll be riding in. Softer mud benefits from taller, narrower tires, while harder-packed mud may require wider tires with a more aggressive lug pattern. When selecting mud tires, pay attention to their load rating to ensure they can handle the weight of your ATV and any additional accessories. Don't underestimate the difference a good set of mud tires can make.
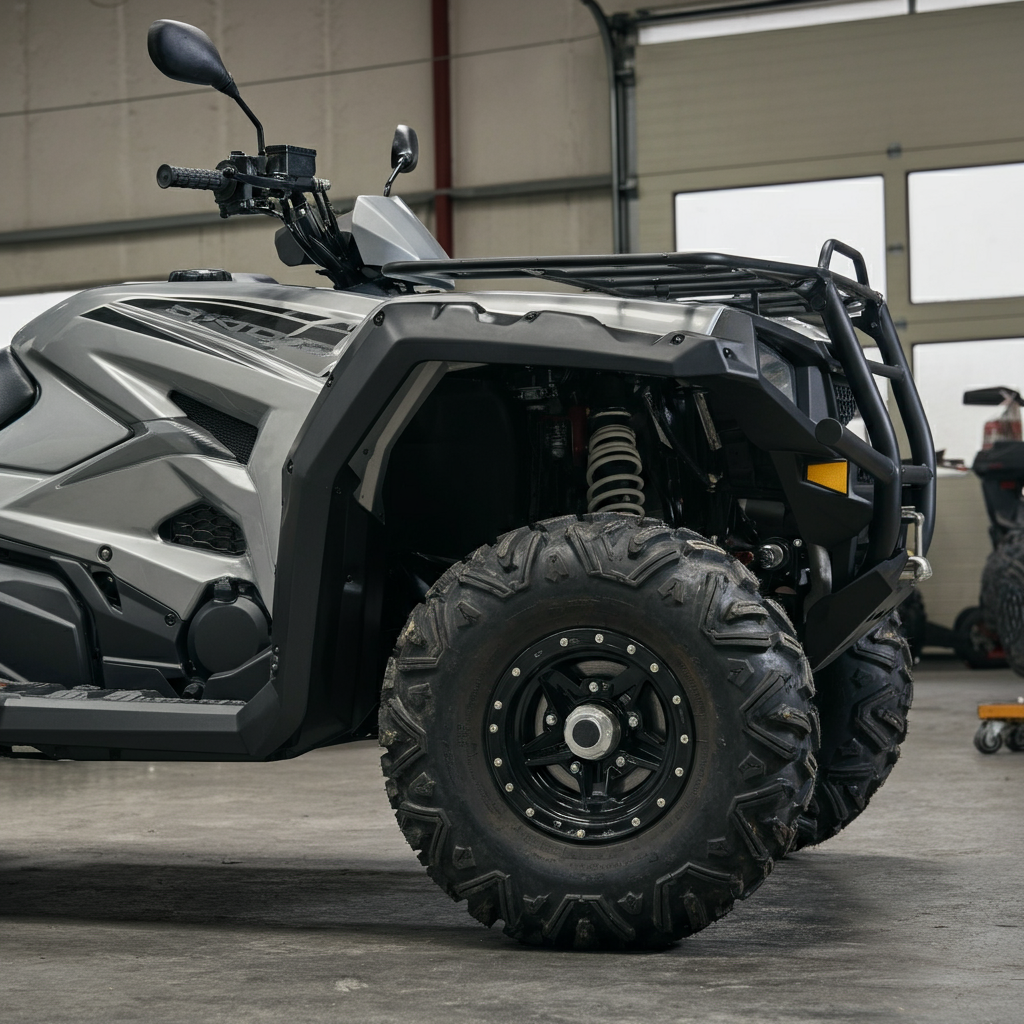
Step 2: Add Fender Flares
Mudding is inherently messy, and without adequate protection, you and your ATV will be covered in muck. Fender flares extend the width of your fenders, deflecting mud and debris away from you and the ATV's vital components. This improves visibility, keeps you cleaner, and protects sensitive areas like the engine compartment and radiator. Choose fender flares that are specifically designed for your ATV model for a proper fit and maximum coverage. Installation is typically straightforward, involving bolting or clipping the flares onto the existing fenders. Failing to install fender flares can lead to constant cleaning and potential damage from flying debris.
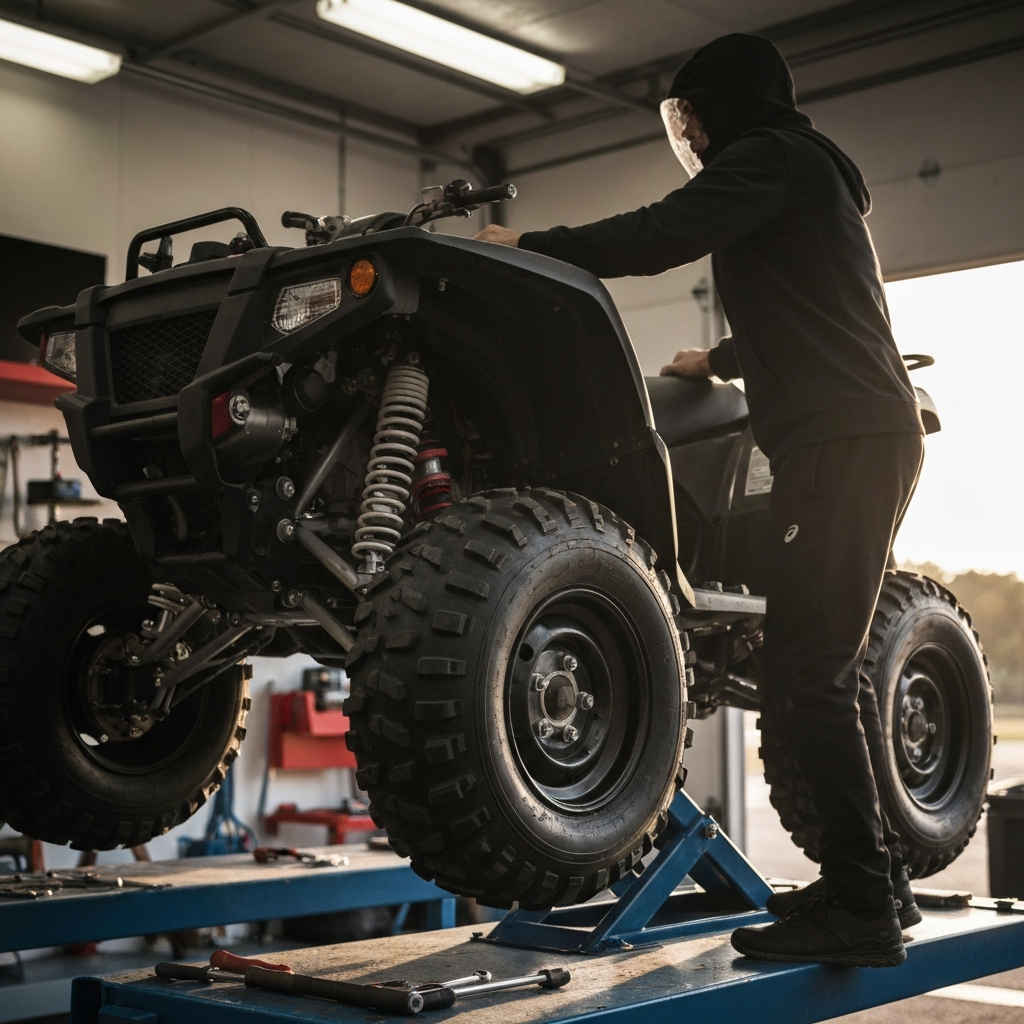
Step 3: Increase Ground Clearance with a Lift Kit
Ground clearance is paramount when navigating deep mud. A lift kit raises the chassis of your ATV, allowing it to clear obstacles and avoid getting bogged down. This not only improves your ability to traverse muddy terrain but also prevents damage to the undercarriage from rocks and submerged debris. When choosing a lift kit, consider the trade-offs between increased ground clearance and stability. A taller lift kit may improve mudding performance but can also make the ATV more prone to tipping on uneven terrain. The installation process can range from simple spacer lifts to more complex suspension modifications, depending on the desired lift height and the ATV model.
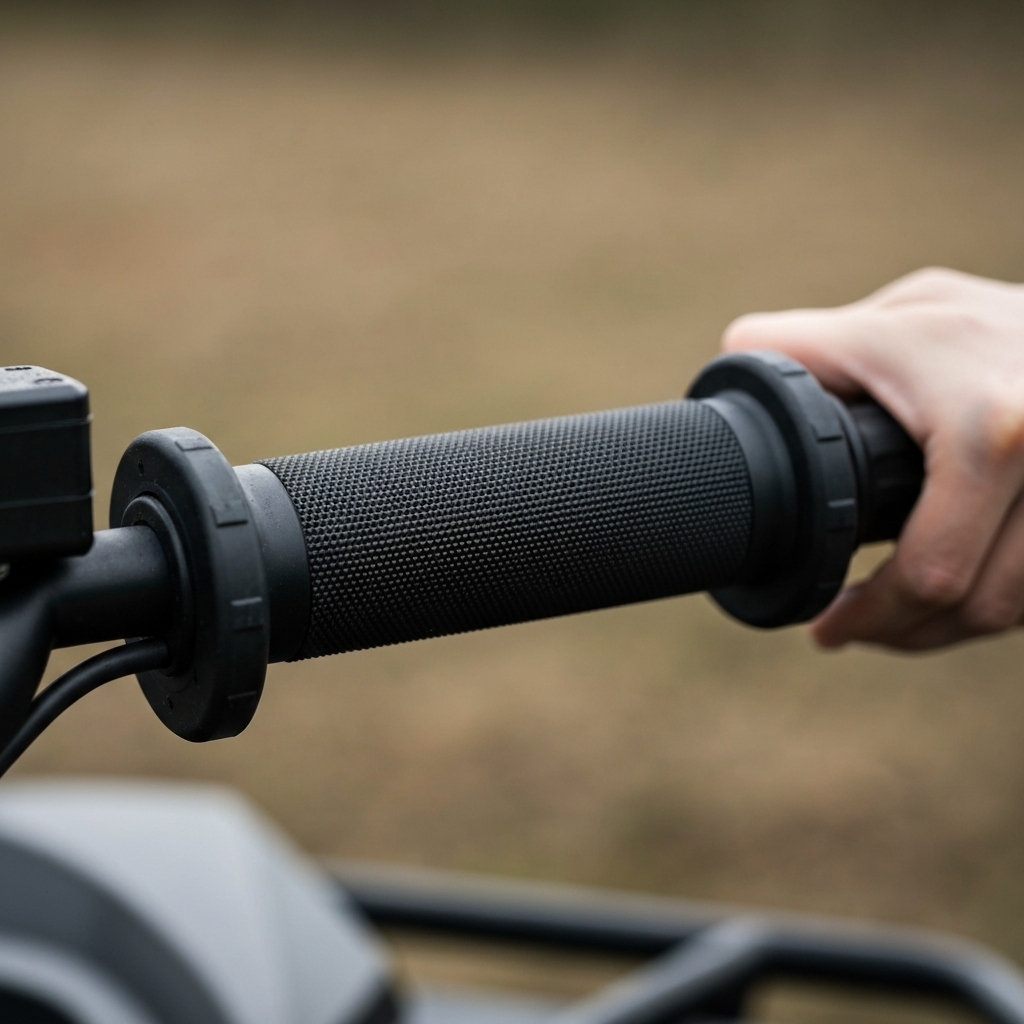
Step 4: Install Mud Grips
Maintaining a firm grip on the handlebars is crucial for control and safety in muddy conditions. Regular hand grips can become slippery and difficult to hold onto when wet and covered in mud. Mud grips are designed with a textured surface that provides superior grip, even in the slickest conditions. This allows you to maintain precise control over the ATV's steering and throttle, reducing the risk of accidents. Look for mud grips made from durable, weather-resistant materials that will withstand the harsh conditions of mudding. Installation is simple, requiring only the removal of the old grips and the application of adhesive to secure the new ones.
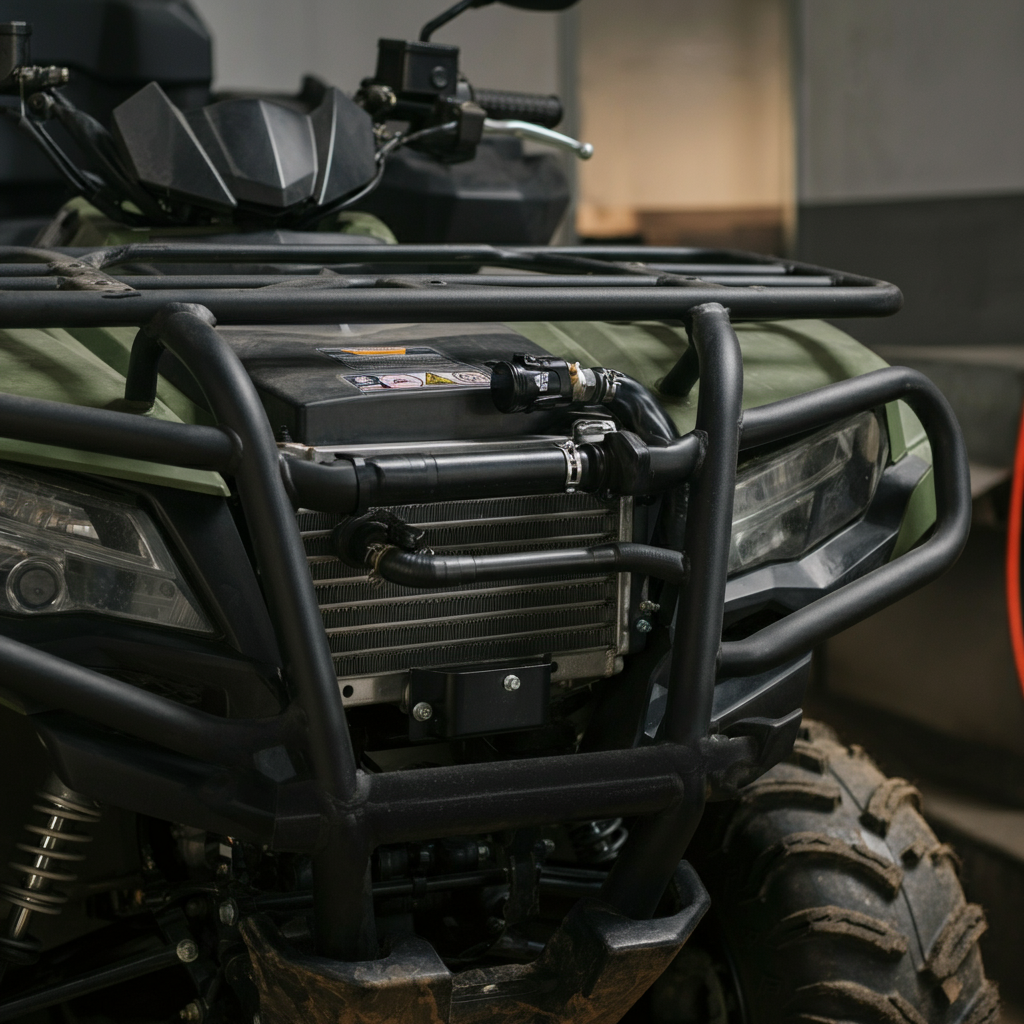
Step 5: Relocate the Radiator
The radiator is essential for keeping your ATV's engine cool, but it's also vulnerable to clogging with mud. A radiator relocation kit moves the radiator to a higher location, typically on the front rack, where it's less likely to be submerged in mud and debris. This prevents overheating and ensures optimal engine performance during extended mudding sessions. Ensure that the relocation kit you choose is compatible with your ATV model and includes all necessary mounting hardware and hoses. The installation process typically involves disconnecting the existing radiator hoses, mounting the radiator in its new location, and rerouting the hoses.
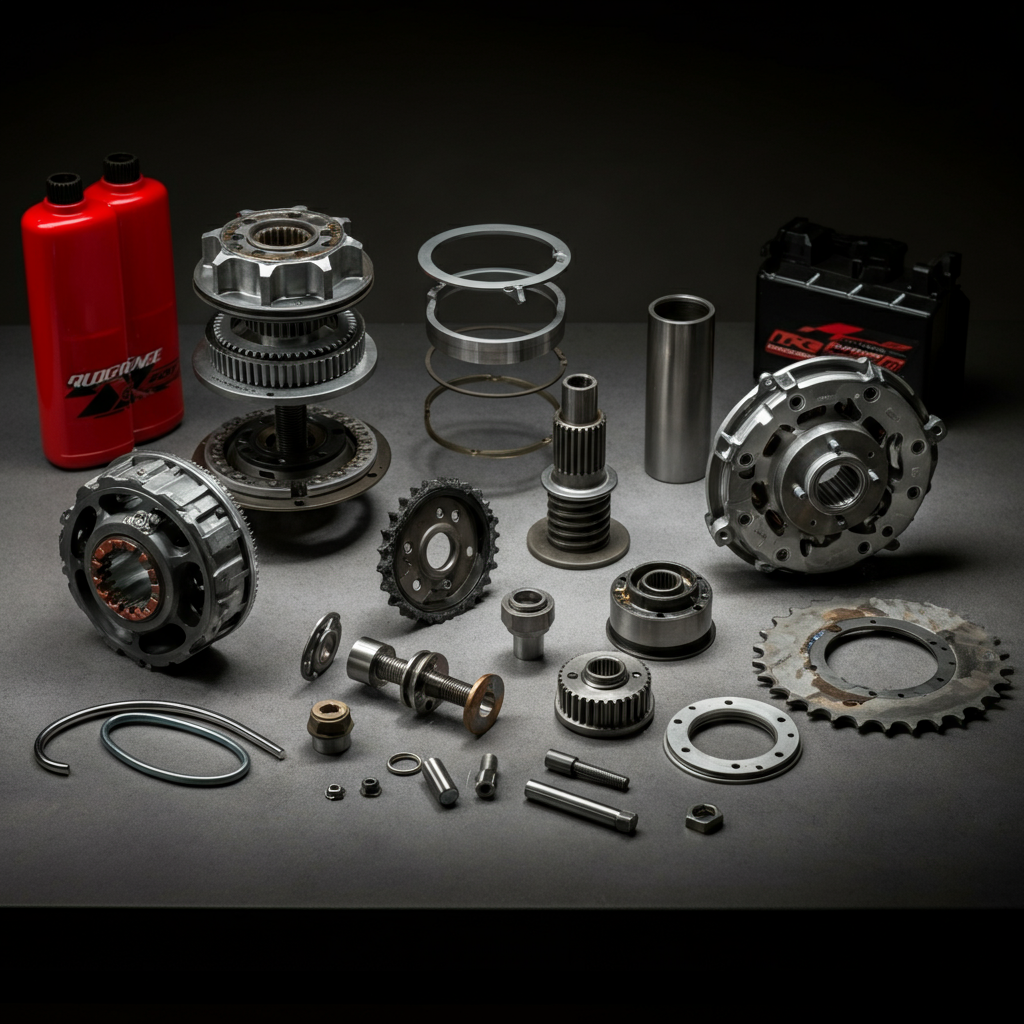
Step 6: Upgrade to a Performance Clutch Kit
Mudding puts a significant strain on your ATV's clutch system. The constant changes in traction and resistance can cause the stock clutch to slip, resulting in reduced power and poor performance. A performance clutch kit is designed to handle the increased demands of mudding, providing improved throttle response and preventing belt slippage. When selecting a performance clutch kit, consider the specific type of mud you'll be riding in and the size of your tires. A heavier-duty clutch may be necessary for larger tires and deeper mud. Installation may require specialized tools and knowledge, so it's often best left to a qualified mechanic.
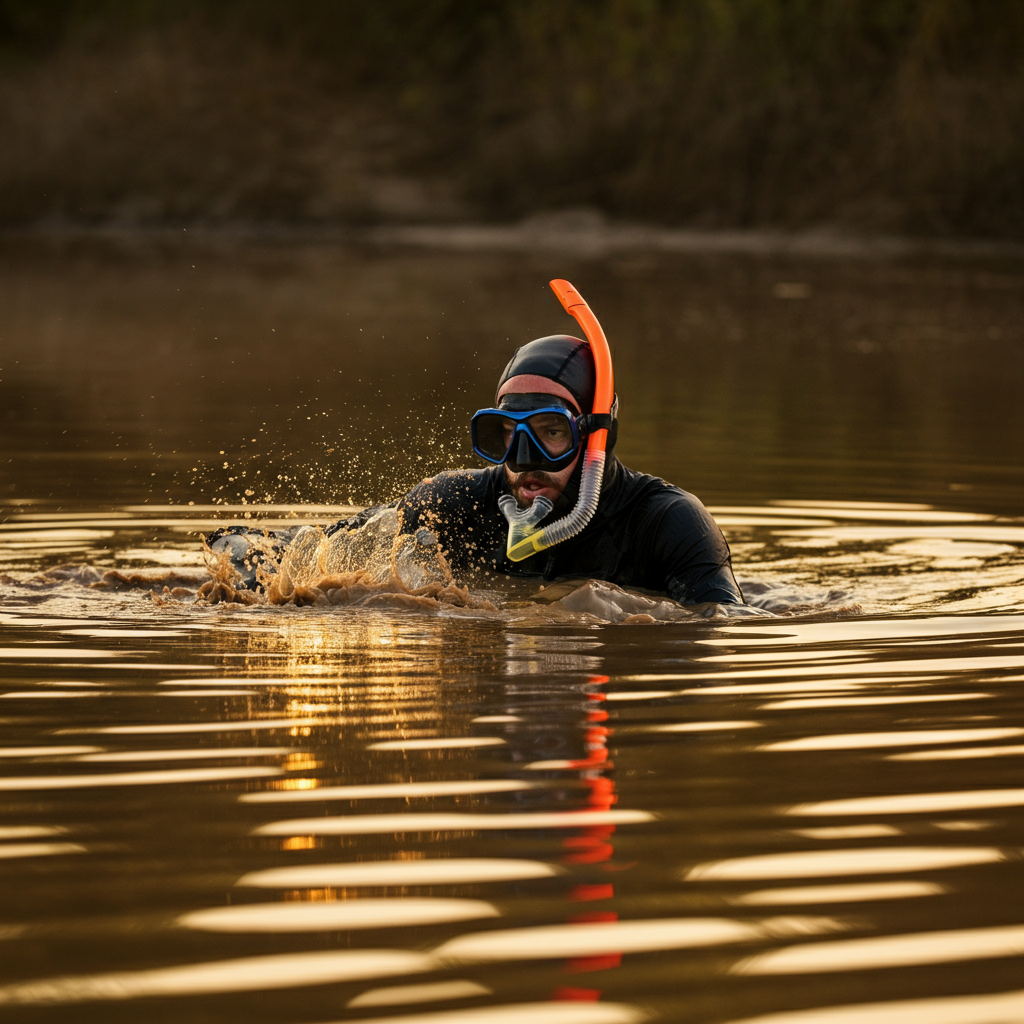
Step 7: Install a Snorkel Kit
Wading through deep water and mud is a common part of mudding, but it can be disastrous for your ATV's engine if water gets into the air intake. A snorkel kit extends the air intake to a higher location, allowing you to submerge the ATV in deeper water without risking engine damage. This is a crucial modification for anyone planning to tackle truly challenging mud holes. Proper sealing of the snorkel kit is essential to prevent water from entering the engine. Use silicone sealant to create airtight connections at all joints and connections. The installation process involves routing the snorkel tubes from the airbox to a higher location, typically on the handlebars or front rack.
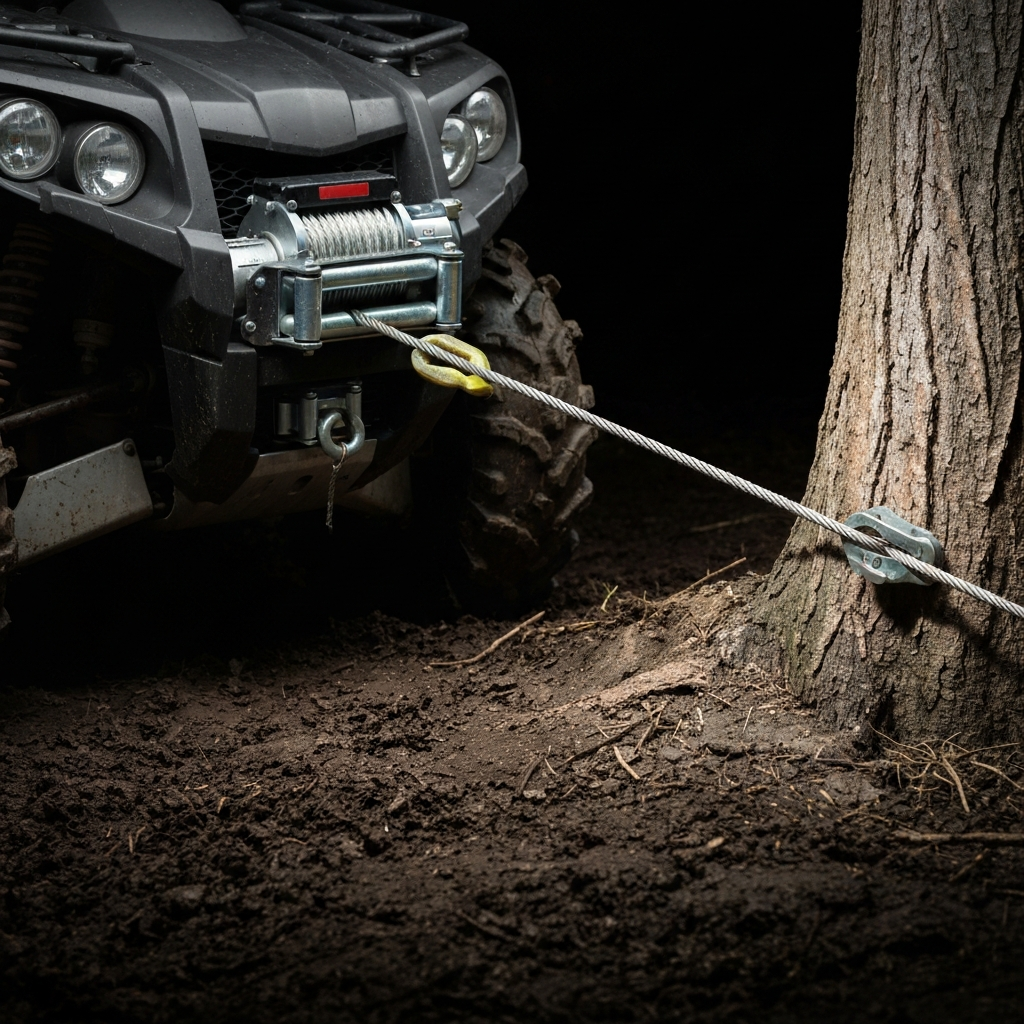
Step 8: Mount a Winch
Even with the best preparation, getting stuck in deep mud is almost inevitable. A winch is an invaluable tool for self-recovery, allowing you to pull your ATV out of sticky situations. Mount a winch on the front of your ATV for easy access and maximum pulling power. Choose a winch with a pulling capacity that is at least 1.5 times the weight of your ATV. Installation is relatively straightforward, involving bolting the winch to a mounting plate and connecting it to the ATV's electrical system.
Step 9: Install a Skid Plate
The undercarriage of your ATV is vulnerable to damage from rocks, logs, and other debris hidden beneath the mud. A skid plate protects the engine, frame, and other vital components from impact damage. This is an essential modification for anyone who plans to ride in rocky or uneven terrain. Choose a skid plate made from durable materials such as aluminum or steel. Make sure the skid plate provides adequate coverage for all vulnerable components. Installation is typically straightforward, involving bolting the skid plate to the ATV's frame.
Tools or Materials Required
- Mud Tires
- Fender Flares
- Lift Kit
- Mud Grips
- Radiator Relocation Kit
- Performance Clutch Kit
- Snorkel Kit
- Winch
- Skid Plate
- Socket set
- Wrenches
- Screwdrivers
- Pliers
- Torque wrench
- Grease gun
- Silicone sealant
- Gloves
- Safety glasses
Safety Considerations
Mudding can be a dangerous activity, so it's essential to take precautions to protect yourself and others. Always wear a helmet, eye protection, and appropriate riding gear. Be aware of your surroundings and avoid riding in areas that are unfamiliar or dangerous. Never ride under the influence of alcohol or drugs. Always let someone know where you're going and when you expect to be back. Inspect your ATV before each ride to ensure that all components are in good working order.
Conclusion
Preparing your ATV for mudding requires a strategic approach, focusing on improving traction, increasing ground clearance, protecting vital components, and ensuring your safety. By following the steps outlined in this guide, you can transform your ATV into a mud-conquering machine, ready to tackle even the toughest terrain. Remember to invest in quality parts, take the time to install them correctly, and always prioritize safety. With a properly prepared ATV, you can enjoy the thrill of mudding with confidence and peace of mind.