Building your own skateboard rail can be a rewarding experience, providing you with a dedicated practice spot right in your backyard or garage. A well-constructed rail allows you to hone your grinding and sliding skills without needing to visit a skatepark. This guide will walk you through the process of building a sturdy and safe rail, ensuring hours of skating enjoyment.
This project is perfect for skateboarders of all skill levels, from beginners looking to learn the basics to experienced riders seeking to refine their technique. By following these steps, you can create a custom rail that fits your specific needs and preferences. Remember to always prioritize safety and take your time to ensure a quality build.
The ability to practice your favorite tricks at home will improve confidence and skill level. Customizing the build ensures the rail is perfectly sized to your skateboarding goals. With the right materials, a little bit of elbow grease, and this comprehensive guide, you'll be grinding like a pro in no time!
-
Step 1: Gathering Your Materials and Tools
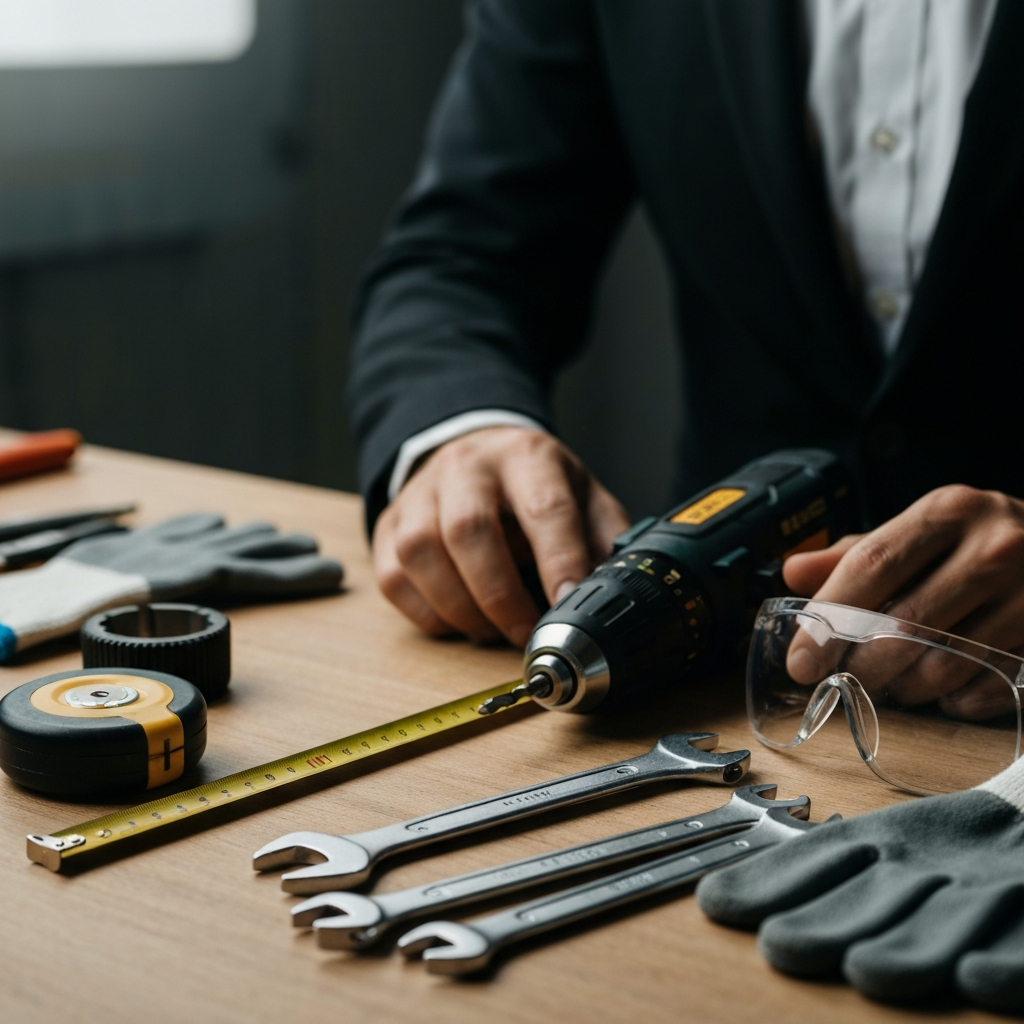
Before you begin, it's essential to gather all the necessary materials and tools. This includes selecting the right type and size of steel pipe or flat bar for the rail itself, as well as the wood for the base and supports. Accurate measurements are crucial at this stage, so double-check your list and ensure you have everything on hand before proceeding.
-
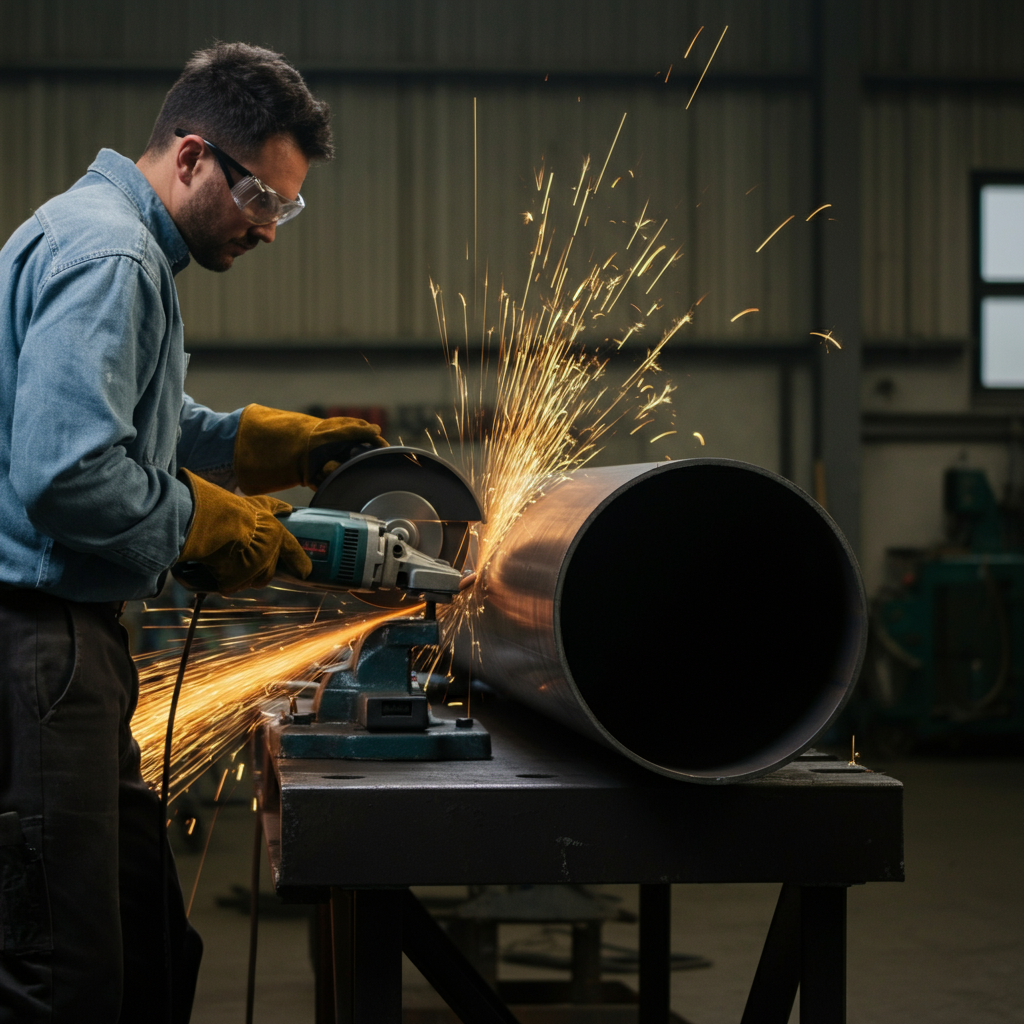
Step 2: Cutting the Steel Pipe and Wood
Once you have your materials, the next step is to cut the steel pipe or flat bar to the desired length for your rail. Use a metal-cutting saw or grinder with a cutting wheel for this task. Accurately measure and mark the cutting line to ensure a clean and precise cut. Repeat the process for the wood pieces, using a circular saw or hand saw to cut them to the required dimensions for the base and supports. Remember to wear safety glasses and gloves during this step.
-
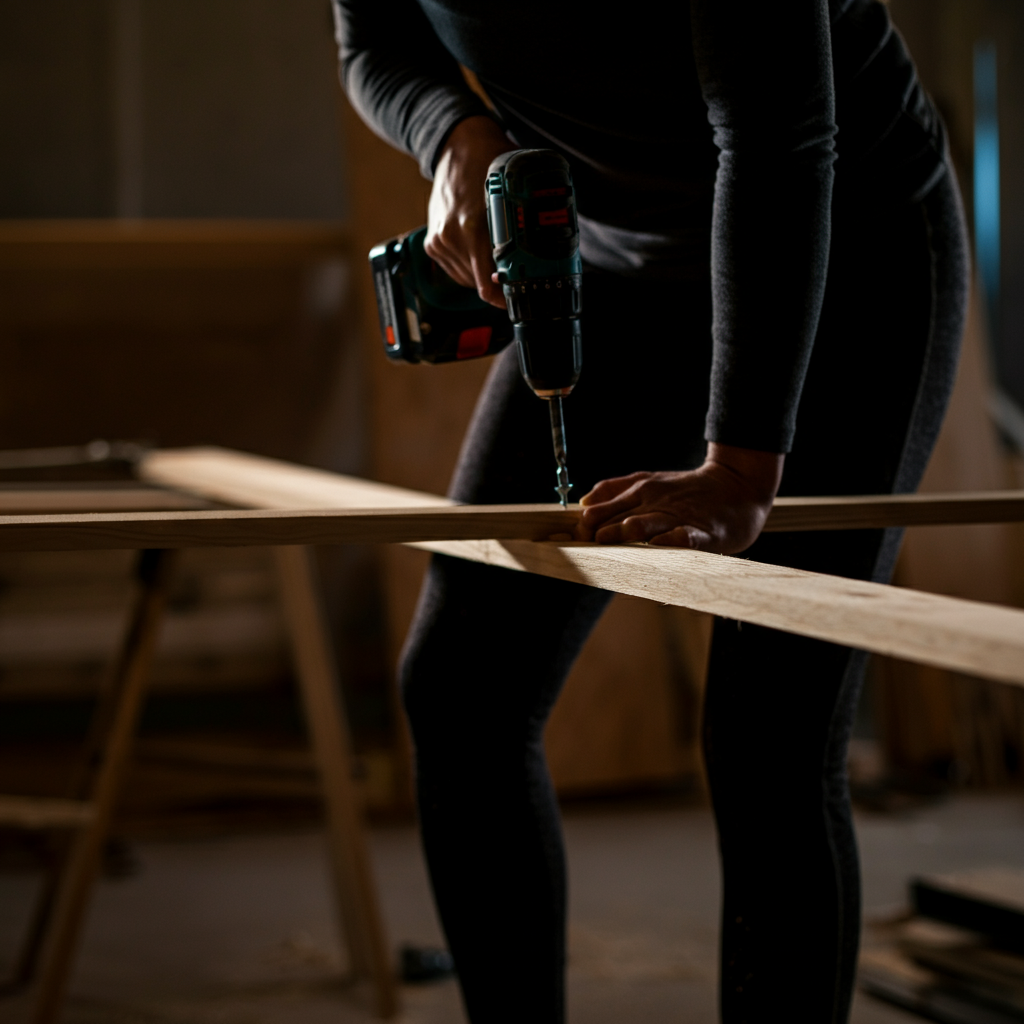
Step 3: Assembling the Base Structure
Now, begin assembling the base structure for your skateboard rail. This typically involves creating a sturdy frame using wood planks, ensuring it is level and stable. Use screws to securely fasten the pieces together, and consider adding additional supports for increased stability. The width of the base is vital for the rail's stability so it shouldn't be too thin.
-
Step 4: Attaching the Legs
The legs provide the height for your rail, allowing for comfortable grinding and sliding. Ensure the legs are securely attached to the base, using screws and/or bolts for maximum strength. Consider the desired height of your rail when determining the length of the legs; a good starting point is around 1 foot. Reinforce the connections with additional wood or metal brackets for added stability.

-
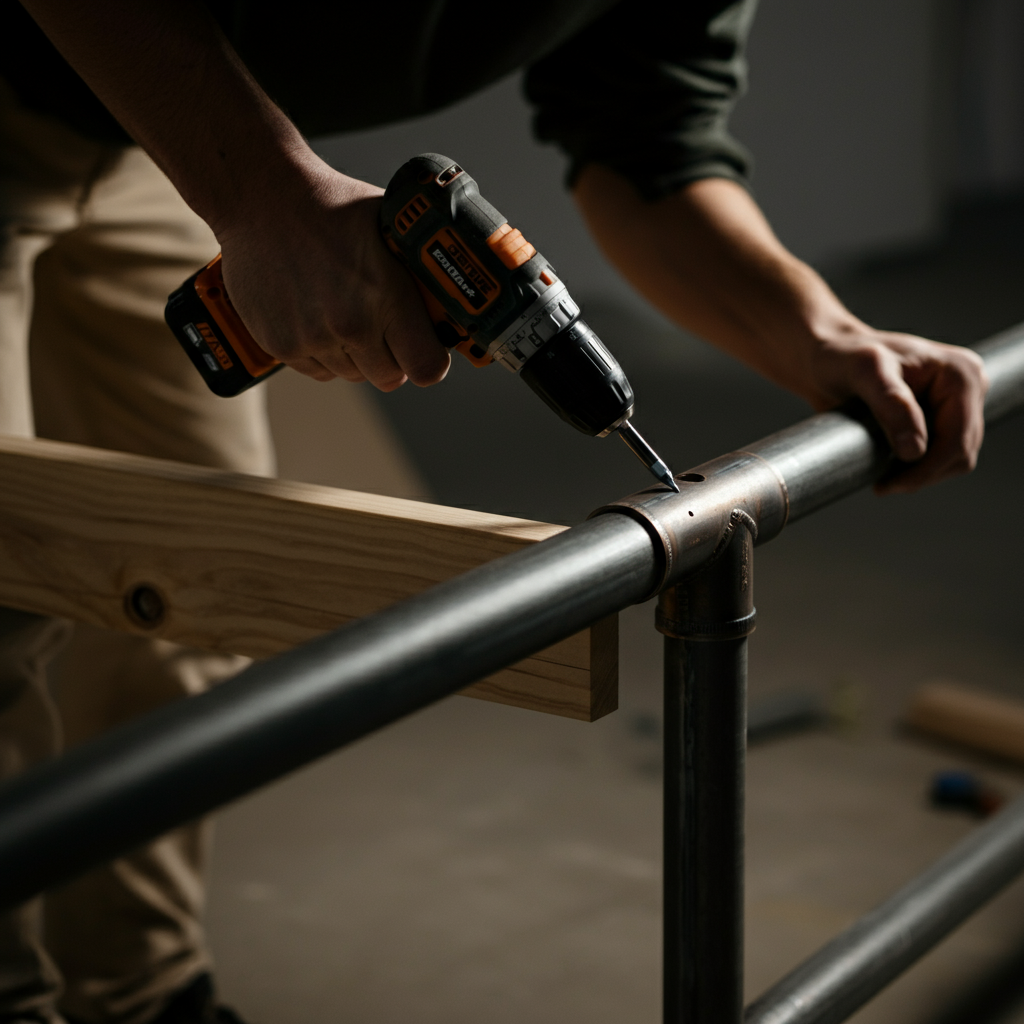
Step 5: Securing the Steel Pipe or Flat Bar
This is the most critical step in the entire process. Properly securing the steel pipe or flat bar to the base will ensure a smooth and safe grinding surface. Use metal screws or bolts to attach the pipe to the supports. Make sure the screws or bolts are countersunk or flush with the surface of the pipe to avoid any obstructions. Apply silicone adhesive where the pipe meets the wood for a firm, lasting grip.
Tools or Materials Required
- Steel pipe (6ft long, 3in diameter) or flat bar
- Pine base planks
- Pine middle planks
- Pine top planks
- Plywood planks
- Screws (various sizes)
- Drill with various drill bits
- Measuring tape
- Pencil
- Metal cutting saw or grinder
- Circular saw or hand saw
- Safety glasses
- Work gloves
- Silicone adhesive
Safety Considerations
When building your skateboard rail, always prioritize safety. Wear safety glasses to protect your eyes from flying debris, and use work gloves to prevent cuts and abrasions. Work in a well-ventilated area when cutting metal, and be mindful of the potential for sparks. Ensure the rail is placed on a stable surface, away from any obstacles or hazards.
Pro Tips
- Wider base for increased stability: The wider the base, the more stable the skateboard grinding rail will be.
- Non-slip foam pads: Add some non-slip foam pads to keep it in place.
- Check for obstructions: Verify that no screws will obstruct the skateboard's progress along the rail.
- Wax the rail: A small amount of wax can also help improve its performance.
Common Mistakes to Avoid
One common mistake is failing to properly measure and cut the materials, resulting in an uneven or unstable rail. Another is using screws that are too long, which can protrude from the surface and pose a safety hazard. Always double-check your measurements and use the appropriate hardware to prevent these issues.