Managing personal or business finances can feel overwhelming, but visualizing your income and expenses is a powerful first step towards control. Numbers, Apple's spreadsheet application, provides a user-friendly environment for creating detailed and insightful finance charts. This guide will walk you through the process of setting up your chart, inputting data, and customizing its appearance for maximum clarity. By the end, you'll have a dynamic tool for tracking your financial health.
Whether you're tracking personal expenses, managing a small business budget, or analyzing investment performance, a well-structured finance chart in Numbers can provide a clear, visual representation of your financial data. This guide assumes a basic familiarity with the Numbers interface, but will provide detailed instructions for each step. Get ready to transform your raw numbers into actionable insights!
We will cover everything from initial table setup to data formatting and styling, ensuring your chart is not only functional but also visually appealing and easy to understand. Let's dive in!
Step 1: Create a New Spreadsheet and Choose a Template (or Start Blank)
To begin, launch Numbers on your Mac or iOS device. You have two primary options: start with a blank template or use a pre-designed template. For a finance chart, a blank template offers the most flexibility in customizing the structure to your specific needs. Click "New Document" and select the "Blank" template to begin. Choosing a blank template gives you complete control over your chart's design and content.

Step 2: Rename Your Table
Immediately after opening the blank template, rename the default table to something descriptive and meaningful. This will help you easily identify the chart later, especially if you have multiple spreadsheets. Double-click on the default table name (usually "Table 1") and enter a new name such as "Personal Finances 2024" or "Business Expenses Q3". A clear and descriptive table name will save you time and prevent confusion in the long run. Consider including a date range or specific category in the name.

Step 3: Define Your Header Rows and Columns
This is where you structure the framework of your finance chart. Think about the key categories you want to track, such as date, description, income source, expense category, and amounts. Create column headers for each of these categories. For example, you might have columns labeled "Date," "Description," "Income," "Expenses," and "Category." Careful planning of your headers is crucial for efficient data entry and analysis. Consider adding sub-categories within income and expenses for more granular tracking.

Step 4: Format the Date Column
Formatting the date column ensures consistency and allows Numbers to properly interpret the dates for calculations and sorting. Select the entire date column by clicking on the column letter (e.g., "A"). Go to the "Format" sidebar on the right side of the Numbers window, and under the "Cell" tab, choose "Date & Time" as the data format. Then, select your preferred date format from the available options. Choosing a consistent date format is crucial for accurate sorting and filtering of your data.

Step 5: Format the Currency Columns
Formatting your income and expense columns as currency is essential for accurate financial tracking. Select the columns that will contain monetary values. In the "Format" sidebar, under the "Cell" tab, choose "Currency" as the data format. You can then customize the currency symbol, decimal places, and negative number display to your preference. Consistent currency formatting prevents errors and ensures accurate calculations.

Step 6: Input Your Financial Data
Now it's time to populate your chart with your actual financial data. Carefully enter each transaction, ensuring you accurately record the date, description, income or expense amount, and category. Be consistent with your categorization to facilitate meaningful analysis later. Accurate and consistent data entry is the foundation of a useful finance chart. Consider using abbreviations or codes for frequently used descriptions to save time.

Step 7: Add Summary Rows (Totals)
To gain a quick overview of your finances, add summary rows to the bottom of your chart. Use the SUM function to calculate the total income, total expenses, and net income (income minus expenses). Select the cell where you want the total to appear, then enter the formula `=SUM(B2:B100)` (replace B2:B100 with the actual range of cells containing your income or expense data). The SUM function is a powerful tool for quickly calculating totals and summaries. Consider using separate summary rows for different categories of income and expenses.

Step 8: Create Charts for Visual Analysis
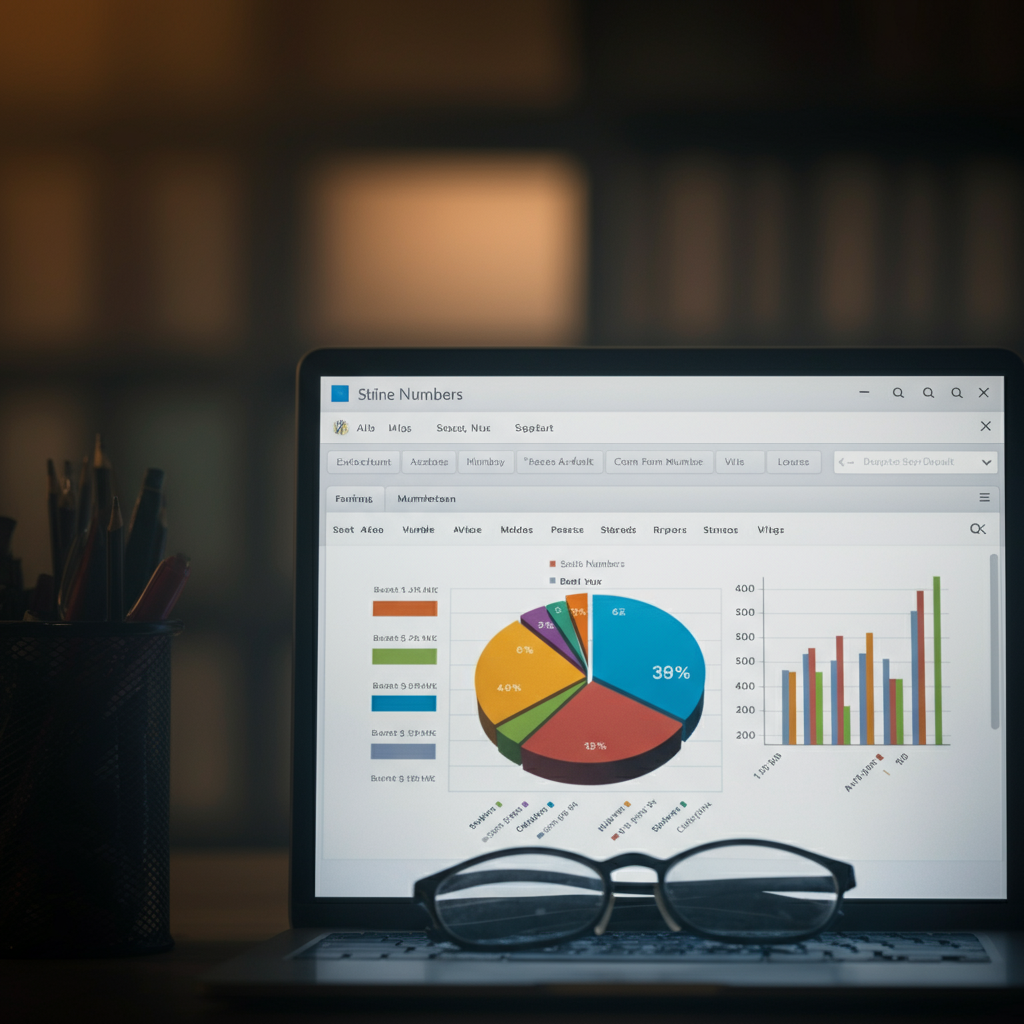
Numbers offers a variety of chart types to visualize your financial data. Select the data you want to chart (e.g., date and expenses) and click the "Chart" button in the toolbar. Choose a chart type that best represents your data, such as a line chart for tracking trends over time or a pie chart for showing the distribution of expenses across categories. Customize the chart's appearance to make it clear and easy to understand. Visualizing your data with charts can reveal trends and patterns that are not immediately apparent from the raw numbers. Experiment with different chart types to find the most effective way to communicate your financial insights.
Step 9: Customize Your Chart's Appearance
Enhance the readability and visual appeal of your chart by customizing its appearance. Use the "Format" sidebar to adjust the font, colors, gridlines, and other visual elements. Add a descriptive title to your chart and label the axes clearly. A well-designed chart is not only visually appealing but also more effective at communicating your financial data. Consider using color-coding to highlight important trends or categories.
Step 10: Save and Regularly Update Your Chart
Once you've created your finance chart, save it to your iCloud Drive or a local folder on your Mac. Make it a habit to regularly update your chart with new financial data. The more consistently you track your finances, the more valuable your chart will become as a tool for managing your money. Regularly updating your finance chart is key to maintaining accurate and insightful financial tracking. Set reminders to ensure you don't fall behind on your data entry.
Tools or Materials Required
- Mac or iOS device with Numbers installed
- Financial records (bank statements, receipts, etc.)
Common Mistakes to Avoid
- Inconsistent data entry (e.g., using different date formats)
- Incorrect formulas for calculating totals and summaries
- Poorly chosen chart types that don't effectively represent the data
- Neglecting to regularly update the chart with new data
Pro Tips
- Use conditional formatting to highlight transactions that meet certain criteria (e.g., expenses exceeding a certain amount).
- Create separate charts for different categories of income and expenses for more detailed analysis.
- Explore the advanced charting features in Numbers, such as scatter plots and bubble charts, for visualizing complex financial data.
FAQ Section
- How do I add a new row to my table?
- Click on any cell in the row below where you want to insert a new row. Then, go to the "Table" menu and select "Insert Row Above" or "Insert Row Below."
- How do I change the chart type?
- Select the chart, then go to the "Chart" tab in the Format sidebar. You can then choose a different chart type from the available options.
- Can I import data from other financial software?
- Yes, Numbers supports importing data from CSV and other spreadsheet formats. Check your financial software's export options.
Conclusion
Creating a finance chart in Numbers is a valuable skill for anyone looking to gain better control over their finances. By following the steps outlined in this guide, you can create a dynamic and insightful tool for tracking your income, expenses, and net worth. Remember to be consistent with your data entry, explore different charting options, and regularly update your chart to stay on top of your financial health. With practice and dedication, you can transform your raw numbers into actionable insights and achieve your financial goals.