Creativity isn't confined to expensive canvases and pristine paints. In fact, some of the most innovative and compelling art emerges from the repurposing of everyday discarded items. Upcycling, the art of transforming waste materials into something new and beautiful, offers a unique opportunity to express yourself, reduce environmental impact, and discover hidden potential in the unexpected. It's about seeing the world with fresh eyes and finding beauty in the mundane.
This guide will walk you through the process of tapping into your inner artist using upcycled materials. We'll cover everything from sourcing your materials and preparing them for use to developing your creative vision and mastering basic techniques. Prepare to be amazed by what you can create from the things you might normally throw away.
Get ready to unleash your imagination and transform trash into treasure!
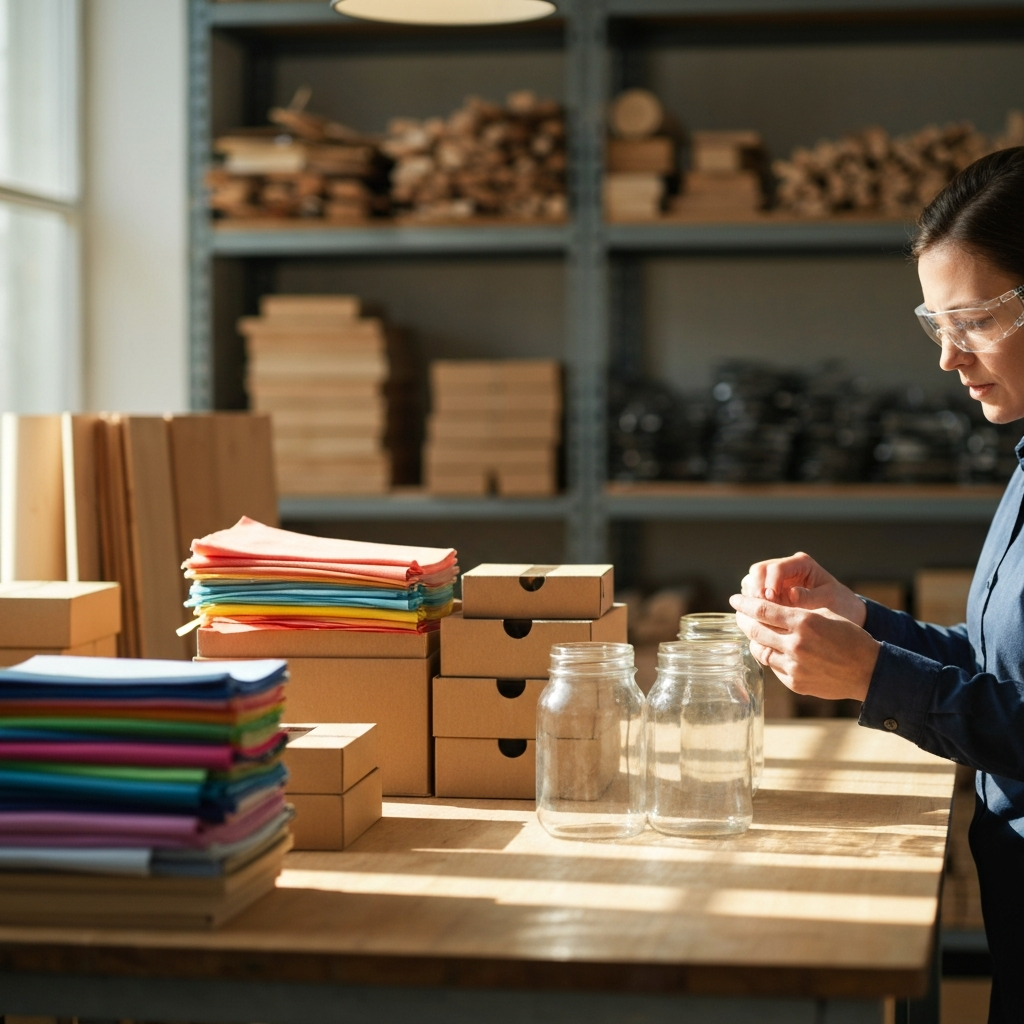
Step 1: Sourcing and Selecting Your Materials
The first step in your upcycling journey is to gather your materials. Look beyond the conventional art supply store and start seeing potential in the things around you. Consider cardboard boxes, plastic bottles, glass jars, old clothing, scrap metal, and even electronic waste. Visit thrift stores, flea markets, and recycling centers for inspiration. Think about the textures, shapes, and colors that appeal to you. For example, corrugated cardboard offers a different texture than smooth cardstock. Choose materials that inspire you and fit your intended project. Don't be afraid to experiment with combinations of different materials. Be mindful of material durability and suitability for your project. Thin plastics might be ideal for lightweight sculptures, while thicker woods work well for furniture accents.
Step 2: Cleaning and Preparing Your Materials
Before you can start creating, it's essential to clean and prepare your chosen materials. Remove any dirt, labels, or residue that might interfere with your artwork. For glass and plastic, warm soapy water works wonders. For fabrics, a cycle through the washing machine is usually sufficient. Be extremely cautious when handling potentially hazardous materials like sharp metal or electronics. Wear gloves and eye protection. If you're using materials that require cutting or shaping, ensure you have the appropriate tools and know how to use them safely. Removing sharp edges is always recommended to avoid injuries. Sanding wooden surfaces will prep them to accept paint and glue in a more secure manner. If working with electronic waste, understand the potential hazards of specific components such as batteries and capacitors.

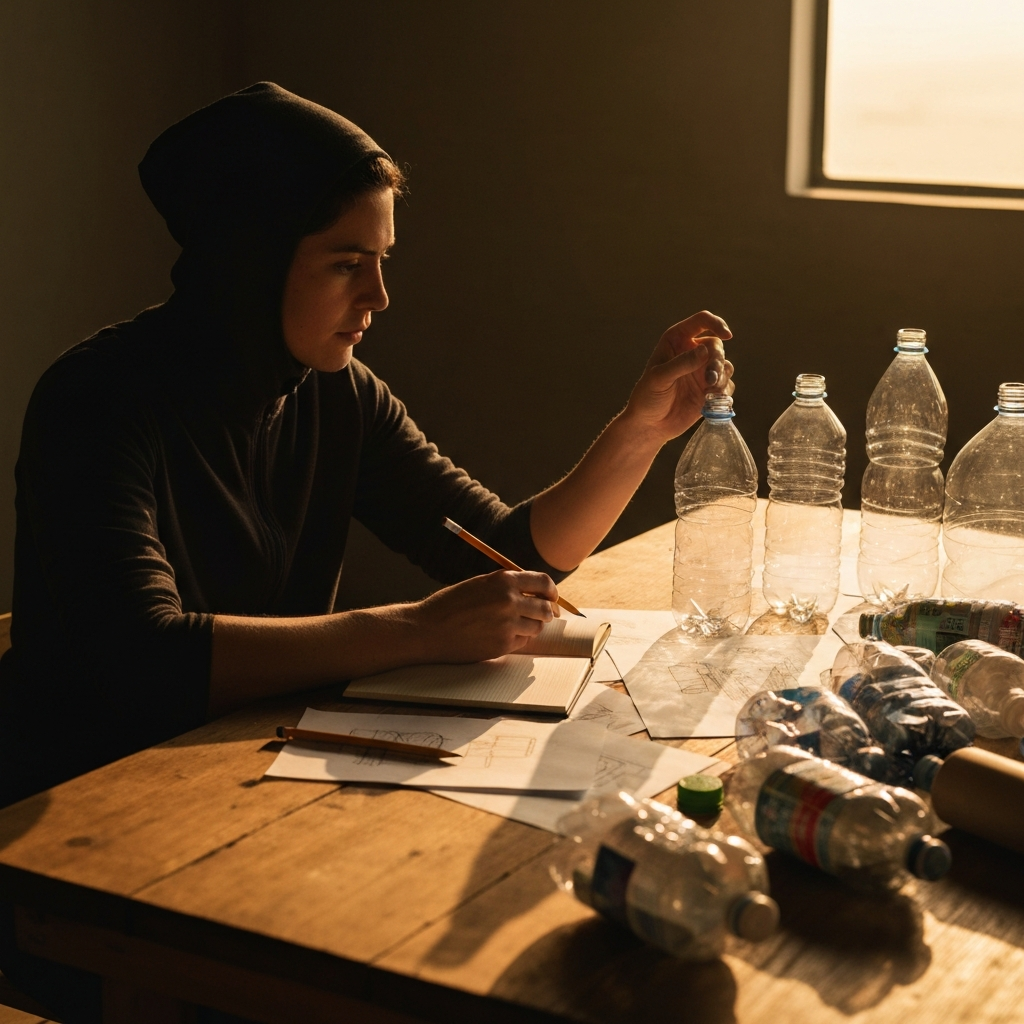
Step 3: Brainstorming and Conceptualizing Your Project
With your materials clean and prepped, it's time to unleash your creativity! Spend some time brainstorming and sketching out your ideas. Don't be afraid to experiment with different concepts and techniques. Ask yourself what you want to create. Do you want to make a sculpture, a painting, a piece of furniture, or something else entirely? Consider the materials you have on hand and how you can use them in innovative ways. Look at other artists who work with upcycled materials for inspiration, but always strive to develop your unique style. Allow your ideas to evolve organically as you work with the materials. Sometimes, the materials themselves will suggest new possibilities. Start with a simple idea if you feel overwhelmed and gradually build up the complexity as you gain confidence.
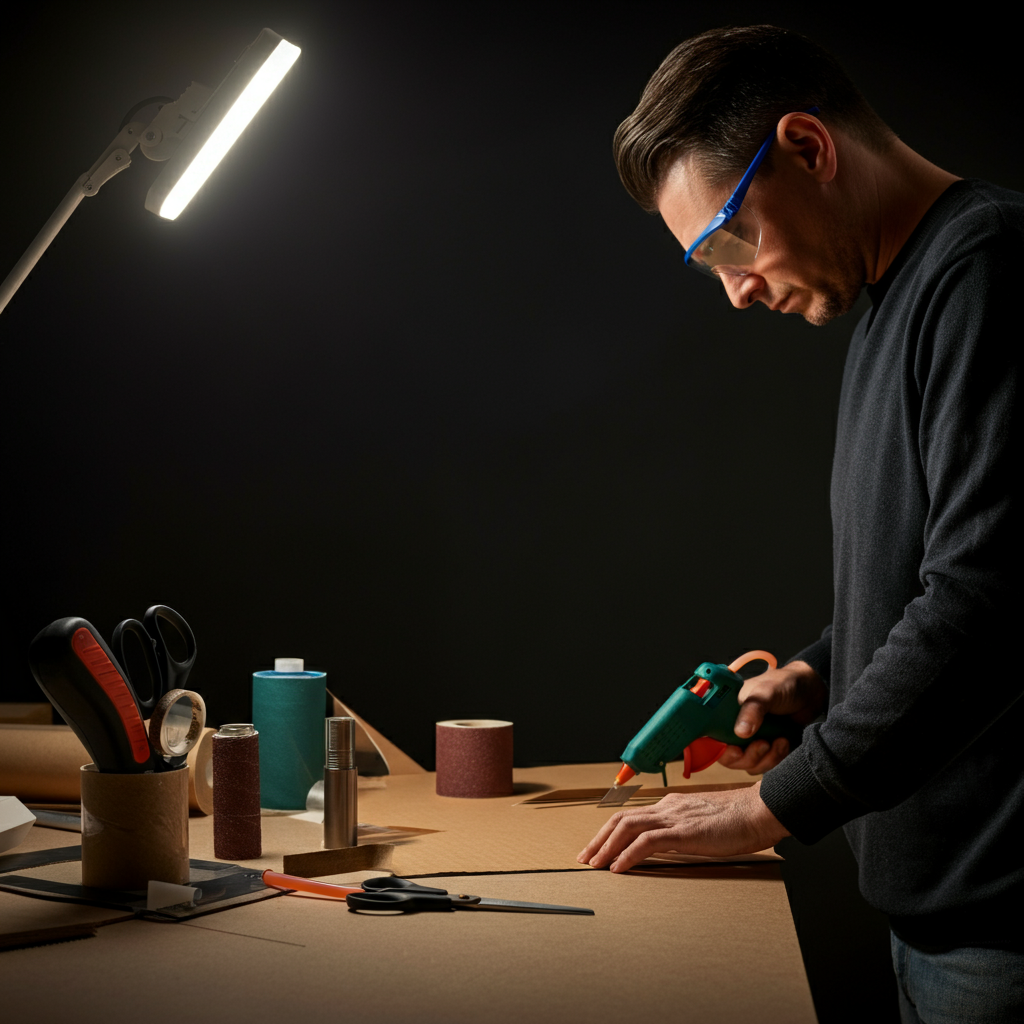
Step 4: Basic Techniques: Cutting, Joining, and Finishing
Mastering a few basic techniques will greatly expand your upcycling possibilities. Cutting materials accurately is crucial, and tools like scissors, craft knives, and saws are essential. When joining materials, consider using glue, screws, nails, or even stitching. The best method will depend on the materials and the desired strength of the bond. For finishing your projects, painting, varnishing, and sealing can add durability and visual appeal. Always test your techniques on scrap material before applying them to your final artwork. Learn about the properties of different adhesives. Epoxy resins provide robust structural bonds but require ventilation. Hot glue is fast and easy to apply but lacks lasting strength. Familiarize yourself with different paint types and select the best one for your materials (e.g., acrylics for plastic, latex for fabric).
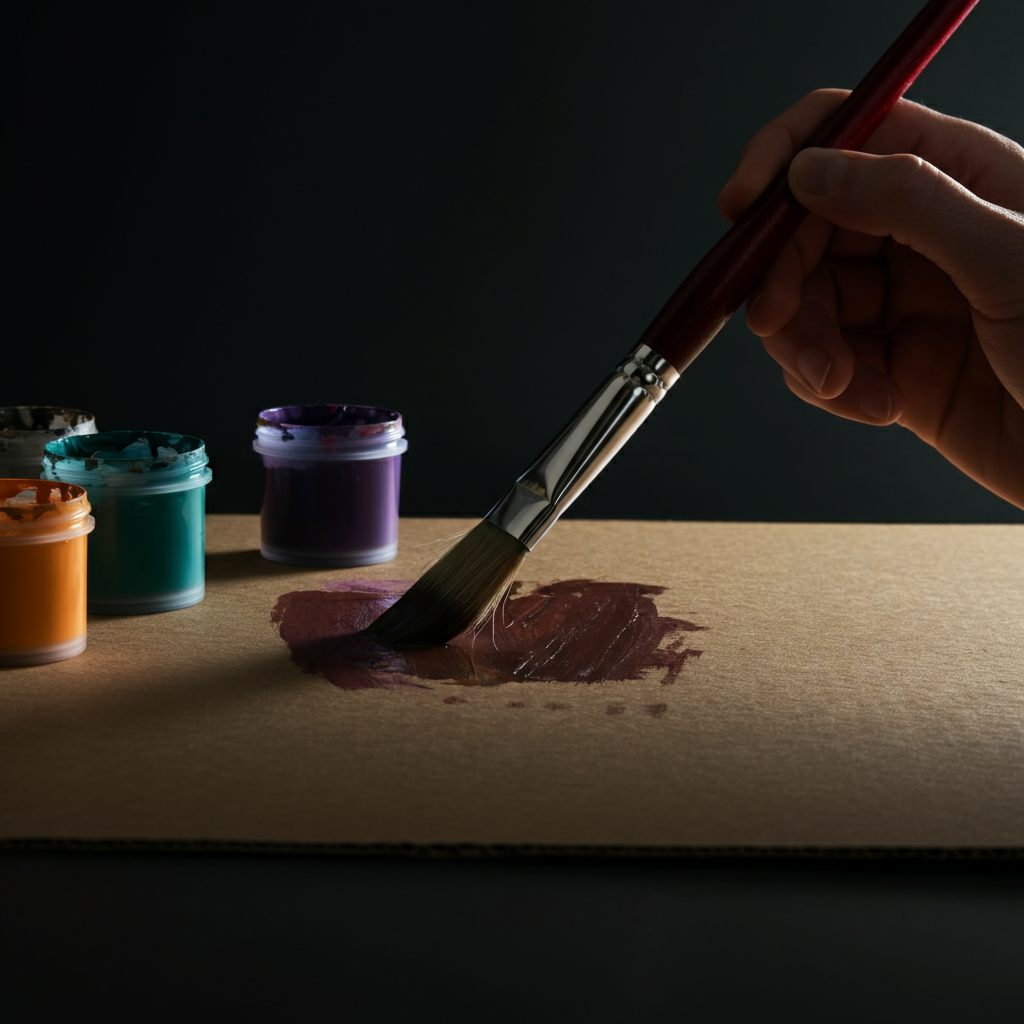
Step 5: Adding Color and Texture
Color and texture are powerful tools for enhancing your upcycled artwork. Experiment with different painting techniques, such as layering, stenciling, and dry brushing. Add texture by incorporating found objects, creating collages, or using textured paints. Don't be afraid to mix and match colors and textures to create unique effects. Consider the overall aesthetic you're aiming for and choose colors and textures that complement your vision. Use color theory to guide your choices and create harmonious combinations. For example, complementary colors (e.g., blue and orange) create a vibrant contrast, while analogous colors (e.g., blue, blue-green, green) create a more subtle and cohesive look. Consider the longevity of your colors. Outdoor art needs weather resistant paints while indoor pieces offer more creative latitude.
Tools or Materials Required
- Scissors
- Craft knife
- Glue (various types)
- Paint
- Brushes
- Sandpaper
- Protective gloves
- Safety Glasses
Safety Considerations
Upcycling involves working with a variety of materials, some of which may pose safety hazards. Always wear protective gloves and eye protection when handling potentially hazardous materials. Use sharp tools with caution and follow manufacturer's instructions. Ensure proper ventilation when working with paints, glues, or other chemicals. Dispose of waste materials responsibly. Never attempt to upcycle materials that are known to be toxic or dangerous, such as asbestos or lead-based paint. If unsure, research the material thoroughly before proceeding.
Pro Tips
- Start with small, simple projects to build your skills and confidence.
- Don't be afraid to experiment and make mistakes.
- Document your projects with photos and notes to track your progress and learn from your experiences.
- Join an upcycling community online or in person to share ideas and get feedback.
FAQ Section
- Where can I find inspiration for upcycling projects?
- Look online, in magazines, and in your everyday surroundings. Pay attention to the shapes, textures, and colors of the objects around you. Visit thrift stores and recycling centers for inspiration.
- What are the best glues to use for upcycling?
- The best glue depends on the materials you're joining. For general purposes, all-purpose craft glue or hot glue is a good choice. For stronger bonds, consider epoxy or wood glue.
- How can I make my upcycled projects more durable?
- Choose high-quality materials, use strong adhesives, and apply a protective finish, such as varnish or sealant.
Conclusion
Upcycling is more than just a craft; it's a mindset. It's about seeing potential where others see waste, and about using your creativity to transform the ordinary into the extraordinary. By embracing the principles outlined in this guide, you can unlock your inner artist and create beautiful, sustainable art from upcycled materials. Remember to prioritize safety, experiment with different techniques, and, most importantly, have fun! The possibilities are endless, and the only limit is your imagination. Now go forth and create!