Have you ever stopped to truly listen to the world around you? Beyond the obvious melodies and rhythms of music, lies a symphony of everyday sounds waiting to be discovered and transformed. From the gentle patter of rain to the mechanical whir of a refrigerator, each sound holds the potential for musical innovation. This guide will show you how to capture, manipulate, and weave these sonic textures into something truly unique and mind-blowing.
This isn't just about sampling; it's about a new way of hearing and interacting with your environment. We'll explore the techniques and workflows that seasoned sound designers and electronic musicians use to unlock the hidden musicality of ordinary objects and events. Get ready to challenge your perceptions and create soundscapes that push the boundaries of what music can be.
Whether you're a seasoned producer or just starting out, this guide will provide the inspiration and practical know-how to turn your sonic imagination into reality. So, grab your recording device, open your ears, and prepare to be amazed at the musical potential that surrounds you.
Step 1: Sound Gathering – The Art of Sonic Exploration
The first crucial step is to gather your raw materials. This involves recording sounds from your environment using a microphone. Consider the quality of your recording equipment; even a basic handheld recorder can produce surprisingly usable results, but a dedicated field recorder will provide superior audio fidelity and control. Explore different locations, times of day, and weather conditions to capture a diverse range of sounds. Think beyond the obvious – the clinking of cutlery, the creaking of a door, the hum of electricity – all can be fodder for musical experimentation.
Don't be afraid to experiment with microphone placement. Close-miking a sound source can capture intimate details, while recording from a distance can add ambience and depth. Remember to monitor your recording levels to avoid clipping or excessive noise. Aim for a clean, clear recording with minimal background interference, though some background texture can be desirable depending on your artistic goals.

Step 2: Sound Selection and Organization
Once you've gathered a collection of recordings, it's time to sift through them and select the sounds that resonate with you. Listen critically and identify elements that have interesting timbral qualities, rhythmic patterns, or harmonic potential. Don't discard sounds simply because they seem "unmusical" at first glance; often, the most unexpected sounds can lead to the most interesting musical results.
Organize your chosen sounds into a logical folder structure based on category (e.g., "Household," "Nature," "Industrial") or sonic characteristics (e.g., "Metallic," "Textural," "Rhythmic"). This will make it much easier to find the sounds you need when you begin the manipulation process. Consider using descriptive filenames that include details about the sound source and recording environment. Accurate labeling is crucial for efficient workflow later on.

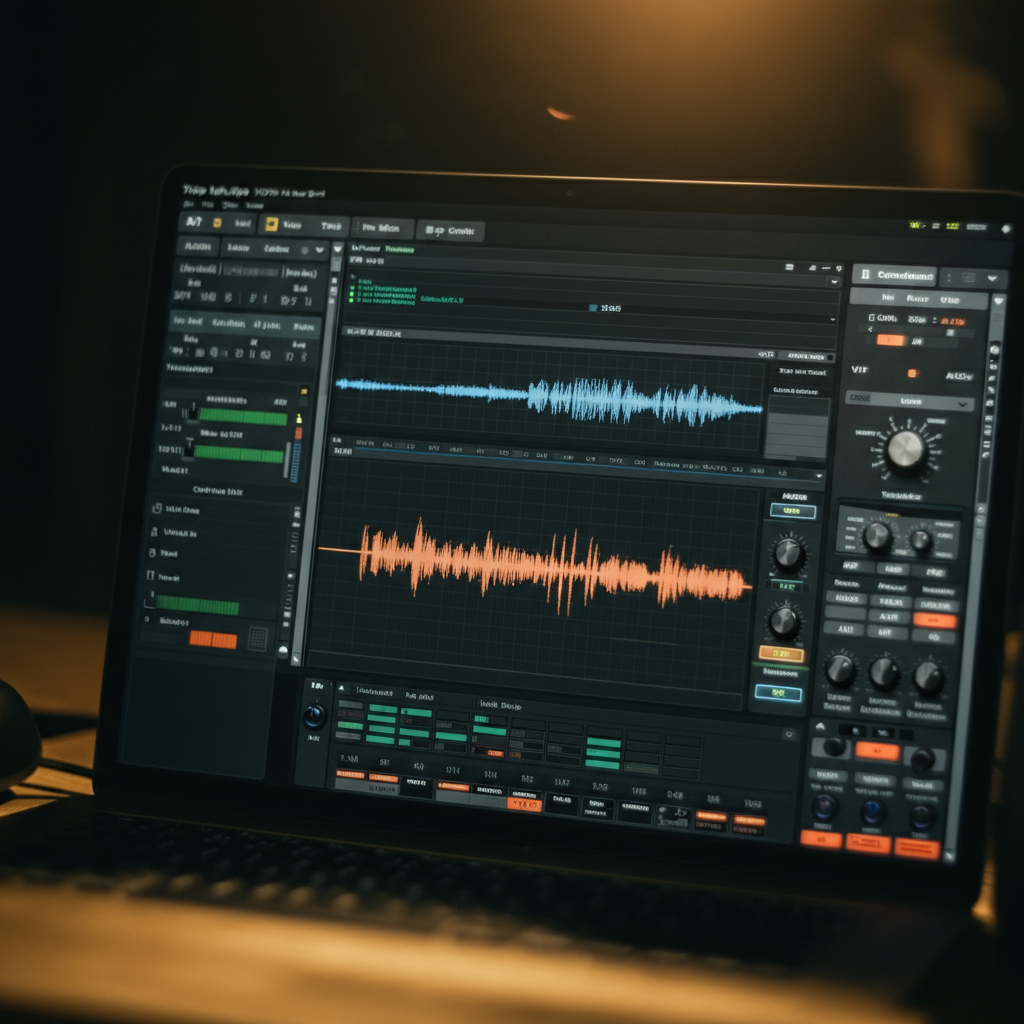
Step 3: Sound Manipulation – The Alchemist's Touch
This is where the magic happens! Import your selected sounds into your Digital Audio Workstation (DAW) of choice. Explore the various audio editing and processing tools at your disposal. Experiment with pitch shifting, time stretching, filtering, reverb, delay, distortion, and other effects to radically transform the sounds. The key is to be creative and unafraid to experiment. There are no "right" or "wrong" ways to manipulate a sound – the goal is to find interesting and musically compelling transformations.
Try layering multiple sounds together to create composite textures. Use EQ to sculpt the frequency content of each sound, ensuring that they blend harmoniously. Experiment with automation to create evolving soundscapes and dynamic rhythmic patterns. Consider using granular synthesis techniques to break down sounds into tiny fragments and reassemble them in new and unexpected ways. Remember to save multiple versions of your manipulated sounds, as you never know when an earlier iteration might prove useful.
Step 4: Rhythmic Construction
Even seemingly amorphous sounds can be shaped into rhythmic structures. Use your DAW's slicing and quantizing tools to extract rhythmic elements from your recordings. Try creating drum patterns using unconventional sound sources, such as the clatter of keys or the whoosh of wind. Experiment with different time signatures and groove templates to add complexity and nuance to your rhythms.
Consider using sidechain compression to create a "pumping" effect, where certain sounds duck in volume in response to a rhythmic trigger. This can add a sense of energy and movement to your tracks. Don't be afraid to layer multiple rhythmic patterns on top of each other, creating polyrhythmic textures that are both complex and engaging. Remember to vary the intensity and complexity of your rhythms to create a dynamic and evolving musical experience.

Step 5: Melodic and Harmonic Exploration
While many everyday sounds may not inherently possess melodic or harmonic content, it's possible to extract or create these elements through careful manipulation. Use pitch-shifting and harmonizing effects to create melodies from noise or rhythmic sounds. Consider using your DAW's sampler to assign sounds to different keys on a MIDI keyboard, allowing you to play them as melodic instruments.
Experiment with creating chords and harmonic progressions using your manipulated sounds. Layering sounds with slightly detuned pitches can create rich and complex harmonies. Don't be afraid to break the rules and experiment with unconventional harmonies. The goal is to create a unique and engaging sonic landscape that defies traditional musical conventions. Consider using pitch correction software subtly to refine melodies derived from non-pitched sources, but be careful not to over-correct and lose the original character of the sound.

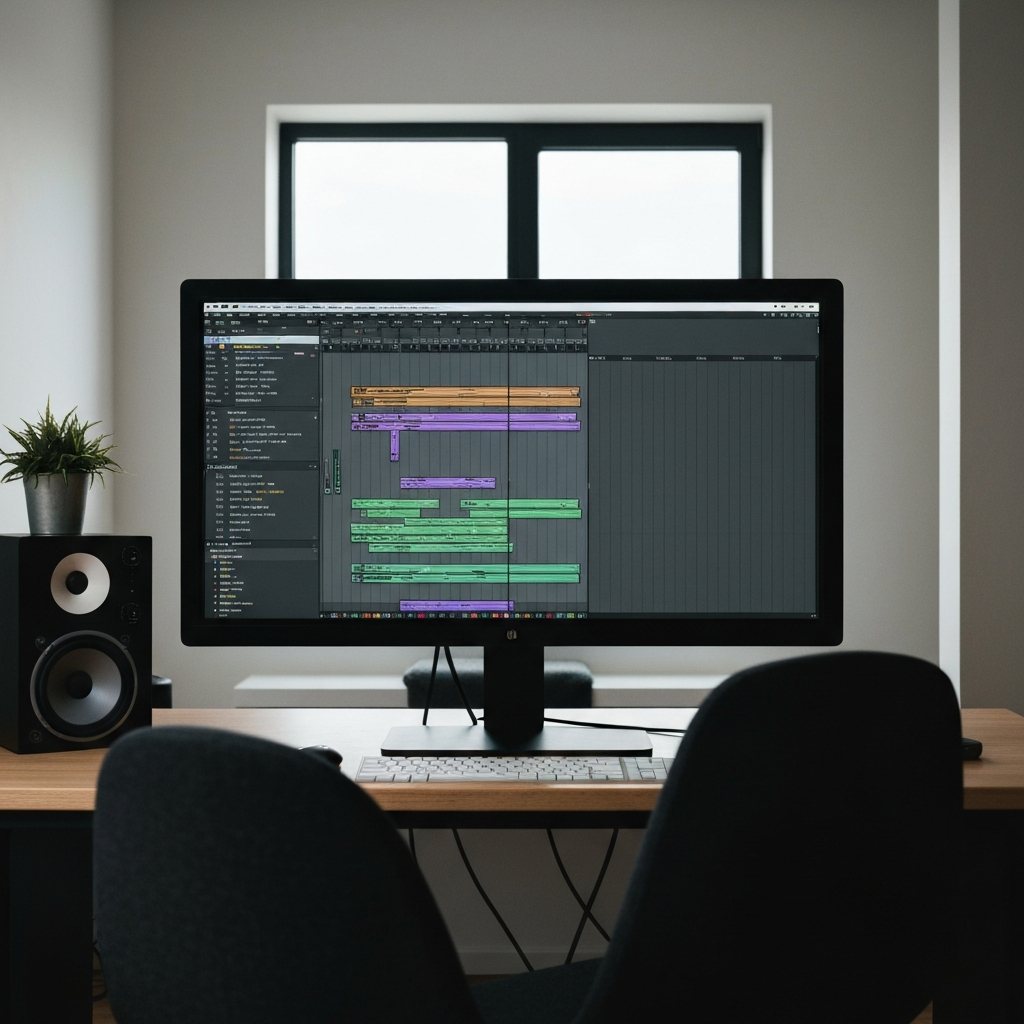
Step 6: Arrangement and Structure
Once you've created a collection of rhythmic, melodic, and textural elements, it's time to arrange them into a cohesive musical structure. Think about how you want your piece to unfold over time. Consider using traditional song structures (e.g., verse-chorus) as a starting point, but don't be afraid to experiment with more unconventional arrangements.
Pay attention to the dynamics and pacing of your piece. Use automation to create evolving textures and dramatic shifts in intensity. Experiment with different transitions between sections, using techniques such as fades, filters, and rhythmic breaks. Remember to leave space for the sounds to breathe. A well-arranged piece will have a clear sense of direction and purpose, guiding the listener through a captivating sonic journey. Ensure the mix is balanced, with each element contributing to the overall sound without overpowering others.
Step 7: Mixing and Mastering – Polishing Your Sonic Gem
The final step is to mix and master your track, ensuring that it sounds its best on a variety of playback systems. Pay attention to the overall balance of the mix, ensuring that each element is clearly audible without overpowering the others. Use EQ to sculpt the frequency content of each sound, removing any unwanted resonances or muddiness. Use compression to control the dynamics and add punch to your sounds.
Add reverb and delay to create a sense of space and depth. Use panning to create a wide and immersive stereo image. Once you're happy with the mix, it's time to master the track. Mastering involves making subtle adjustments to the overall volume, EQ, and dynamics of the track to ensure that it sounds consistent and professional. Consider using a mastering engineer for this final stage, as they have the expertise and equipment to bring out the best in your track. A well-mixed and mastered track will sound polished, professional, and ready for the world.