That annoying rattle in your car – is it driving you nuts? You're not alone. Diagnosing automotive noises can be tricky, even for seasoned mechanics. Rattles, in particular, can be incredibly frustrating because they can be caused by a myriad of issues, from loose trim to failing suspension components. But don't despair! With a systematic approach and a little patience, you can track down the culprit and silence that infernal noise.
This guide will walk you through a comprehensive step-by-step process to identify and address the source of your car's mysterious rattle. We'll cover everything from initial assessment to targeted inspection, providing practical tips and expert insights along the way. Remember safety first – always prioritize your well-being when working on your vehicle.
Ready to get started? Let's dive in and reclaim your peaceful driving experience.
Step 1: Gathering Information & Initial Assessment
Before you start tearing apart your car, take some time to gather information about the rattle. The more details you have, the easier it will be to pinpoint the source. Ask yourself the following questions: When does the rattle occur? Only at certain speeds? Over bumps? When turning? Is it constant or intermittent? Where does the rattle seem to be coming from – front, rear, left, right, or underneath? What kind of sound is it – a high-pitched squeak, a low-frequency thud, or something else entirely? Try to be as specific as possible. Note the conditions that trigger the rattle. Does it only happen when the engine is cold? Only when the air conditioning is on? Any and all details could be significant.

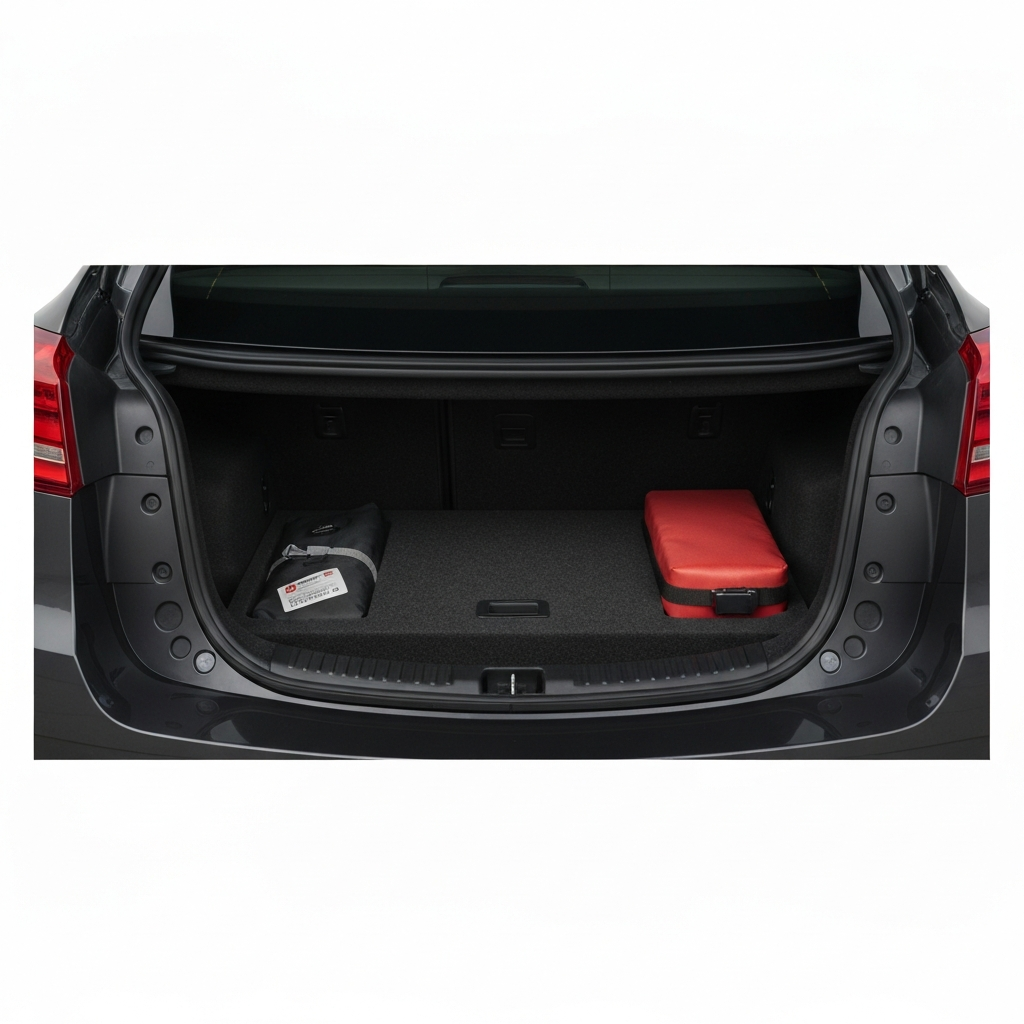
Step 2: Emptying the Vehicle & Securing Loose Items
This might sound obvious, but often the simplest solutions are overlooked. Start by completely emptying your vehicle. Remove everything from the glove compartment, center console, door pockets, and trunk. Check under the seats for loose objects. Secure any items that are known to rattle, like sunglasses in their case or loose change. Ensure your spare tire is properly secured and inflated. A surprising number of rattles are caused by everyday items bouncing around in the car. Even seemingly innocuous objects can generate significant noise when amplified by the vehicle's acoustics.
Step 3: Test Drive with a Purpose
Now that you've emptied the car, it's time for a test drive. This isn't just a casual cruise; you need to actively listen for the rattle and try to isolate its location. Have a friend or family member ride with you, if possible. They can help you pinpoint the source of the noise while you focus on driving safely. Drive on different road surfaces to see if the rattle changes. Try accelerating, braking, and turning to see if these actions affect the noise. Pay close attention to the suspension – does the rattle get worse when you go over bumps? Try to duplicate the situation(s) that cause the rattle. A structured approach will help you isolate the area causing the noise.

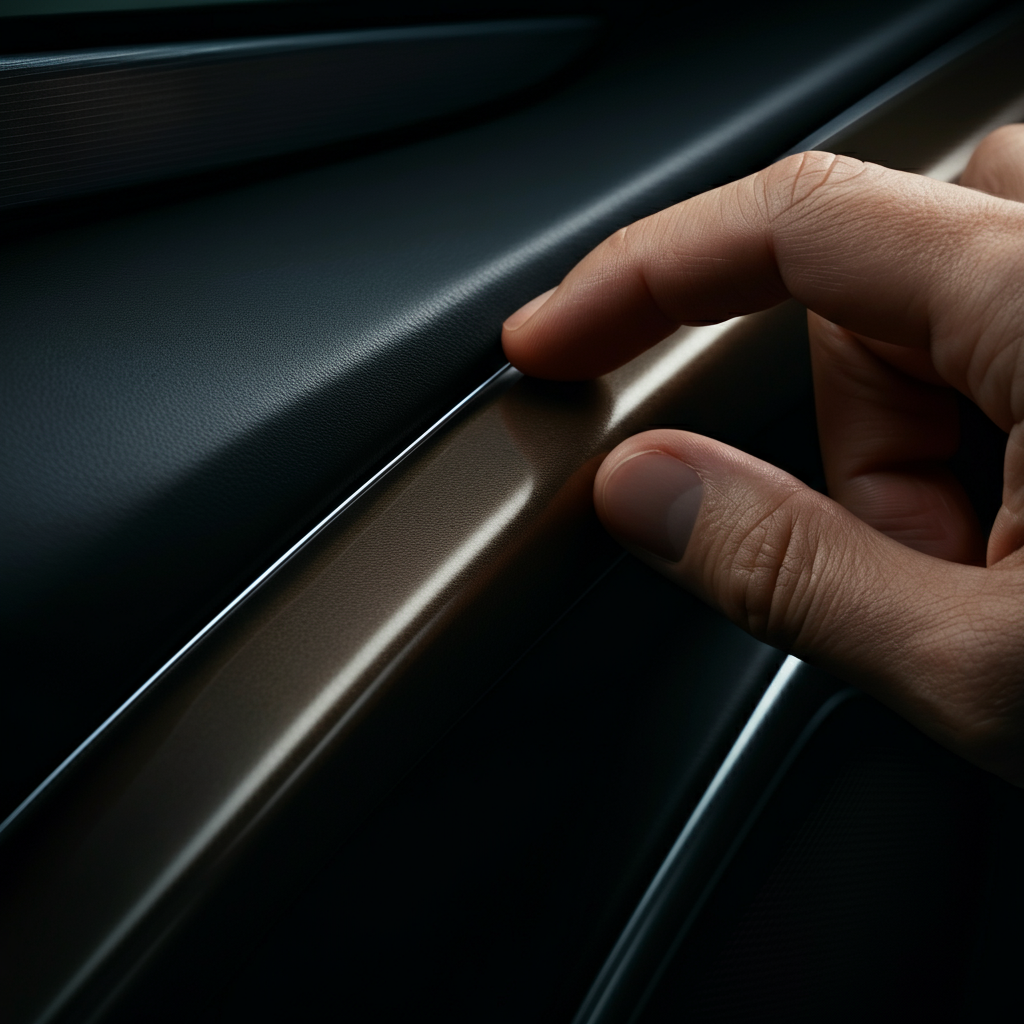
Step 4: Inspecting Interior Trim and Panels
Rattles are frequently caused by loose interior trim. Start by checking the dashboard, door panels, headliner, and center console. Gently press on these areas to see if you can replicate the rattle. Look for loose screws, clips, or fasteners. If you find any, tighten them or replace them as needed. Pay attention to areas where plastic panels meet – these are common sources of squeaks and rattles. You can often eliminate these noises by inserting small pieces of felt or foam between the panels. Don't overtighten plastic screws, as you can strip the threads.
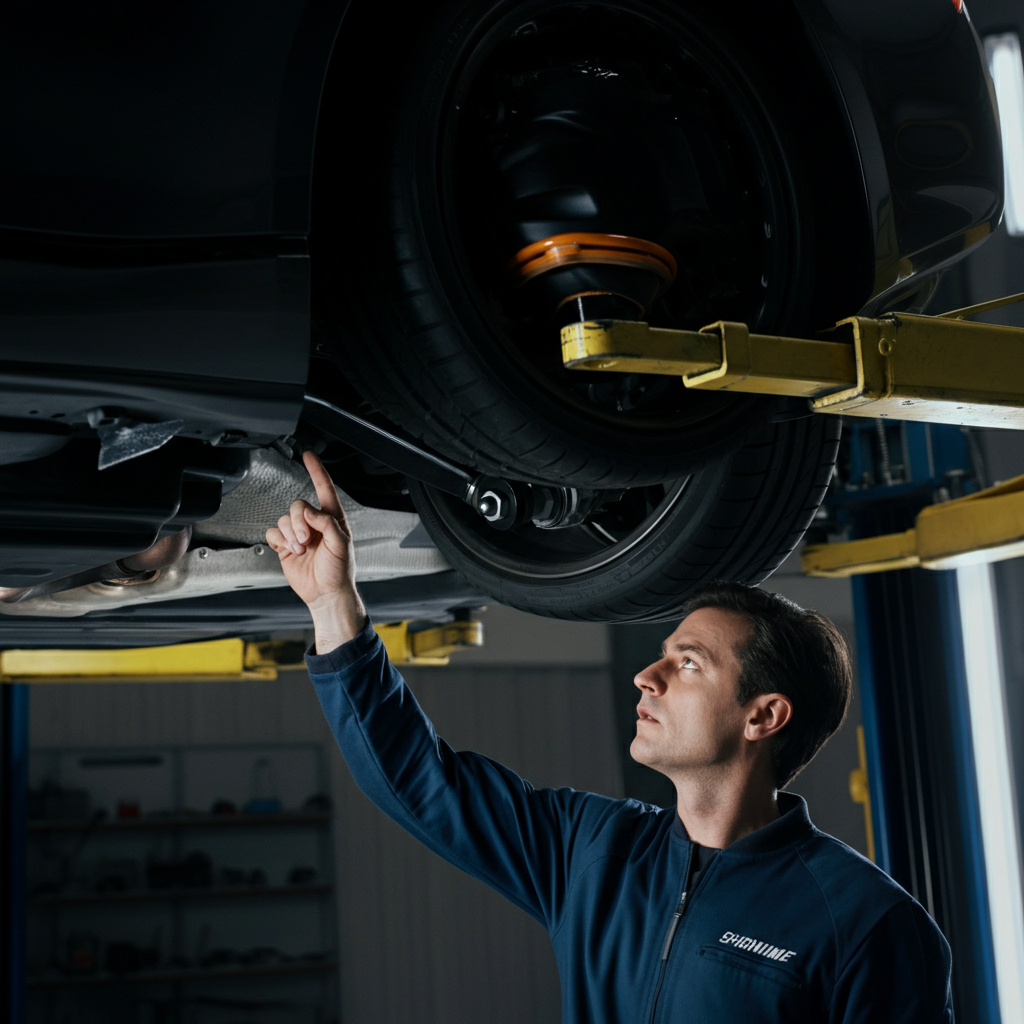
Step 5: Checking the Suspension System
If the rattle seems to be coming from underneath the car, the suspension system is a prime suspect. Inspect the shocks, struts, sway bar links, and bushings for signs of wear or damage. Look for leaks, cracks, or excessive play. Try to wiggle each component to see if you can reproduce the rattle. Worn suspension components can cause a variety of noises, including rattles, clunks, and squeaks. A visual inspection may not reveal all problems; a qualified mechanic can perform a more thorough inspection. Be very cautious when working under a car. Use jack stands to support the vehicle safely.
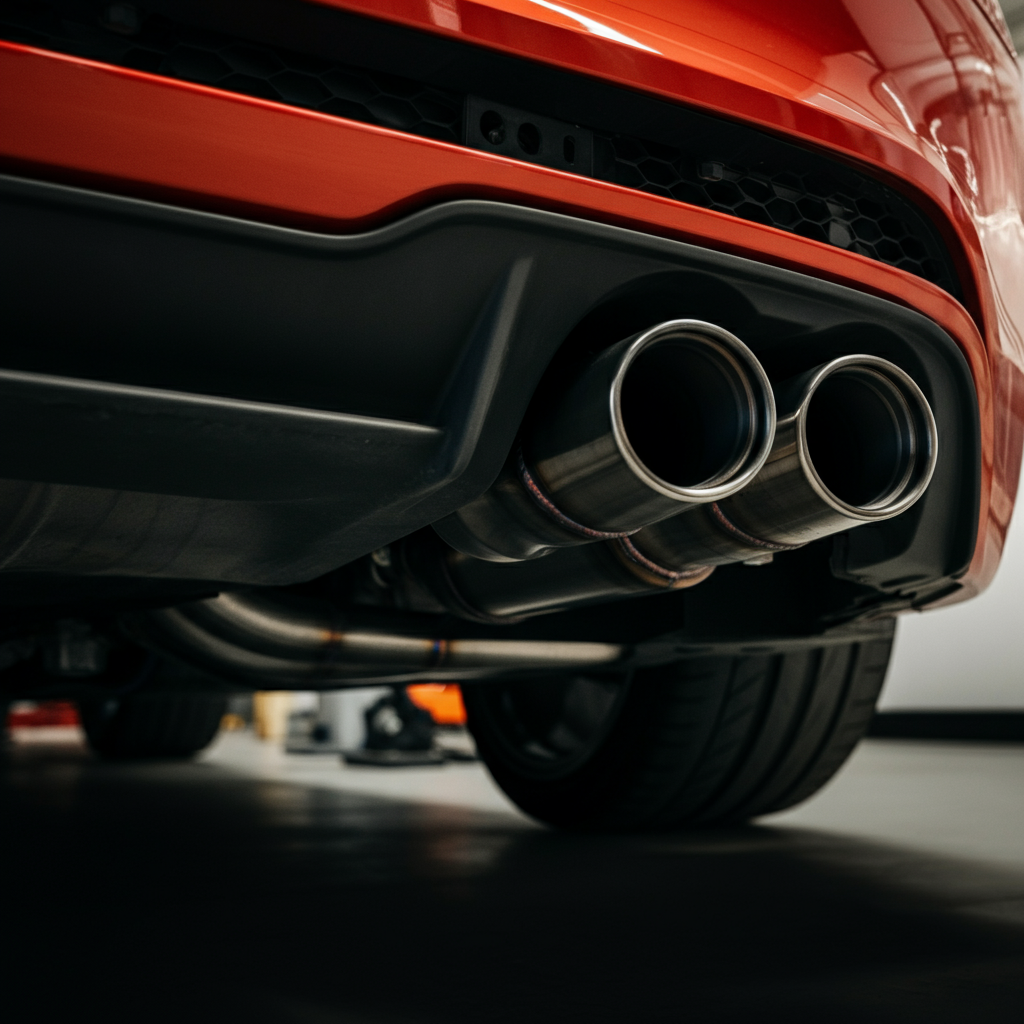
Step 6: Examining the Exhaust System
The exhaust system is another common source of rattles. Check the exhaust pipes, muffler, and catalytic converter for loose brackets, hangers, or heat shields. These components can vibrate against the chassis, creating a rattling noise. Heat shields are particularly prone to rattling, as they are thin and can easily become detached. Also check for rust or corrosion, which can weaken the exhaust system and cause it to vibrate more. Be careful when working around the exhaust system, as it can be very hot, even after the engine has been turned off for a while.
Step 7: Investigating Engine Bay Components
Rattles originating from the engine bay can be tricky to diagnose. Check for loose hoses, wires, or brackets. Pay close attention to the air intake system, as loose air filter housings or ductwork can cause significant noise. Also inspect the engine mounts – worn engine mounts can allow the engine to vibrate excessively, which can translate into a rattle. Exercise extreme caution when working around a running engine. Avoid wearing loose clothing or jewelry that could get caught in moving parts. If you're not comfortable working in the engine bay, it's best to consult a qualified mechanic.