That unsettling clunk, whine, or screech emanating from your vehicle can send shivers down your spine – and empty your bank account if you rush to the mechanic without doing some detective work first. Modern cars are complex machines, and pinpointing the source of an unusual sound requires a systematic approach. Don't let fear of the unknown lead to unnecessary repairs! This guide will equip you with the knowledge to identify common car noises, helping you understand the potential problem and discuss it intelligently with your mechanic.
By becoming a sound sleuth, you'll save time and money. A preliminary diagnosis can prevent mechanics from embarking on costly fishing expeditions. You'll be able to describe the sound accurately, its conditions of occurrence, and any accompanying symptoms. This targeted information empowers the mechanic to focus on the true source of the problem, streamlining the repair process.
This guide is designed to be accessible for car owners of all skill levels. We'll break down the process into manageable steps, covering everything from initial observation to basic troubleshooting. Remember, safety is paramount. If you're uncomfortable performing any of these steps, consult a qualified mechanic. With a little patience and careful observation, you can confidently diagnose that car sound and take control of your vehicle's repair.
Step 1: Listen Carefully and Note the Details
The first step is simply to listen. Pay close attention to the sound itself. What does it sound like? Is it a whine, a clunk, a screech, a rumble, or something else entirely? When do you hear it? Is it present all the time, or only under certain conditions, such as when accelerating, braking, turning, or driving over bumps? Where does the sound seem to be coming from – the engine, the wheels, underneath the car, or somewhere else? Does the sound change with engine speed or vehicle speed? Note any accompanying symptoms, such as vibrations, changes in handling, or warning lights on the dashboard. The more detail you can gather, the better.
Step 2: Check Under the Hood (Engine Running)
With the engine running (and the parking brake firmly engaged!), carefully open the hood and listen for the sound's source. Be extremely cautious around moving parts like belts and pulleys. A long screwdriver or mechanic's stethoscope can help pinpoint the sound. Place one end of the screwdriver on various engine components (alternator, water pump, etc.) and the other end to your ear. The screwdriver will amplify the sound, making it easier to identify the source. Never touch moving parts with the screwdriver! Look for visual clues, such as leaks, frayed belts, or loose components, that might correlate with the sound.

Step 3: Inspect the Wheels and Brakes
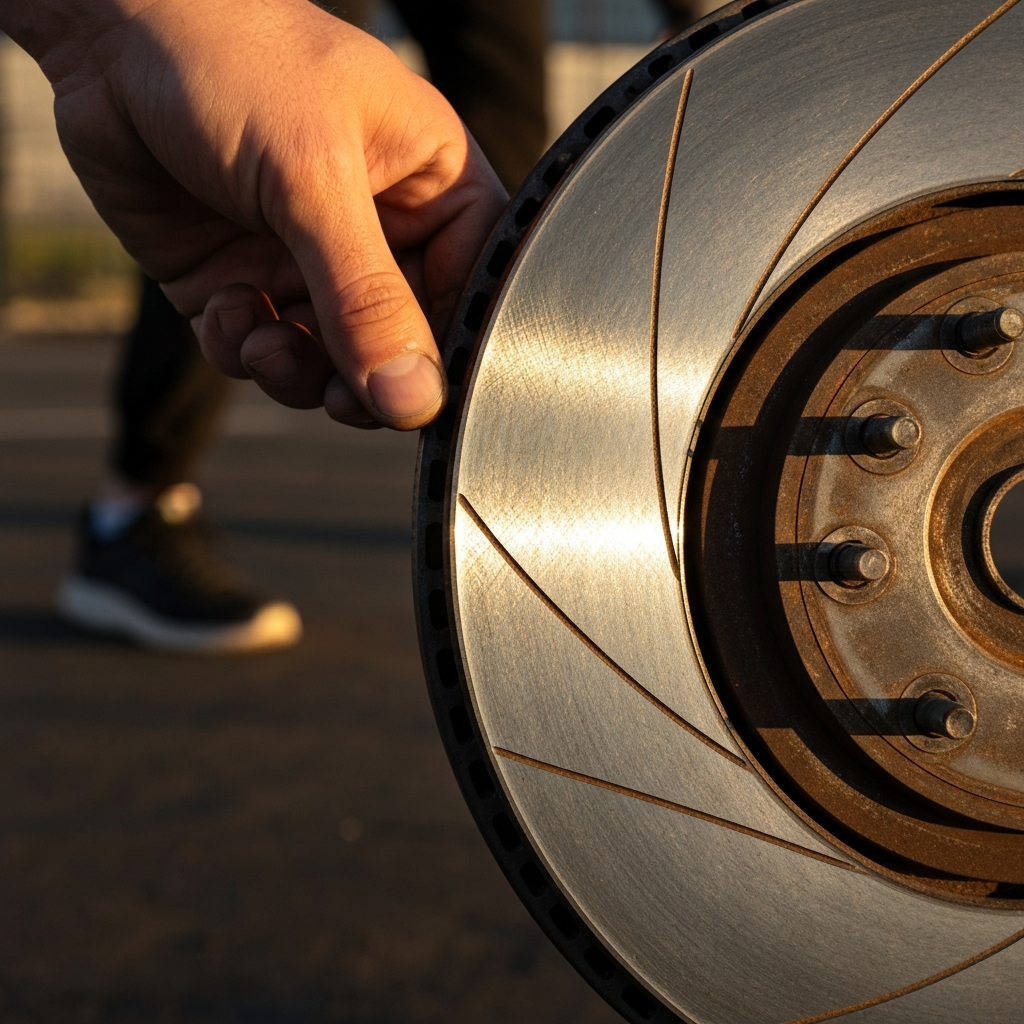
A common source of car noises is the wheels and braking system. With the vehicle safely raised on a jack and secured with jack stands, spin each wheel by hand. Listen for any grinding, scraping, or clicking sounds. Pay attention to whether the sound is consistent or intermittent. Remove the wheels and inspect the brake pads, rotors, and calipers. Look for excessive wear, scoring, or damage. Check the brake lines for leaks. If you hear a scraping sound that changes with wheel speed, it could be worn brake pads, a warped rotor, or a foreign object caught in the brake assembly. A clicking sound could indicate a worn CV joint.
Step 4: Evaluate the Suspension
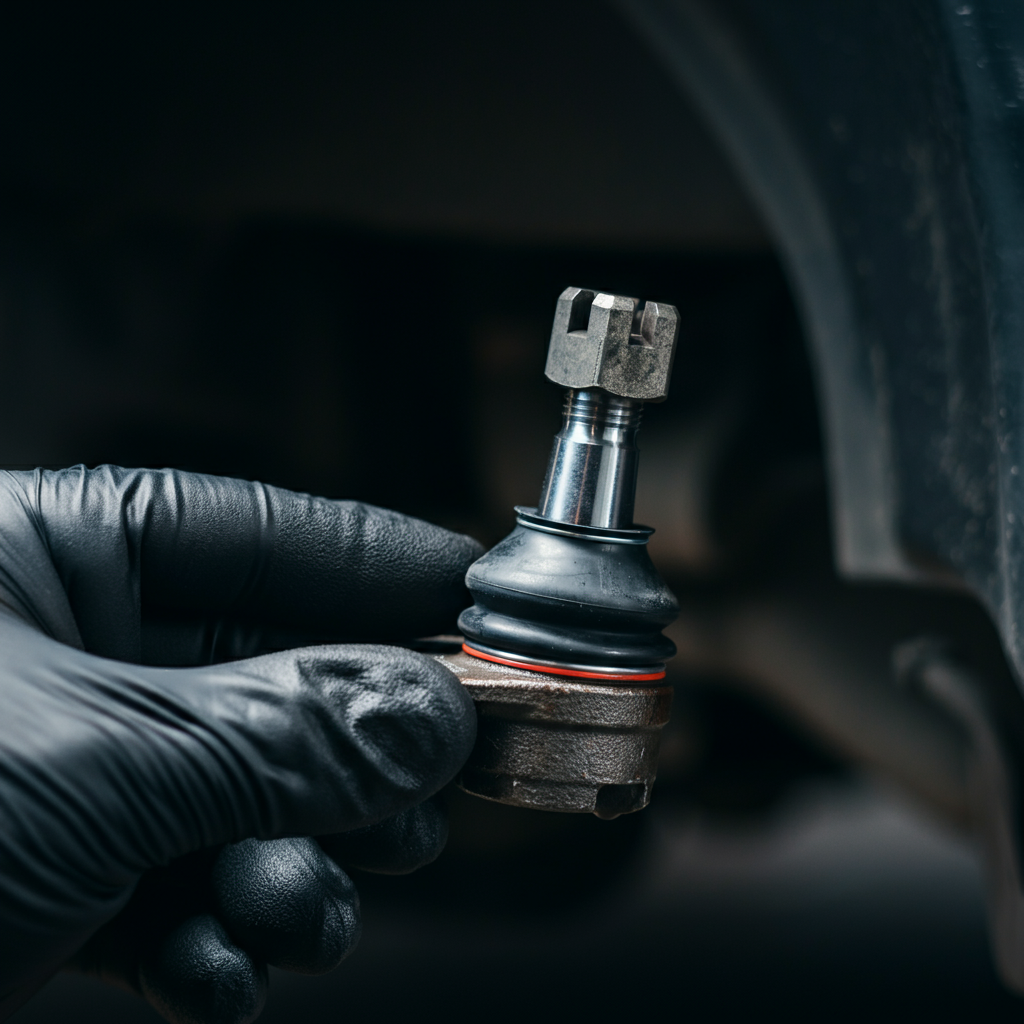
Suspension problems often manifest as clunking, rattling, or squeaking noises, especially when driving over bumps. Inspect the shocks, struts, springs, ball joints, tie rod ends, and sway bar links. Look for signs of wear, damage, or looseness. Worn or damaged suspension components can not only cause noise but also compromise handling and safety. A bouncing test can help identify weak shocks or struts – push down firmly on each corner of the vehicle and observe how many times it bounces before settling. Excessive bouncing indicates a suspension problem.
Step 5: Check the Exhaust System
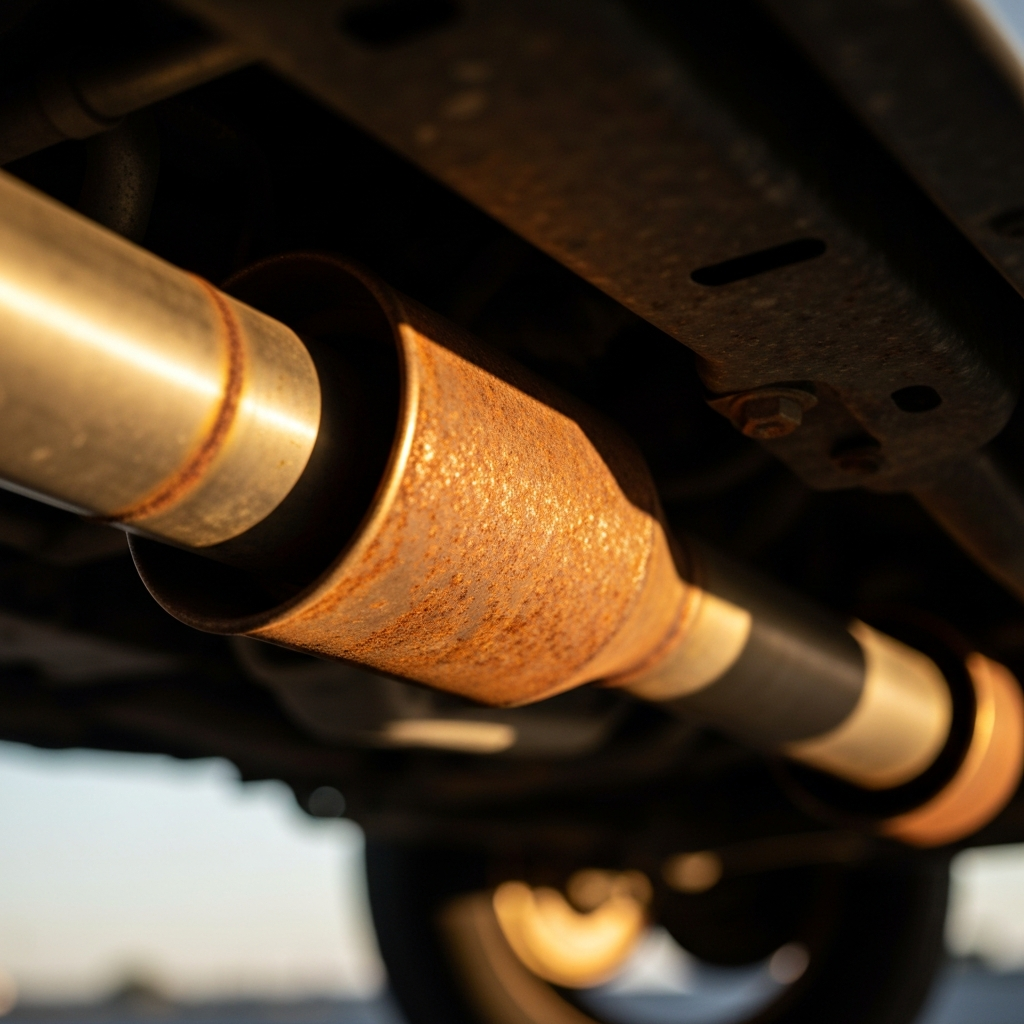
Exhaust leaks can create a variety of noises, from a subtle hissing to a loud roar. Start the engine and listen for exhaust leaks, paying particular attention to the connections between exhaust components (manifold, catalytic converter, muffler, tailpipe). A cold engine is best for this test, as you can often feel the escaping exhaust gases. Inspect the exhaust system for rust, damage, or loose connections. A visual inspection may reveal holes or cracks, especially near welds. Be careful when handling exhaust components, as they can get very hot.
Step 6: Drive and Diagnose
If you've narrowed down the possibilities but haven't pinpointed the exact source, take the car for a test drive. Pay attention to the sound under different conditions – accelerating, braking, turning, and driving at various speeds. Does the sound change or disappear under certain conditions? Does it get better or worse as the engine warms up? These observations can provide valuable clues. For example, a whining noise that increases with engine speed might indicate a problem with the power steering pump or alternator. A clunking noise that occurs only when turning could be a worn CV joint or ball joint.

Tools or Materials Required
- Jack and jack stands
- Wheel chocks
- Screwdriver (various sizes)
- Mechanic's stethoscope (optional)
- Wrench set
- Socket set
- Gloves
- Safety glasses
- Flashlight or work light
Safety Considerations
- Always use jack stands when working under a vehicle. Never rely solely on a jack.
- Wear safety glasses to protect your eyes from debris.
- Disconnect the negative battery terminal before working on electrical components.
- Be cautious around hot engine parts and exhaust components.
- Work in a well-ventilated area.
Common Mistakes to Avoid
- Ignoring the sound for too long, hoping it will go away. This can lead to more serious and expensive repairs.
- Misdiagnosing the sound based on assumptions rather than careful observation.
- Overlooking visual clues that might correlate with the sound.
- Attempting repairs beyond your skill level.
Pro Tips
- Record the sound with your smartphone. This can be helpful for showing the sound to a mechanic.
- Search online forums and YouTube for similar sounds and potential diagnoses.
- Consider using a sound meter app to measure the sound's intensity and frequency.
FAQ Section
Q: My car is making a squealing noise when I start it. What could it be?
A: This is often caused by a loose or worn serpentine belt. Check the belt for cracks, fraying, or glazing. If the belt appears to be in good condition, try tightening it slightly. If the noise persists, the belt may need to be replaced.
Q: I hear a clunking noise when I drive over bumps. What could be the cause?
A: This could be caused by worn or damaged suspension components, such as shocks, struts, ball joints, or sway bar links. Inspect these components for signs of wear or looseness.
Q: My brakes are making a grinding noise. Is this serious?
A: Yes, this is often a sign that your brake pads are worn down to the metal. Continuing to drive with worn brake pads can damage the rotors and lead to more expensive repairs. Have your brakes inspected immediately.
Conclusion
Diagnosing car sounds can seem daunting, but by following these steps, you can become a more informed and proactive car owner. Remember to listen carefully, observe the details, and prioritize safety. While this guide provides valuable information, it's not a substitute for professional mechanical advice. If you're unsure about any aspect of the diagnosis or repair process, consult a qualified mechanic. With a little effort, you can identify that mysterious car sound and keep your vehicle running smoothly without breaking the bank.