That persistent rattle echoing through your car can be maddening. It's not just an annoyance; it can be a sign of a developing problem that, if ignored, could lead to costly repairs down the line. Many drivers simply turn up the radio, but a proper diagnosis is crucial for both your sanity and your vehicle's health. This guide will equip you with the knowledge and approach to systematically track down the source of that irritating sound.
Diagnosing a car rattle requires a blend of careful listening, methodical inspection, and a touch of automotive intuition. Don't be intimidated! We'll break down the process into manageable steps, from pinpointing the conditions under which the rattle occurs to visually inspecting potential culprits. By following these steps, you'll significantly increase your chances of identifying the source and taking appropriate action.
Remember, safety is paramount. If you're unsure about any aspect of the diagnosis or repair, it's always best to consult a qualified mechanic. However, with patience and a systematic approach, you can often identify the source of the rattle yourself and save significant time and money on unnecessary repairs.
Step 1: Identify the Conditions
Pinpoint When the Rattle Occurs
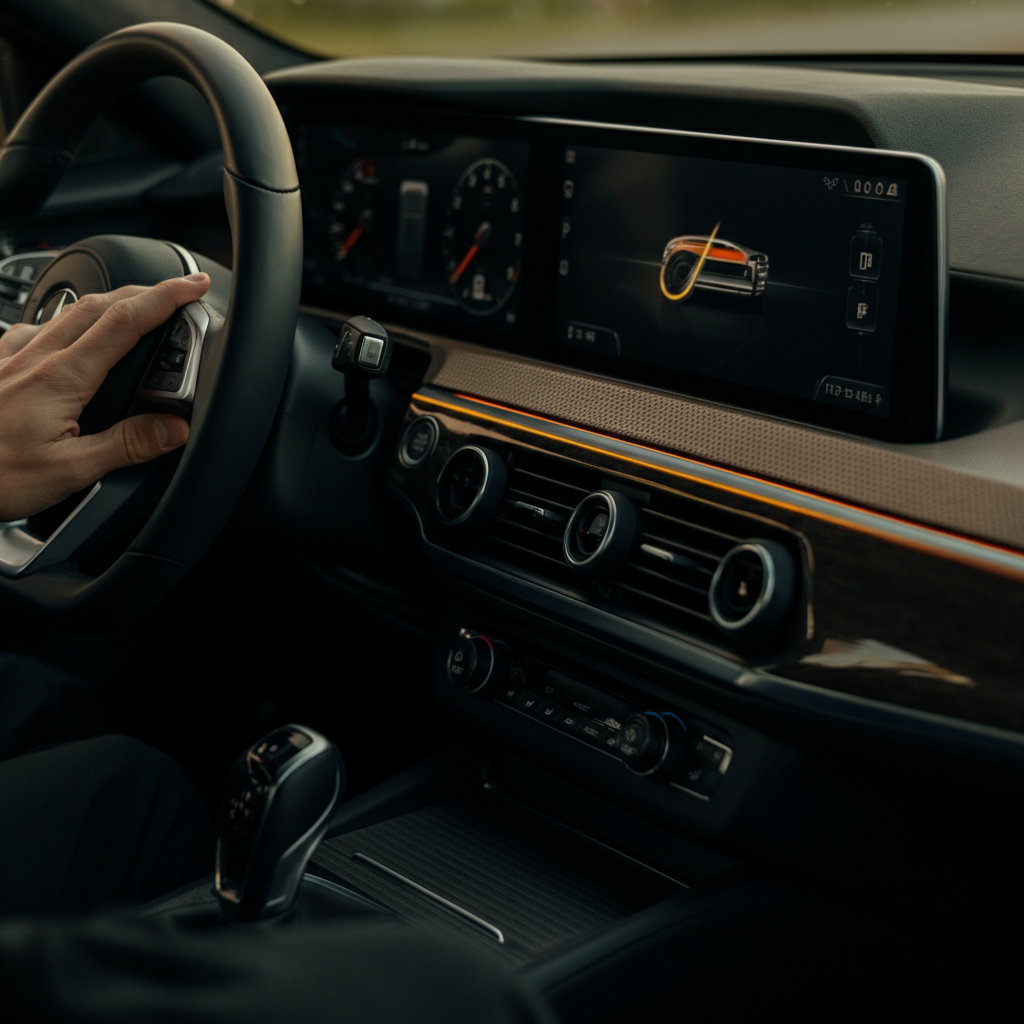
The first step is to precisely identify the conditions under which the rattle occurs. Does it happen only when the car is moving, or does it also occur when stationary? Does it happen at specific speeds? Pay close attention to the road surface – does the rattle intensify on bumpy roads or disappear on smooth surfaces? Also note if it’s only present during acceleration, braking, or turning. The more specific you can be about when the rattle manifests, the easier it will be to narrow down potential sources. Keep a mental note or even better, write down these details as you drive.

Step 2: Narrow Down the Location
Determine the Rattle's General Area
Once you know when the rattle occurs, try to pinpoint its general location. Is it coming from the front, rear, driver's side, passenger side, underneath the car, or even inside the cabin? Have a passenger help you identify the direction if possible. Listen carefully, focusing on where the sound seems to be most prominent. Knowing the general area dramatically reduces the number of parts you need to inspect. For example, a rattle that only occurs when turning sharply is likely related to the suspension or steering components on the side toward which you are turning. A rattle that comes from the rear when going over bumps can originate from the suspension, exhaust, or even something loose in the trunk.
Step 3: Interior Suspects
Inspect the Cabin
Before diving into the mechanical components, rule out any obvious sources inside the car's cabin. These are often the easiest to fix. Check the glove compartment, center console, door pockets, and under the seats for loose items. Items rolling around in these areas are common culprits. Also, examine the trim pieces around the dashboard, doors, and headliner. Sometimes, plastic trim can become loose and rattle against other surfaces. Gently tap or press on these trim pieces to see if you can replicate the sound. Check for any loose objects hanging from the rearview mirror, as well.
Step 4: The Exhaust System
Check the Exhaust
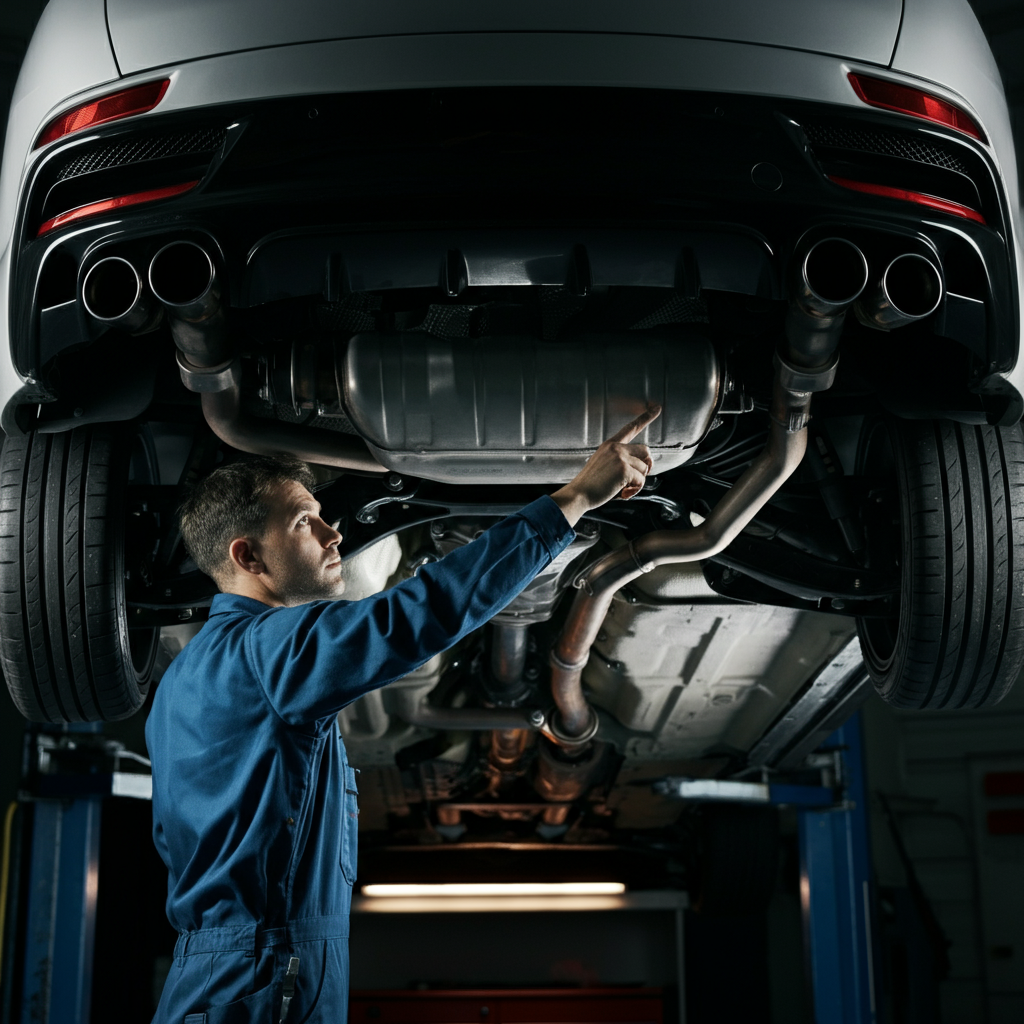
The exhaust system is a frequent source of rattles. The exhaust pipes, muffler, and catalytic converter are all exposed to heat, vibration, and the elements, making them prone to loosening or developing cracks. Start by visually inspecting the exhaust system from front to back. Look for any signs of rust, damage, or loose hangers. Pay particular attention to the heat shields that are often attached to the exhaust pipes and catalytic converter. These thin metal shields are notorious for coming loose and rattling against the exhaust components. A common test is to gently tap the exhaust system with a rubber mallet (when it's cool!) and listen for any rattles or unusual sounds.
Step 5: Suspension System Inspection
Examine the Suspension Components
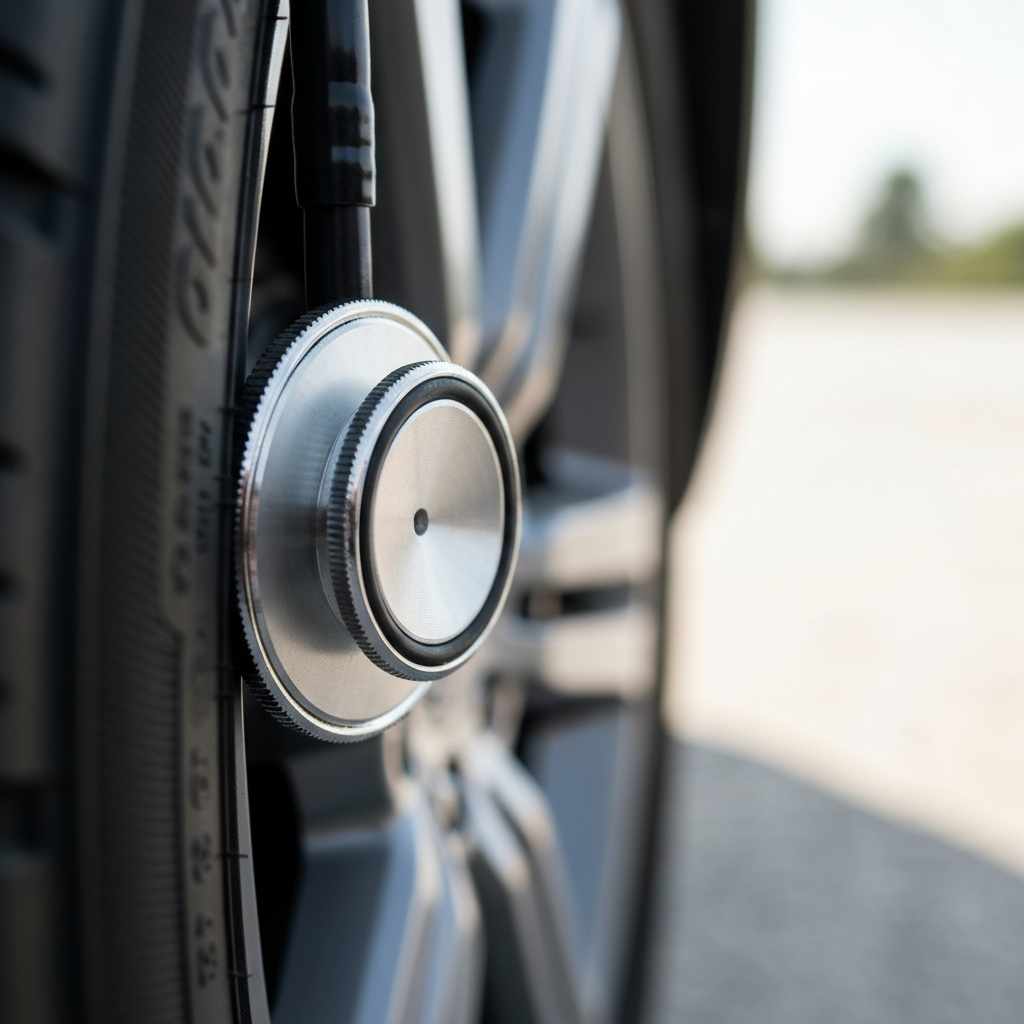
If the rattle seems to be coming from the wheels or underneath the car, the suspension system is a prime suspect. This includes the shocks, struts, springs, ball joints, tie rod ends, and sway bar links. Visually inspect these components for any signs of wear, damage, or looseness. Look for leaking fluid from the shocks or struts, cracked or worn bushings, and loose nuts or bolts. A worn ball joint or tie rod end can often cause a clunking or rattling sound, especially when going over bumps. If you suspect a worn suspension component, it's best to have it inspected by a qualified mechanic, as these components are crucial for vehicle safety.
Step 6: Under the Hood
Investigate Engine Bay Rattles
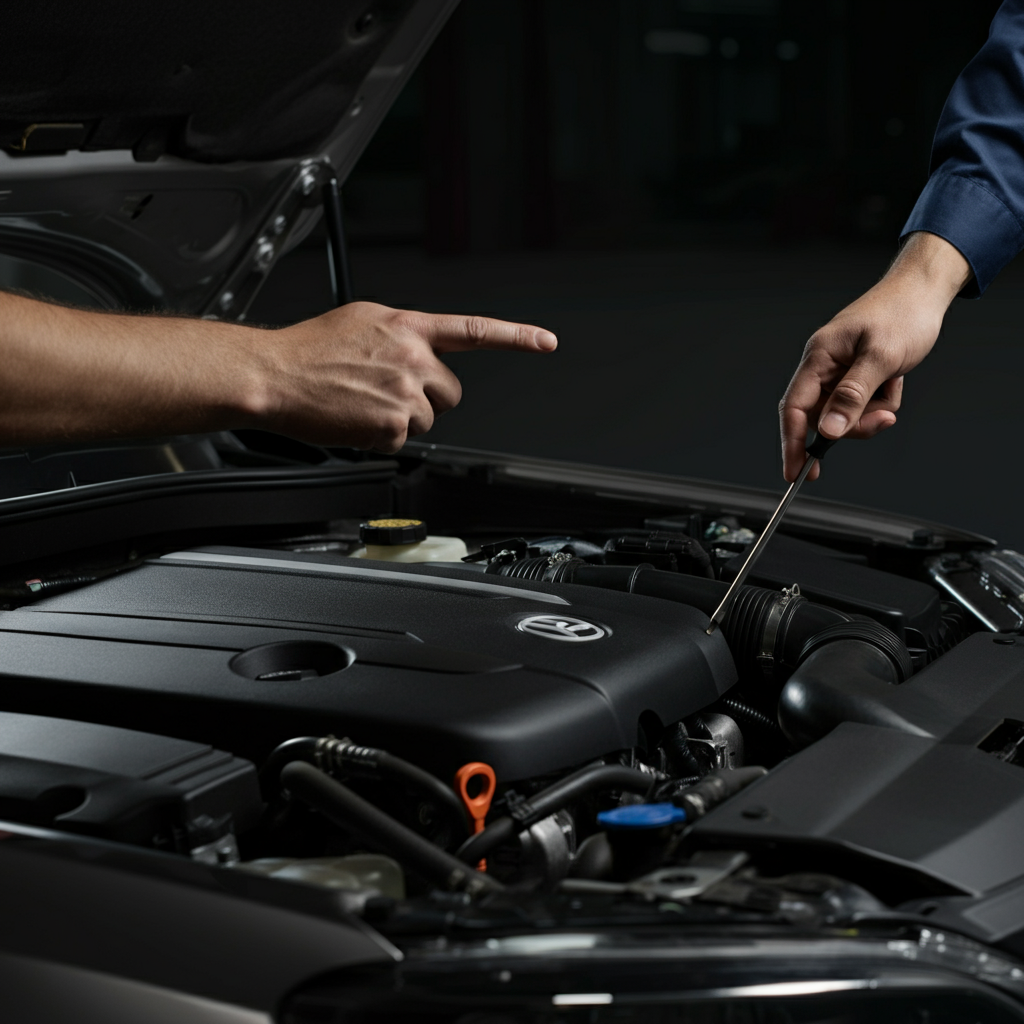
Rattles emanating from the engine bay can be tricky to diagnose, as there are many potential sources. Start by visually inspecting the engine bay for anything that looks loose or out of place. Check the fluid levels (oil, coolant, power steering fluid) to ensure that none are critically low, as this can sometimes cause unusual noises. Pay attention to any loose hoses, wires, or brackets. Also, check the engine's accessories, such as the alternator, power steering pump, and air conditioning compressor, to make sure they are securely mounted. A loose pulley or belt tensioner can also cause a rattling sound. Be cautious when working around a running engine; keep your hands and clothing away from moving parts.
Step 7: Brake System Check
Assess the Brakes
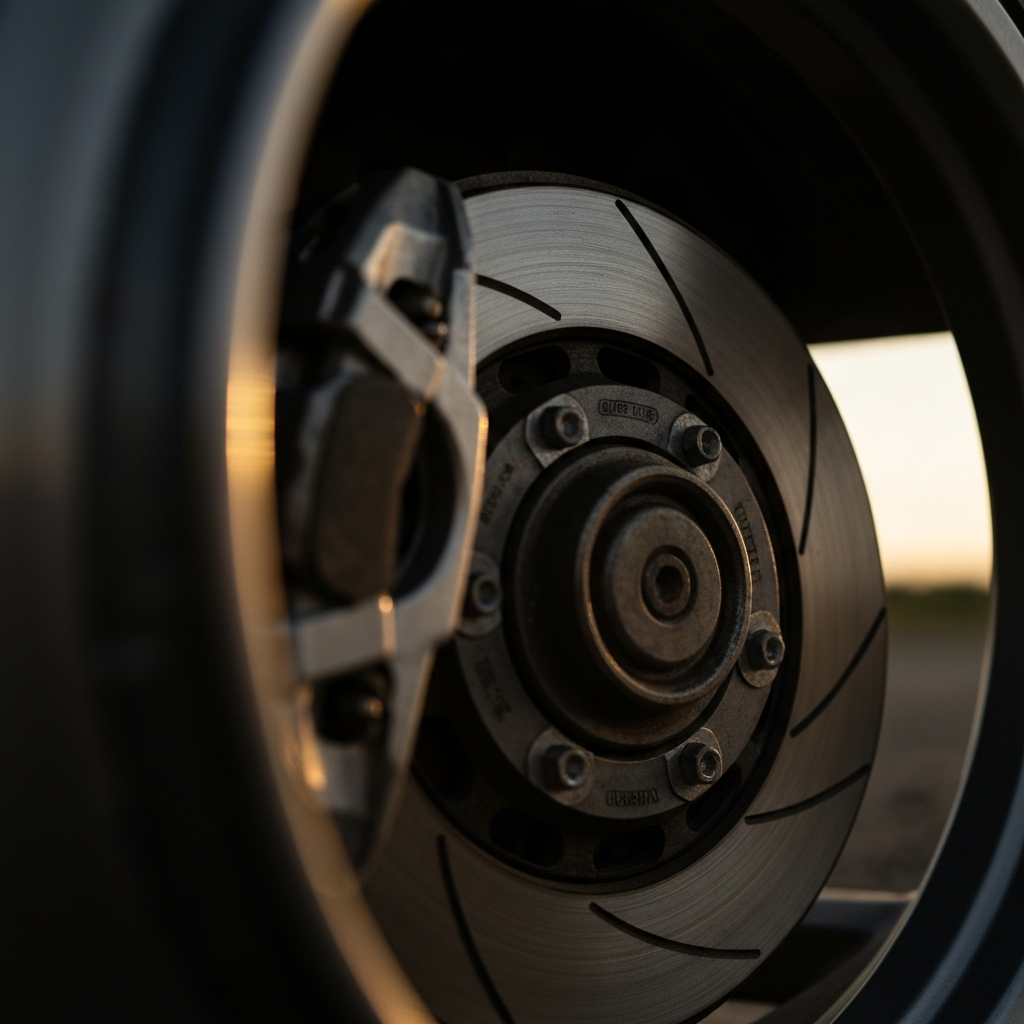
Brakes can be a frequent culprit for noises, especially if the noise changes when you apply the brakes. Start by visually inspecting your brake pads and rotors through the wheel spokes. Look for excessive wear, cracks, or rust. A rattling sound from the brakes can sometimes indicate worn brake pads or loose brake hardware. In some cases, a small stone or piece of debris can become lodged between the brake rotor and the dust shield, causing a scraping or rattling noise. If you suspect a problem with your brakes, it's crucial to have them inspected and repaired by a qualified mechanic as soon as possible, as faulty brakes can compromise your safety.
Tools or Materials Required
- Jack and Jack Stands (for safe under-car inspection)
- Wheel Chocks
- Rubber Mallet
- Wrenches and Sockets (Metric and Standard)
- Screwdrivers (Various Sizes and Types)
- Flashlight or Work Light
- Gloves
- Safety Glasses
- Mechanic's Stethoscope (Optional, but helpful)
Common Mistakes to Avoid
- Ignoring the rattle for too long, allowing the underlying problem to worsen.
- Not accurately identifying the conditions under which the rattle occurs.
- Focusing solely on one potential source and neglecting to check other possibilities.
- Attempting repairs without the proper tools or knowledge.
- Working under a vehicle without using jack stands.
Safety Considerations
Never work under a vehicle supported only by a jack. Always use jack stands. Wear safety glasses and gloves to protect your eyes and hands. Disconnect the negative battery cable before working on any electrical components. If you are unsure about any aspect of the diagnosis or repair, consult a qualified mechanic. Be mindful of hot surfaces, especially the exhaust system.
FAQ Section
- Q: How much will it cost to fix a car rattle?
- A: The cost varies widely depending on the source of the rattle and the extent of the repair. Simple fixes, such as tightening a loose bolt or replacing a worn bushing, may cost only a few dollars. More complex repairs, such as replacing a suspension component or exhaust system, can cost hundreds or even thousands of dollars.
- Q: Can I ignore a car rattle?
- A: While some rattles may be harmless annoyances, others can indicate a developing problem that could lead to costly repairs or even compromise your safety. It's always best to diagnose and address the rattle as soon as possible.
- Q: When should I consult a mechanic?
- A: If you are unable to identify the source of the rattle, or if you are uncomfortable performing the necessary repairs, it's best to consult a qualified mechanic. Also, if the rattle is accompanied by other symptoms, such as a decrease in performance or unusual vibrations, it's important to seek professional assistance.
By systematically following these steps, you'll significantly increase your chances of diagnosing that annoying car rattle. Remember to be patient, thorough, and above all, safe. A little detective work can save you a lot of frustration and potentially expensive repairs.