That persistent rattle in your car can be maddening. Is it a minor annoyance, or a sign of something serious brewing under the hood, or worse, about to fall off? The key to solving this automotive mystery is methodical investigation. Don't just turn up the radio! A rattle, squeak, or clunk could indicate anything from a loose heat shield to a failing suspension component. Ignoring it could lead to costly repairs down the road, or even compromise your safety.
This guide will walk you through a step-by-step process to identify the source of that infernal noise. We'll cover common culprits, diagnostic techniques, and essential safety precautions to ensure you stay safe while sleuthing. So, grab your toolkit (or a friend with a good ear), and let's get started!
Remember, if at any point you feel uncomfortable or unqualified to perform these checks, consult a qualified mechanic. Your safety and your car's well-being are paramount.
Step 1: Pinpoint the Location
Identifying the Rattle's General Area
The first step is to narrow down the location of the rattle. Is it coming from the front, back, sides, or underneath the car? Does it seem to be coming from inside the cabin or from the engine bay? Pay close attention to when you hear the rattle. Does it occur only when you're driving, when the engine is idling, or only over bumps? Having a passenger help you listen from different areas of the car while driving can be extremely helpful (and safer than leaning out the window yourself!). Try to correlate the sound with specific actions like accelerating, braking, or turning.

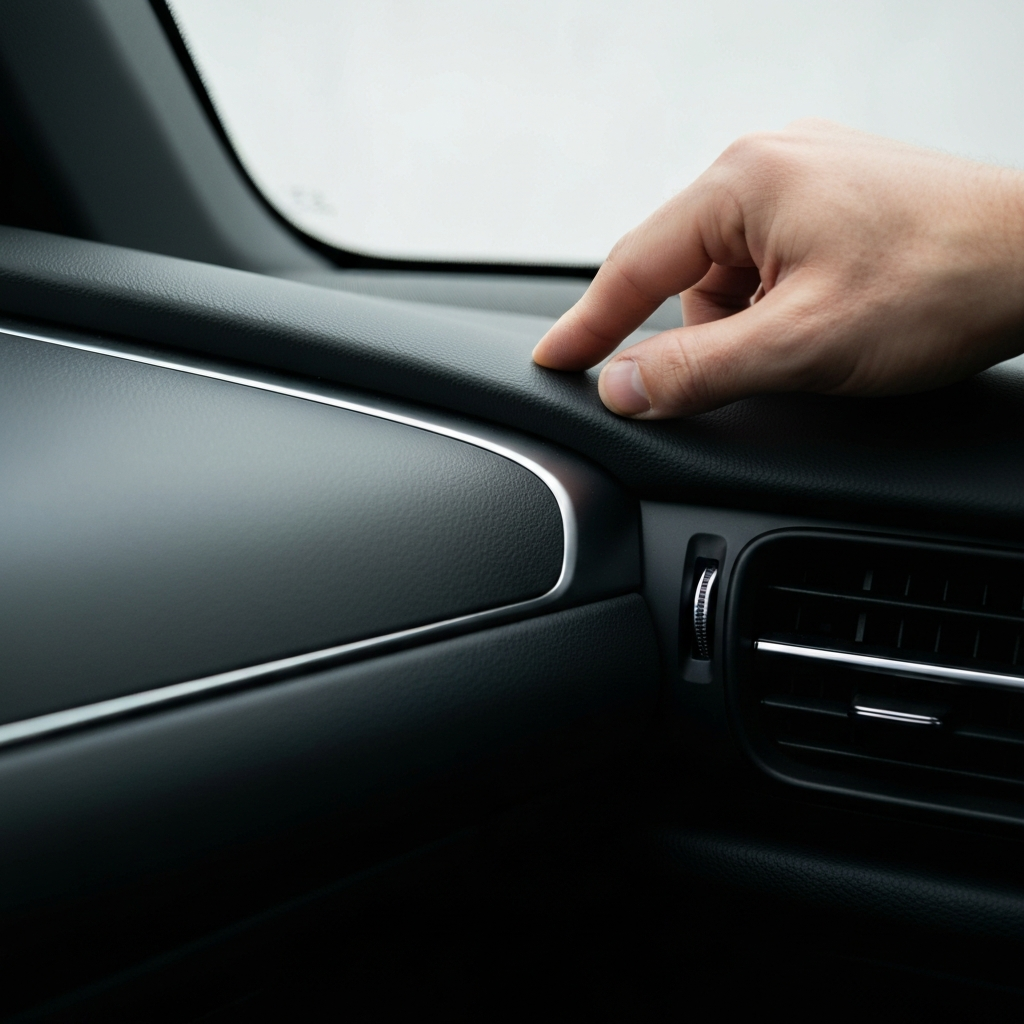
Step 2: Check Interior Suspects
Investigating Common Interior Rattle Sources
Often, rattles originate from within the car's cabin. Start by checking the easy suspects: loose items in the glove compartment, center console, or door pockets. Empty these areas completely and take the car for a test drive. If the rattle persists, examine the trim pieces. Gently push on the dashboard, door panels, and headliner to see if you can replicate the noise. Loose trim can often be secured with new clips or foam padding. Check the seatbelts; sometimes, buckles can rattle against the B-pillar. Also, inspect the rear deck if you have a sedan, as loose speakers or trim there are common culprits.
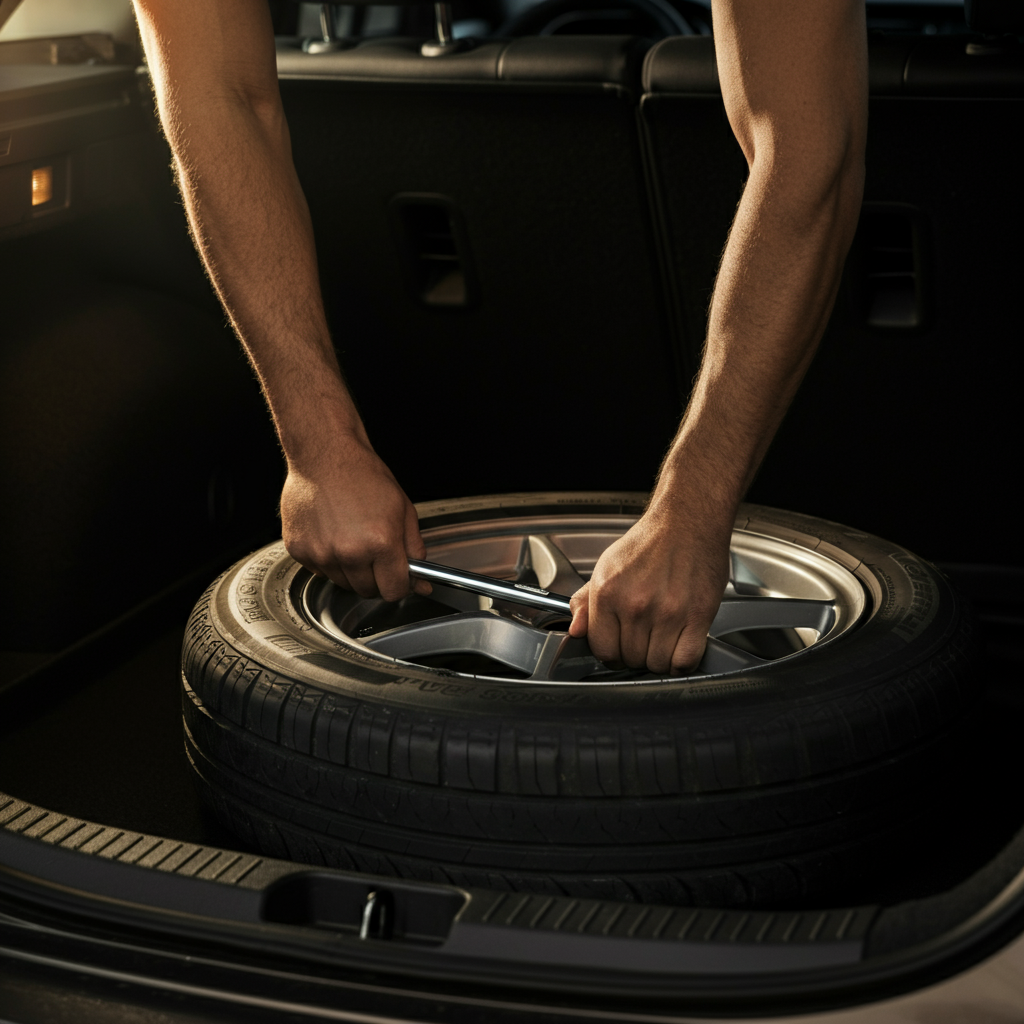
Step 3: Examine the Trunk and Hatch Area
Looking for Loose Items or Components in the Rear
The trunk or hatch area is another prime suspect for rattles, particularly at the rear of the vehicle. Start by removing any loose items, including the spare tire, jack, and any tools. Ensure the spare tire is properly secured and that the jack isn't rattling around. Check the license plate frame and make sure it's securely fastened. On hatchbacks and SUVs, inspect the tailgate latch and hinges. Sometimes, applying a bit of grease to the latch mechanism can eliminate squeaks and rattles. Also, check the condition of the weather stripping around the trunk or hatch opening; worn or damaged stripping can cause vibrations and noise.
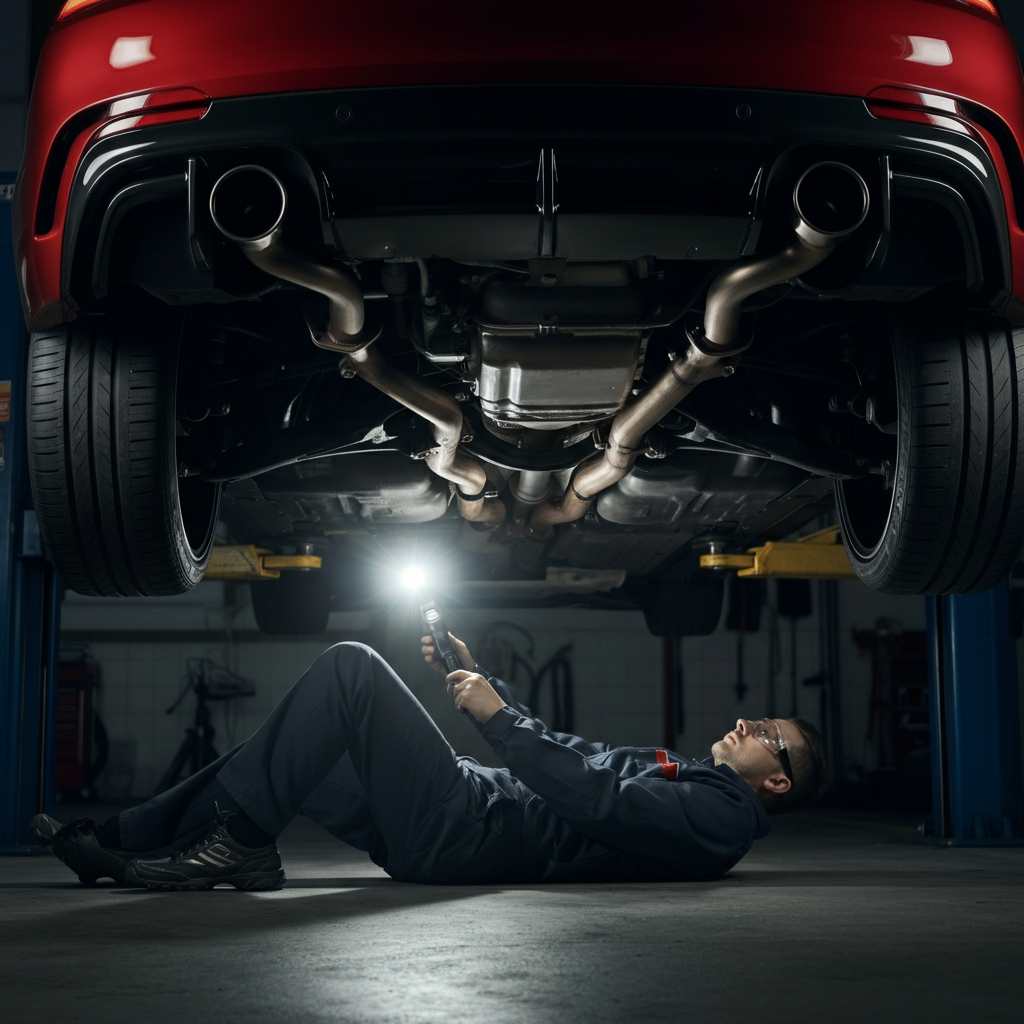
Step 4: Inspect the Undercarriage
Checking Exhaust, Suspension, and Heat Shields
If the rattle seems to be coming from underneath the car, it's time to get a closer look at the undercarriage. This step requires extreme caution; use jack stands to safely support the vehicle. Never work under a car supported only by a jack. Start by inspecting the exhaust system. Look for loose hangers, rusted sections, or signs of the exhaust pipe hitting other components. Exhaust heat shields are notorious for rattling; check for loose or corroded mounting points. Next, examine the suspension components. Look for worn bushings, loose ball joints, or damaged struts. A visual inspection might reveal obvious damage, but some suspension issues require more in-depth testing.
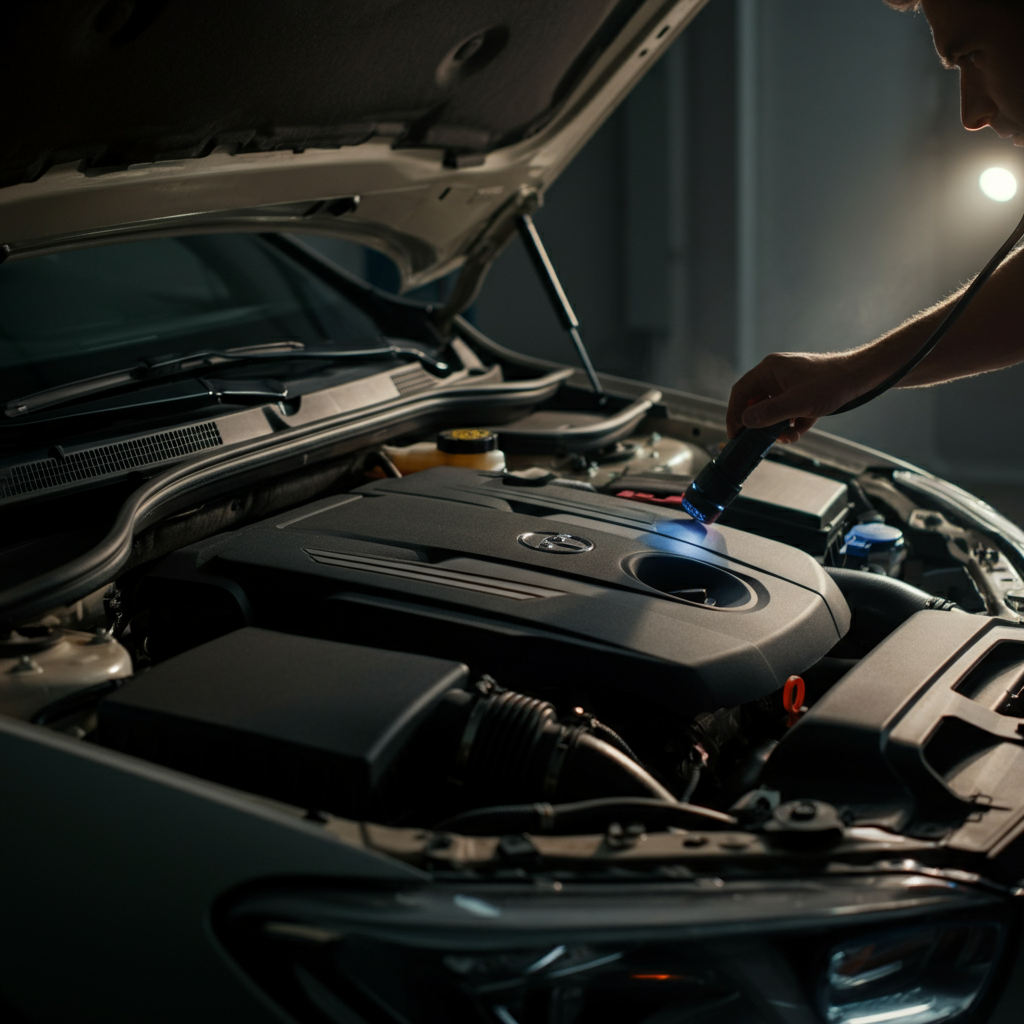
Step 5: Investigate the Engine Bay
Searching for Rattles Within the Engine Compartment
Rattles in the engine bay can be tricky to diagnose, as there are many potential sources. With the engine running (and preferably cold!), listen carefully for the rattle. Try to pinpoint its exact location. Check the accessory belts for wear or looseness, as a worn belt can cause a chirping or rattling noise. Be extremely careful around moving engine parts. Inspect the engine mounts for signs of wear or damage, as worn mounts can allow the engine to vibrate excessively. Also, check the fluid levels, as low oil or coolant can sometimes cause unusual noises. Don't overlook the possibility of loose components, such as the air intake or coolant reservoir.
Step 6: Test Drive and Re-evaluate
Road Testing After Each Inspection
After each step, take the car for a short test drive to see if the rattle has been eliminated or reduced. This helps you isolate the problem area more effectively. Pay attention to the conditions that cause the rattle. Does it only happen at certain speeds, on specific types of roads, or when the engine is under load? Carefully documenting these conditions can provide valuable clues. If the rattle persists, move on to the next step. Don't be afraid to repeat steps or try different diagnostic techniques.

Tools or Materials Required
- Jack and Jack Stands (Essential for Under-Carriage Inspection)
- Socket Set and Wrenches
- Screwdrivers (Phillips and Flathead)
- Flashlight or Work Light
- Mechanic's Stethoscope (Optional, but Helpful for Engine Bay Diagnosis)
- Gloves and Safety Glasses
- Creepers (Optional, but Makes Under-Carriage Work More Comfortable)
- Foam Padding or Trim Clips (For Securing Loose Interior Panels)
Safety Considerations
- Always use jack stands when working under a vehicle.
- Wear safety glasses to protect your eyes from debris.
- Be extremely careful around moving engine parts.
- Disconnect the negative battery terminal before working on the electrical system.
- If you're unsure about any step, consult a qualified mechanic.
Common Mistakes to Avoid
- Ignoring obvious signs of damage or wear.
- Working under a car supported only by a jack.
- Failing to properly secure loose items.
- Overlooking potential sources of the rattle.
- Not documenting the conditions that cause the rattle.
Pro Tips
- Use a mechanic's stethoscope to pinpoint noises in the engine bay.
- Apply grease to door and trunk latches to eliminate squeaks.
- Use foam padding or trim clips to secure loose interior panels.
- Check for loose bolts or fasteners on all components.
- Consult online forums or repair manuals for vehicle-specific information.
FAQ Section
- Q: My rattle only happens when I go over bumps. What could it be?
- A: This is likely a suspension issue. Check your shocks, struts, sway bar links, and bushings. Look for signs of wear, damage, or looseness.
- Q: The rattle seems to be coming from the engine, but I can't pinpoint it.
- A: Use a mechanic's stethoscope to listen to different areas of the engine. Also, check your accessory belts, engine mounts, and fluid levels.
- Q: I found a loose heat shield. Can I just remove it?
- A: No. Heat shields are important for protecting other components from the heat of the exhaust system. Secure it properly or replace it.