Car troubles can be incredibly frustrating, and the cost of professional diagnosis and repair can quickly add up. Before you rush to the mechanic, consider that you might be able to pinpoint the issue yourself and potentially save a significant amount of money. Diagnosing car problems requires a methodical approach, some basic tools, and a bit of patience. This guide will walk you through the fundamental steps to help you identify the culprit behind your vehicle's woes.
This isn't about replacing a mechanic – it's about becoming an informed car owner who can confidently communicate with professionals and potentially handle minor repairs yourself. Even if the problem requires a mechanic, understanding the issue beforehand will prevent unnecessary costs and ensure you aren't taken advantage of.
Remember, safety is paramount. If you're uncomfortable working on your car, or if the problem involves complex systems like brakes or airbags, always consult a qualified mechanic. This guide provides a starting point, not a replacement for professional expertise.
Step 1: Gather Information and Observe the Symptoms
The first step in any diagnosis is to gather as much information as possible about the problem. When did the issue start? What were you doing when it occurred? Are there any unusual sounds, smells, or visual cues? Note everything down in detail. Pay close attention to the conditions under which the problem arises. Does it only happen when the engine is cold, or when the car is under load?
Also, check your dashboard. Are there any warning lights illuminated? These lights are connected to the car's computer system (ECU) and provide valuable clues about the car's condition. Consult your owner's manual to understand what each warning light indicates. Many modern cars also display specific error codes along with the warning light.

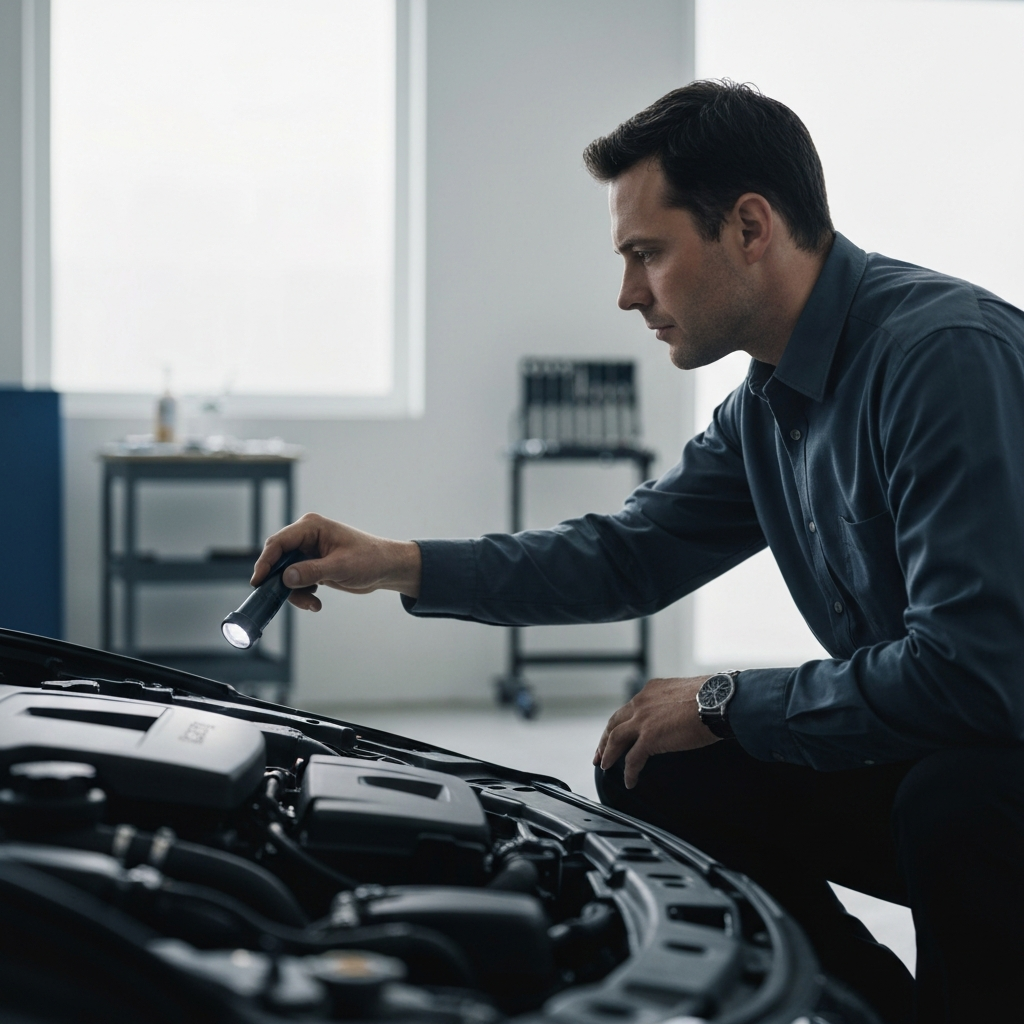
Step 2: Perform a Visual Inspection
Once you've gathered information, it's time to get your hands dirty. Start with a thorough visual inspection of the car, both inside and out. Check under the hood for any obvious signs of damage, leaks, or loose connections. Look for things like frayed belts, cracked hoses, leaking fluids, and corroded battery terminals. Pay particular attention to the area where you suspect the problem is originating.
Walk around the car and check the tires for uneven wear. Uneven wear can indicate alignment issues, suspension problems, or even just underinflated tires. Also, check the exhaust system for any signs of damage or leaks. Listen for any unusual noises coming from the exhaust while the engine is running (carefully, and with ventilation). Don't forget the interior; check for damp carpets, which could indicate a coolant leak from the heater core.
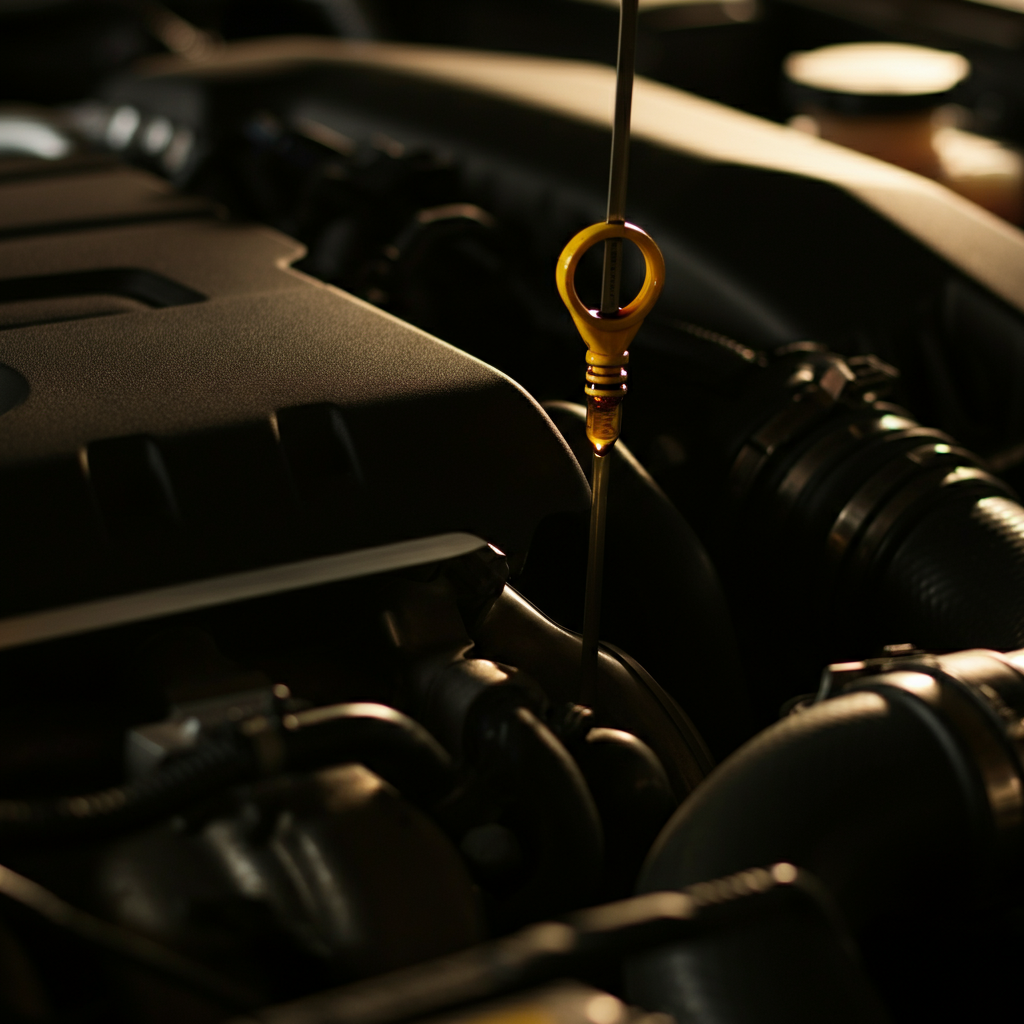
Step 3: Check Fluid Levels
Low fluid levels are a common cause of many car problems. Check all the essential fluids, including engine oil, coolant, brake fluid, power steering fluid, and transmission fluid. Consult your owner's manual for the correct procedures for checking each fluid, as some require the engine to be cold or warm. Pay attention to the color and consistency of the fluids. For example, milky or discolored oil can indicate a blown head gasket, while dark or burnt transmission fluid can indicate transmission problems.
If any fluid level is low, top it off with the appropriate type of fluid. However, if you find that a fluid is consistently low, it's important to investigate the cause of the leak. Simply topping off the fluid will only mask the underlying problem.
Step 4: Listen Carefully to the Noises
Cars often communicate their problems through sounds. Learn to distinguish between normal engine noises and abnormal ones. Grinding, squealing, knocking, and hissing sounds can all be valuable clues. Try to pinpoint the location and timing of the noise. Does it happen only when braking, accelerating, or turning? Is it constant, or does it come and go?
For example, a squealing noise when braking could indicate worn brake pads, while a grinding noise could indicate a more serious brake problem. A knocking noise from the engine could indicate a problem with the connecting rods or bearings. Record the noises if possible, as this can be helpful when consulting a mechanic.

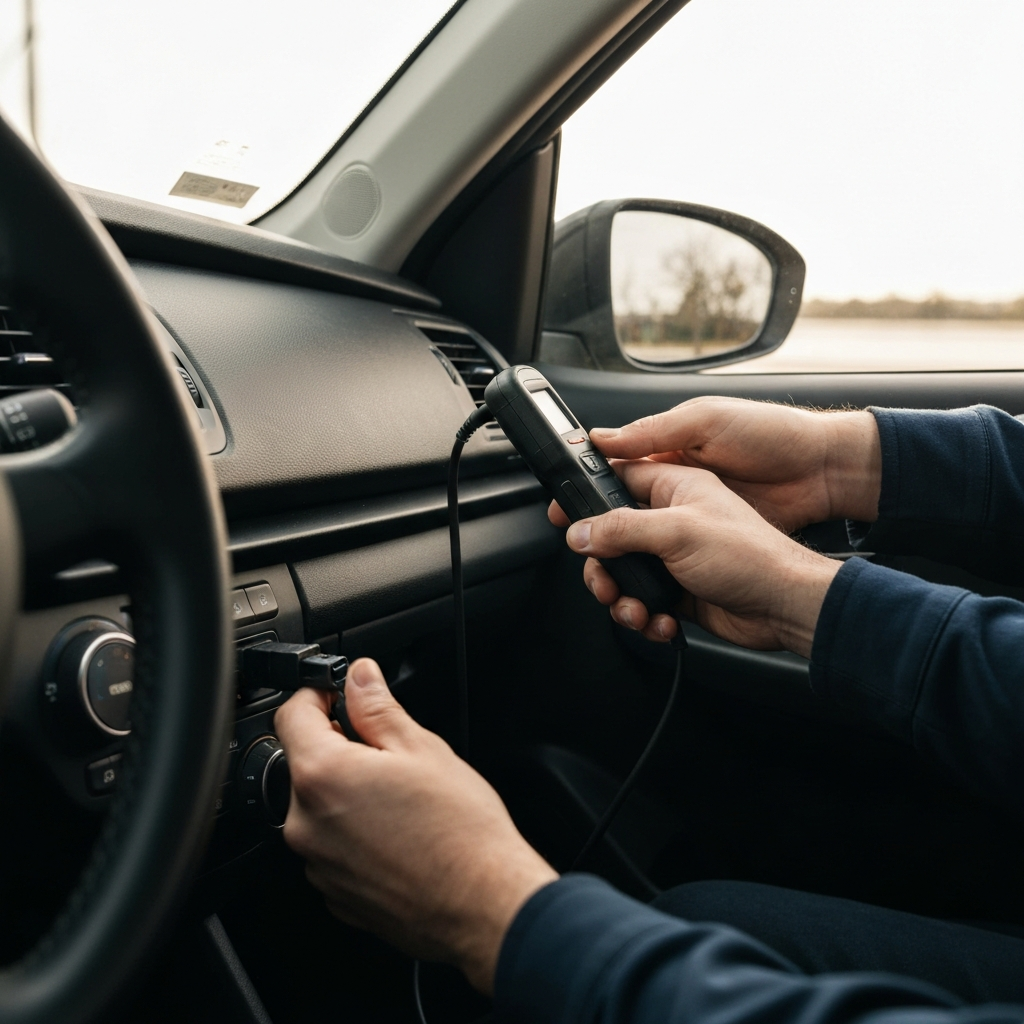
Step 5: Use an OBD-II Scanner (if applicable)
Modern cars are equipped with an On-Board Diagnostic (OBD-II) system, which monitors various engine and vehicle functions. An OBD-II scanner can be plugged into the diagnostic port (usually located under the dashboard) to retrieve diagnostic trouble codes (DTCs). These codes can provide valuable information about the nature and location of the problem. While the codes won't tell you exactly what's wrong, they offer a crucial starting point for your investigation.
OBD-II scanners range in price from inexpensive handheld units to more sophisticated devices that can display live data and perform advanced diagnostics. Many auto parts stores will even scan your car for free. Once you have the codes, you can research them online or in a repair manual to learn more about the potential causes. Be aware that some codes can have multiple possible causes, so further investigation may be required.
Tools or Materials Required
- Basic hand tools (wrenches, screwdrivers, pliers)
- Flashlight
- OBD-II scanner (optional but highly recommended)
- Jack and jack stands (for safely lifting the car)
- Wheel chocks
- Gloves
- Rags or paper towels
- Owner's manual
Safety Considerations
- Always wear safety glasses when working on your car.
- Use jack stands to support the car if you need to lift it. Never work under a car supported only by a jack.
- Disconnect the negative battery cable before working on any electrical components.
- Be careful when working with hot engine parts.
- Dispose of used fluids properly.
Step 6: Consult Repair Manuals and Online Resources
Once you've gathered as much information as possible, consult repair manuals and online resources for more specific guidance. Repair manuals, such as Haynes or Chilton, provide detailed diagrams, troubleshooting procedures, and repair instructions for your specific make and model of car. Online forums and video tutorials can also be invaluable resources, but be sure to verify the information before relying on it.
Be wary of relying solely on online information, as not all sources are reliable. Look for reputable sources, such as manufacturer websites, experienced mechanics' blogs, and well-regarded automotive forums. Cross-reference information from multiple sources to ensure accuracy.

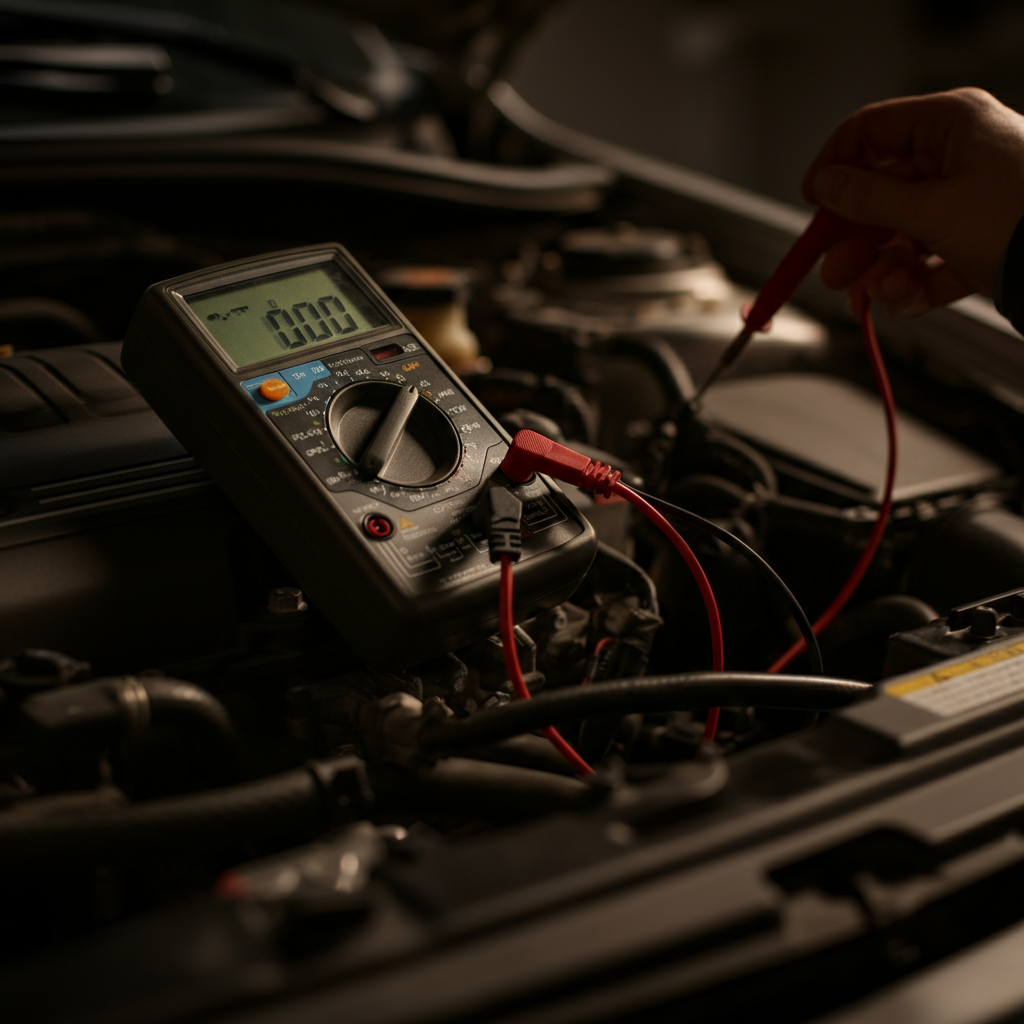
Step 7: Test and Verify Your Diagnosis
After you've identified a potential cause, it's time to test and verify your diagnosis. This may involve performing specific tests, such as checking the voltage of a sensor or measuring the resistance of a wire. Use a multimeter or other diagnostic tools as needed. Avoid making assumptions and always confirm your findings before replacing parts.
Sometimes, the problem may be intermittent or only occur under specific conditions. In these cases, it may be necessary to recreate the conditions that cause the problem to occur. This can be challenging and may require the assistance of a helper. Once you're confident that you've identified the correct problem, you can decide whether to attempt the repair yourself or take the car to a mechanic.
Step 8: Decide Whether to DIY or Seek Professional Help
After you have a diagnosis (even a preliminary one), assess your skills and comfort level. Some repairs are relatively simple and can be easily tackled by a DIY enthusiast, while others require specialized tools, knowledge, and experience. Consider the potential consequences of making a mistake. If you're unsure about your ability to perform the repair correctly, it's always best to consult a qualified mechanic.
Even if you decide to take the car to a mechanic, having a good understanding of the problem will help you communicate effectively and avoid unnecessary repairs. You can also get a second opinion from another mechanic if you're unsure about the first mechanic's diagnosis.

Conclusion
Diagnosing car problems yourself can be a rewarding and cost-effective experience. By following these steps, you can gather information, perform a thorough inspection, and potentially identify the root cause of the issue. Remember to prioritize safety, consult reliable resources, and don't hesitate to seek professional help when needed. With a little knowledge and effort, you can become a more informed car owner and save a fortune on repair costs.