That unsettling rattle, squeal, or thumping coming from your car can be more than just annoying – it's often a sign of an underlying mechanical issue. Identifying the source of the noise is the first crucial step in preventing minor problems from escalating into costly repairs. This guide is designed to equip you with the knowledge and methods to pinpoint the origin of these mysterious sounds, saving you time, money, and potential headaches down the road.
Diagnosing car noises can seem daunting, but with a systematic approach, it becomes a manageable task. We'll break down the process into easy-to-follow steps, covering common noise types, potential causes, and troubleshooting techniques. Whether you're a seasoned car enthusiast or a novice driver, this guide will empower you to take control of your car's health and communicate effectively with your mechanic, should professional intervention be necessary.
Remember, safety is paramount. If you're unsure about any procedure or lack the necessary tools, it's always best to consult a qualified mechanic. However, by following these steps, you can often narrow down the possibilities and provide valuable information to your mechanic, leading to a quicker and more accurate diagnosis.
Step 1: Identify the Type of Noise
The first step is to accurately describe the noise. Is it a squeal, a grind, a clunk, a rattle, a hiss, or a thump? The specific sound provides valuable clues about the potential source. Consider when the noise occurs – is it constant, intermittent, or only present under certain conditions (e.g., when braking, accelerating, turning, or driving over bumps)? Pay attention to the pitch (high or low), volume (loud or faint), and rhythm (steady or irregular) of the noise. Record the noise with your phone if possible; this can be incredibly helpful for your mechanic.

Step 2: Determine When the Noise Occurs
Context is key. Does the noise only appear when you start the car, while driving at a specific speed, when braking, or while turning? For instance, a squealing noise when starting the car often indicates a slipping belt. A clunking sound when going over bumps could point to suspension issues. If the noise is related to braking, the brake pads or rotors are likely suspects. Note down every detail you can remember about the conditions that trigger the noise. Being specific with this information will drastically shorten the diagnostic time. Trying to recreate the noise in a controlled environment, like an empty parking lot, can also be useful.

Step 3: Pinpoint the General Area
Try to determine the general location of the noise. Is it coming from the front, rear, left, or right side of the car? Is it emanating from under the hood, beneath the vehicle, or inside the cabin? If possible, have a passenger help you pinpoint the location while you're driving. Use caution and avoid distractions while driving. If the noise seems to be coming from under the hood, carefully inspect the engine compartment. Look for any obvious signs of damage, leaks, or loose components. If the noise appears to be coming from under the car, visually inspect the exhaust system, suspension components, and tires for any signs of wear or damage.

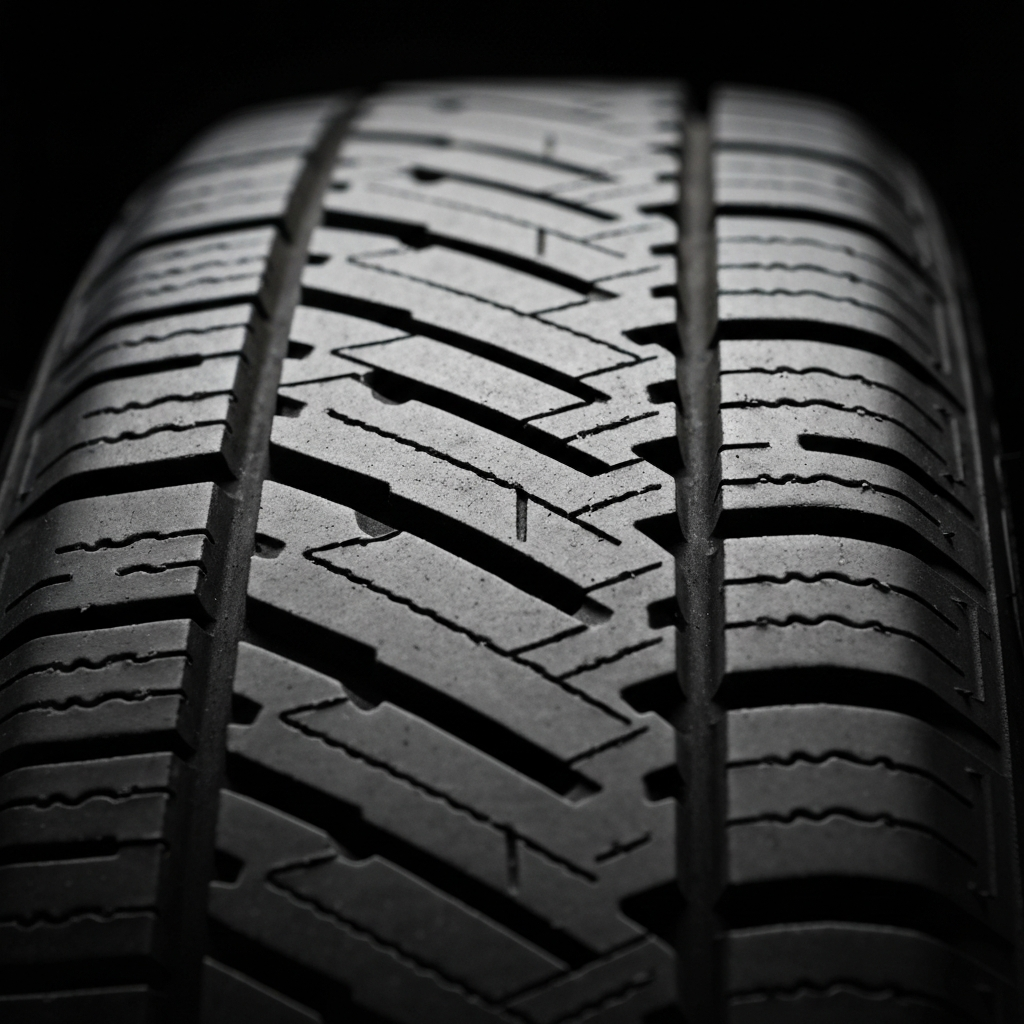
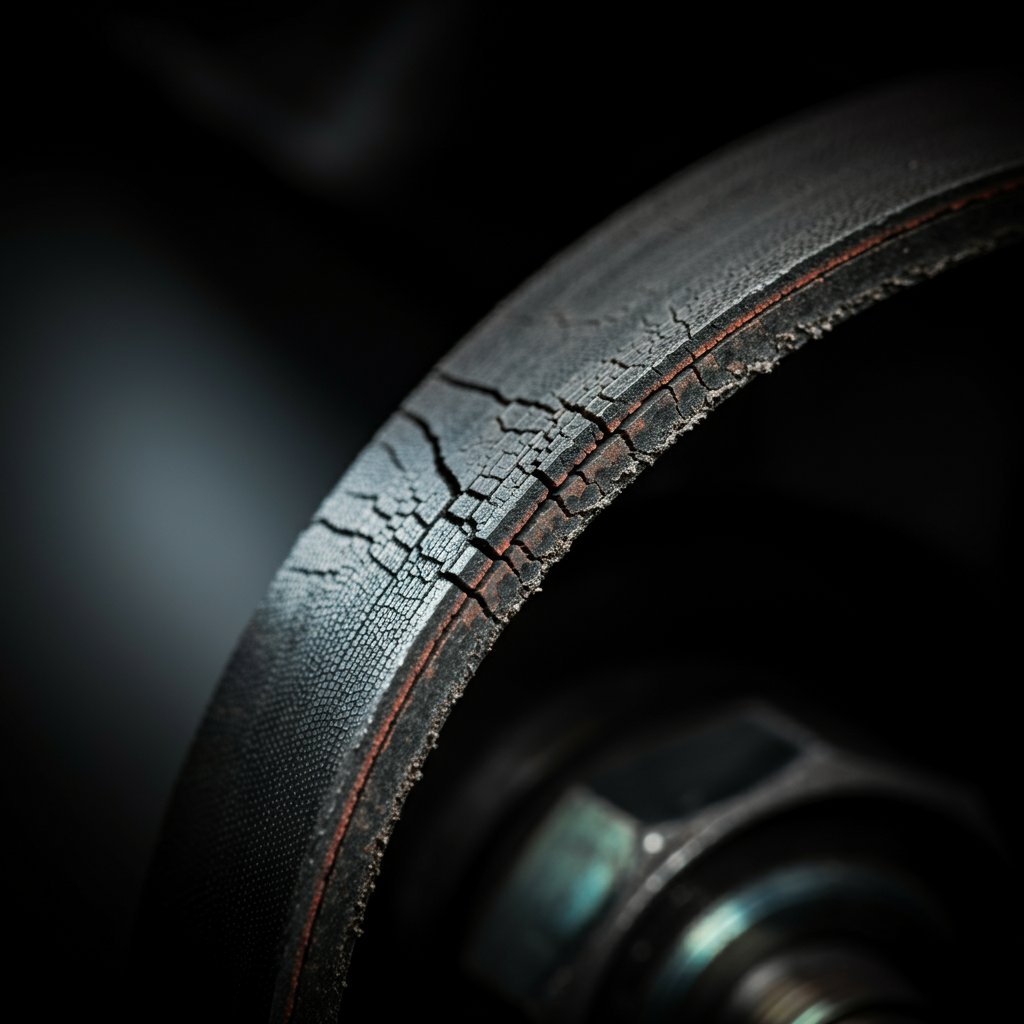
Step 4: Check the Tires
Tire-related noises are common and often easily diagnosed. Inspect your tires for uneven wear, bulges, or embedded objects. A rhythmic thumping sound that increases with speed is often a sign of a tire issue. Check the tire pressure and ensure it's within the recommended range. Underinflated tires can cause various noises and compromise handling. Also, inspect the wheel wells for any signs of rubbing, which can indicate a suspension or tire clearance problem. If you suspect a tire issue, rotate your tires to see if the noise moves with the tires; this can help confirm the diagnosis.
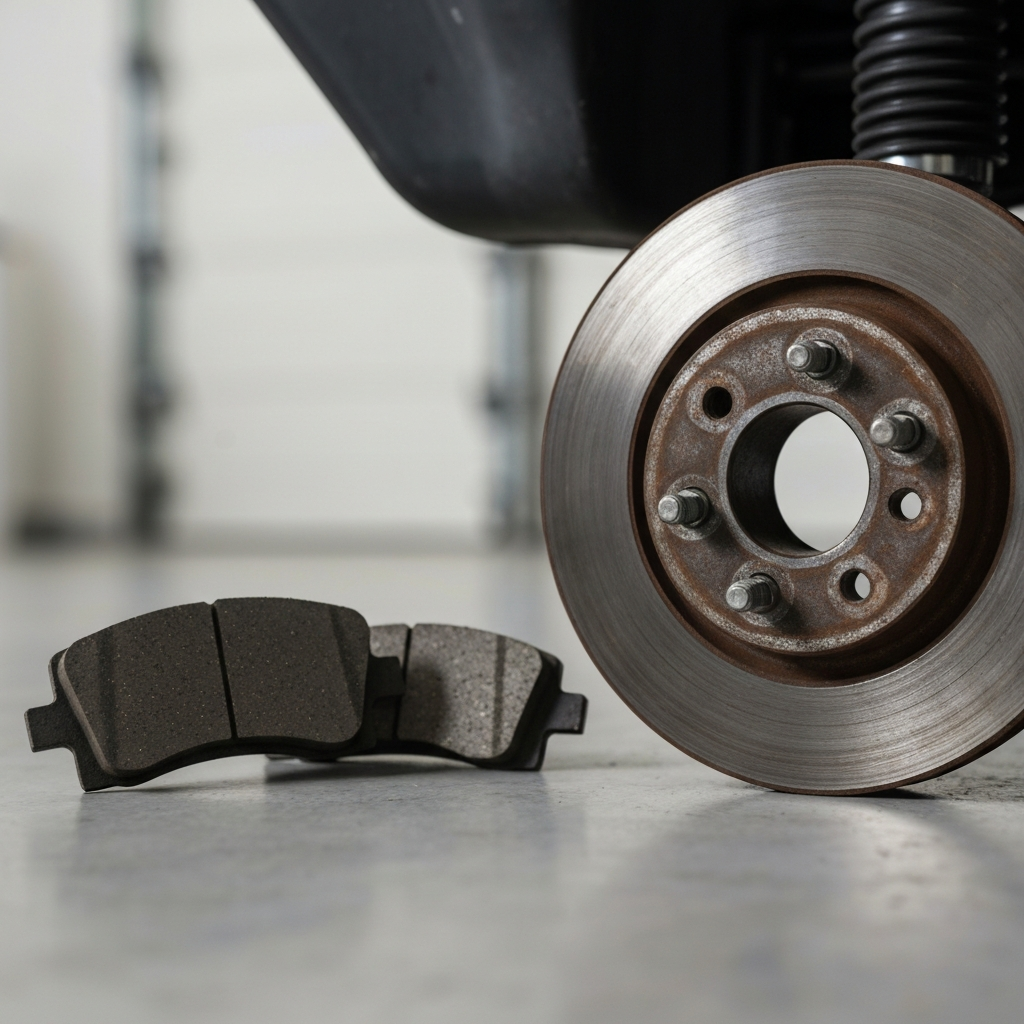
Step 5: Evaluate the Brakes
Brake-related noises are often distinctive and indicate issues with the braking system. A squealing noise when braking is a common sign of worn brake pads. A grinding noise suggests that the brake pads are completely worn and the rotors are being damaged. A pulsating sensation in the brake pedal can indicate warped rotors. Visually inspect the brake pads and rotors for wear and damage. If you're not comfortable inspecting the brakes yourself, have a qualified mechanic do so. Remember, faulty brakes are a serious safety hazard.
Step 6: Inspect Belts and Hoses
A squealing or chirping noise coming from the engine compartment is often related to belts. Inspect the belts for cracks, fraying, or glazing. A loose belt can also cause noise. Check the tension of the belts and adjust as needed. Also, inspect the hoses for leaks, bulges, or cracks. A hissing noise can indicate a vacuum leak in a hose. Be cautious when working around a running engine, as belts and pulleys can cause serious injury. If you notice any signs of damage, replace the affected belts or hoses.
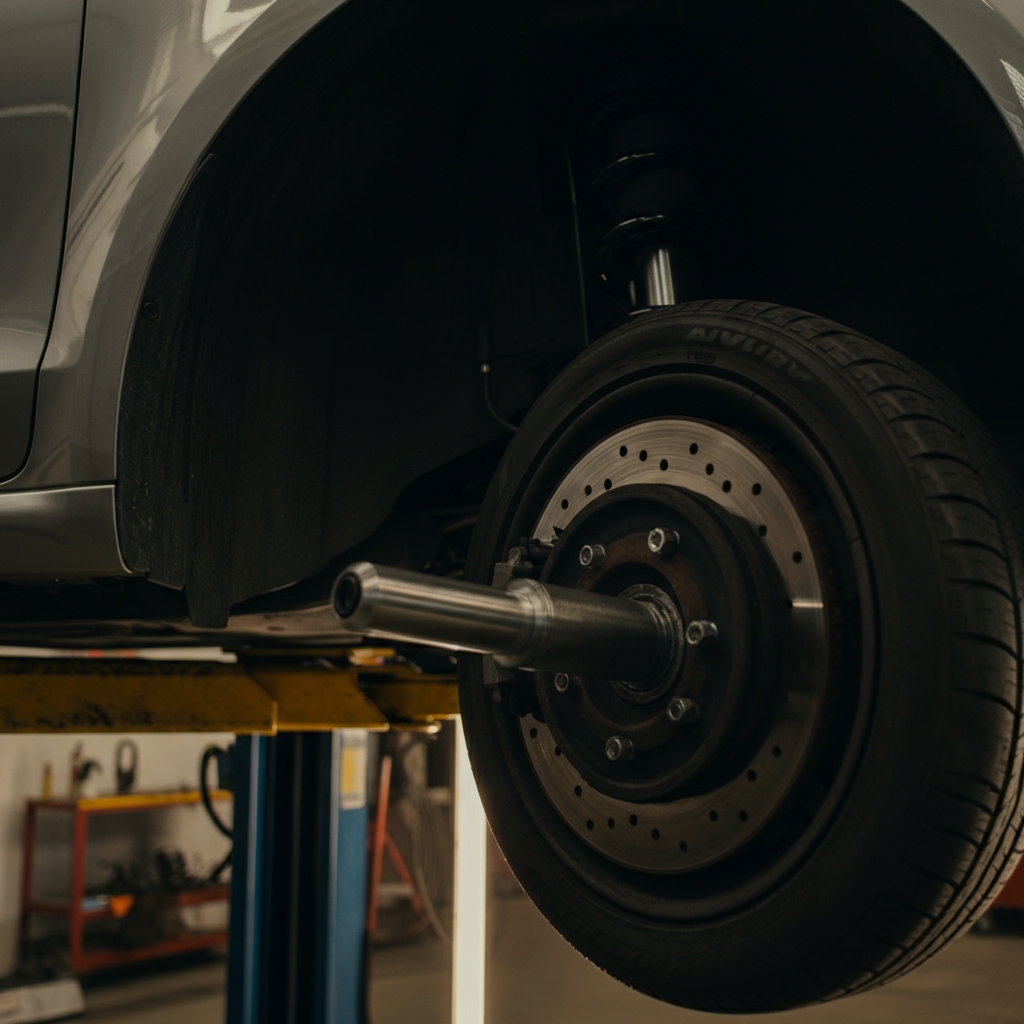
Step 7: Check the Suspension
Suspension noises typically occur when driving over bumps or uneven surfaces. A clunking, rattling, or squeaking noise can indicate worn suspension components, such as ball joints, tie rod ends, or shocks/struts. Visually inspect the suspension components for signs of damage, wear, or looseness. Bounce the car at each corner to check the condition of the shocks/struts. Excessive bouncing indicates worn shocks/struts. Suspension problems can affect handling and stability, so it's important to address them promptly.
Tools or Materials Required
- Jack and jack stands (for inspecting under the car)
- Flashlight
- Gloves
- Safety glasses
- Wrench set
- Screwdriver set
- Mechanic's stethoscope (optional, but helpful)
- Recording device (smartphone)
Safety Considerations
- Always use jack stands when working under a vehicle. Never rely solely on a jack.
- Wear safety glasses to protect your eyes from debris.
- Disconnect the negative battery terminal before working on electrical components.
- Be cautious when working around a running engine.
- If you're unsure about any procedure, consult a qualified mechanic.
Common Mistakes to Avoid
- Ignoring a noise for too long, allowing the problem to worsen.
- Misdiagnosing the noise and replacing the wrong part.
- Attempting repairs without the proper tools or knowledge.
- Working under a vehicle without using jack stands.
Pro Tips
- Use a mechanic's stethoscope to pinpoint the source of a noise in the engine compartment.
- Record the noise with your phone and share it with your mechanic.
- Provide your mechanic with as much detail as possible about the noise and the conditions under which it occurs.
- Regular maintenance can help prevent many car noises.
FAQ Section
Q: What does a "clicking" noise when starting the car usually mean?
A: A single loud click or repeated clicking often indicates a problem with the starter motor or a dead battery.
Q: What does a "squealing" noise when turning the steering wheel usually mean?
A: It often indicates a problem with the power steering system, such as a low power steering fluid level or a worn power steering belt.
Q: How often should I have my car inspected by a mechanic?
A: It's generally recommended to have your car inspected by a mechanic at least once a year, or more frequently if you notice any unusual noises or symptoms.
Conclusion
Diagnosing car noises can be a rewarding process, empowering you to understand your vehicle better and potentially save on repair costs. By systematically identifying the type of noise, the conditions under which it occurs, and its general location, you can narrow down the possible causes and provide valuable information to your mechanic. Remember to prioritize safety and consult a qualified professional when needed. With a little patience and attention to detail, you can silence those unsettling sounds and keep your car running smoothly.