Persistent car noises can be more than just annoying; they often signal underlying mechanical issues that, if left unaddressed, can lead to costly repairs or even dangerous situations. Identifying the source of the noise early on is crucial for preventative maintenance and ensuring your vehicle's longevity. This guide provides a systematic approach to diagnosing common car noises, empowering you to take control of your car's health.
Before diving in, remember that safety is paramount. Always perform inspections in a safe environment, away from traffic, and with the parking brake engaged. When working under the hood, ensure the engine is cool to prevent burns. While this guide offers DIY solutions, don't hesitate to consult a qualified mechanic if you're unsure about any step.
This guide will walk you through the process of listening, isolating, and identifying the most common automotive noises. We'll break down potential causes and offer troubleshooting steps, helping you determine whether it's a minor fix you can handle yourself or a problem requiring professional attention.
Step 1: Initial Assessment: Listen and Localize
The first step is to carefully listen to the noise and try to determine its characteristics. Is it a squeal, a grinding, a knocking, a hissing, or something else? When does the noise occur? Is it constant, or does it only happen under certain conditions, such as when braking, accelerating, turning, or driving over bumps? Try to pinpoint the general area of the noise. Is it coming from the engine bay, underneath the car, or from one of the wheels? Pay close attention to the conditions that trigger the noise, as this will provide valuable clues later in the diagnostic process.

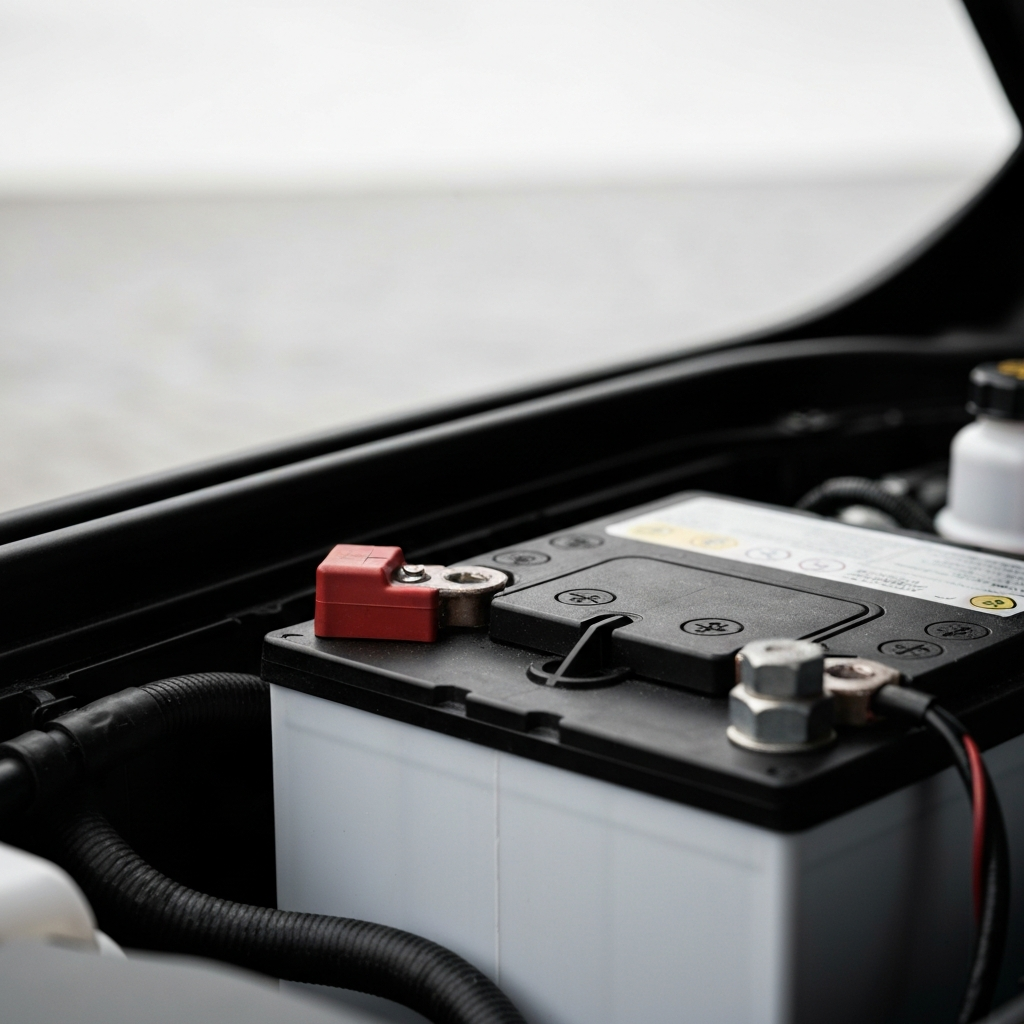
Step 2: No Start - Battery or Starter Issues?
If your car won’t start and doesn’t make a clicking noise when you turn the key, the issue likely lies with your battery or the starter motor. The absence of a clicking sound indicates that the starter isn't even attempting to engage. Start by checking the battery terminals for corrosion. Clean them with a wire brush if necessary. Next, try jump-starting the car. If it starts with a jump, the battery is likely the culprit. If jumping doesn’t work, and there is no clicking sound, then it's more likely a starter problem. A single click (but still no start) can point towards a bad starter solenoid.
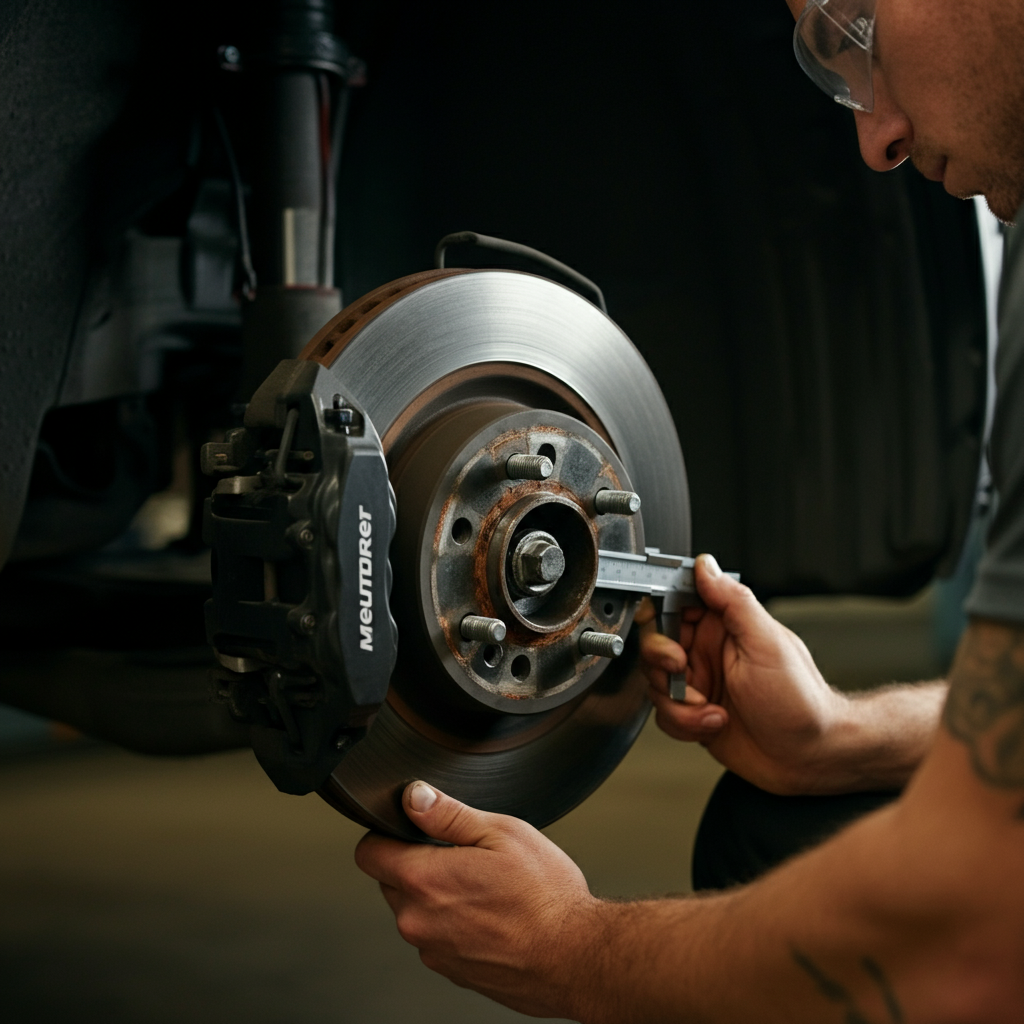
Step 3: Investigate Noises When Braking
Braking noises are common and often indicate worn brake pads or rotors. A squealing noise when braking is usually a sign that the brake pads are worn down to the wear indicators. A grinding noise, on the other hand, suggests that the brake pads are completely worn and the metal backing plate is rubbing against the rotor. A pulsating sensation when braking can indicate warped rotors. Ignoring braking noises can lead to decreased braking performance and potential damage to other brake components. Visually inspect the brake pads and rotors for wear and damage. If you're not comfortable performing brake work, consult a mechanic.
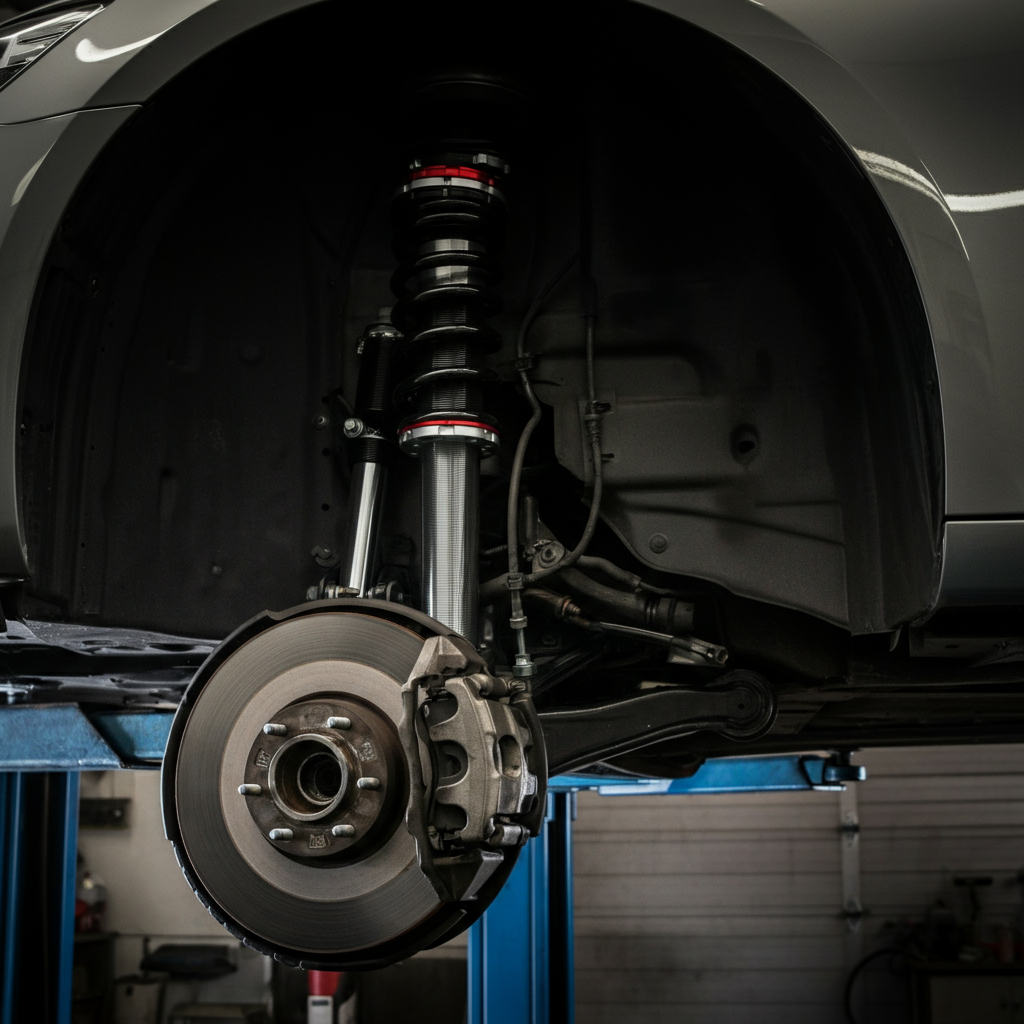
Step 4: Listen for Suspension Noises
Suspension noises typically occur when driving over bumps or uneven surfaces. Clunking, rattling, or squeaking sounds emanating from the suspension can indicate worn shocks, struts, ball joints, sway bar links, or bushings. To diagnose suspension noises, try bouncing each corner of the car. If the car bounces excessively or you hear unusual noises, the shocks or struts may be worn. Worn suspension components can affect handling and stability, making it crucial to address these issues promptly. Visually inspect the suspension components for leaks, damage, or excessive play. A pry bar can be useful for checking ball joints and tie rod ends.
Step 5: Diagnose Engine Noises
Engine noises can be more complex to diagnose, as there are many potential sources. Ticking sounds can be caused by loose valve lash, low oil pressure, or worn lifters. Knocking sounds can indicate worn connecting rod bearings or piston slap. Hissing sounds may be due to vacuum leaks or coolant leaks. If you hear unusual engine noises, it's important to check the oil level and pressure immediately. Consult a mechanic if you're unsure about the source of an engine noise, as internal engine repairs often require specialized tools and knowledge.
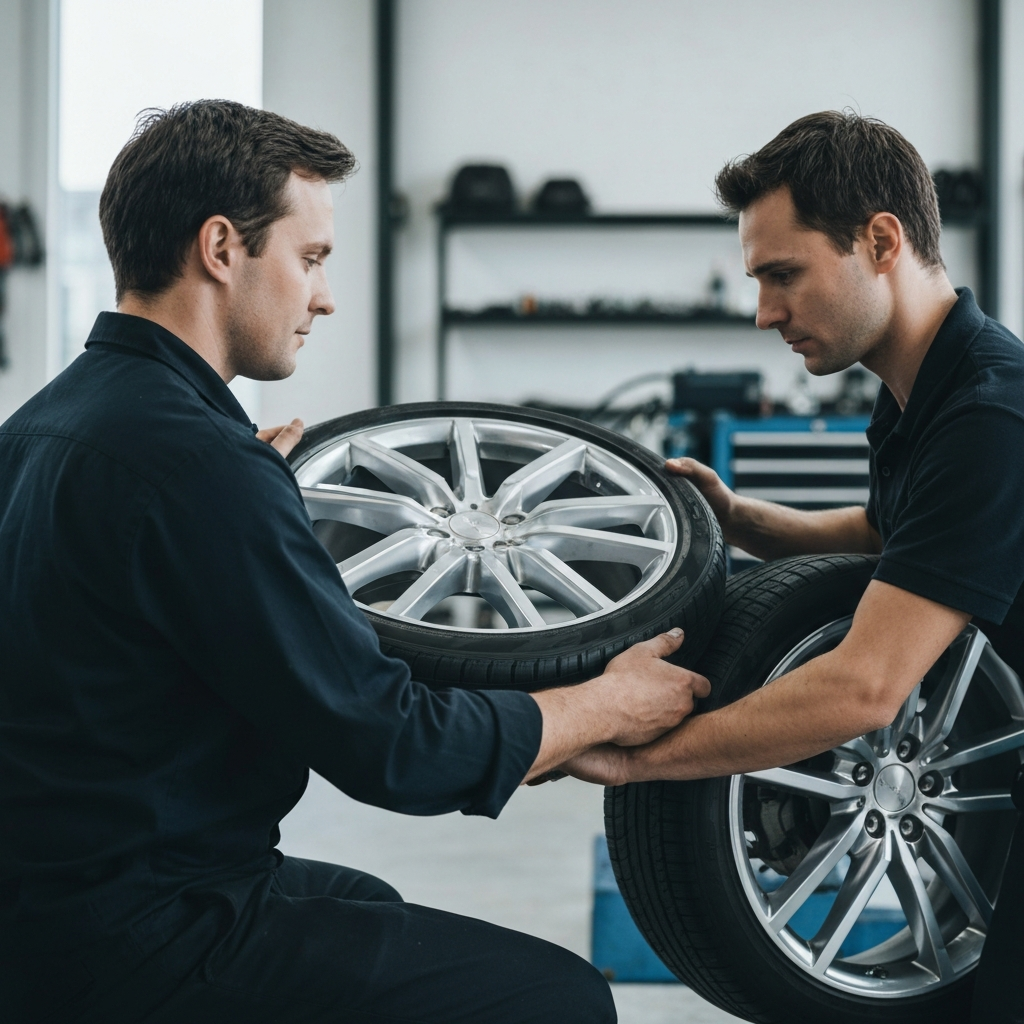
Step 6: Tire and Wheel Bearing Noises
Tire and wheel bearing noises often manifest as humming, roaring, or rumbling sounds that increase with speed. Tire noise can be caused by uneven wear, cupping, or worn tires. Wheel bearing noise typically originates from one of the wheels and becomes more pronounced when turning in one direction. To diagnose wheel bearing noise, jack up each wheel and spin it by hand. Listen for any grinding or rumbling sounds. Also, check for play by trying to move the wheel in and out. Wheel bearing failures can be dangerous, as they can lead to wheel separation. Replace worn tires and wheel bearings promptly.
Tools or Materials Required
- Jack and jack stands
- Wire brush
- Wrenches and sockets
- Screwdrivers
- Pry bar
- Mechanic's stethoscope (optional)
- Safety glasses
- Gloves
Safety Considerations
- Always wear safety glasses and gloves when working on your car.
- Support the car securely with jack stands before working underneath it.
- Disconnect the negative battery cable before working on electrical components.
- Allow the engine to cool completely before working under the hood.
Common Mistakes to Avoid
- Ignoring noises for extended periods.
- Misdiagnosing the source of the noise.
- Attempting repairs beyond your skill level.
- Using incorrect parts or tools.
- Neglecting safety precautions.
Conclusion
Diagnosing car noises can seem daunting, but by following a systematic approach and paying close attention to detail, you can effectively identify the source of many common automotive problems. Remember to prioritize safety, use the right tools, and consult a professional mechanic when needed. Early diagnosis and prompt repairs can save you time, money, and potential headaches down the road, ensuring your vehicle remains safe and reliable.