In our fast-paced world, it's easy to let precious family memories slip away. We snap photos, record videos, and experience countless special moments, but often these treasures become scattered and forgotten. Creating a family memory bank isn't just about collecting these items; it's about building a living, breathing archive that strengthens family bonds and preserves your unique story for generations to come. But simply creating a digital or physical archive isn't enough. The key is to make it accessible and engaging so that it becomes a natural part of your family's life.
This guide will walk you through the steps of building a family memory bank that isn't just a repository, but a dynamic hub of shared experiences. We'll cover everything from choosing the right format and gathering content to organizing it in a way that encourages regular use and ensures its longevity. The goal is not just to document memories, but to actively engage with them as a family, reliving joyful moments and strengthening your connection.
So, whether you're tech-savvy or prefer a more traditional approach, get ready to embark on a journey of preserving and celebrating your family's unique history. Let’s begin!
Step 1: Choose Your Memory Bank Format
The first step is to decide on the format that best suits your family's preferences and lifestyle. You have several options, each with its own advantages and disadvantages. A digital memory bank can be easily accessible, searchable, and shared online. Physical scrapbooks or memory boxes offer a tactile experience and can be a beautiful heirloom. You could even opt for a hybrid approach, combining the best of both worlds. Consider your family's comfort level with technology, storage space, and the amount of time you're willing to dedicate to upkeep.

Step 2: Gather Your Family Treasures
Now it's time to gather all those precious family memories! Start by collecting photos, videos, letters, postcards, journals, and even small objects like ticket stubs or pressed flowers. Don’t forget the digital realm! Social media posts, emails, and digital photos stored on various devices are all fair game. Involve all family members in the gathering process, as they may have unique items to contribute. Consider hosting a "memory hunt" where everyone searches their own belongings for family treasures. This can be a fun and engaging way to kickstart the process.

Step 3: Organize and Curate Your Collection
Once you've gathered your treasures, it's time to organize them. This step is crucial for making your memory bank accessible and enjoyable to use. Start by categorizing your items chronologically, thematically (e.g., vacations, birthdays, holidays), or by family member. For digital items, create a clear folder structure and use descriptive filenames. For physical items, consider using archival-quality boxes, albums, and sleeves to protect them from damage. Don't be afraid to be selective! Choose the best and most meaningful items to include, rather than trying to include everything. This curation process will make your memory bank more manageable and engaging.

Step 4: Digitize Physical Memories
If you're opting for a digital or hybrid memory bank, you'll need to digitize your physical items. This can be done using a scanner, a smartphone camera, or a professional digitizing service. If using a scanner, ensure you select a high resolution (at least 300 dpi for photos) to preserve detail. If using a smartphone, use a scanning app that automatically crops and enhances the images. For fragile or valuable items, consider using a professional service to ensure they are handled with care. Always create backup copies of your digitized memories to protect against data loss. Store them on multiple devices or in the cloud.

Step 5: Add Context and Storytelling
Simply collecting and organizing memories isn't enough. Adding context and storytelling is what truly brings your memory bank to life. For photos and videos, write captions that describe the event, the people involved, and any special details you want to remember. Interview family members about their memories of these events and record their stories. Consider using a voice recorder or video camera to capture these interviews. You can also add historical context or interesting facts related to the time period. This will make your memory bank not just a collection of items, but a rich tapestry of family history.

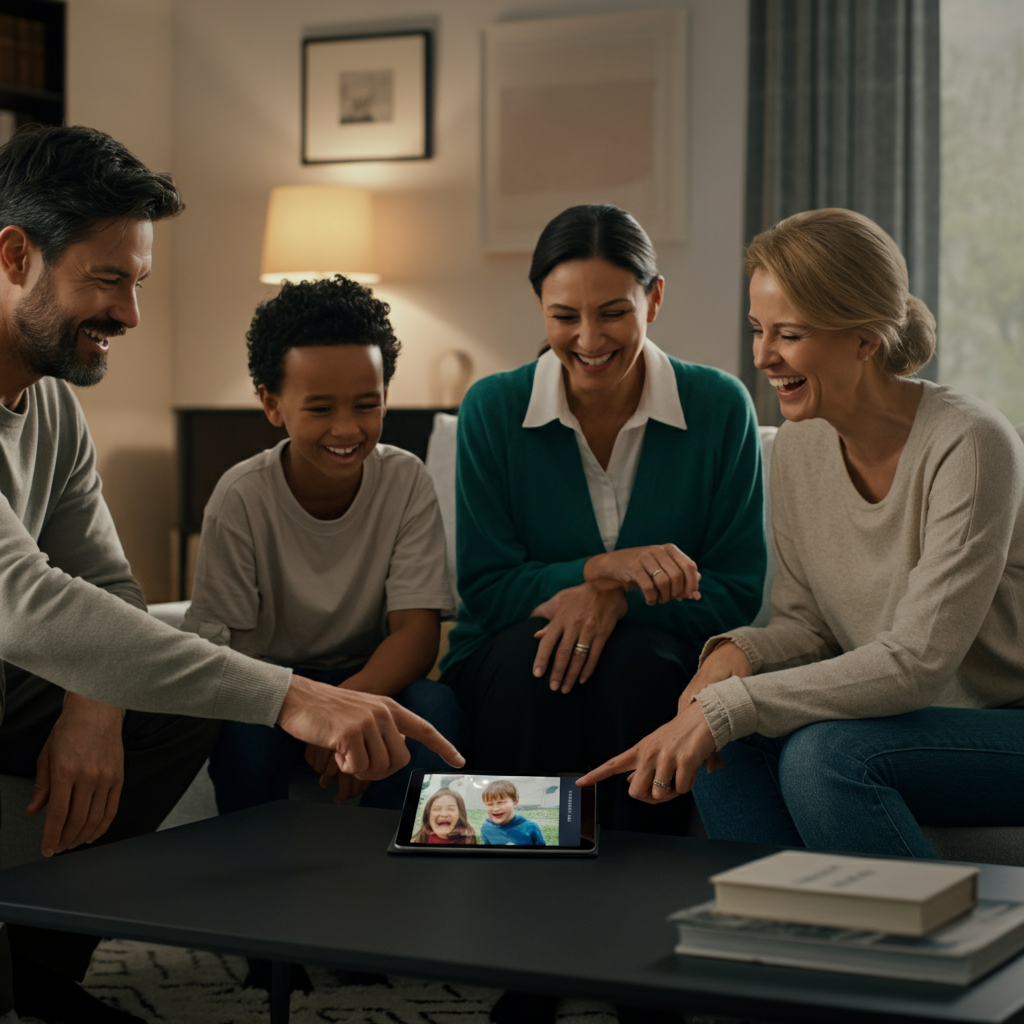
Step 6: Make it Accessible and Engaging
The final and most important step is to make your memory bank accessible and engaging for the whole family. If you've created a digital memory bank, share it with family members online or through a dedicated app. For physical memory banks, display them in a prominent location where everyone can easily access them. Organize regular "memory nights" where you gather as a family to browse through the memory bank and share stories. Consider creating quizzes or games based on the memories to make it even more interactive. The more you engage with your memory bank, the more valuable it will become.
Tools or Materials Required
- Digital camera or smartphone
- Scanner (optional)
- Archival-quality photo albums, boxes, and sleeves
- Computer or laptop
- External hard drive or cloud storage
- Scanning app (for smartphones)
- Voice recorder or video camera (optional)
Common Mistakes to Avoid
- Failing to back up digital memories. Data loss can be devastating, so always have multiple backups.
- Using non-archival materials for physical memories. These materials can damage your precious items over time.
- Not involving all family members in the process. This can lead to a lack of engagement and a feeling of disconnect.
- Getting overwhelmed by the amount of content. Start small and focus on the most important memories first.
- Neglecting to add context and storytelling. This is what truly brings your memory bank to life.
FAQ Section
- How often should I update my family memory bank?
- Aim to update it regularly, such as monthly or quarterly. This will help you stay on top of new memories and keep the project from becoming overwhelming.
- What if some family members are reluctant to participate?
- Be patient and understanding. Explain the benefits of the project and try to find ways to involve them that are comfortable for them. Perhaps they can help with specific tasks or share their memories in a way that suits their preferences.
- How do I handle sensitive or controversial memories?
- Approach these memories with sensitivity and respect. Consider whether it's appropriate to include them in the memory bank and, if so, how to present them in a way that is fair and accurate. It may be helpful to discuss these memories with family members and reach a consensus on how to handle them.
Building a family memory bank is an ongoing process, not a one-time event. The most crucial part is to start! By following these steps and tailoring them to your family's unique needs and preferences, you can create a valuable resource that preserves your history, strengthens your bonds, and brings joy for generations to come. Remember, the goal is not just to collect memories, but to actively engage with them and celebrate your family's unique story.