Dealing with a cut, whether minor or more significant, requires prompt and proper care. The goal is twofold: to promote healing and prevent infection. While some cuts require professional medical attention, many can be managed effectively at home. This guide provides step-by-step instructions on treating cuts, minimizing scarring, and, if desired, concealing them effectively.
From initial wound care to long-term scar management, each stage is crucial for optimal results. Ignoring even minor cuts can lead to complications, so understanding the correct procedures is vital. We'll cover everything from stopping the bleeding to using appropriate dressings and knowing when to seek professional help.
Beyond immediate treatment, we'll also delve into techniques for concealing cuts, both while they are healing and after they have scarred. This can be particularly important for personal comfort and confidence. However, remember that prioritizing proper healing is always the primary concern, and concealment should never compromise wound care.
This comprehensive guide provides the knowledge you need to confidently manage cuts of varying severity, promoting faster healing and minimizing long-term impact.
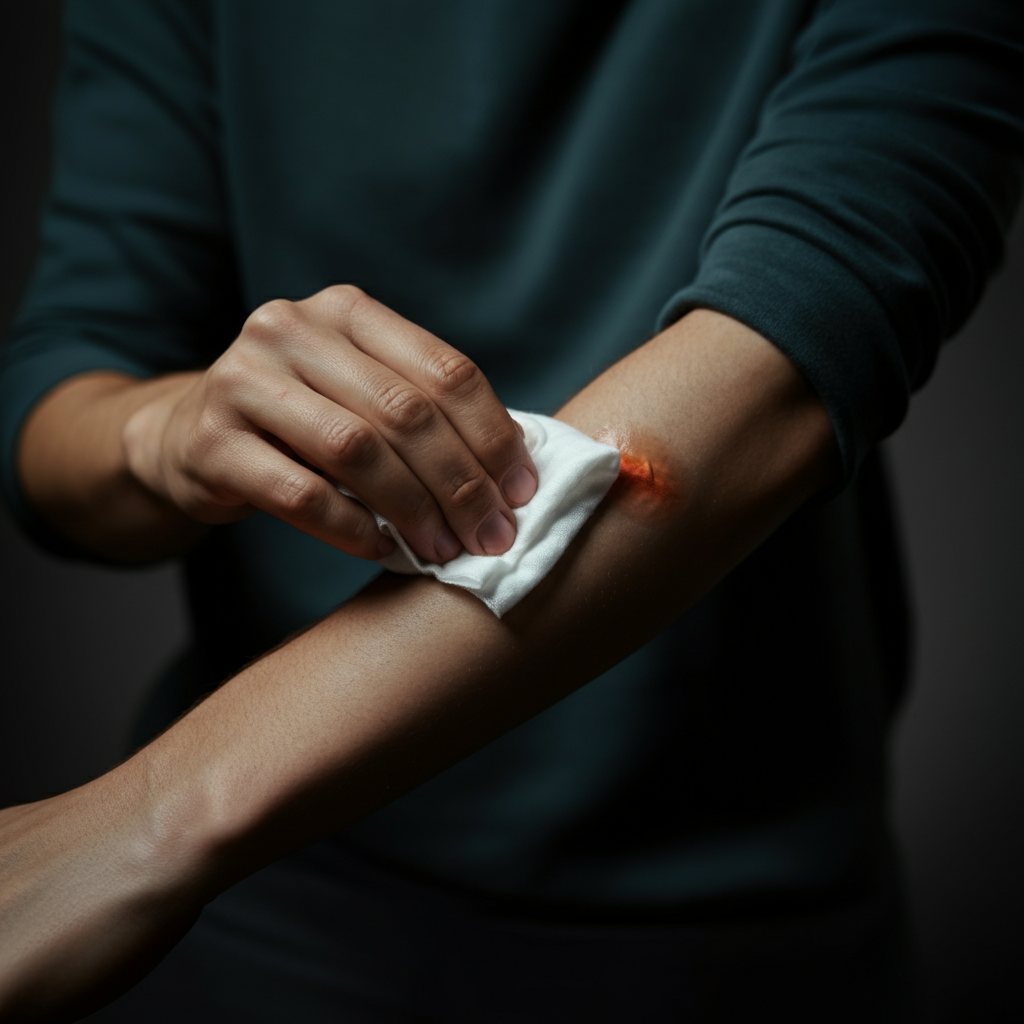
Step 1: Stop the Bleeding
The first and most critical step in treating any cut is to stop the bleeding. Minor cuts will often stop bleeding on their own within a few minutes. For more persistent bleeding, apply direct pressure to the wound using a clean cloth or gauze. Maintain consistent pressure for several minutes, avoiding the temptation to check the wound frequently, as this can disrupt clot formation. Elevating the injured area above your heart can also help reduce blood flow and promote clotting. If bleeding continues despite these measures, seek immediate medical attention.
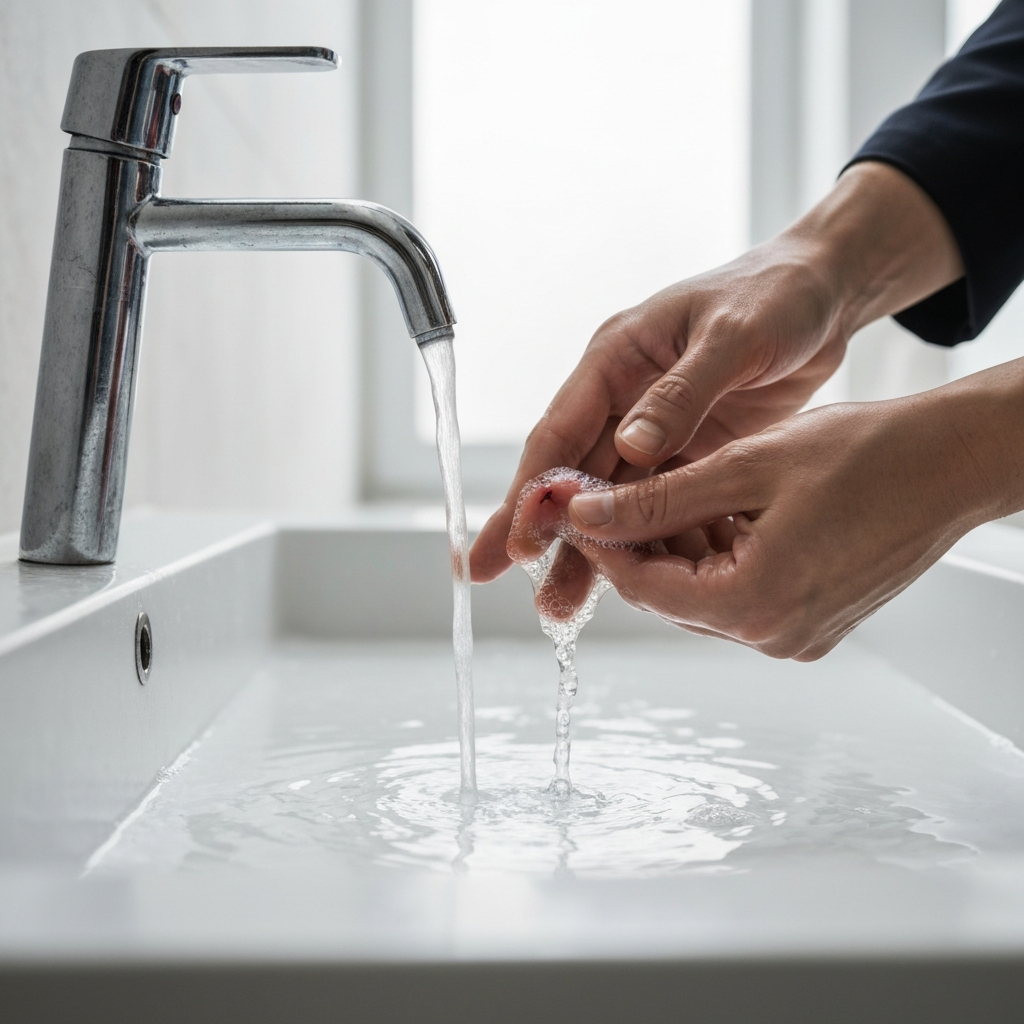
Step 2: Clean the Cut Thoroughly
Once the bleeding has stopped, it's crucial to clean the cut thoroughly to prevent infection. Gently wash the area with mild soap and water. Avoid harsh soaps or antiseptics like hydrogen peroxide or iodine, as these can damage tissue and hinder healing. Rinse the cut under running water for several minutes to remove any dirt or debris. If necessary, use clean tweezers to carefully remove any embedded particles, such as glass or gravel. Pat the area dry with a clean towel after rinsing.
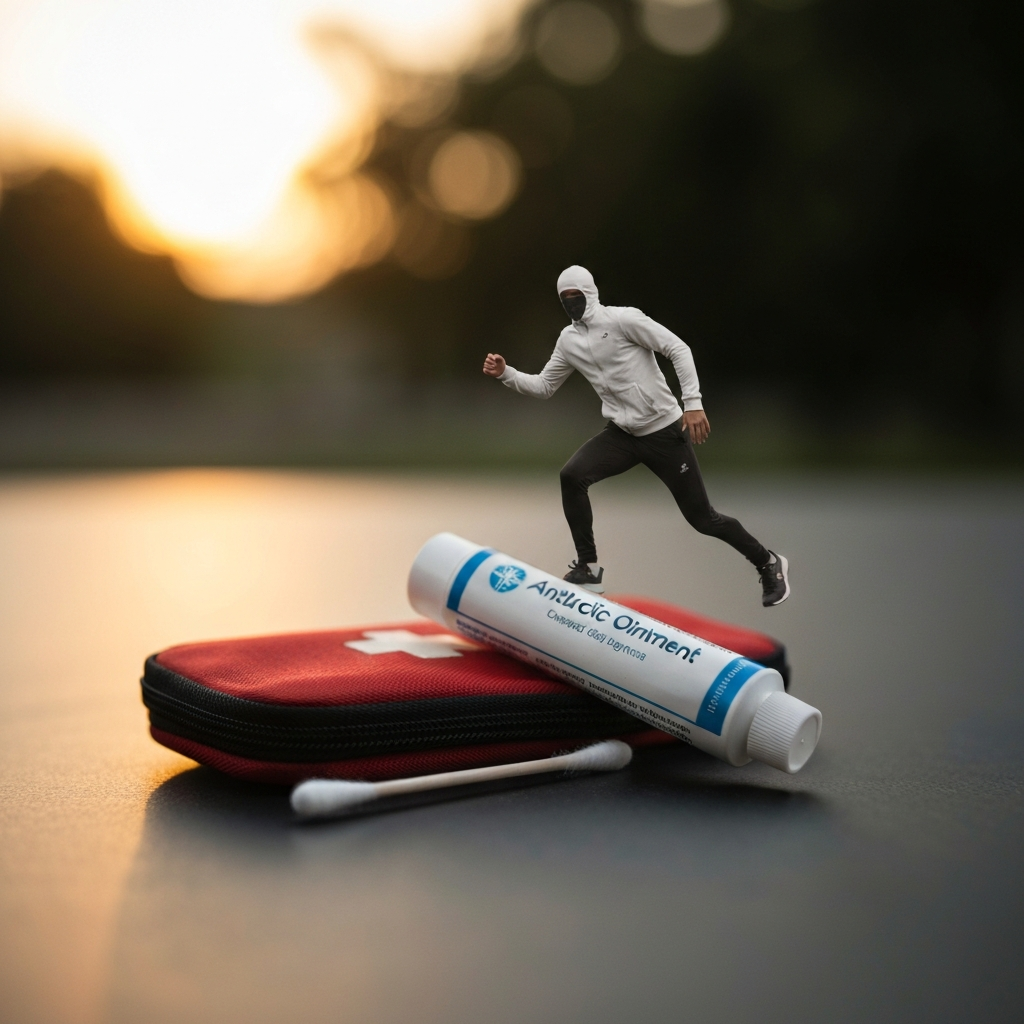
Step 3: Apply an Antibiotic Ointment
After cleaning the cut, apply a thin layer of antibiotic ointment, such as Neosporin or Bacitracin, to help prevent infection. These ointments create a barrier against bacteria and keep the wound moist, which promotes faster healing. However, be aware that some individuals may experience an allergic reaction to these ointments, so monitor for any signs of redness, itching, or swelling. If a reaction occurs, discontinue use and consult a healthcare professional.
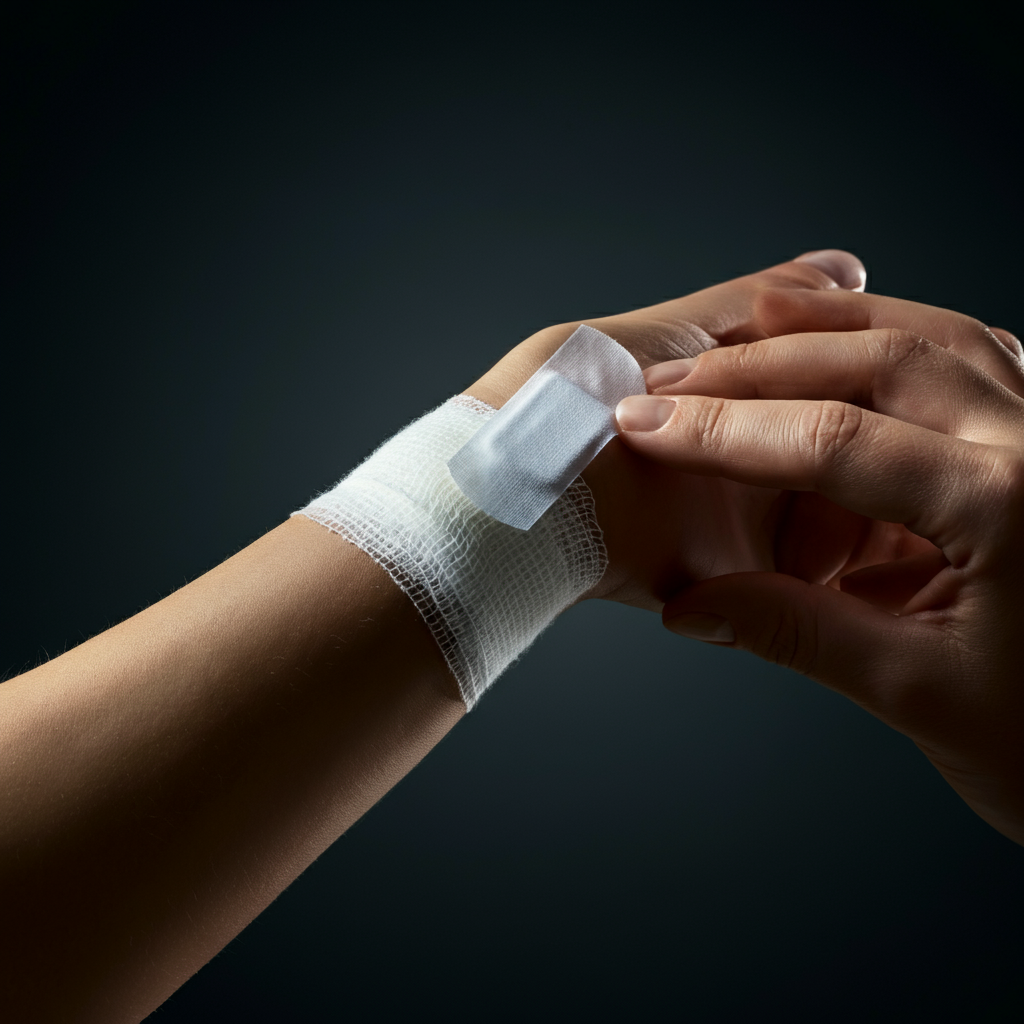
Step 4: Cover the Cut with a Sterile Bandage
Cover the cut with a sterile bandage to protect it from dirt, bacteria, and further injury. Choose a bandage that is appropriate for the size and location of the cut. Change the bandage at least once a day, or more frequently if it becomes wet or soiled. Allowing the wound to breathe for short periods each day can also aid in healing, but ensure it is protected when exposed to potential contaminants. Observe the wound for any signs of infection, such as increased pain, redness, swelling, pus, or fever. If you notice any of these symptoms, seek medical attention promptly.
Step 5: When to Seek Medical Attention
While many cuts can be treated at home, certain situations require professional medical attention. If the cut is deep, won't stop bleeding after applying pressure for 10-15 minutes, or is located on a joint, such as the knee or elbow, it may require stitches. A deep cut where you can see yellow, fatty tissue under the skin needs immediate attention. Other warning signs include signs of infection, such as increasing pain, redness, swelling, pus, or fever. Also, if the cut was caused by a rusty object or a dirty instrument, it's important to ensure your tetanus immunization is up-to-date. Consult your doctor if you are unsure whether a cut requires medical attention.

Step 6: Minimize Scarring
Once the cut has healed, you can take steps to minimize scarring. Keep the area moisturized with a lotion containing Aloe or Vitamin E. Gently massage the healed area twice a day for several weeks to help break down scar tissue and improve circulation. Protect the scar from the sun, as UV exposure can cause discoloration and make the scar more prominent. Use a broad-spectrum sunscreen with an SPF of 30 or higher on the scar whenever it is exposed to sunlight.
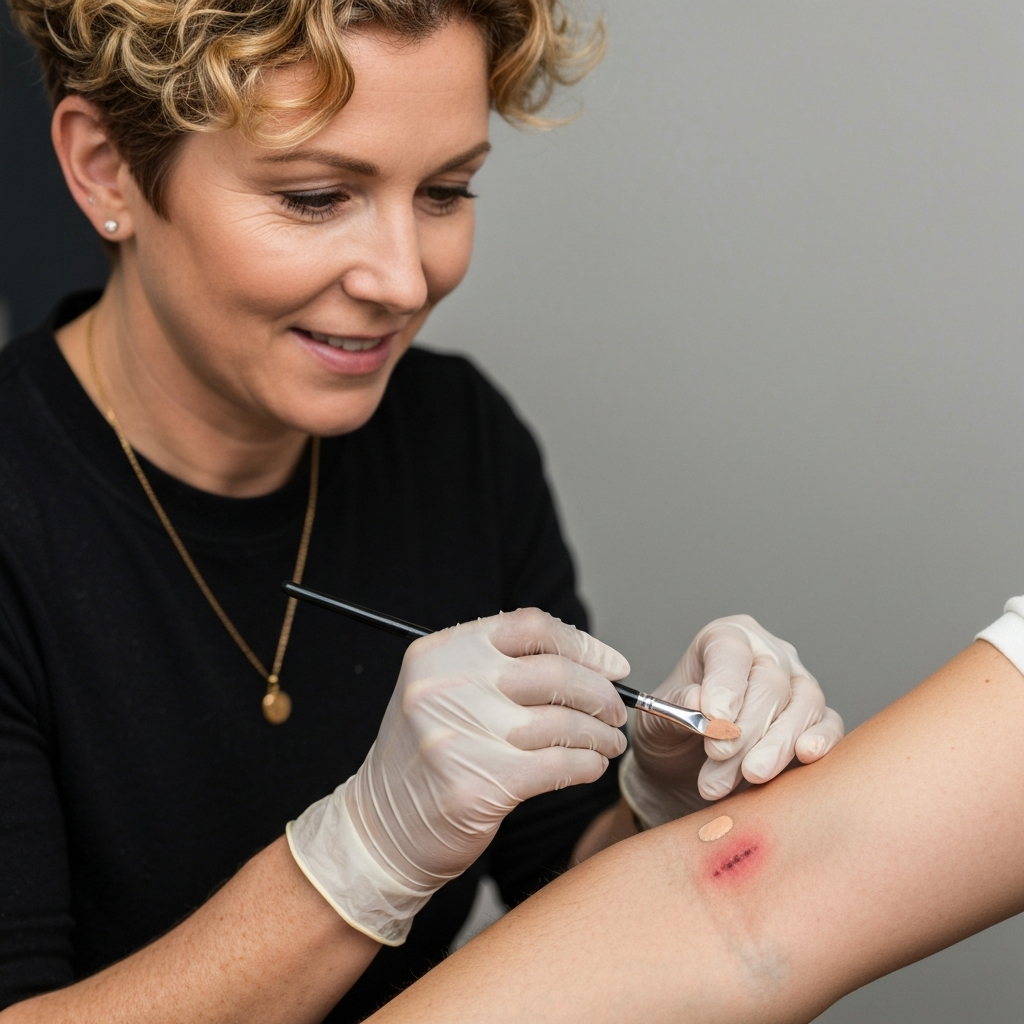
Step 7: Concealing the Cut or Scar (If Desired)
If you wish to conceal a cut or scar, several options are available. For healing cuts, use a transparent bandage to protect the wound while allowing it to breathe. If makeup is used, ensure it is oil-free and applied carefully to avoid irritating the wound. For healed scars, exfoliating the area gently can remove dead skin cells and create a smoother surface. Apply color corrector to neutralize the scar's color, followed by foundation and concealer to even out the skin tone. Always prioritize hygiene and gentle application to avoid aggravating the skin. Consider using accessories like bracelets or clothing to discreetly cover the area.
Safety Considerations
Always prioritize hygiene when treating cuts. Wash your hands thoroughly before and after cleaning the wound. Use sterile bandages and dressings to prevent infection. If you are unsure about the severity of a cut or how to treat it, consult a healthcare professional. If you experience signs of infection, such as increased pain, redness, swelling, pus, or fever, seek medical attention immediately.
Common Mistakes to Avoid
Avoid using harsh antiseptics like hydrogen peroxide or iodine on cuts, as these can damage tissue and hinder healing. Do not pick at scabs, as this can increase the risk of infection and scarring. Avoid prolonged sun exposure to healing wounds or scars, as this can cause discoloration. Do not ignore signs of infection; seek medical attention promptly if you suspect an infection.
FAQ Section
Q: How often should I change the bandage?
A: Change the bandage at least once a day, or more frequently if it becomes wet or soiled.
Q: Can I use hydrogen peroxide to clean a cut?
A: No, it's best to avoid harsh antiseptics like hydrogen peroxide, as they can damage tissue.
Q: When should I see a doctor for a cut?
A: See a doctor if the cut is deep, won't stop bleeding, is located on a joint, or shows signs of infection.
Conclusion
Proper care of cuts is essential for promoting healing, preventing infection, and minimizing scarring. By following these steps, you can effectively manage most minor cuts at home. Remember to prioritize hygiene, monitor for signs of infection, and seek medical attention when necessary. With the right care, your cuts will heal quickly and effectively, leaving minimal trace.