Finding water or moisture inside your car's headlight assembly can be frustrating and, more importantly, dangerous. It reduces visibility, scatters light, and can even damage the headlight components over time. The good news is, you don't always need to replace the entire headlight unit. Often, you can fix the problem yourself with a bit of know-how and some basic tools.
This guide provides a step-by-step approach to diagnosing and resolving moisture issues within your headlights. We'll cover everything from simple vent cleaning to more involved resealing procedures. Whether you're a seasoned DIYer or just starting out, this guide will equip you with the knowledge to tackle this common automotive problem.
Before you begin, it's crucial to understand that working on your car's electrical system requires caution. Always disconnect the battery before working on any electrical components. If you're uncomfortable with any of these steps, it's always best to consult a qualified mechanic.
Step 1: Diagnose the Problem
Assess the Level of Moisture
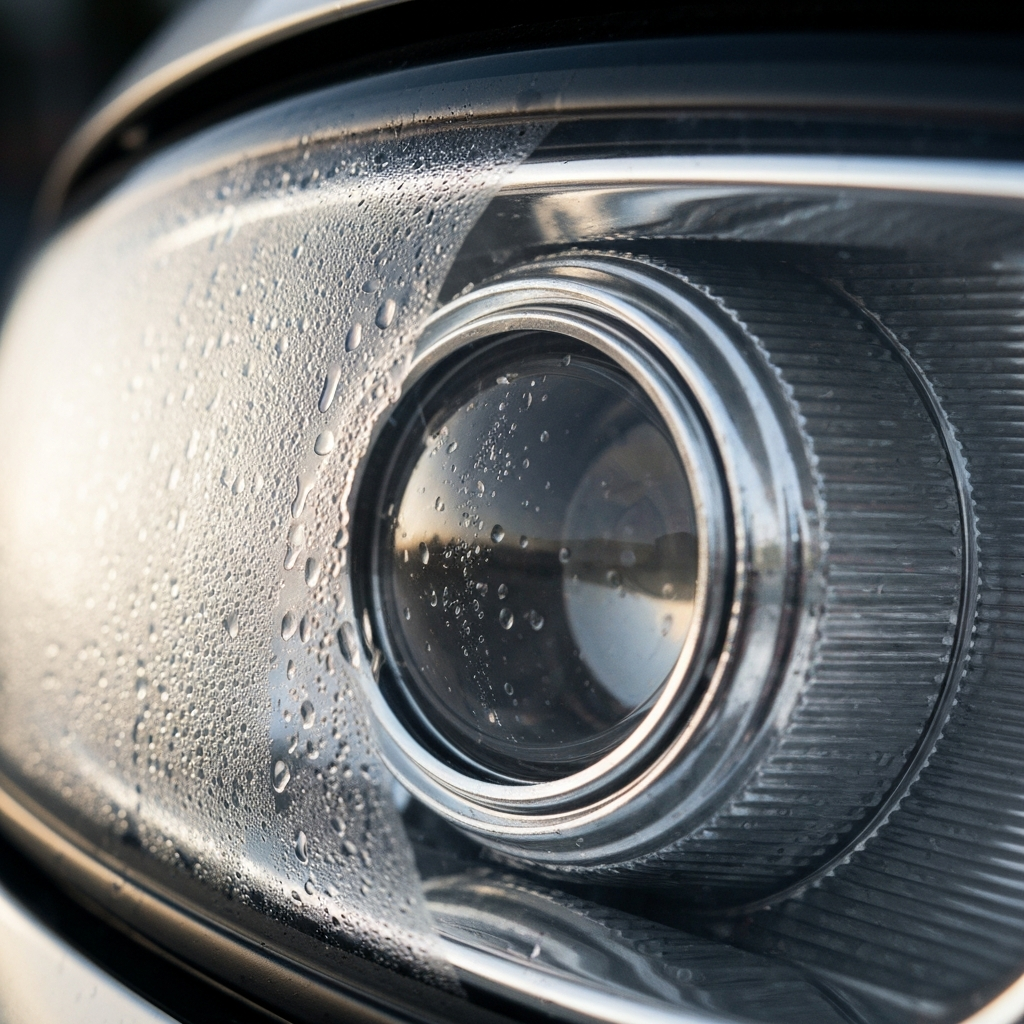
The first step is to determine the severity of the moisture issue. Is it just a slight bit of condensation on a cold morning, or is there standing water sloshing around inside? Minor condensation that disappears after a short drive may indicate a simple ventilation issue. Significant water accumulation suggests a more serious breach in the headlight seal. Ignoring minor condensation can lead to corrosion and bulb failure, so it's best to address it promptly.
Step 2: Check the Headlight Housing Vent
Locate and Clean the Vent
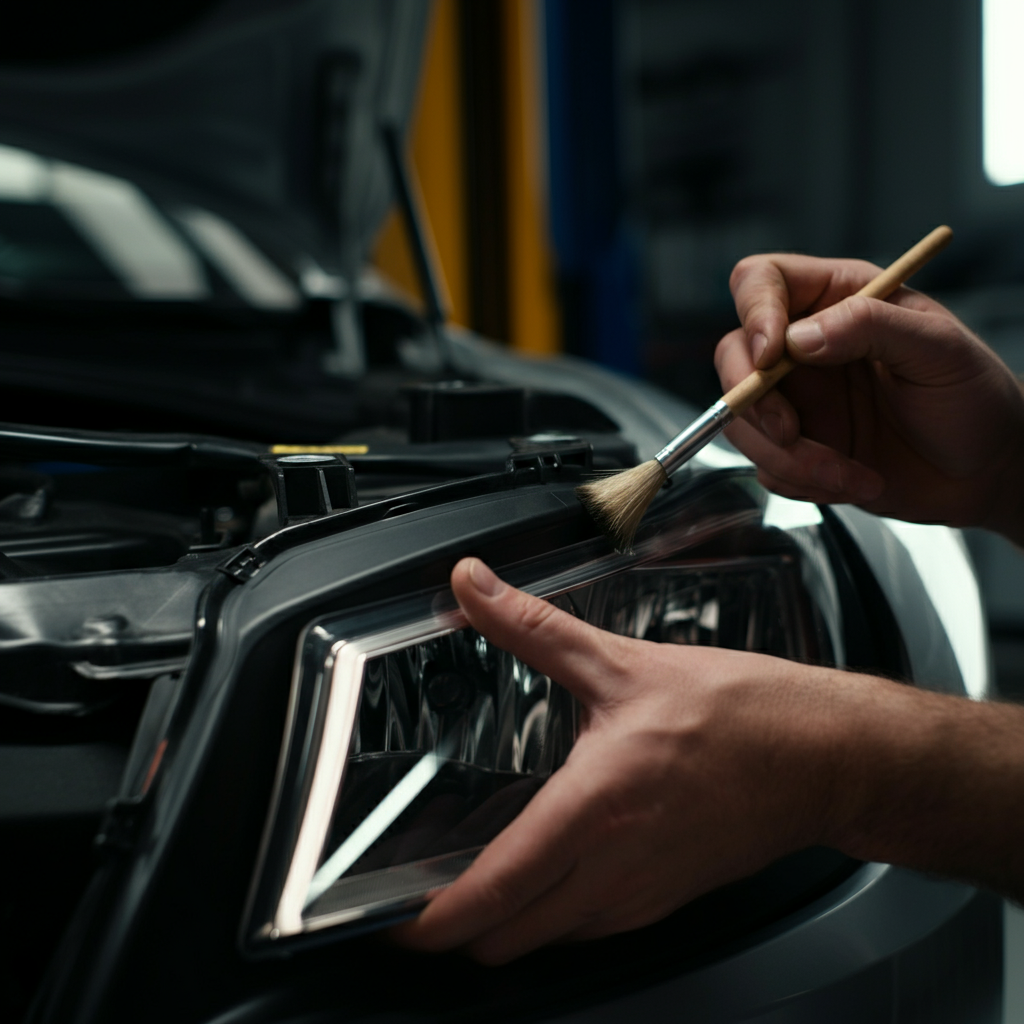
Many modern headlights have vents designed to equalize pressure and allow moisture to escape. These vents can become clogged with dirt, debris, or even spiderwebs, preventing proper ventilation. Locate the vent on your headlight assembly (refer to your vehicle's service manual if needed). Carefully clean the vent using a small brush, a cotton swab, or compressed air. Be gentle to avoid damaging the vent.
Step 3: Remove the Headlight Unit (If Necessary)
Access the Headlight Assembly
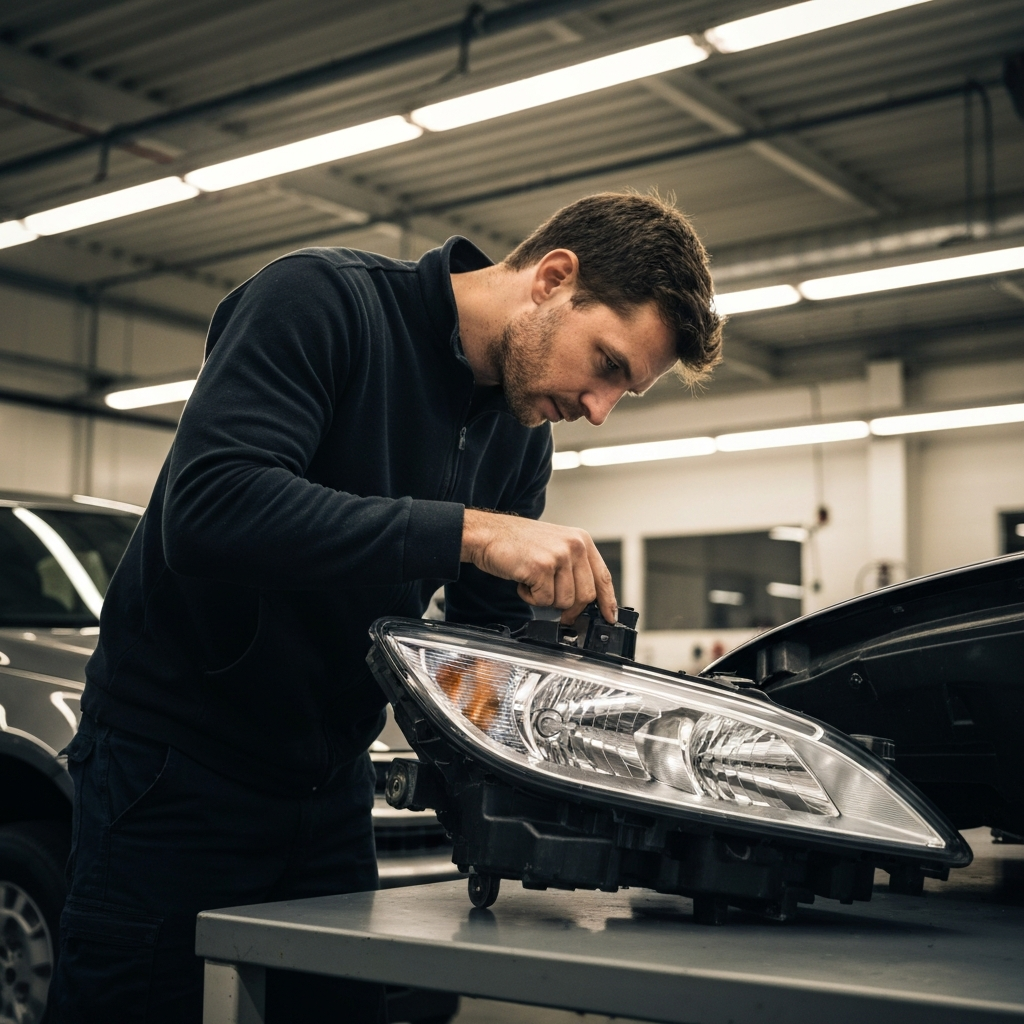
If cleaning the vent doesn't solve the problem, or if you have significant water inside the headlight, you'll likely need to remove the headlight unit. Consult your vehicle's service manual for specific instructions on how to remove the headlight assembly. Each car model has a different removal process, so following the manual is crucial to avoid damage. Typically, this involves removing screws or clips and disconnecting electrical connectors.
Step 4: Dry Out the Headlight
Remove Moisture and Inspect for Damage
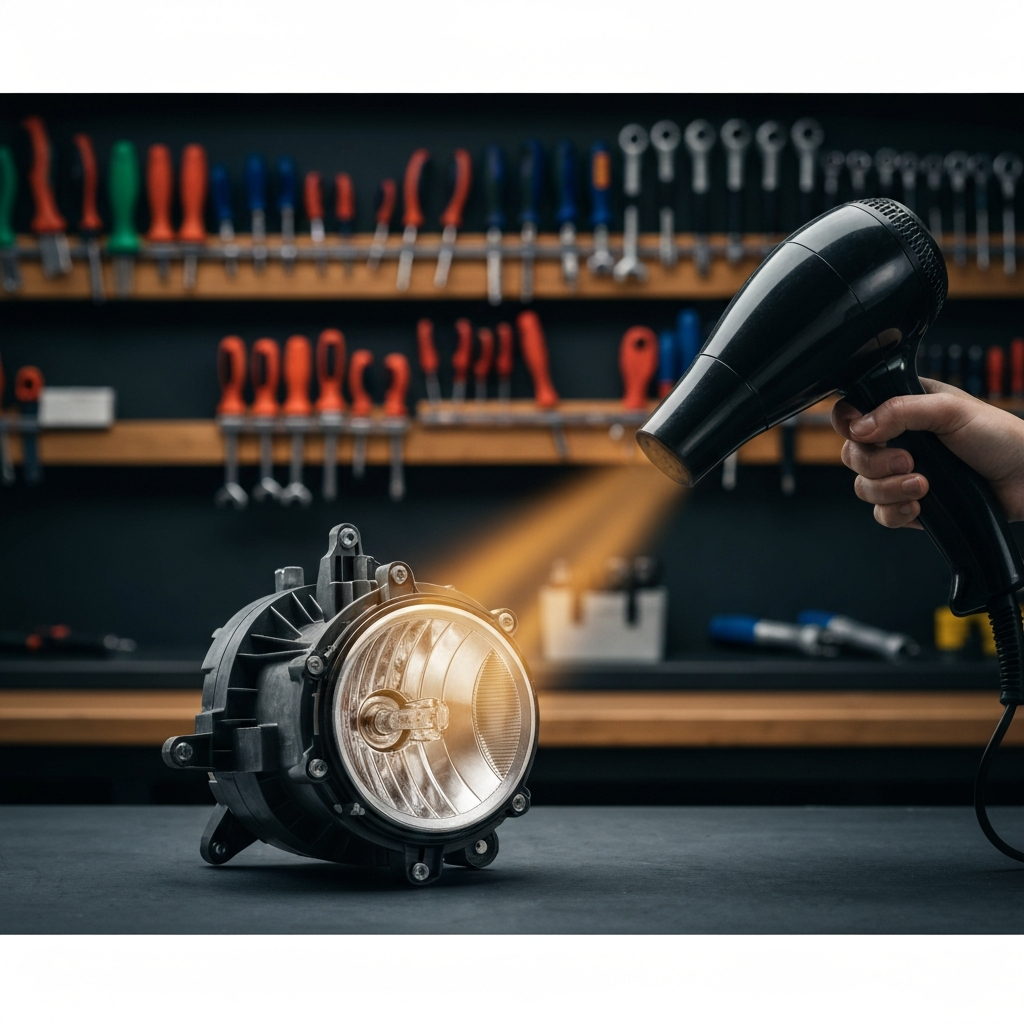
Once the headlight unit is removed, remove the bulb(s) and any other removable components. Use a hairdryer on a low setting to gently dry out the inside of the headlight assembly. Avoid using high heat, as this could damage the plastic. Alternatively, you can place the headlight in a warm, dry place for several hours. Thoroughly inspect the housing and bulb sockets for any signs of corrosion or damage.
Step 5: Reseal the Headlight
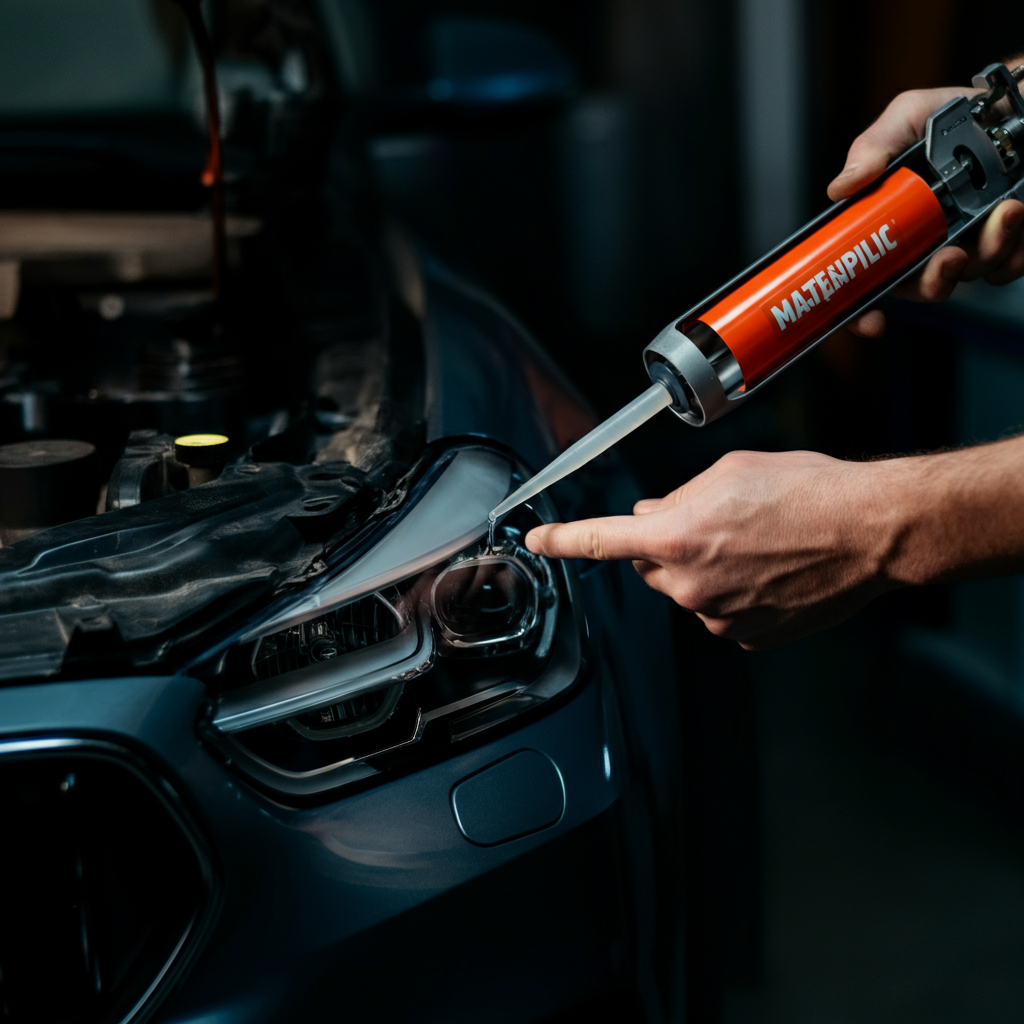
Apply New Sealant
The most common cause of water intrusion is a degraded or damaged headlight seal. Carefully inspect the existing seal around the lens of the headlight. If it's cracked, brittle, or missing, you'll need to reseal it. Purchase a high-quality automotive-grade sealant specifically designed for headlights. Apply a thin, even bead of sealant around the perimeter of the lens and reattach it to the housing. Clamp or tape the lens in place while the sealant cures.
Step 6: Reassemble and Test
Final Steps
After the sealant has fully cured (refer to the sealant manufacturer's instructions), reassemble the headlight unit, reinstall the bulbs, and reconnect the electrical connectors. Reinstall the headlight assembly back onto your vehicle. Test the headlight to ensure it's working properly. Monitor the headlight for any signs of moisture accumulation over the next few days.

Tools or Materials Required
- Screwdrivers
- Socket set
- Small brush or cotton swabs
- Compressed air (optional)
- Hairdryer
- Automotive-grade sealant
- Clean, lint-free cloths
- Vehicle service manual
Common Mistakes to Avoid
- Using excessive heat when drying the headlight
- Applying too much sealant
- Using the wrong type of sealant
- Damaging electrical connectors during removal or reinstallation
- Forgetting to reconnect electrical connectors
Safety Considerations
- Disconnect the battery before working on any electrical components.
- Wear gloves to protect your hands.
- Work in a well-ventilated area when using sealant.
- Allow sealant to fully cure before driving.
FAQ Section
Q: How long does it take to fix a headlight with moisture?
A: Depending on the severity of the problem, it can take anywhere from 30 minutes to a few hours.
Q: Can I use silicone caulk from the hardware store instead of automotive sealant?
A: No, automotive sealant is specifically designed to withstand the temperature changes and vibrations of a vehicle. Silicone caulk may not provide a long-lasting seal.
Q: My headlight has a crack in the lens. Can I still fix it?
A: A crack in the lens is a more serious problem and may require replacing the entire headlight unit. Sealing the crack may provide a temporary fix, but it's unlikely to be a permanent solution.
Conclusion
Fixing a headlight with water or moisture can seem daunting, but by following these steps, you can often resolve the issue yourself and save money on costly repairs. Remember to diagnose the problem correctly, take your time, and use the right tools and materials. If you're ever unsure about any step, don't hesitate to consult a qualified mechanic. By maintaining your headlights properly, you'll ensure your safety and the safety of others on the road.