A cracked dashboard can be an eyesore, detracting from your vehicle's overall appearance and potentially impacting its resale value. Fortunately, minor cracks and damage can often be repaired at home with the right tools and techniques. This guide provides detailed instructions for several methods, ranging from simple fixes to more involved repair processes, allowing you to restore your dashboard to its former glory.
Before embarking on any repair, it's essential to assess the extent of the damage and choose the most appropriate method. Consider the size and depth of the crack, the material of your dashboard (vinyl, plastic, or padded), and your comfort level with DIY projects. This guide will cover using epoxy for larger repairs, moldable glue for smaller cracks, and dashboard overlays for comprehensive coverage. We'll also touch upon the potential costs of professional repair versus the savings of a do-it-yourself approach. Remember proper preparation and patience are key to achieving professional-looking results.
By following these steps carefully, you can effectively repair your cracked dashboard and maintain the aesthetic appeal of your vehicle's interior. Let's get started!
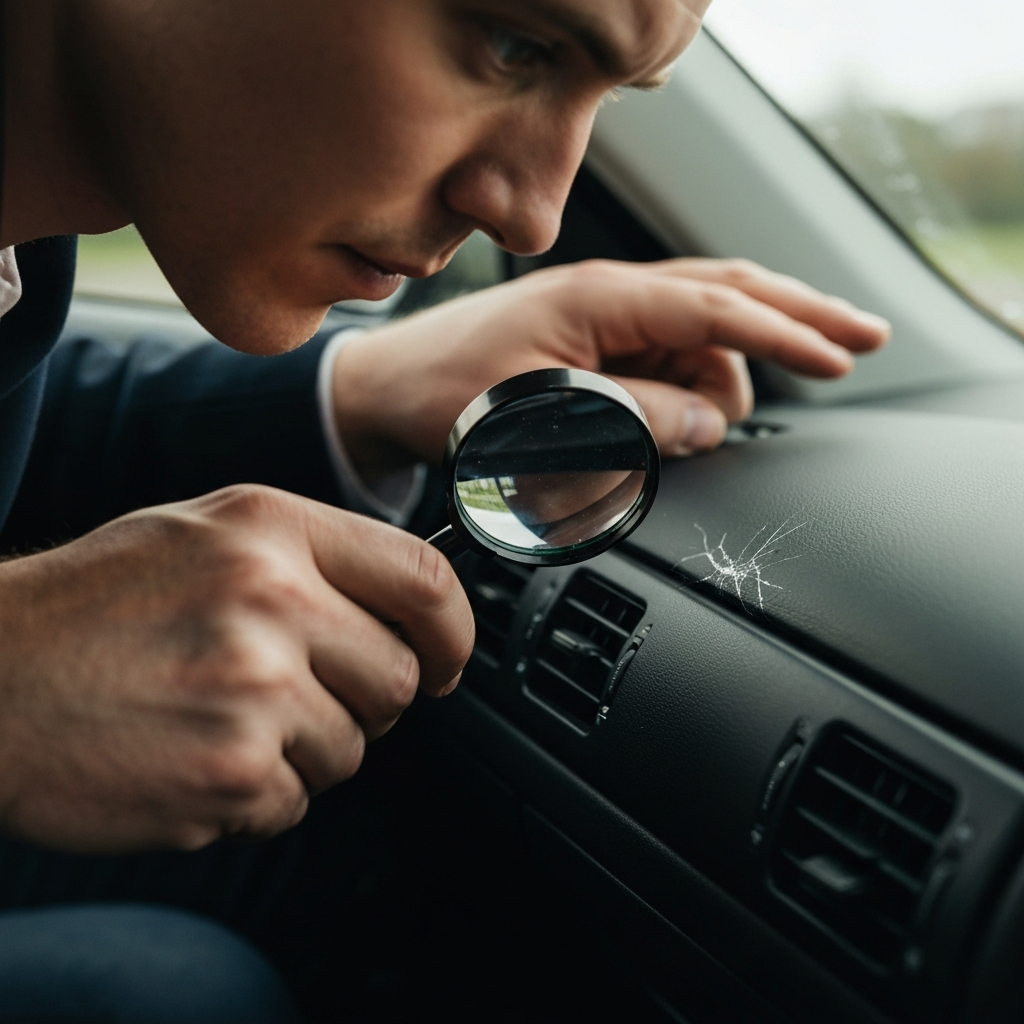
Step 1: Assess the Damage and Gather Supplies
Evaluating the Crack
Before diving into the repair process, carefully examine the crack(s) in your dashboard. Determine the length, width, and depth. Is it a single hairline crack, a network of spiderweb cracks, or a larger, more significant break? The type of damage will dictate the most suitable repair method. Also, identify the dashboard material. Vinyl and plastic dashboards are common, but some vehicles may have padded or even leather dashboards. Using the wrong repair method for your dashboard material can lead to further damage or an unsatisfactory result. Once you've assessed the damage, gather the necessary tools and materials based on your chosen repair method (epoxy, moldable glue, or overlay, as detailed in the following steps).
Step 2: Repairing Larger Cracks with Epoxy
Preparing the Crack for Epoxy
For larger or wider cracks, epoxy provides a durable and long-lasting solution. Begin by using a rotary tool with a cone-shaped sanding bit to carefully carve the crack into a V-shape. This V-shape allows the epoxy filler to adhere more effectively and create a stronger bond. Work slowly and deliberately, avoiding excessive pressure that could further damage the surrounding area. Wear a dust mask to protect yourself from inhaling dust particles generated during the sanding process. After shaping the crack, thoroughly clean the area with an ammonia-based cleaner to remove any dust or debris. Ensure adequate ventilation by opening windows or doors to dissipate fumes from the cleaner.
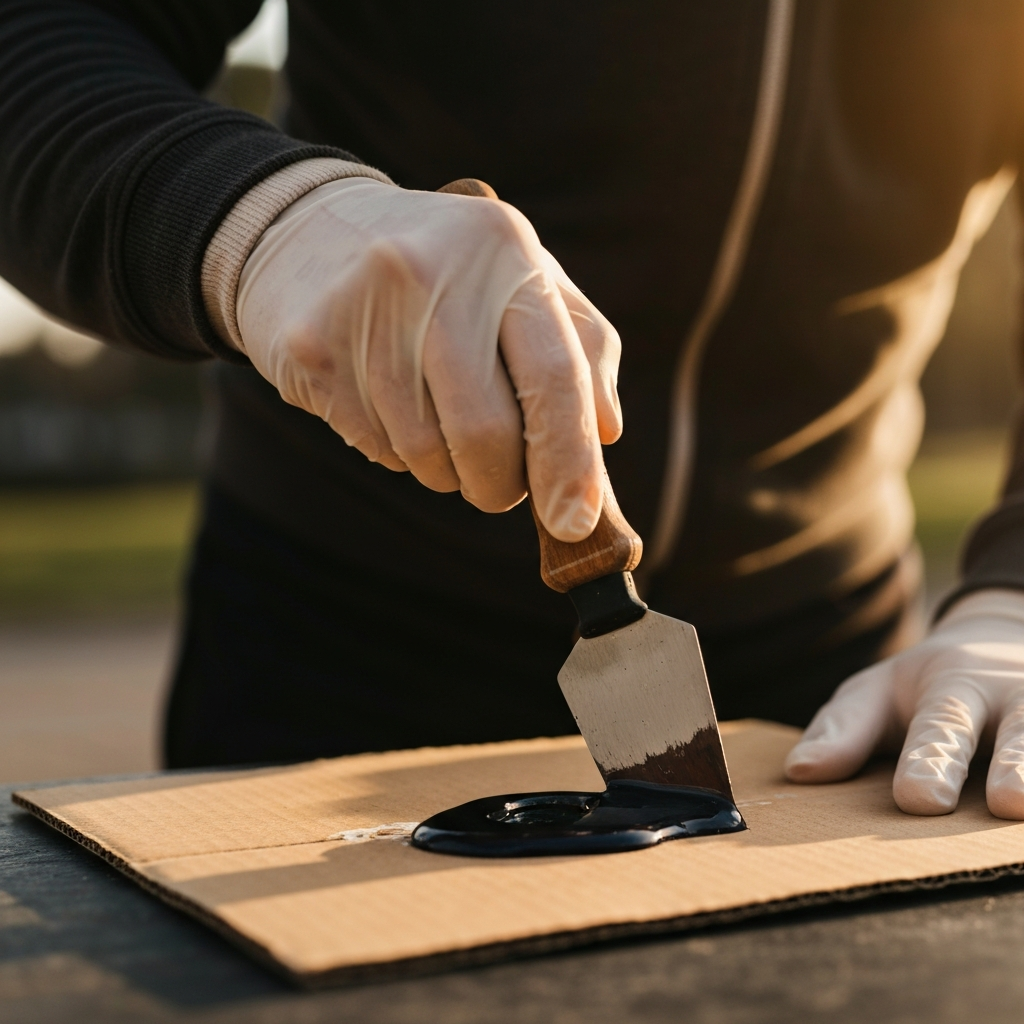
Step 3: Applying and Curing the Epoxy Filler
Mixing and Applying the Epoxy
Epoxy filler typically consists of two components: the epoxy putty and a hardening agent. Follow the manufacturer's instructions to mix the two parts in the correct ratio on a clean, disposable surface, such as a piece of cardboard. Use a putty knife to thoroughly combine the components until a uniform consistency is achieved. Once mixed, immediately apply the epoxy into the prepared crack, pressing it firmly to ensure it fills the entire void. Use the edge of the putty knife to smooth the epoxy flush with the surrounding dashboard surface. Work quickly, as epoxy begins to harden within 30-60 minutes. Allow the epoxy to cure overnight, or for the time specified by the manufacturer, to achieve maximum hardness.
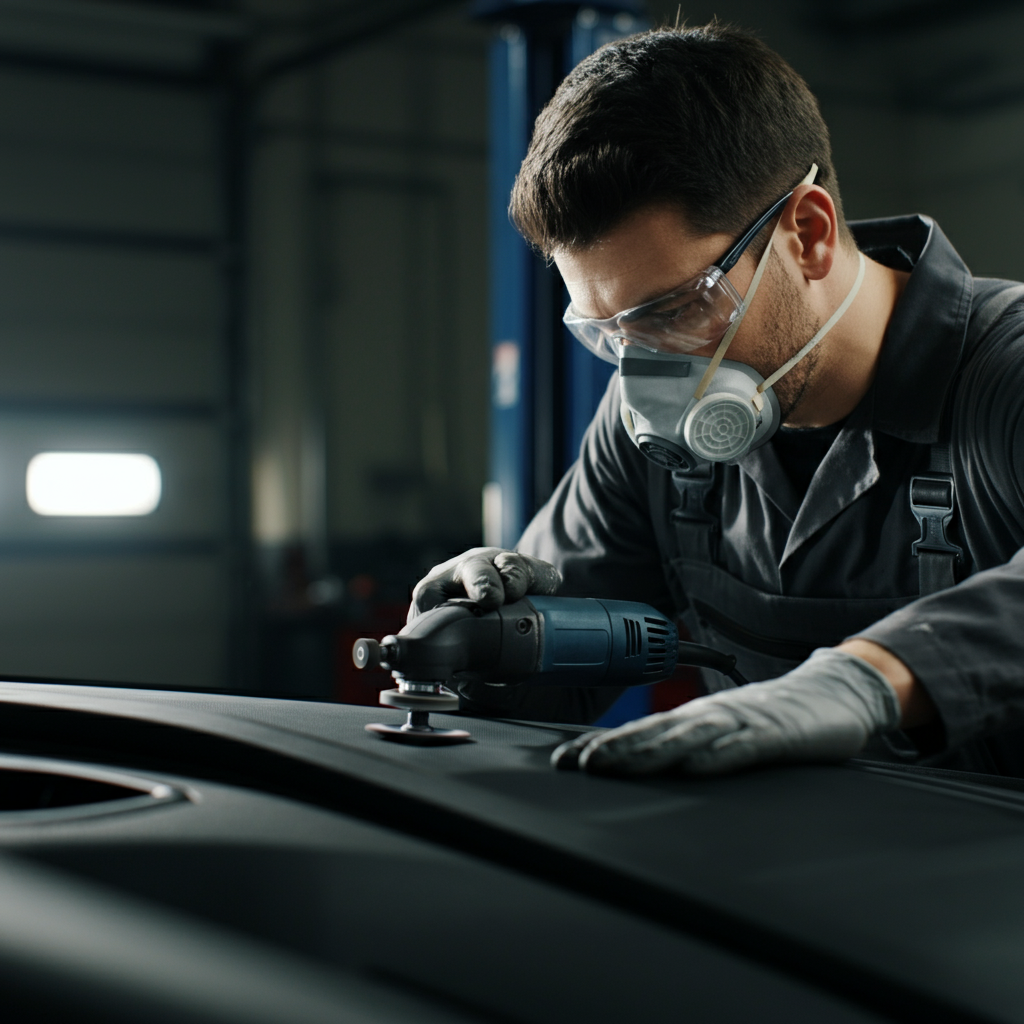
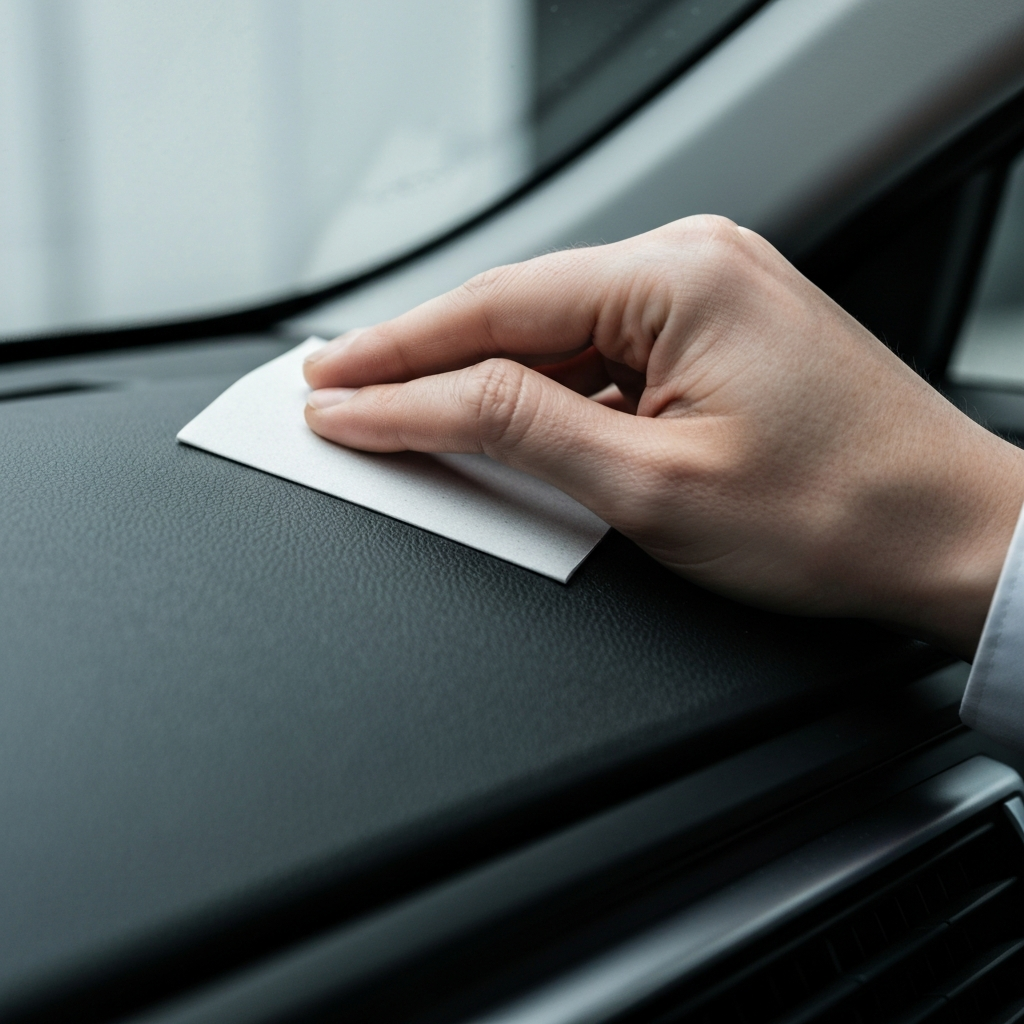
Step 4: Sanding and Smoothing the Epoxy Repair
Achieving a Seamless Finish
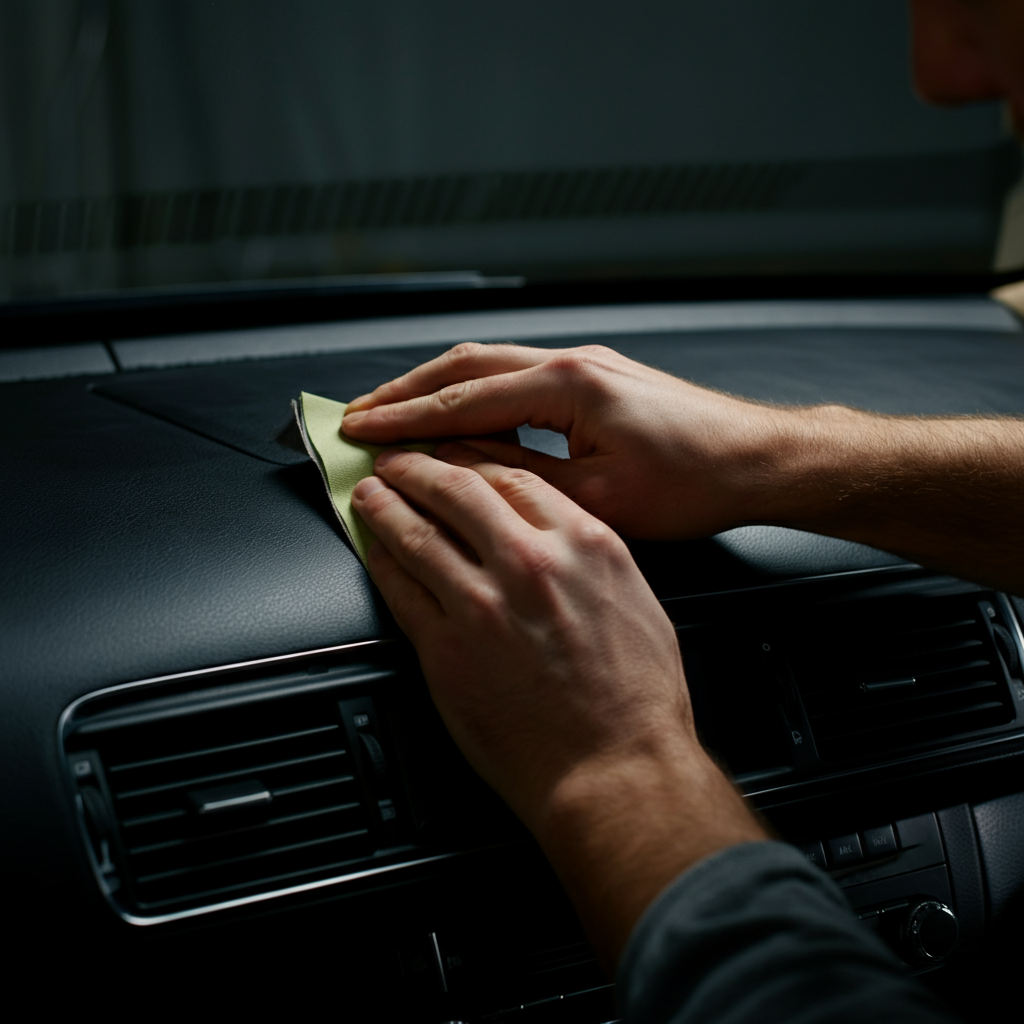
After the epoxy has fully cured, use 80-grit sandpaper to smooth any imperfections or raised areas. Gently sand the repaired area until it is level with the surrounding dashboard surface. Avoid applying excessive pressure, which could damage the epoxy or the surrounding dashboard material. If the crack was particularly deep, you may need to apply a second layer of epoxy, allow it to cure, and sand it again to achieve a perfectly smooth and level finish. This step is crucial for creating a seamless and undetectable repair.
Step 5: Matching the Dashboard Texture and Color
Restoring the Original Appearance
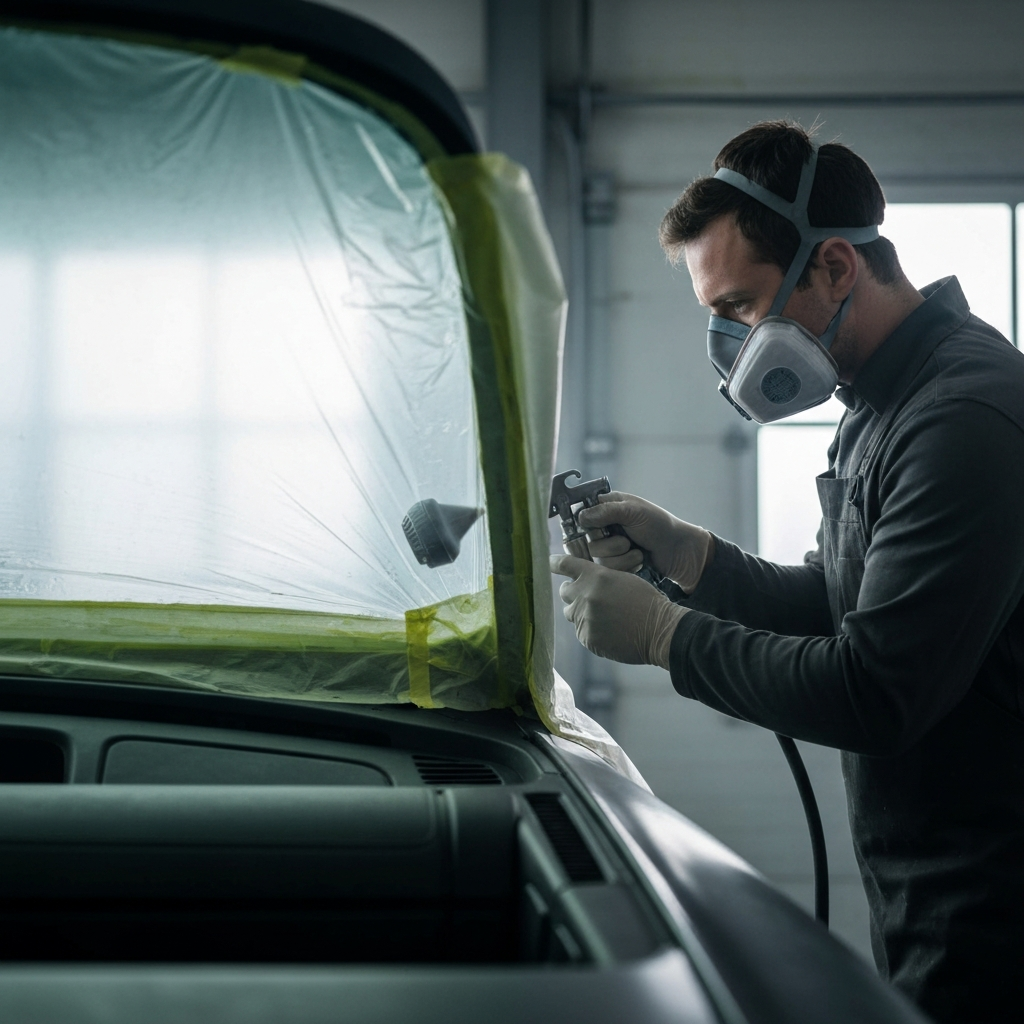
Once the epoxy repair is smooth and level, the final step is to match the texture and color of the surrounding dashboard. For dashboards with a suede or fabric finish, a flocking kit can be used to apply a layer of small fabric pieces that mimic the original texture. For plastic or vinyl dashboards, texture spray can be used to create a raised, textured surface. After applying the texture spray, allow it to dry completely before applying primer and spray paint to match the original color of the dashboard. Always work in a well-ventilated area and wear a dust mask when using texture spray or spray paint. Apply thin, even coats of paint, allowing each coat to dry completely before applying the next. This will help to prevent runs and ensure a smooth, professional-looking finish.
Step 6: Repairing Smaller Cracks with Moldable Glue
Applying Moldable Glue
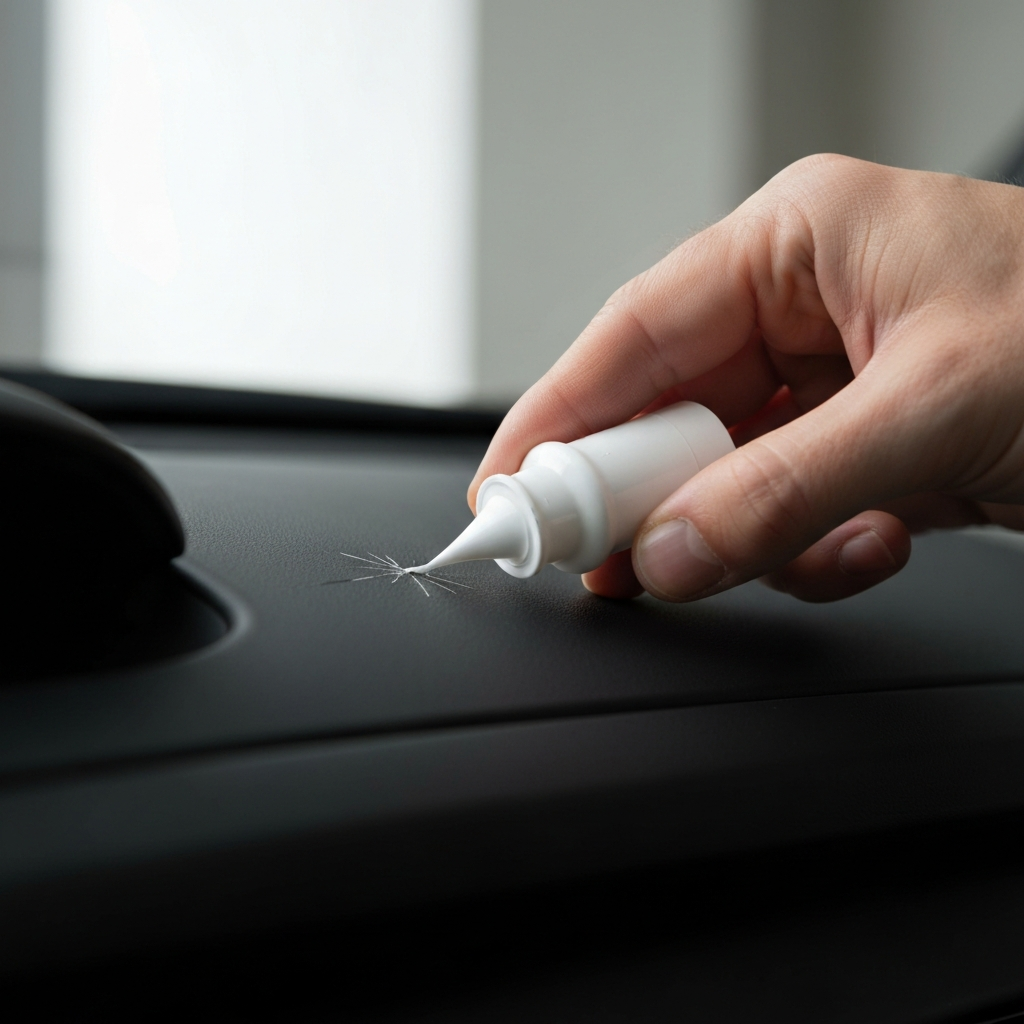
For smaller, hairline cracks, moldable glue offers a simpler and faster repair solution. Moldable glue has a putty-like consistency that allows you to easily fill the crack and shape it to match the surrounding surface. The glue comes in various colors to match different dashboard materials, but may need to be painted. Clean the area with rubbing alcohol before applying. Open the package of moldable glue and knead it between your fingers until it is soft and pliable. Then, carefully apply the glue into the crack, pressing it firmly to ensure it fills the entire void. Wipe away any excess glue with a soft cloth until the surface is level with the rest of your dashboard. Allow the moldable glue to cure overnight or as directed by the manufacturer.
Step 7: Painting Moldable Glue Repairs
Blending the Repair
After the moldable glue has cured, it may be necessary to paint the repaired area to perfectly match the color of the surrounding dashboard. Test the paint on an inconspicuous area first to ensure a proper color match. Thin spray paint by adding a few drops of paint thinner to a soft cloth. Gently dab the thinned paint onto the repaired area, blending it into the surrounding dashboard. Allow the paint to dry completely, and repeat if necessary. Use a light touch to avoid over-saturating the area with paint, which could create an uneven finish.

Step 8: Installing a Dashboard Overlay
Preparing the Surface
For dashboards with extensive cracking or damage, a dashboard overlay can provide a comprehensive solution. A dashboard overlay is a molded cover that fits over the existing dashboard, concealing the damage and providing a fresh, new appearance. Before installing an overlay, it's important to prepare the surface by smoothing any raised areas with 120-grit sandpaper. This will ensure that the overlay sits flush against the dashboard and adheres properly. If there are large raised areas, carefully slice them off with a utility knife before sanding. After sanding, thoroughly clean the dashboard with an ammonia-based cleaner to remove any dust or debris.
Step 9: Applying Adhesive and Securing the Overlay
Ensuring a Strong Bond
Once the dashboard is prepared, apply a thin bead of silicone adhesive around the edges of the dashboard overlay. Carefully position the overlay on top of the dashboard, aligning it properly. Press the overlay firmly against the dashboard to ensure the adhesive makes good contact. To secure the overlay while the adhesive cures, apply vertical strips of masking tape to hold it in place. You can also place scrap pieces of cardboard between the overlay and the windshield to prevent it from popping up. Allow the adhesive to cure overnight or as directed by the manufacturer. Once the adhesive has fully cured, remove the tape and cardboard.
Tools or Materials Required
- Rotary tool with sanding bit (for epoxy repair)
- Dust mask
- Ammonia-based cleaner
- Epoxy filler
- Putty knife
- 80-grit sandpaper
- Flocking kit (for suede/fabric dashboards)
- Texture spray (for plastic/vinyl dashboards)
- Primer
- Spray paint
- Moldable glue
- Rubbing alcohol
- Paint thinner
- 120-grit sandpaper (for overlay installation)
- Silicone adhesive
- Dashboard overlay
- Masking tape
- Utility knife
Common Mistakes to Avoid
- Using the wrong repair method for the dashboard material.
- Failing to properly prepare the surface before applying epoxy, glue, or an overlay.
- Applying too much epoxy or glue at once.
- Rushing the curing process.
- Using the wrong type of paint or texture spray.
- Not wearing a dust mask when sanding or spraying.
- Not working in a well-ventilated area when using chemicals.
Safety Considerations
- Always wear a dust mask when sanding or working with dust-generating materials.
- Wear safety glasses to protect your eyes from debris.
- Work in a well-ventilated area when using chemicals such as cleaners, epoxy, paint, or solvents.
- Wear gloves to protect your hands from chemicals.
- Follow the manufacturer's instructions for all products used.
FAQ Section
Q: How much does it cost to fix a cracked dashboard professionally?
A: Professional repairs can range from $1,500 or more, as they often involve replacing the entire dashboard.
Q: Can I fix a cracked dashboard myself?
A: Yes, depending on the severity of the damage. This guide provides several DIY methods you can use.
Q: How long does it take to fix a cracked dashboard?
A: The time required depends on the repair method. Some methods, like using moldable glue, can be completed in a day, while others, like using epoxy, may take 2-3 days.
Pro Tips
- Before applying any product to the entire dashboard, test it on an inconspicuous area first to ensure compatibility and color matching.
- Use a heat gun on low setting to gently warm the dashboard before applying epoxy or glue. This can help improve adhesion.
- For a more professional-looking finish, consider using a dashboard repair kit specifically designed for your vehicle's make and model.
- If you're not comfortable performing the repair yourself, consider consulting a professional auto upholstery shop.
Conclusion
Repairing a cracked dashboard can be a rewarding DIY project that saves you money and restores the appearance of your vehicle's interior. By carefully assessing the damage, choosing the appropriate repair method, and following the steps outlined in this guide, you can achieve professional-looking results. Remember to prioritize safety and take your time throughout the process. With a little patience and effort, you can transform a cracked and unsightly dashboard into a smooth, attractive surface that enhances the overall value and enjoyment of your vehicle.