A well-finished cutting board is essential for both safety and longevity. The right finish protects the wood from absorbing moisture, preventing bacteria growth and warping, and enhances its natural beauty. This guide provides a detailed walkthrough of selecting and applying food-safe finishes to your cutting boards, ensuring they remain a reliable tool in your kitchen for years to come.
Choosing the right finish can seem daunting with so many options available. We'll break down the pros and cons of drying and non-drying oils, offer step-by-step instructions for application, and share expert tips to achieve a professional-quality finish. Whether you're a seasoned woodworker or a beginner, this guide will empower you to confidently finish your cutting boards like a pro.
Remember that plastic cutting boards do not require any finishing.
Tools or Materials Required
- Food-safe finish (mineral oil, beeswax, carnauba wax, tung oil, raw linseed oil, or walnut oil)
- Clean cotton cloths
- Dish soap (optional, for cleaning)
- Sandpaper (various grits, for preparing the surface - optional)
Safety Considerations
- Always work in a well-ventilated area, especially when using drying oils.
- Dispose of oil-soaked rags properly to prevent spontaneous combustion. Lay them flat to dry completely before discarding.
Step 1: Prepare the Cutting Board
Cleaning and Sanding (If Necessary)
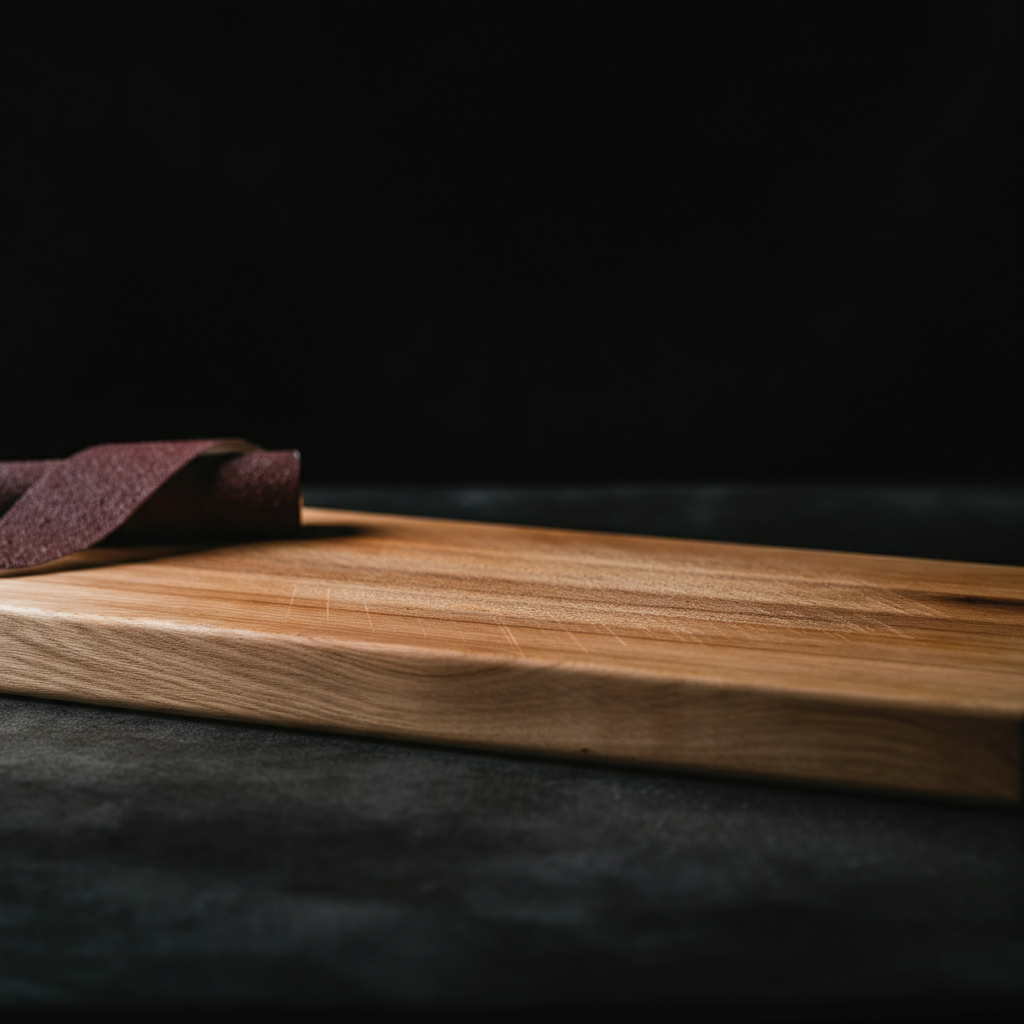
Before applying any finish, it's crucial to start with a clean surface. Wash the cutting board with warm water and a mild dish soap, if needed. Rinse thoroughly and allow it to dry completely. For older cutting boards or those with imperfections, consider lightly sanding the surface with fine-grit sandpaper (220-grit or higher) to smooth out any scratches or rough spots. Always sand in the direction of the wood grain to avoid unsightly marks. Remove any sanding dust with a clean, dry cloth.
Step 2: Select Your Finish
Choosing the Right Oil or Wax
The most common and recommended finish for cutting boards is food-grade mineral oil. It's affordable, readily available, and easy to apply. However, other options offer varying benefits. Non-drying oils, like mineral oil, require frequent reapplication. Drying oils, such as tung oil or raw linseed oil, cure and harden within the wood fibers, providing a more durable and water-resistant finish, but require longer drying times. Avoid using cooking oils like olive or vegetable oil, as they can turn rancid over time and create an unpleasant odor. Beeswax and carnauba wax, often mixed with mineral oil, provide added water resistance and a slight sheen.

Step 3: Applying the Finish
Saturating the Wood
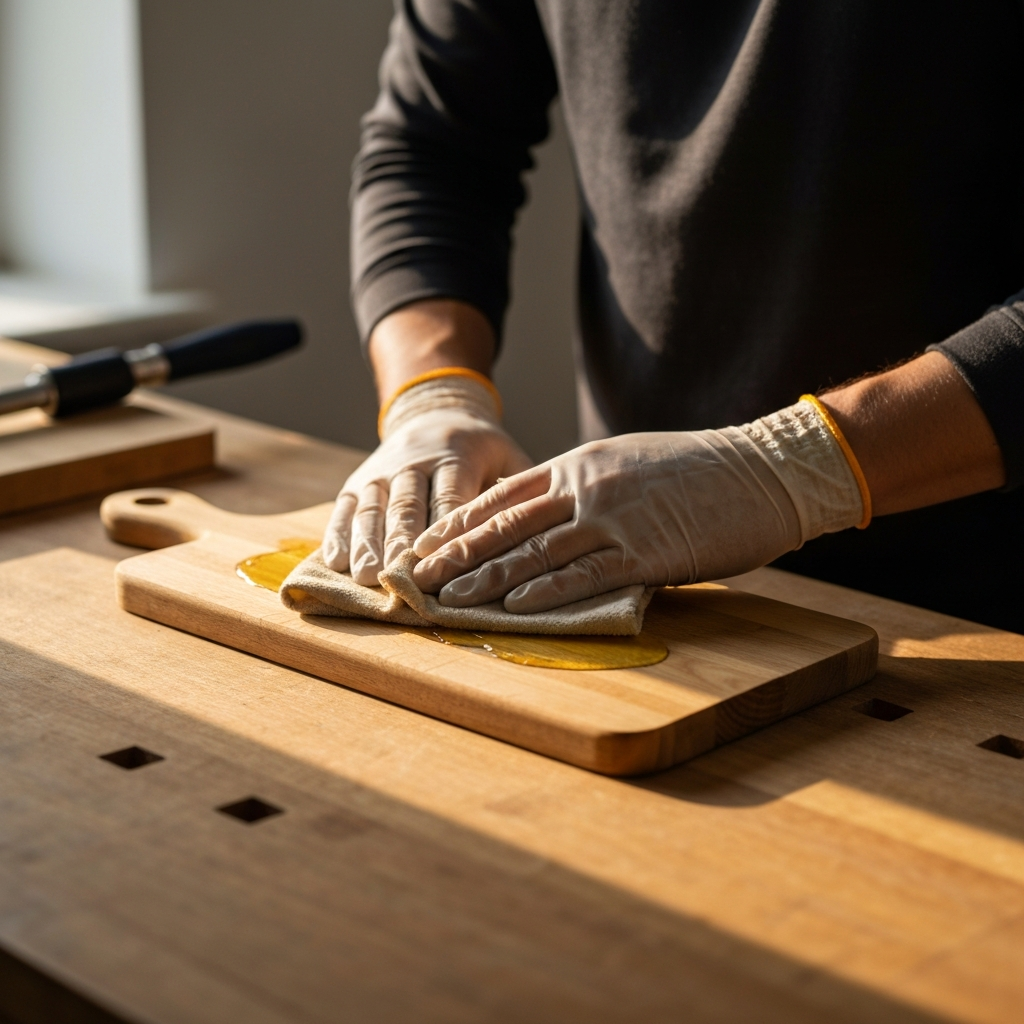
Pour a generous amount of your chosen finish onto the cutting board. Using a clean, lint-free cotton cloth, spread the oil evenly over the entire surface, working it into the wood grain. Don't be afraid to use plenty of oil; the wood should be thoroughly saturated. Pay close attention to the edges and end grain, as these areas tend to absorb more oil. Let the oil sit for 5-10 minutes to allow it to penetrate the wood fibers. For drying oils, follow the specific drying time recommended by the manufacturer.
Step 4: Removing Excess Finish
Wiping and Drying
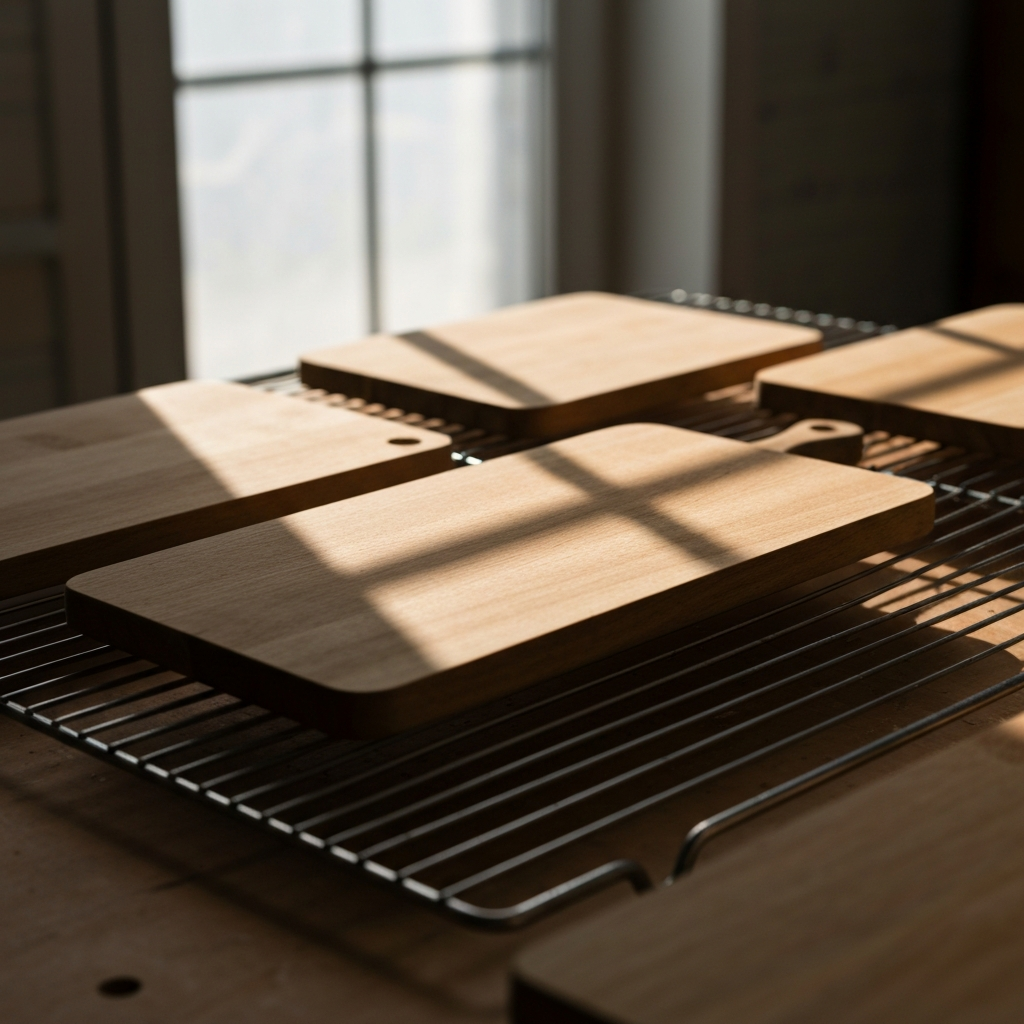
After allowing the oil to soak in, use a clean, dry cotton cloth to wipe away any excess finish from the surface. You want the wood to be saturated, but not have a sticky or oily residue. For non-drying oils, repeat this process after a few hours, as the wood will likely absorb more oil. For drying oils, this step is critical to prevent a tacky surface during the curing process. Let the cutting board dry completely. Drying times vary depending on the type of finish used; mineral oil typically dries within a few hours, while drying oils can take several days to a week. Ensure proper ventilation during the drying process to facilitate curing.
Step 5: Reapplication (For Non-Drying Oils)
Maintaining the Finish
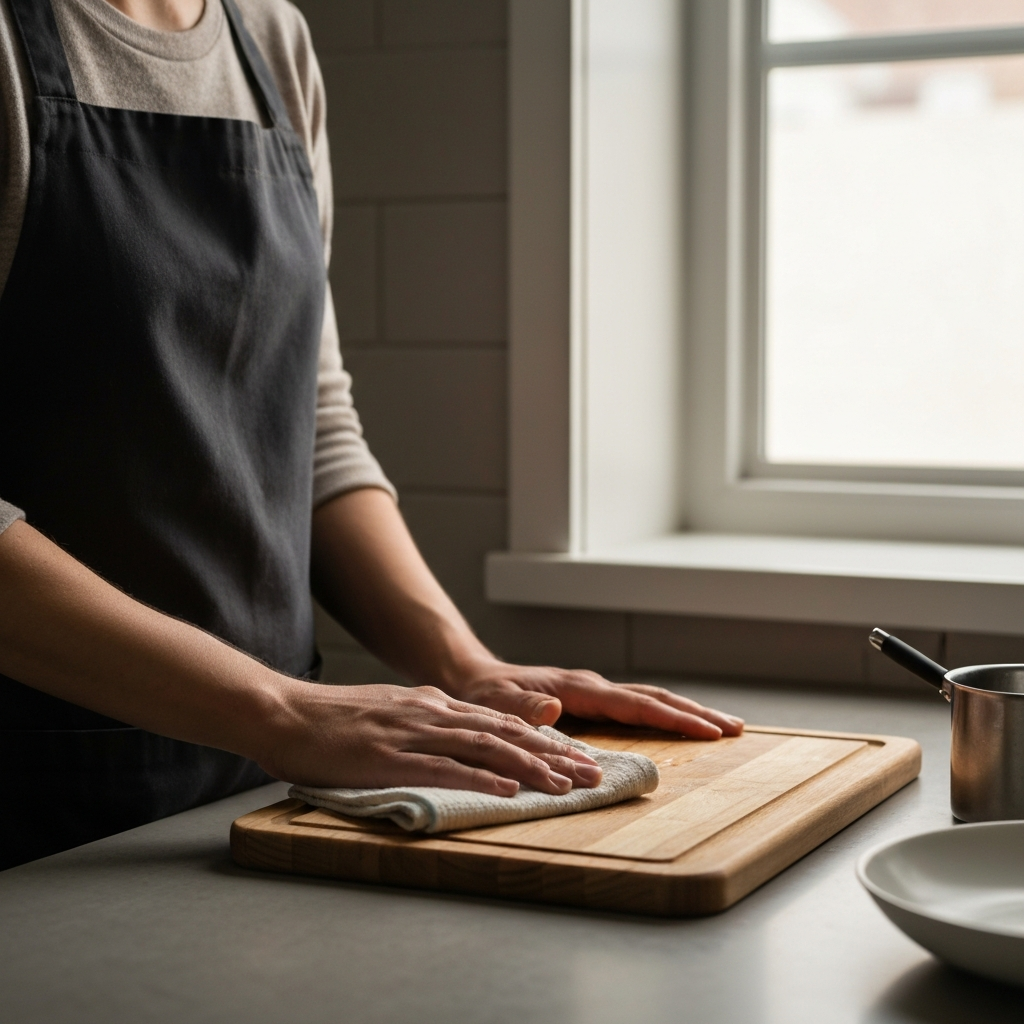
Cutting boards finished with non-drying oils, like mineral oil, require regular reapplication to maintain their protective properties. How often you need to reapply depends on usage and washing frequency. A good rule of thumb is to reapply the finish whenever the wood starts to look dry or feels rough. This could be as often as once a week or as infrequently as once a month. Simply repeat steps 3 and 4 to refresh the finish. Consistent reapplication is key to preventing water damage and bacterial growth.
Common Mistakes to Avoid
- Using cooking oils (olive, vegetable, canola) instead of food-grade mineral oil or drying oils.
- Applying too much finish and not wiping away the excess.
- Neglecting to reapply non-drying oil finishes regularly.
- Using boiled linseed oil, which contains metallic driers and is not food-safe. Only use raw linseed oil.
- Applying varnish or lacquer, which can chip and contaminate food.
Pro Tips
- Warm the mineral oil slightly before applying it. This helps it penetrate the wood more easily.
- For added protection, consider applying a beeswax or carnauba wax polish after the oil has dried.
- If your cutting board becomes heavily stained or damaged, you can sand it down and refinish it.
FAQ Section
Q: How do I know if my cutting board needs to be refinished?
A: If the wood looks dry, feels rough, or water no longer beads up on the surface, it's time to refinish your cutting board.
Q: Can I use a combination of finishes?
A: Yes, you can use mineral oil as a base coat and then apply a beeswax or carnauba wax polish for added protection and shine.
Q: Is walnut oil safe for people with nut allergies?
A: Highly refined walnut oil, as used for cutting board finishes, typically does not contain the proteins that cause allergic reactions. However, individuals with severe nut allergies should exercise caution and consult with their doctor.
Conclusion
Finishing a cutting board is a straightforward process that significantly extends its lifespan and ensures food safety. By selecting the right finish, properly preparing the surface, and following the application steps outlined in this guide, you can achieve a professional-quality finish that will protect your cutting boards for years to come. Remember to reapply non-drying oils regularly and avoid using finishes that are not food-safe. With a little care and attention, your cutting boards will remain a valuable asset in your kitchen.