Receipt books are a simple yet vital tool for businesses of all sizes. They provide a tangible record of transactions, ensuring transparency and facilitating accurate bookkeeping. While digital solutions exist, the humble receipt book remains a reliable and readily accessible option, especially for on-the-go sales or situations where technology may not be practical. This guide will walk you through each step of filling out a receipt book correctly, ensuring you maintain accurate records and provide your customers with the necessary proof of purchase.
Properly filled out receipts are not just about providing customers with a record; they are crucial for managing your finances, tracking sales, and resolving potential disputes. A well-maintained receipt book serves as a chronological record of your business activity, offering invaluable insights during tax season and audits. Knowing how to complete each section accurately will save you time and prevent headaches down the line.
In this guide, we'll cover everything from preparing your receipt book to calculating totals and understanding the importance of each copy. By following these steps, you'll gain the confidence to use receipt books effectively and efficiently, contributing to the smooth operation of your business.
Tools or Materials Required
- Receipt Book (carbon or carbonless copy type)
- Ballpoint Pen (black or blue ink recommended)
- Calculator (optional, for calculating totals)
Step 1: Prepare Your Receipt Book
Inserting the Carbon/Copy Separator
Before you begin writing, it's crucial to prepare your receipt book correctly. Most receipt books use carbon paper or carbonless copy technology to create duplicate copies of the receipt. Locate the cardboard flap (or sometimes a thicker sheet of paper) included in the book. This flap is designed to prevent the writing from transferring through multiple pages at once. Always place this flap behind the receipt you are currently filling out, ensuring only the intended copy or copies receive the impression.

Step 2: Record the Transaction Date
Entering the Date of Sale
The first piece of information to fill in is the date. Accurately recording the date is essential for chronological tracking and record-keeping. Write the date clearly in the designated space, using a consistent format (e.g., MM/DD/YYYY or DD/MM/YYYY) that you and your accountant understand. Consistency in date formatting is key to avoiding confusion later on. If the payment is received in advance, record the date when the service is completed, or the product is delivered to the customer.

Step 3: Add Your Business Contact Information
Including Your Business Details
Providing your business contact information is a fundamental part of a professional receipt. Most receipt books include a section at the top for your business name and contact details. Fill in this section completely, including your business name, address, and phone number, if space allows. Including a website or email address can also be helpful for customers who may need to contact you with questions. If your receipt book doesn’t have pre-printed business information, consider using a stamp or label for efficiency.
Step 4: List the Purchased Items or Services
Describing the Transaction
This section is where you detail the specific items or services sold. Be as clear and descriptive as possible. Include the quantity, a brief description, and any relevant details such as size, color, or model number. If selling multiple items, list each item on a separate line. Detailed descriptions minimize confusion and potential disputes. For example, instead of just writing "Shirt," write "T-Shirt - Red - Size Large."

Step 5: Record the Price of Each Item
Entering the Individual Costs
Next to each item description, clearly write the price of that item. Ensure the price aligns with the corresponding item listed on the same line. If you are selling multiple quantities of the same item, calculate the total price for that quantity and record that total amount. Double-check your math to avoid errors. Use the correct currency symbol (e.g., $, €, £) for all price entries.

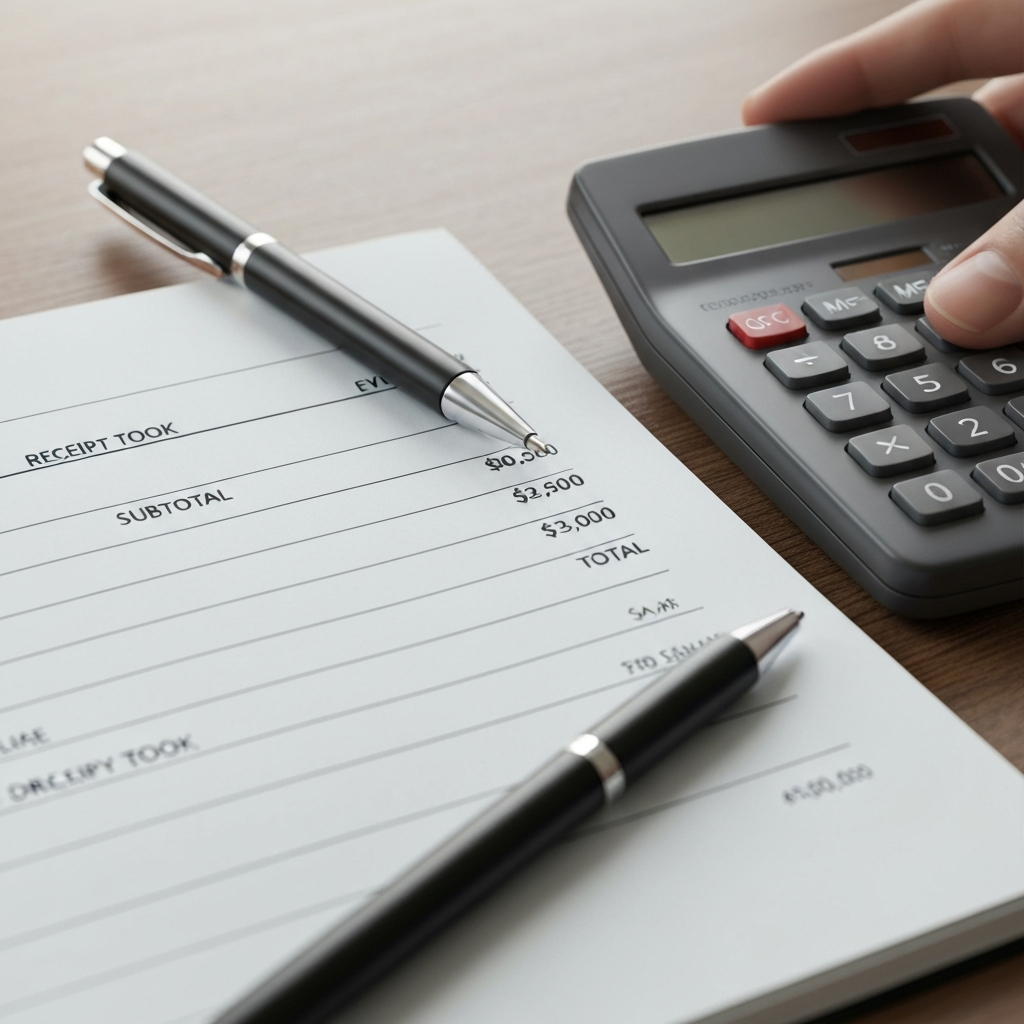
Step 6: Calculate the Subtotal, Tax, and Total
Determining the Final Amount
If you've sold multiple items, calculate the subtotal by adding up the prices of all the items. Write this subtotal in the designated space. Then, calculate any applicable sales tax based on your local tax rate. Add the sales tax to the subtotal to arrive at the final total. Clearly label each amount (Subtotal, Tax, Total) to avoid any ambiguity. Many receipt books provide labeled lines for these entries, but if yours doesn't, write them in clearly.
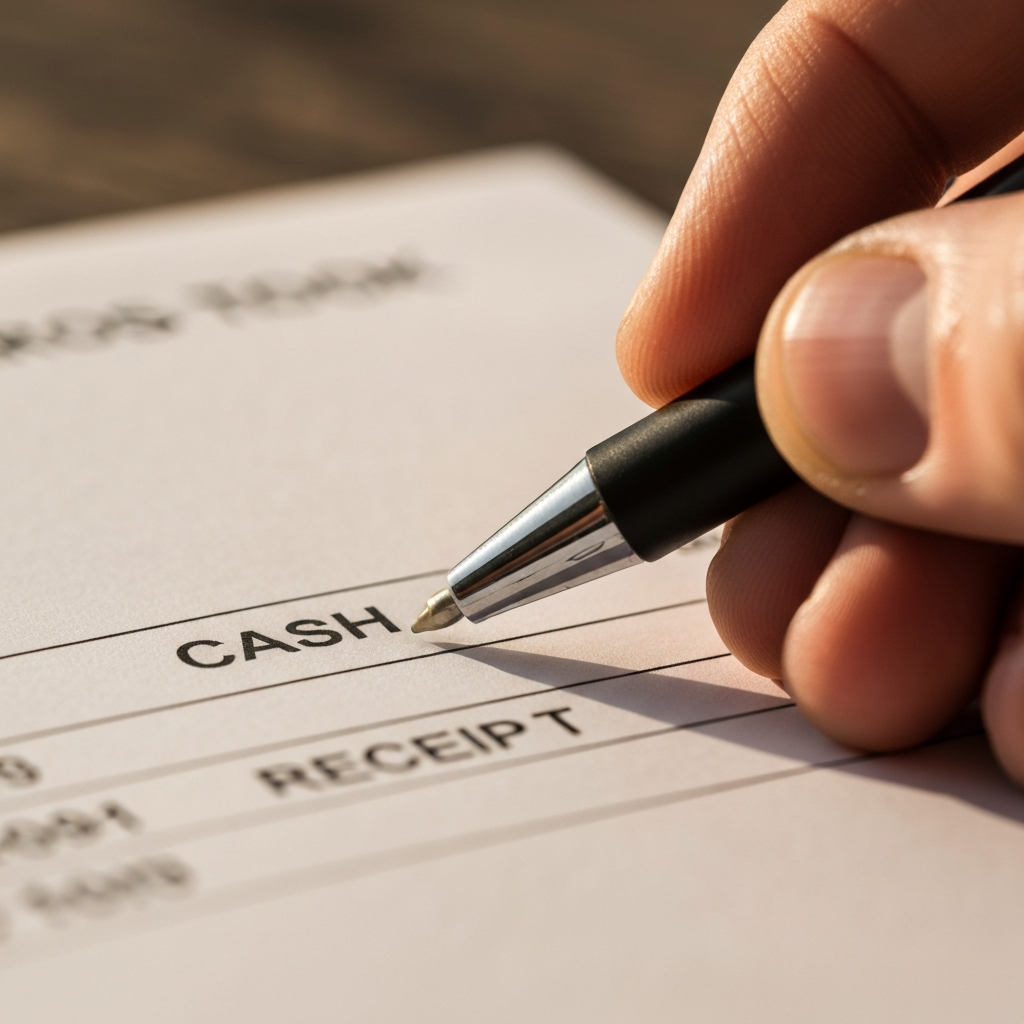
Step 7: Note the Payment Method
Indicating How Payment Was Received
Many receipt books have a section to indicate the method of payment. Common options include Cash, Check, Credit Card, or other payment methods. Mark the appropriate box or write in the payment method used by the customer. If the customer paid by check, note the check number for easy reference. This information can be extremely helpful when reconciling your accounts.
Step 8: Sign the Receipt
Authenticating the Transaction
The final step is to sign the receipt. Look for the signature line, usually located at the bottom of the receipt. Your signature verifies that the transaction occurred and that the information recorded is accurate. Your signature adds a layer of authenticity to the receipt.

Step 9: Distribute the Receipt Copies
Providing Proof of Purchase
Carefully tear out the original (usually white) copy of the receipt along the perforated edge. Give this copy to the customer as their proof of purchase. The carbon or carbonless copy will remain in the book for your records. Ensure the customer receives their copy promptly.
Common Mistakes to Avoid
- Illegible Handwriting: Write clearly and legibly to avoid confusion.
- Incorrect Calculations: Double-check all calculations, especially tax and total amounts.
- Missing Information: Ensure all relevant fields are filled out completely.
- Forgetting to Sign: Always sign the receipt to authenticate the transaction.
- Improper Use of Carbon/Copy Separator: Always use the separator to prevent writing from transferring to unintended pages.
FAQ Section
- What if I make a mistake on a receipt?
- Void the receipt by writing "VOID" clearly across it and file it in the receipt book. Then, start a new receipt with the correct information.
- How long should I keep my receipt book records?
- Consult with your accountant, but generally, keep financial records for at least three to seven years for tax purposes.
- Can I use a receipt book for online sales?
- While primarily designed for in-person transactions, you can adapt a receipt book for online sales by manually creating receipts for each order and mailing them to customers.
Conclusion
Mastering the art of filling out a receipt book correctly is a fundamental skill for any business owner. By following these steps and avoiding common mistakes, you can ensure accurate record-keeping, provide excellent customer service, and maintain a professional image. Remember, a well-maintained receipt book is a valuable asset for managing your business finances and resolving potential disputes. So, grab your receipt book, a pen, and start documenting your transactions with confidence!