Face painting is a fantastic way to add a touch of magic to any event, from children's birthday parties and school carnivals to Halloween celebrations and theatrical productions. It's a fun, creative activity that allows individuals to express themselves and transform into anything they can imagine. Whether you're a parent looking to entertain your kids, a budding artist eager to learn a new skill, or a professional face painter seeking fresh inspiration, this guide offers a range of ideas and techniques to help you create stunning face paint designs.
This comprehensive guide will walk you through the essential steps, from gathering the right tools and materials to mastering basic face painting techniques and executing various popular designs. We'll cover everything from simple, beginner-friendly patterns to more complex and intricate creations. Safety is paramount, so we'll also emphasize the importance of using non-toxic, hypoallergenic face paints and following best practices for hygiene. Get ready to unleash your creativity and transform faces into works of art!
Let's dive in and explore the wonderful world of face painting!
Tools or Materials Required
- Face paints (non-toxic, hypoallergenic, water-based)
- Paintbrushes (various sizes: round, flat, angled)
- Sponges (for base coats and blending)
- Water container
- Paper towels or cloths
- Mirror
- Stencils (optional)
- Glitter (optional, cosmetic grade)
- Makeup remover or baby wipes
Always prioritize quality face paints specifically designed for skin application. Craft paints can cause irritation and allergic reactions.
Step 1: Planning Your Design
Choosing Your Design
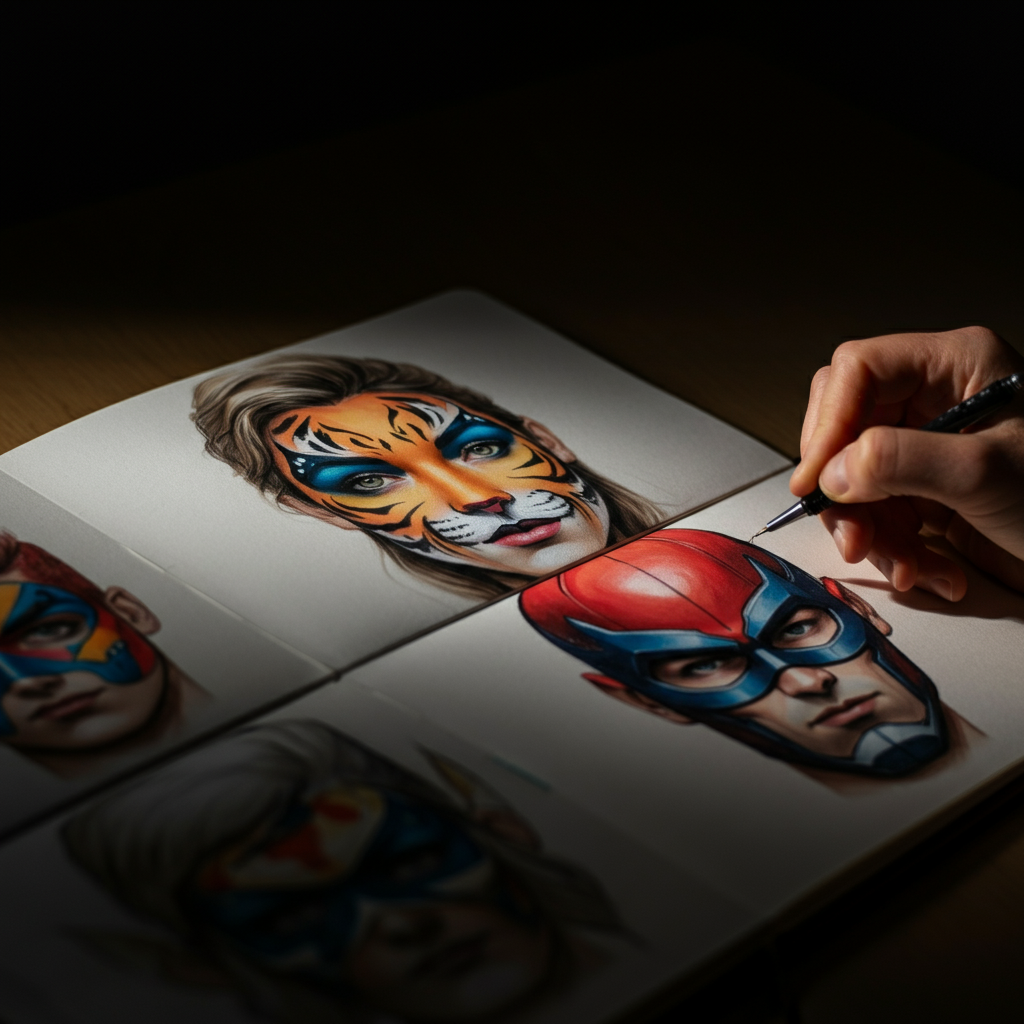
Before you even pick up a brush, take some time to plan your face paint design. Consider the occasion, the age of the person you're painting, and their preferences. Simple designs like animals, flowers, or superheroes are often popular choices for children. More complex designs might be suitable for older kids or adults. Having a clear idea in mind will make the painting process much smoother and more enjoyable. You can find inspiration online, in books, or even by sketching your own ideas.
Step 2: Preparing the Skin
Cleaning and Priming
A clean and prepared surface is essential for achieving the best results. Start by gently washing the face with mild soap and water, and then pat it dry. If the skin is dry, apply a light, non-greasy moisturizer. Avoid using heavy creams or lotions, as they can make the face paint smear. For sensitive skin, consider applying a barrier cream specifically designed for face painting. This will help protect the skin from potential irritation and make the paint easier to remove later.

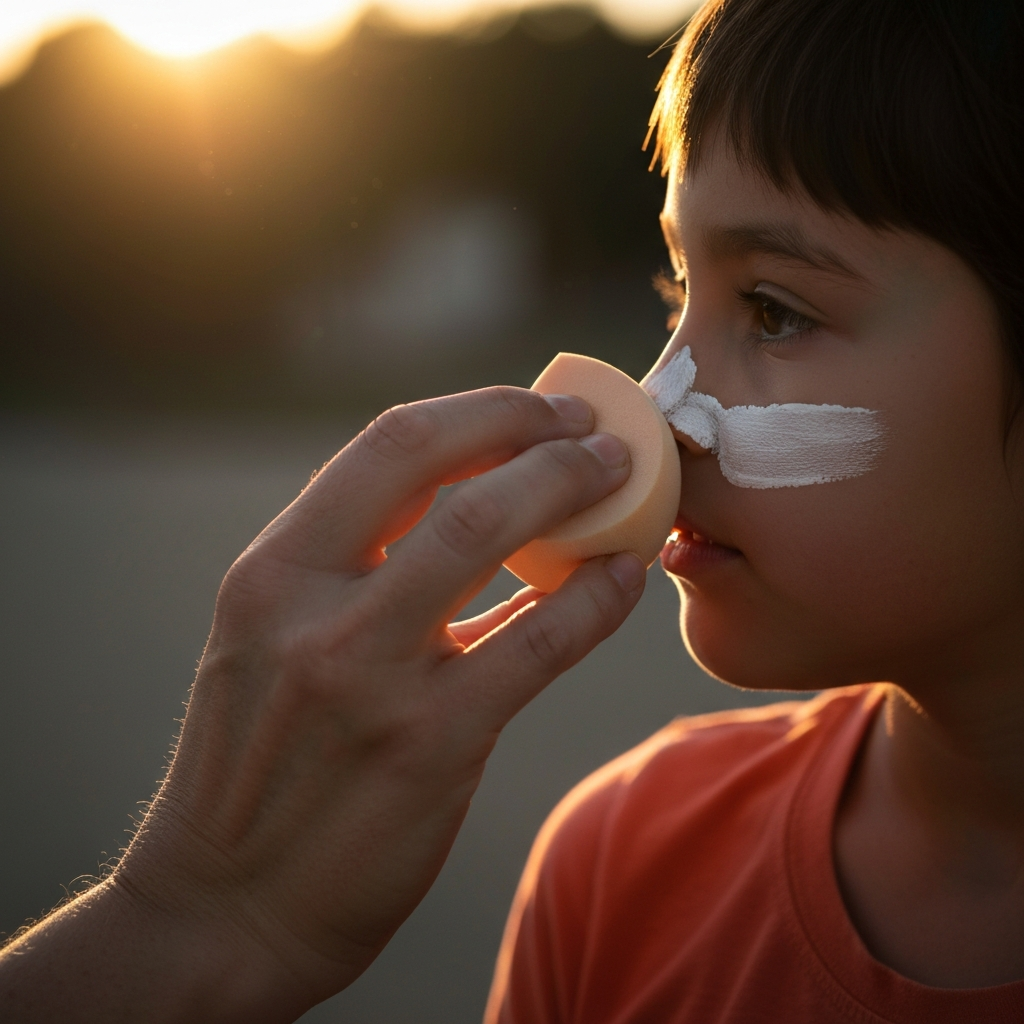
Step 3: Applying the Base Coat
Creating a Smooth Canvas
For many designs, a base coat is necessary to create a smooth and even canvas for the rest of the painting. Use a sponge to apply a thin, even layer of face paint to the desired area. Dampen the sponge slightly before dipping it into the paint to help it spread more easily and prevent it from caking. Avoid applying the base coat too thickly, as this can make it prone to cracking. Allow the base coat to dry completely before moving on to the next step.
Step 4: Painting the Details
Adding Definition and Character
This is where your design really comes to life! Use a variety of brushes to paint the details of your chosen design. Round brushes are ideal for creating fine lines and intricate patterns, while flat brushes are better for filling in larger areas. Load your brush with the appropriate amount of paint to avoid drips and smudges. Practice your brushstrokes on a piece of paper before applying them to the face. Take your time and be patient, and don't be afraid to experiment with different techniques.
Step 5: Blending and Highlighting
Creating Dimension and Depth
Blending and highlighting can add dimension and depth to your face paint design. Use a clean, dry sponge or a soft brush to blend different colors together seamlessly. Apply highlights with a lighter shade of paint to emphasize certain areas and create a more three-dimensional effect. Shading with a darker shade can add depth and definition to other areas. Experiment with different blending and highlighting techniques to achieve the desired look.

Step 6: Adding Finishing Touches
Glitter, Stencils, and More
Once you've completed the main design, you can add finishing touches to enhance its overall impact. Glitter can add sparkle and glamour, while stencils can be used to create intricate patterns quickly and easily. Be sure to use cosmetic-grade glitter that is safe for use on the skin. Avoid using glitter near the eyes. Other finishing touches might include adding small dots, swirls, or other decorative elements.
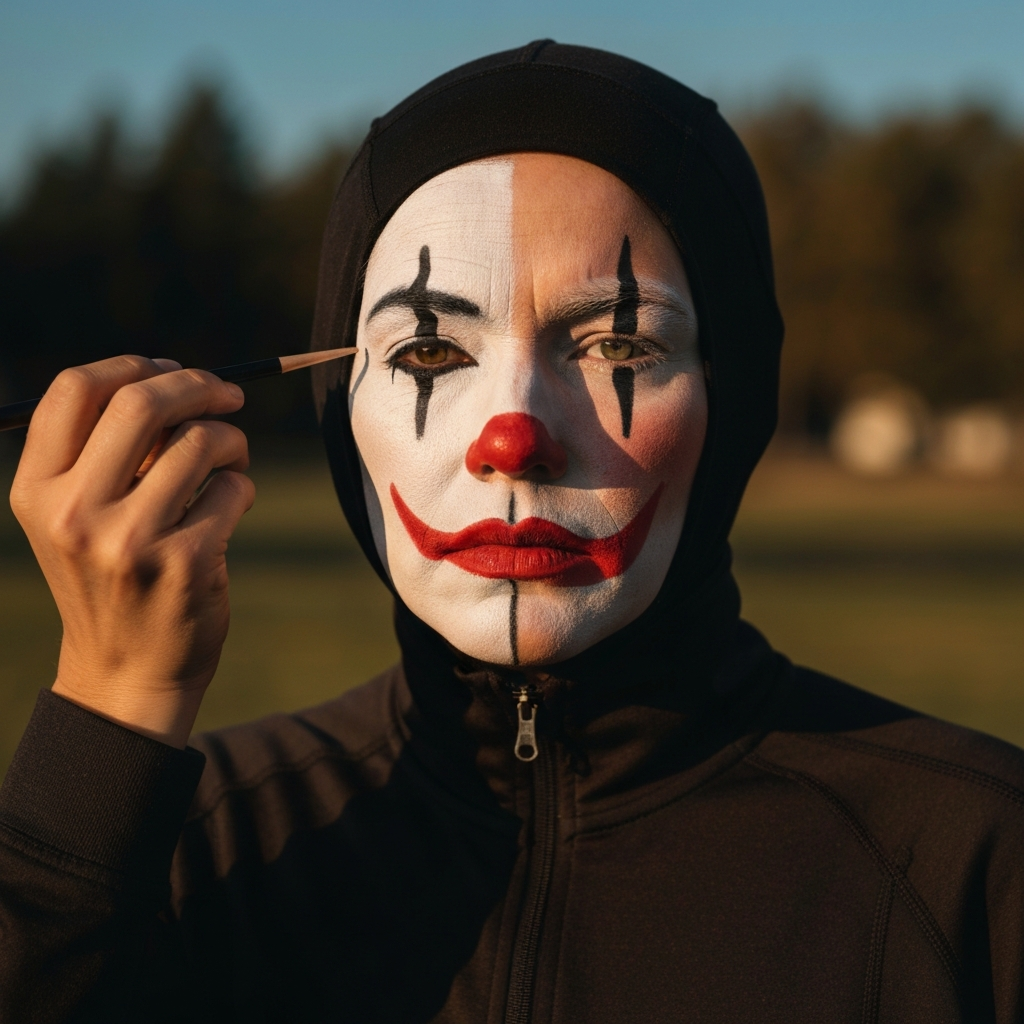
Step 7: Clown Face Paint Design
Creating a Classic Look
To begin your clown face paint, apply white paint to a large brush and draw a large, thick, imperfect, hollow circle around each eye and the mouth. Then, apply red paint to a brush and draw a small, irregular, filled-in circle on the nose and each cheek. Apply black paint to a thin brush and outline each white circle. Finally, draw black vertical lines above and below each eye.
Step 8: Removing the Face Paint
Gentle and Thorough Cleaning
Properly removing the face paint is just as important as applying it. Use a gentle makeup remover or baby wipes to dissolve the paint. Avoid using harsh soaps or scrubbing vigorously, as this can irritate the skin. Rinse the face with warm water and pat it dry. Apply a moisturizer to replenish any lost moisture. If any stubborn paint remains, repeat the process or use a specialized face paint remover.
Safety Considerations
- Always use non-toxic, hypoallergenic face paints specifically designed for skin application.
- Perform a patch test on a small area of skin before applying face paint to the entire face.
- Avoid painting near the eyes or mouth.
- Do not use glitter near the eyes.
- Use clean brushes and sponges.
- Remove face paint gently and thoroughly.
- If any irritation occurs, discontinue use immediately.
Common Mistakes to Avoid
- Using craft paints instead of face paints.
- Applying face paint to broken or irritated skin.
- Using dirty brushes and sponges.
- Applying too much paint.
- Not allowing the base coat to dry completely.
- Using glitter near the eyes.
- Scrubbing the skin too hard when removing face paint.
Pro Tips
- Practice your designs on paper before applying them to the face.
- Use a mirror to help you see what you're doing.
- Take breaks to avoid eye strain.
- Have fun and be creative!
FAQ Section
- What type of face paint should I use?
- Use water-based, non-toxic, and hypoallergenic face paints specifically designed for skin application.
- How do I remove face paint?
- Use a gentle makeup remover or baby wipes. Avoid harsh soaps and scrubbing.
- Is face paint safe for children?
- Yes, if you use non-toxic, hypoallergenic face paints and follow safety precautions.
- Can I use stencils for face painting?
- Yes, stencils can be a great way to create intricate patterns quickly and easily.
- How do I prevent face paint from smearing?
- Apply thin layers of paint and allow each layer to dry completely before applying the next.
Conclusion
Face painting is a rewarding and enjoyable activity that can bring smiles and create lasting memories. By following the steps and tips outlined in this guide, you can confidently create stunning face paint designs for any occasion. Remember to prioritize safety, use quality materials, and let your creativity shine. Whether you're transforming a child into their favorite superhero or adding a touch of whimsy to a party, face painting is a wonderful way to express yourself and spread joy. So grab your brushes, gather your colors, and get ready to unleash your inner artist!