A wedding invitation is more than just a piece of paper; it's the first glimpse your guests get into the style and atmosphere of your big day. It sets the tone, conveys important information, and becomes a cherished keepsake. Creating a truly memorable invitation requires careful planning, thoughtful design, and attention to detail.
While templates offer a starting point, crafting a personalized invitation that reflects your unique love story elevates the experience. This guide provides expert insights into designing and executing an invitation that will leave a lasting impression on your guests.
From selecting the right paper stock to choosing the perfect font, and even exploring unconventional formats, we'll guide you through each step of the process to ensure your invitation is not just informative but also unforgettable. Consider your wedding theme as you start. Is it rustic, modern, classic, or bohemian? Let this guide your decisions.
Step-by-Step Guide
1. Define Your Style and Budget
Before you even start looking at designs, take some time to define your wedding style and establish a budget for your invitations. Your style will influence everything from the color palette and font choices to the paper type and embellishments. Your budget will determine how elaborate you can get with your design and printing options. Be realistic and prioritize what’s most important to you. Are you willing to spend more on luxurious paper or intricate calligraphy? Knowing your budget beforehand helps you narrow down choices and avoid overspending.
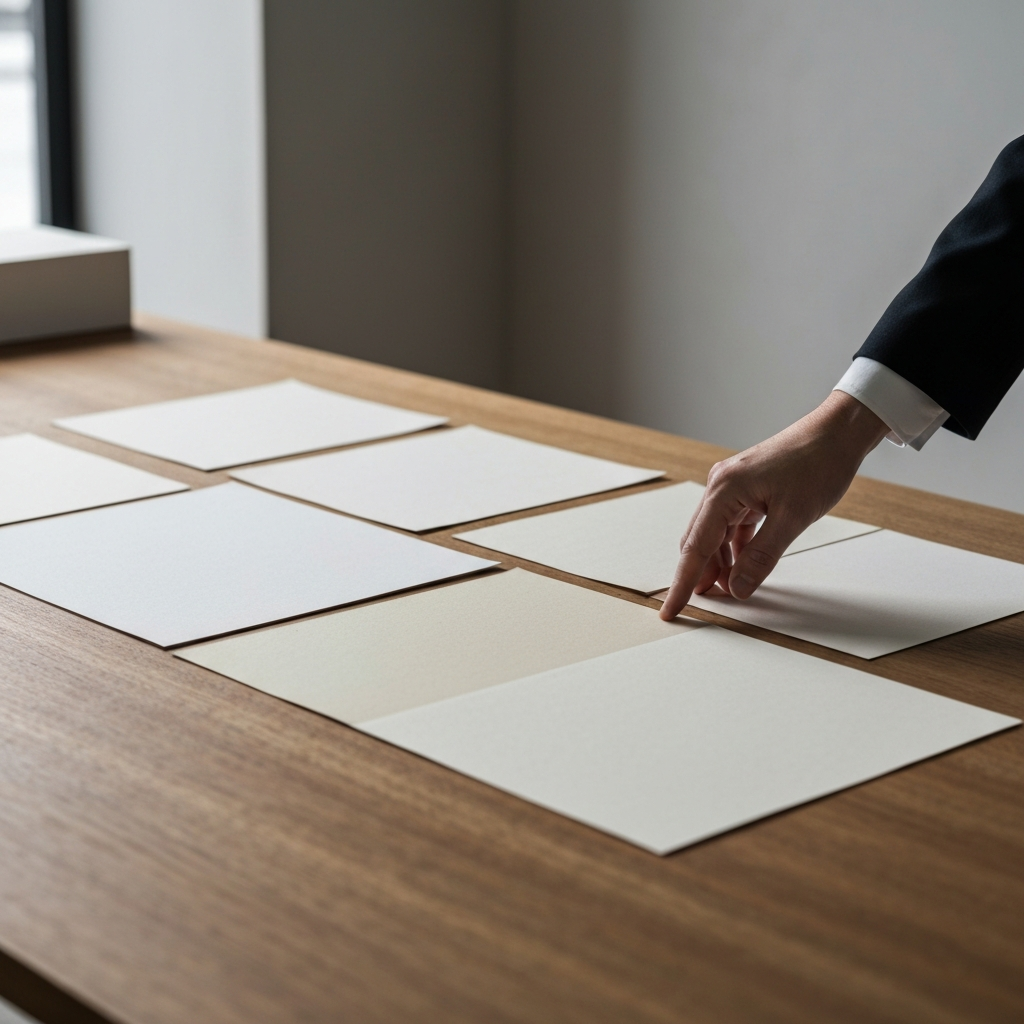
2. Choose the Right Paper Stock
The paper stock you choose dramatically impacts the look and feel of your invitation. Consider the weight, texture, and color of the paper. Heavier paper stock feels more luxurious and durable. Textured paper adds a tactile element, while colored paper can complement your wedding theme. Popular choices include cotton paper for its soft texture and recycled paper for an eco-friendly option. Order samples of different paper stocks to see how they look and feel in person before making a final decision. Think about how ink colours will look when printed on different paper colours.
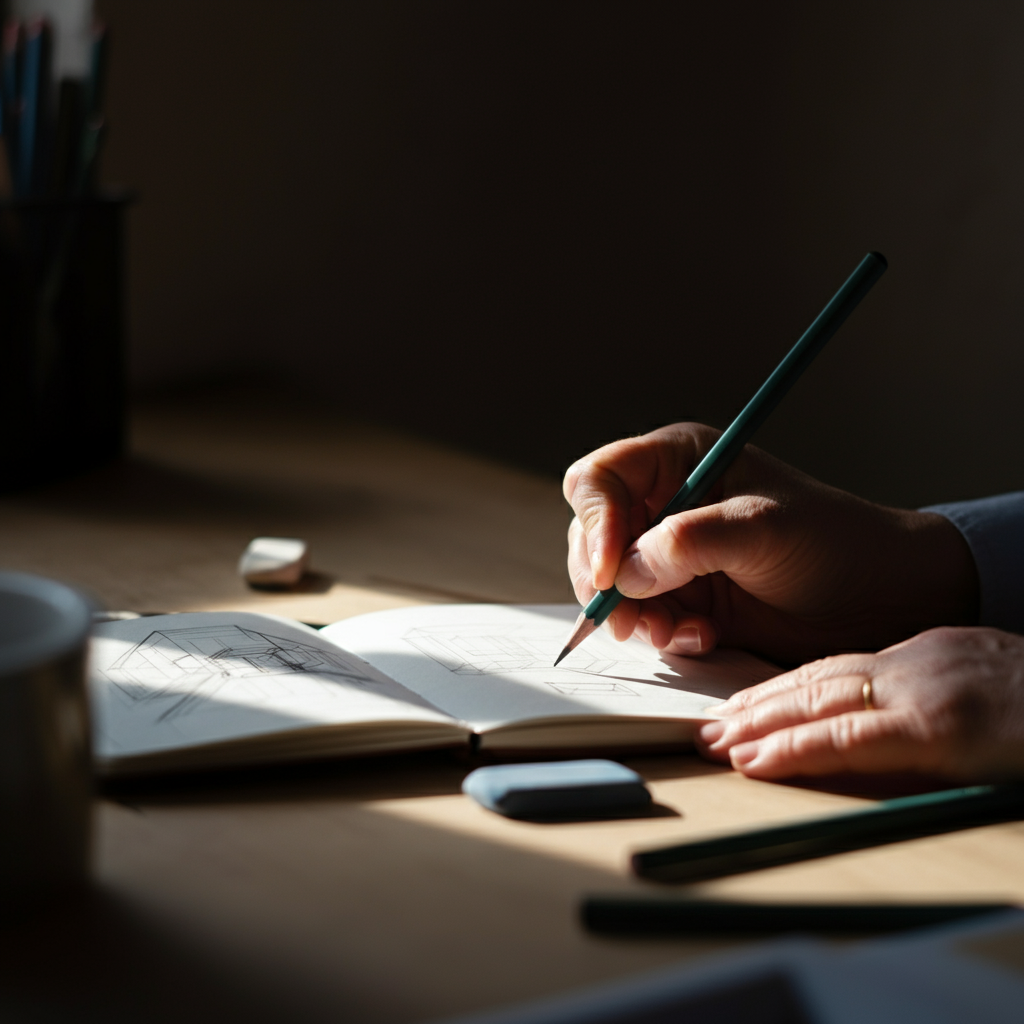
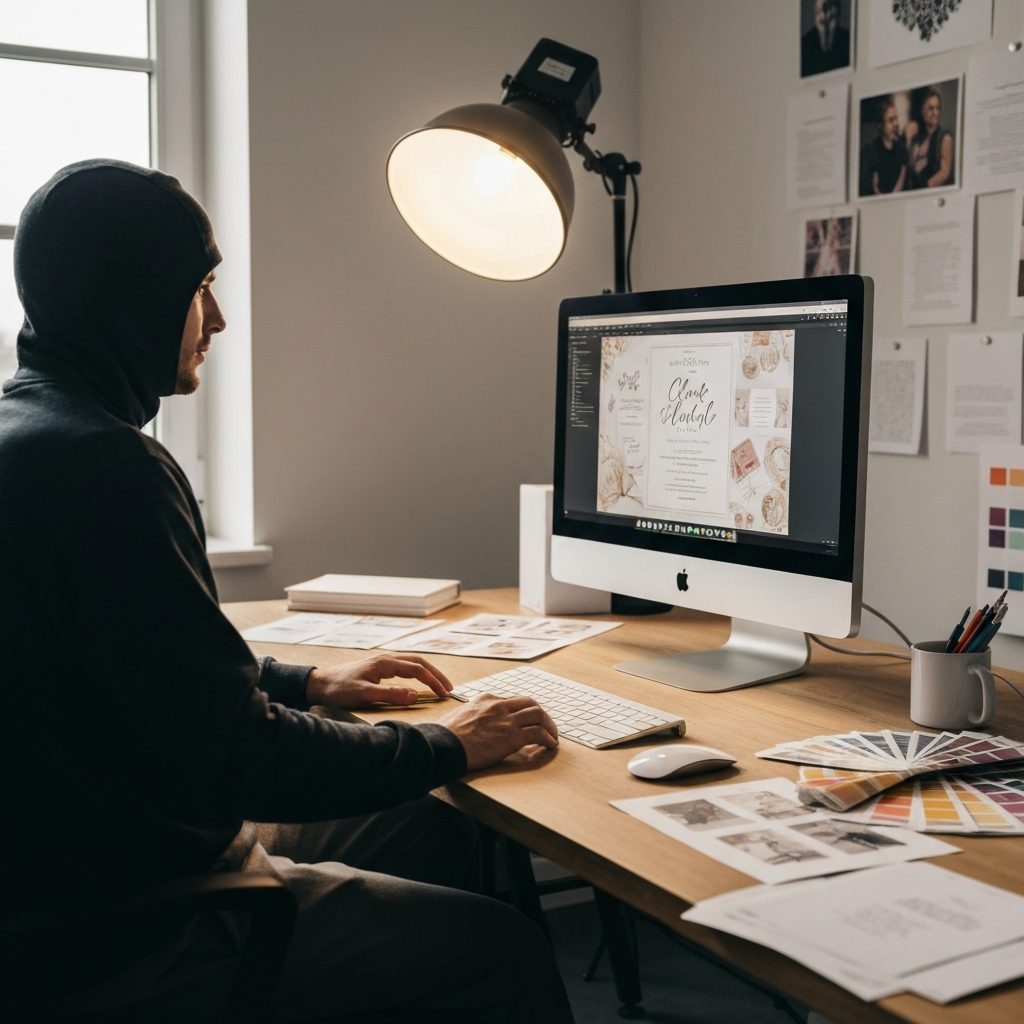
3. Design Your Invitation
This is where your creativity shines! You can design your invitation yourself using graphic design software or hire a professional designer. If you choose to design it yourself, explore different layouts, fonts, and graphics. Ensure your design is clean, easy to read, and visually appealing. If you hire a designer, communicate your vision clearly and provide examples of invitations you like. Consider including a personal touch, such as a custom illustration or a handwritten element. Make sure you include the names of the people getting married, the date and time, and the venue location.
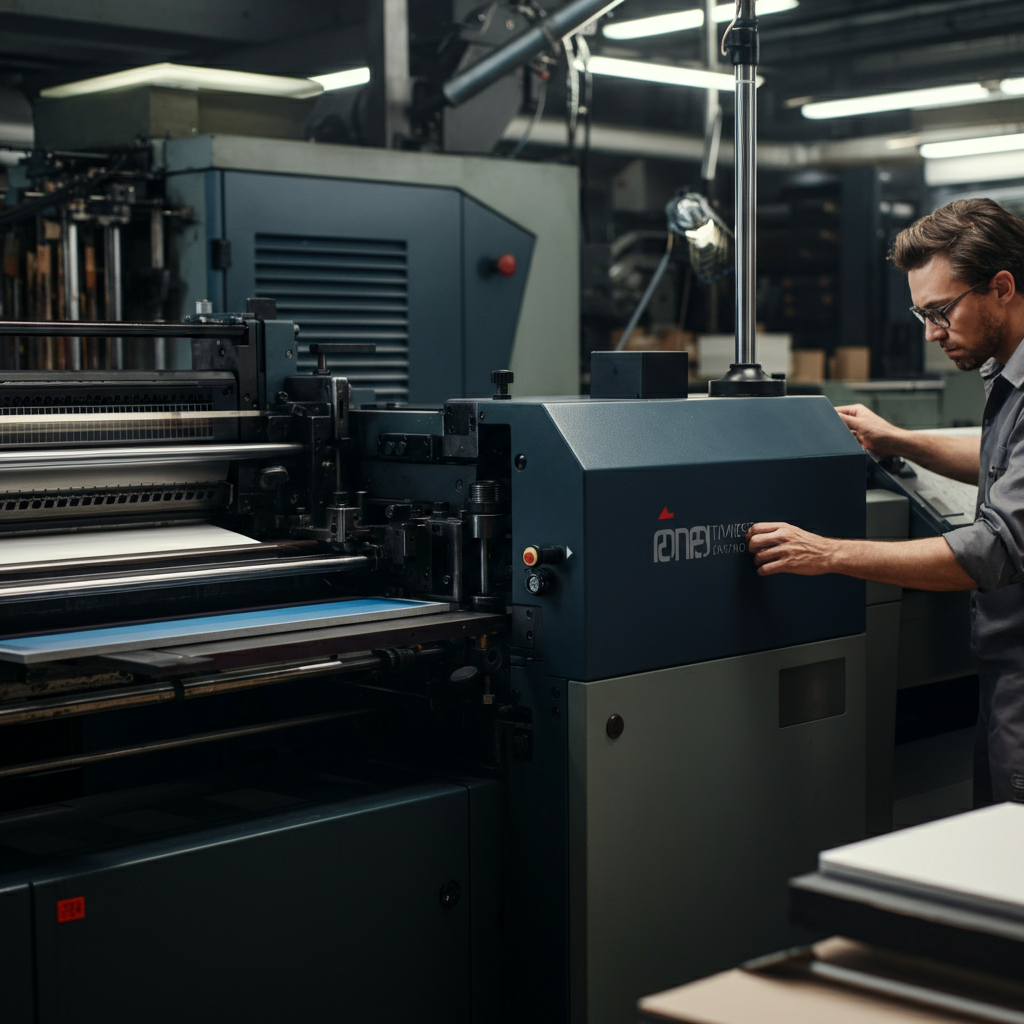
4. Select Your Printing Method
The printing method affects the final look and cost of your invitations. Digital printing is the most affordable option and is suitable for simple designs. Letterpress printing creates a textured, luxurious effect but is more expensive. Other options include foil stamping, which adds a metallic shine, and thermography, which creates a raised effect. Research different printing methods and choose one that aligns with your budget and style. Consult with a local printer about paper compatibility before making a choice.
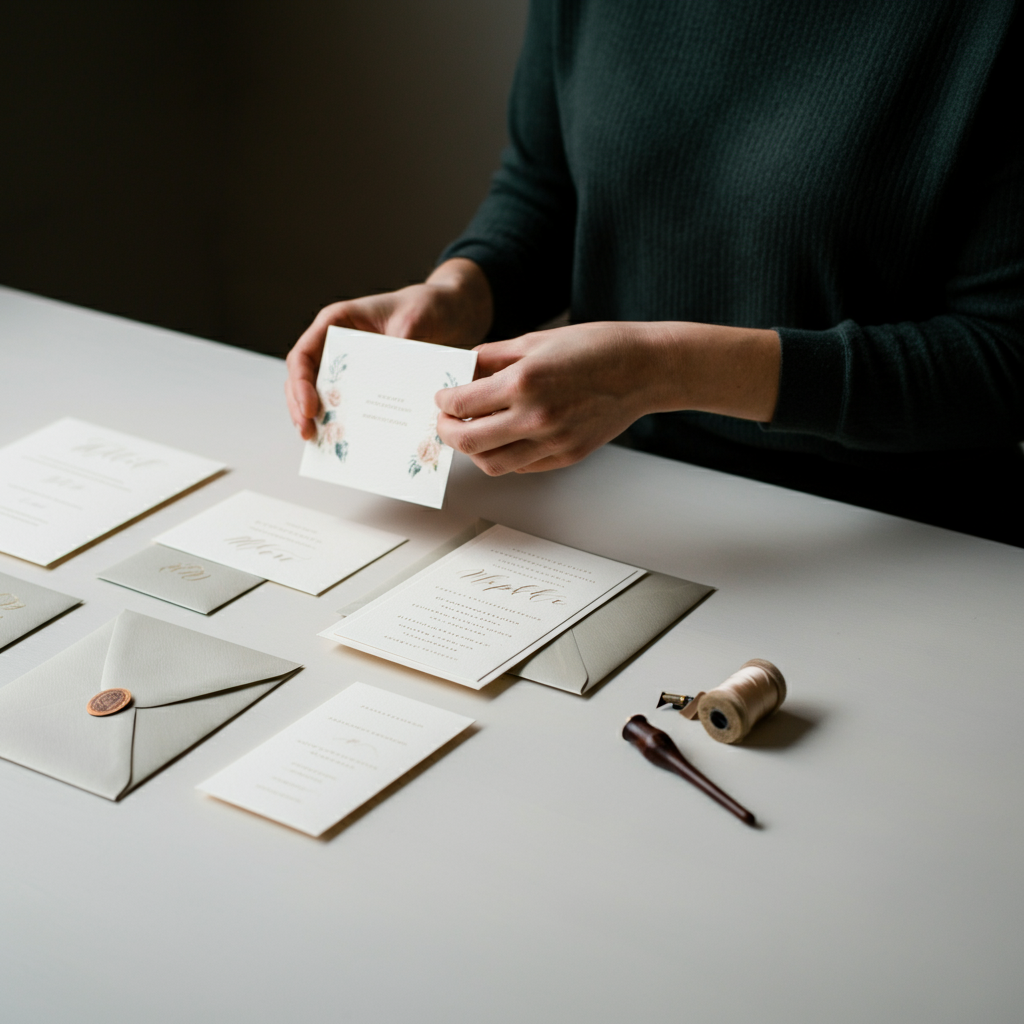
5. Proofread and Assemble
Before sending your invitations to print, proofread them carefully for any errors in spelling, grammar, or dates. It's helpful to have a fresh pair of eyes review the text as well. Once you receive your printed invitations, assemble them with any enclosures, such as RSVP cards, accommodation information, or direction cards. Consider adding a personal touch, such as tying a ribbon around the invitation or adding a wax seal. Envelopes should be addressed neatly and accurately. Hand-calligraphy can add an elegant touch.
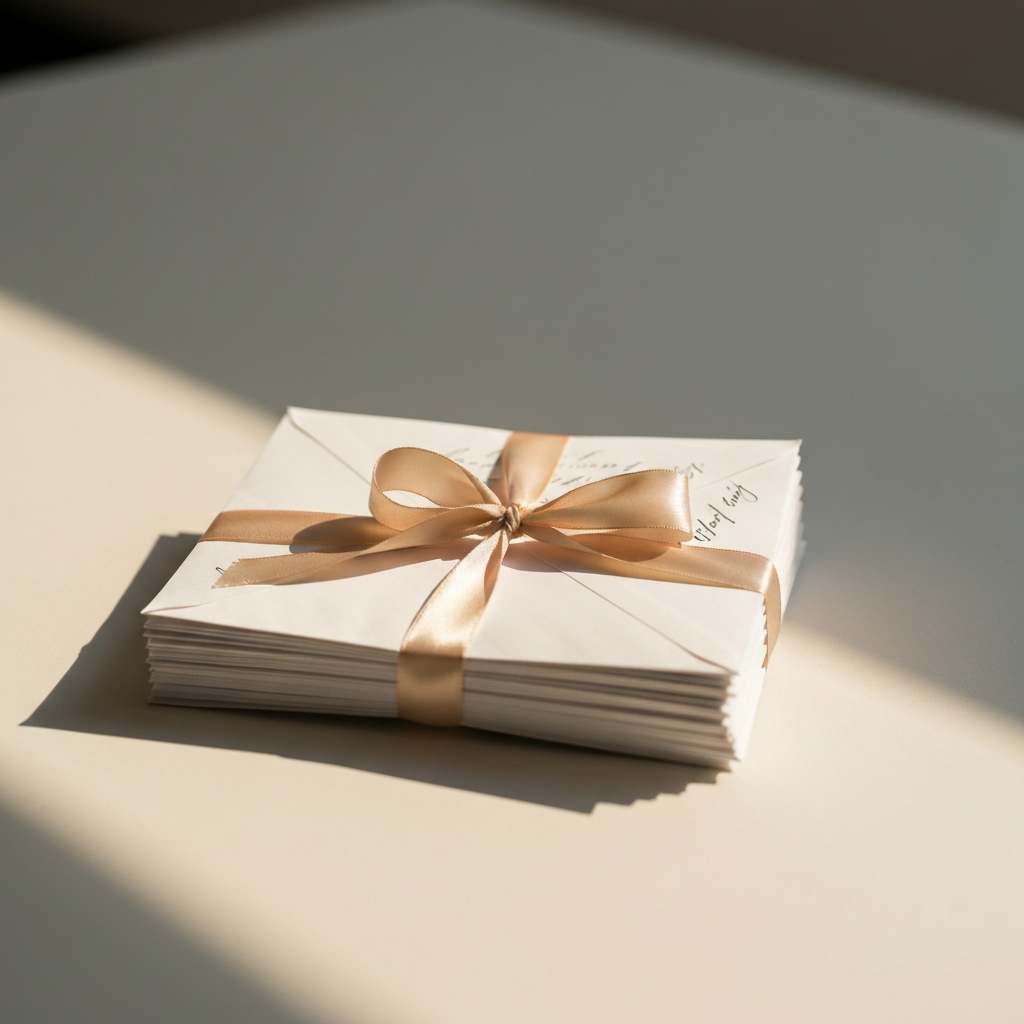
6. Address and Send Your Invitations
Addressing your invitations properly is crucial. Use the correct titles and spellings for each guest. Decide whether you prefer to handwrite addresses for a personal touch or print them for a more formal look. Ensure you have accurate mailing addresses and include proper postage. Mail your invitations 6-8 weeks before your wedding date, giving guests ample time to RSVP. Consider sending save-the-dates well in advance, especially for destination weddings.
Tools or Materials Required
- Computer with design software (e.g., Adobe Illustrator, Canva)
- Printer (or access to a professional printing service)
- Paper stock of your choice
- Envelopes
- Scissors or paper trimmer
- Adhesive (e.g., glue dots, double-sided tape)
- Embellishments (e.g., ribbons, wax seals, twine)
- Calligraphy pen (optional)
Common Mistakes to Avoid
- Not proofreading carefully for errors.
- Waiting until the last minute to start the process.
- Underestimating the cost of printing and materials.
- Choosing a font that is difficult to read.
- Failing to include all necessary information.
Pro Tips
- Order extra invitations in case of errors or last-minute additions to the guest list.
- Consider using online RSVP services to streamline the process.
- Personalize each invitation with a handwritten note to make it extra special.
- Weigh one completed invitation before buying postage to avoid underpayment.
FAQ Section
- How far in advance should I send out wedding invitations?
- Send out your wedding invitations 6-8 weeks before the wedding date. For destination weddings, send them out 3-4 months in advance.
- What information should I include on my wedding invitation?
- Your invitation should include the names of the couple getting married, the date and time of the wedding, the location of the ceremony and reception, dress code information (if applicable), and RSVP instructions.
- How do I address wedding invitations to couples?
- For married couples, address the invitation to "Mr. and Mrs. [Husband's Last Name]". If you know both names, use "[Full Name of Husband] and [Full Name of Wife]". For unmarried couples living together, address the invitation to both individuals on separate lines: "[Full Name of Person 1]" and "[Full Name of Person 2]".
Conclusion
Creating a memorable wedding invitation is a rewarding process that sets the stage for your special day. By carefully considering your style and budget, choosing the right paper and printing method, and paying attention to detail, you can create an invitation that will be cherished by your guests for years to come. Remember to prioritize clarity, accuracy, and personalization to make your invitation truly unique and unforgettable.