Wet cleats are more than just uncomfortable; they're a breeding ground for bacteria, and persistent moisture can significantly shorten their lifespan. Whether you’ve been battling it out on a soggy field or accidentally left them out in the rain, knowing how to dry your cleats effectively is crucial. This guide provides a comprehensive approach to quickly and safely drying your cleats, ensuring they're ready for your next game and protected from long-term damage.
The key to drying cleats quickly lies in a combination of preparation, effective moisture absorption, and understanding what not to do. Avoid shortcuts that involve excessive heat, as these can warp the materials and cause irreparable damage. Instead, focus on methods that encourage natural drying with a little help from absorbent materials and airflow. This guide will walk you through each step, offering pro tips and highlighting potential pitfalls to ensure your cleats remain in top condition.
From the initial preparation steps to choosing the right drying environment, we’ll cover everything you need to know. Follow these steps, and you'll be back on the field with dry, comfortable cleats in no time.
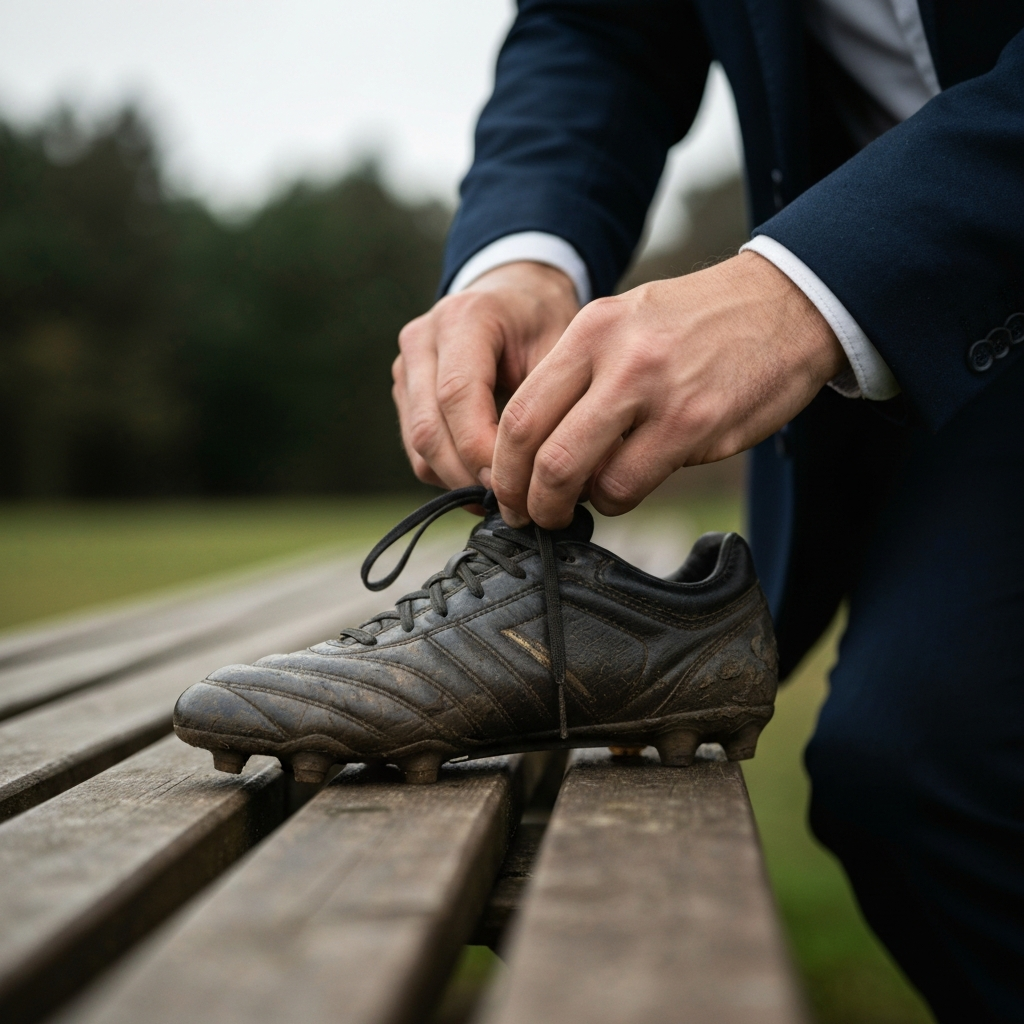
Step 1: Prepping Your Cleats for Drying
Loosen the Laces and Open the Cleats
Before you even think about drying, it's crucial to prepare your cleats properly. Start by completely loosening the laces. This allows for maximum airflow inside the cleat, significantly speeding up the drying process. Furthermore, wet materials, especially leather, tend to shrink as they dry. Loosening the laces alleviates tension, preventing potential damage to the seams and overall structure of the cleat. Don’t just loosen them a little; unlace them almost entirely to provide ample space for air circulation.
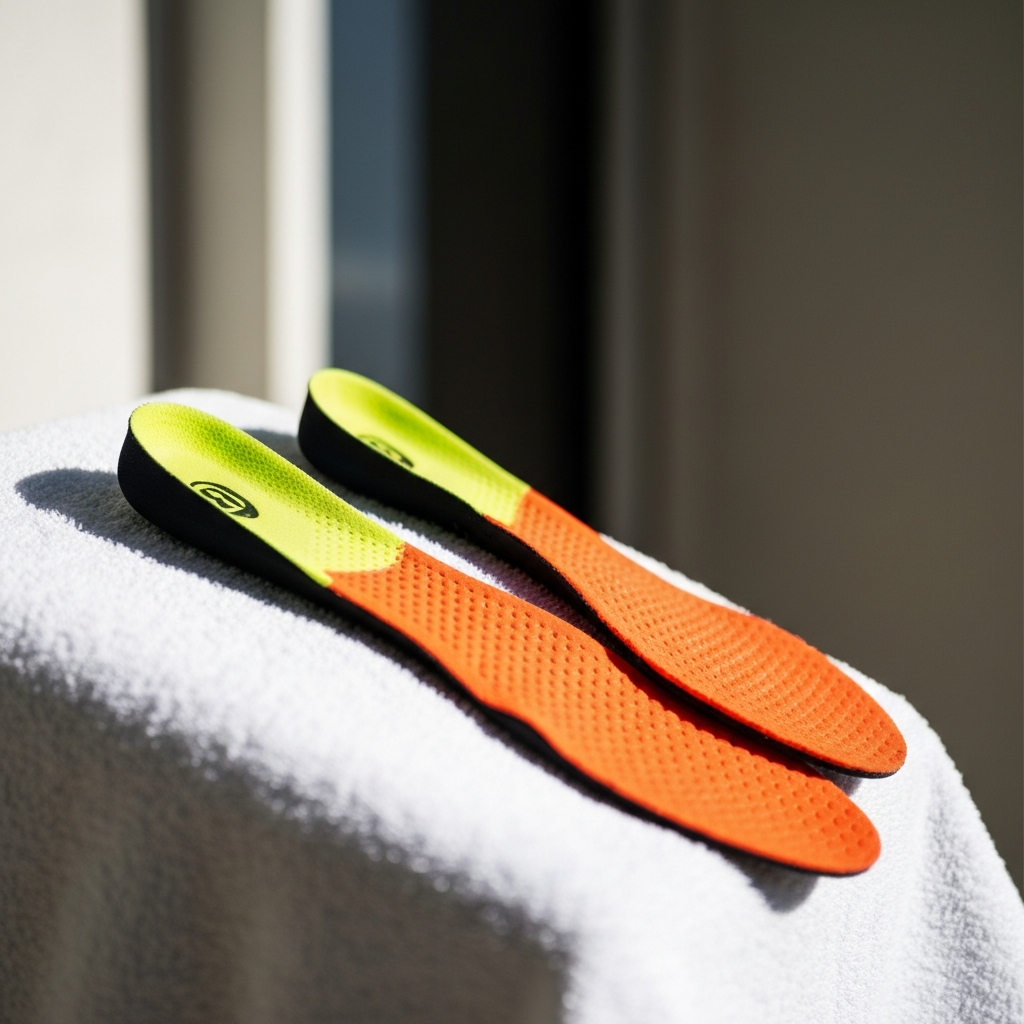
Step 2: Remove the Insoles
Take Out the Insoles for Separate Drying
Insoles act like sponges, absorbing a significant amount of moisture. Leaving them inside the cleats will drastically slow down the drying process. Carefully remove the insoles, if possible – some are glued in, so don't force them. Once removed, set them aside to dry separately. Consider wrapping the insoles in paper towels or placing them upright near a fan or open window to expedite their drying. This step is often overlooked, but it’s a game-changer in achieving faster and more thorough drying.
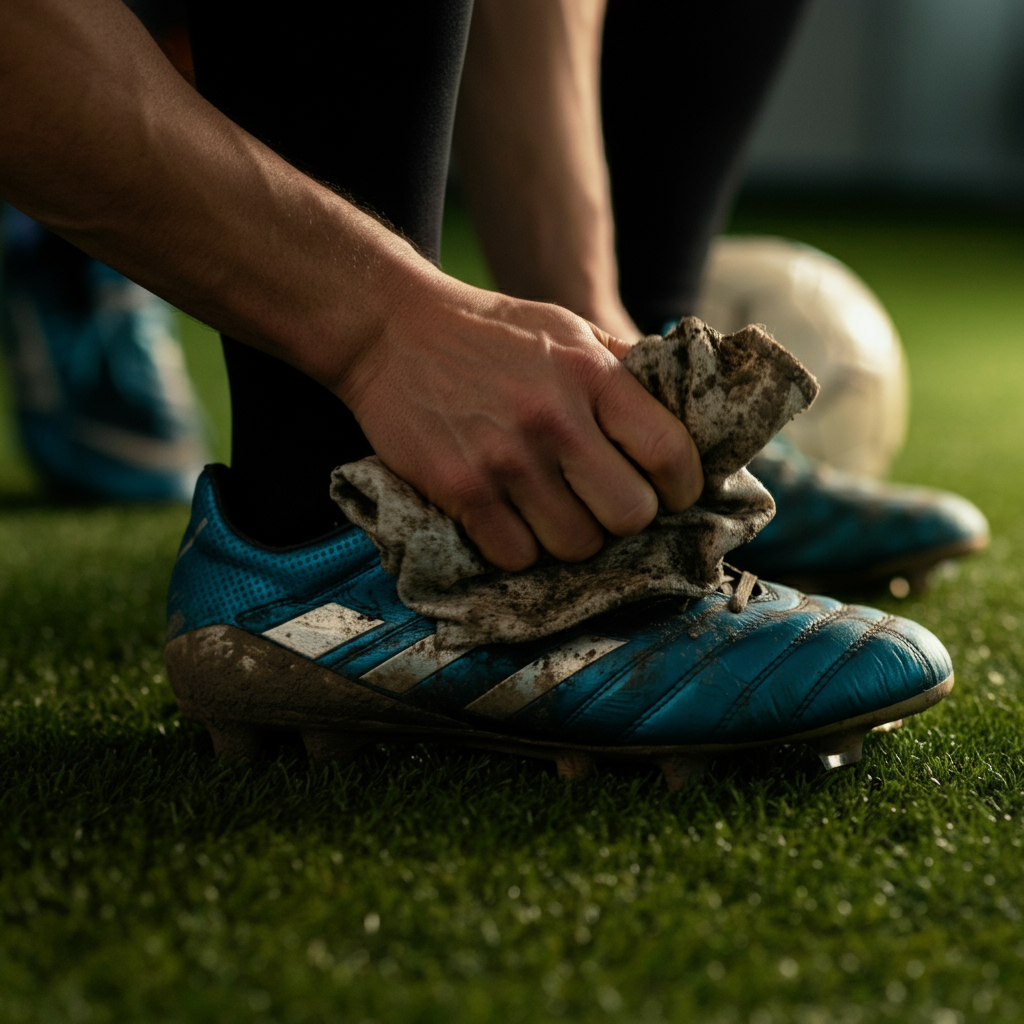
Step 3: Wipe Off Excess Mud and Debris
Clean the Cleats Before Drying
Before you start the drying process, remove as much mud, dirt, and grass as possible. Use a damp cloth or sponge to gently wipe down the cleats, both inside and out. Getting rid of this debris now prevents it from hardening and becoming more difficult to remove later. Don't be afraid to use a little extra water; the goal is to remove the grime that will trap moisture and hinder the drying process. Pay close attention to the soleplate and areas around the studs, where mud tends to accumulate.
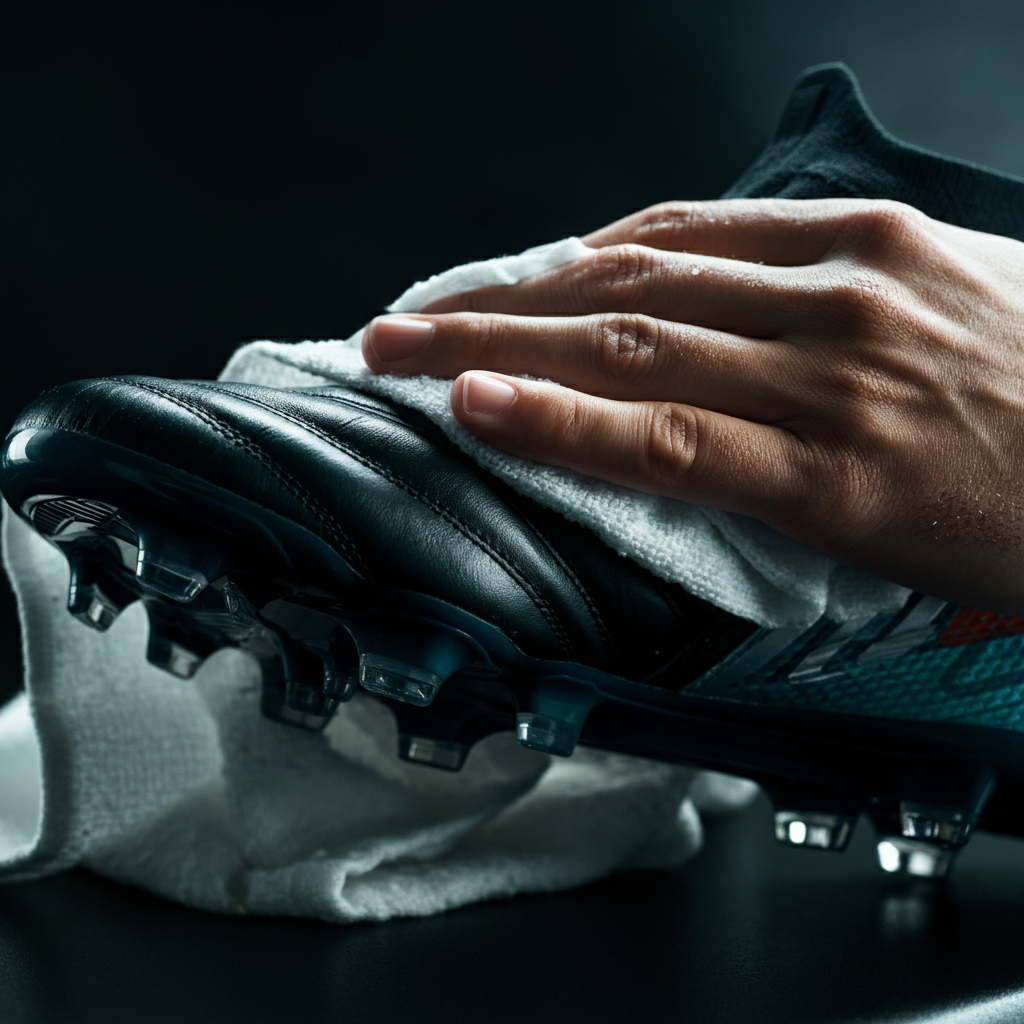
Step 4: Pat Dry with a Cloth
Absorb Surface Moisture
After wiping away the mud, use a dry towel or cloth to absorb as much surface moisture as possible. This step kick-starts the drying process by eliminating a significant amount of water before you even start using absorbent materials. Focus on getting both the inside and outside of the cleats as dry as possible with the cloth. Microfiber towels work particularly well for this, as they are highly absorbent. This initial drying makes subsequent steps much more effective.
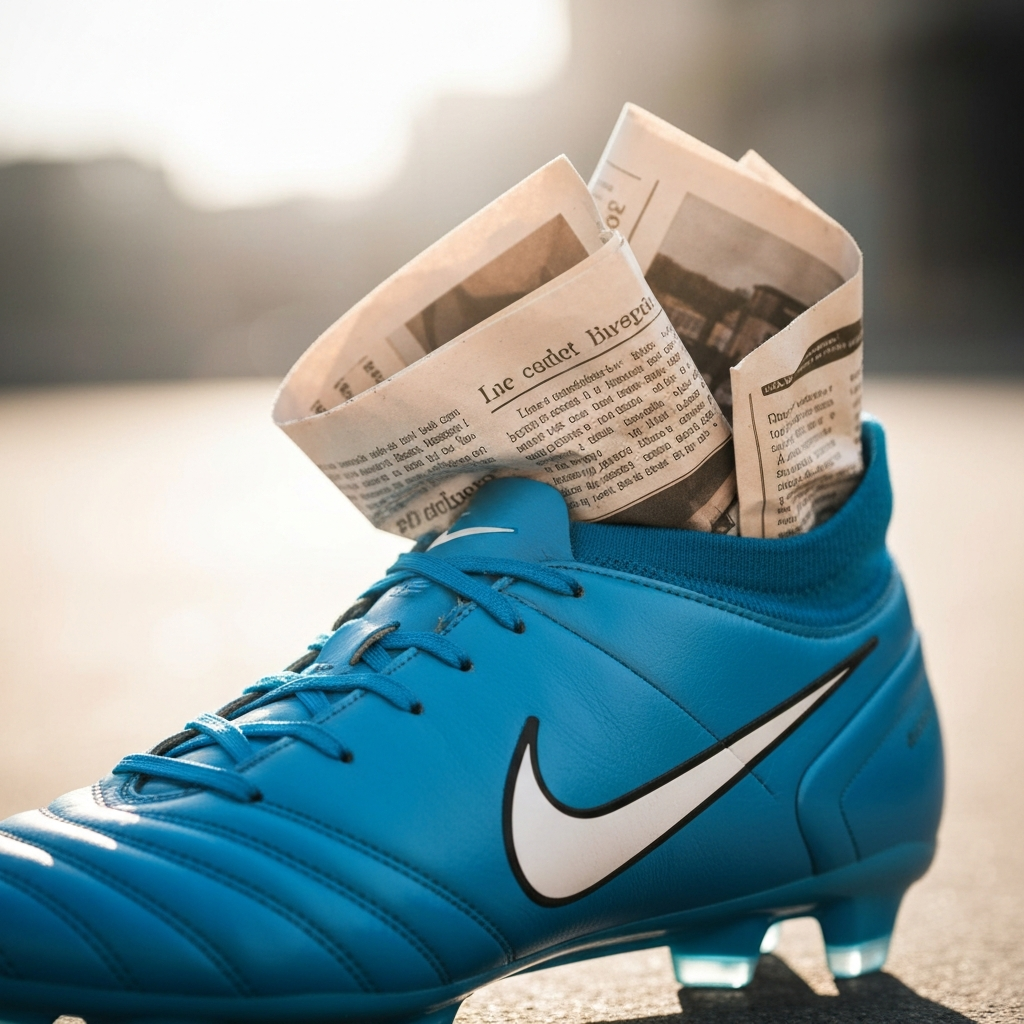
Step 5: Stuff with Absorbent Material
Pack the Cleats with Newspaper or Alternatives
Once you've removed the surface moisture, it's time to tackle the moisture that's soaked deeper into the material. The best way to do this is by stuffing the cleats with an absorbent material. Newspaper is a classic choice because it's readily available and highly absorbent. Crumple the newspaper loosely and pack it into the cleats, ensuring it reaches the toe box and heel. You can also use paper towels, clean rags, or even silica gel packets (the kind that come with new shoes). The goal is to mimic the shape of your foot inside the boot without overstuffing it, preventing shrinkage as it dries. For the tongue and laces, slide a piece of newspaper or paper towel between them.
Step 6: Choose a Drying Location
Place in a Dry, Well-Ventilated Area
Where you place your cleats to dry is almost as important as the drying method itself. Choose a dry, well-ventilated area. A room with a fan or a gentle breeze is ideal. Avoid placing the cleats in direct sunlight for extended periods, as this can damage the materials. Also, avoid damp or humid areas, as these will only slow down the drying process and encourage mold growth. A slightly elevated surface, like a shoe rack or wire shelf, can also improve airflow around the cleats.

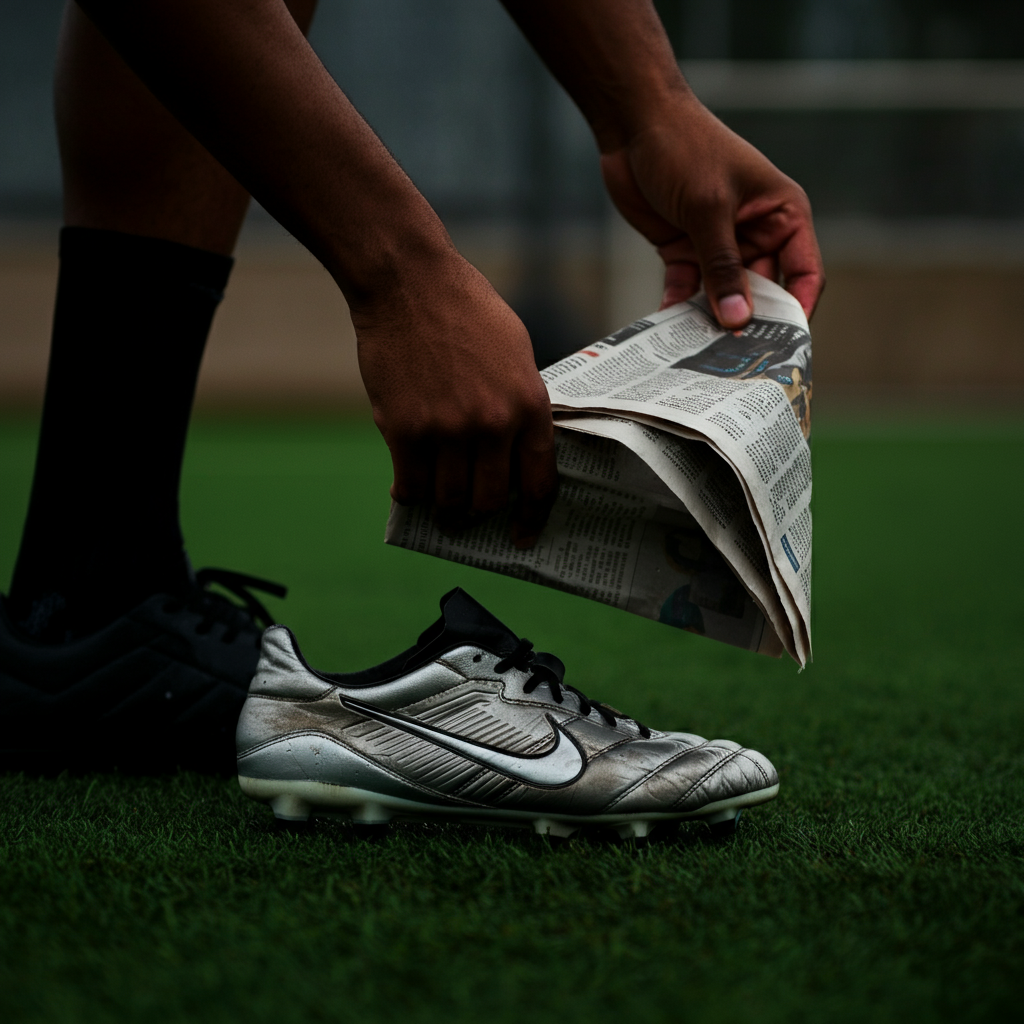
Step 7: Refresh the Absorbent Material
Replace Newspaper Regularly
The absorbent material you've stuffed into the cleats will become saturated with moisture over time, losing its effectiveness. To maintain a quick drying pace, replace the newspaper or other absorbent material every 2-3 hours, or more frequently if it becomes noticeably damp. This small effort will significantly reduce the overall drying time. You'll be surprised how much moisture the material absorbs, making regular changes a vital part of the process. Use dry material each time to ensure efficient moisture absorption.
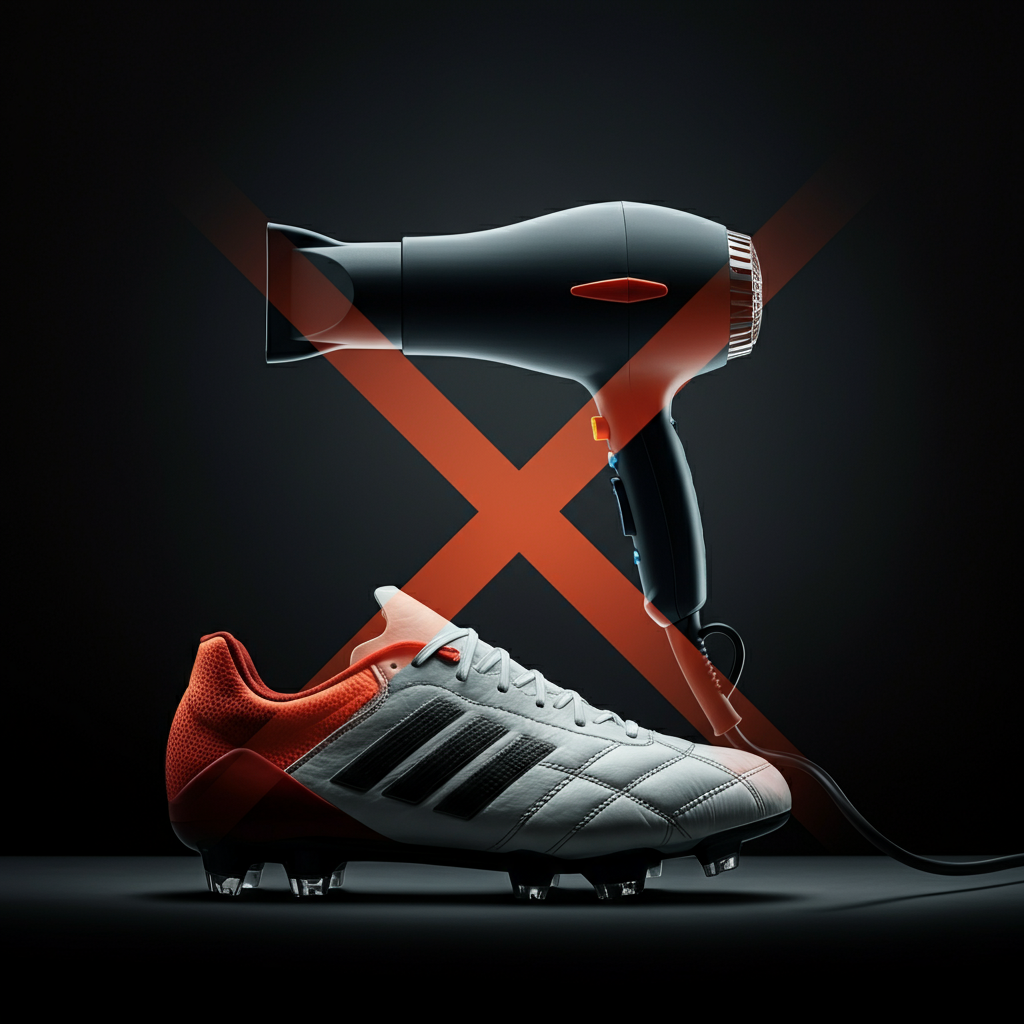
Step 8: Understanding What *NOT* To Do
Avoid Direct Heat
This is perhaps the most crucial point: NEVER use direct heat to dry your cleats. Hair dryers (especially on hot settings), clothes dryers, ovens, or direct sunlight can cause the leather or synthetic materials to warp, crack, or shrink, rendering your cleats unwearable. The damage caused by excessive heat is often irreversible, so patience is key. While it might be tempting to speed up the process with heat, the long-term consequences are not worth it. Stick to natural drying methods and absorbent materials, and your cleats will last much longer.
Pro Tips
- For particularly stubborn moisture, consider using a boot dryer designed specifically for shoes. These devices use gentle, circulating air to dry footwear safely and effectively.
- If you play frequently in wet conditions, investing in a second pair of cleats can be a worthwhile investment, allowing one pair to dry completely while you use the other.
- Clean your cleats regularly, even when they're not wet. This prevents the buildup of dirt and grime, which can trap moisture and shorten their lifespan.
Common Mistakes to Avoid
- Using a clothes dryer: The high heat will almost certainly damage your cleats.
- Leaving cleats in a gear bag: This creates a damp, enclosed environment that promotes mold growth.
- Overstuffing the cleats: This can stretch the leather and distort their shape.
- Ignoring wet socks: Always wear dry socks to prevent excess moisture from transferring to your cleats.
FAQ Section
- How long does it take to dry cleats using this method?
- Depending on the level of saturation and the ambient humidity, it can take anywhere from 12 to 24 hours for cleats to dry completely using this method. Changing the absorbent material frequently will shorten the drying time.
- Can I use a dehumidifier to dry my cleats faster?
- Yes, placing your cleats in a room with a dehumidifier can help to speed up the drying process by reducing the humidity in the air.
- What if my cleats smell bad after drying?
- If your cleats smell bad after drying, try sprinkling baking soda inside them and letting it sit overnight before vacuuming it out. You can also use a shoe deodorizer spray.
Conclusion
Drying your cleats quickly and safely doesn’t require any fancy equipment or harsh methods. By loosening the laces, removing the insoles, cleaning off debris, using absorbent materials, and choosing a well-ventilated drying location, you can effectively dry your cleats and extend their lifespan. Remember to avoid direct heat at all costs, and be patient with the process. With a little care and attention, your cleats will be ready for your next game, ensuring optimal performance and comfort.