Thanksgiving offers a beautiful opportunity to reflect on the good things in our lives. While simply counting our blessings is a rewarding exercise, transforming those reflections into a tangible piece of art elevates the experience. A "Thankfulness Quilt," rendered with paints and pencils, provides a lasting visual reminder of all that we cherish throughout the year. This project requires no sewing, minimal supplies, and can be completed in a relatively short time, making it accessible to artists of all skill levels.
This guide provides a comprehensive, step-by-step approach to creating your own unique Thankfulness Quilt. We'll cover everything from initial brainstorming and material selection to the final embellishments and display ideas. Prepare to unleash your creativity and express your gratitude in a vibrant and meaningful way.
The beauty of this project lies in its personalization. There are no strict rules or right or wrong approaches. The following steps serve as a guide, but feel free to adapt and modify them to suit your own artistic style and vision.
Step 1: Brainstorming and Listing Your Blessings
Before putting pencil to paper, take some time to reflect on what you are thankful for. Grab a sketchbook or notepad and begin listing your blessings. These can range from broad concepts like happiness, family, and good health to specific details such as a comfortable home, supportive friends, or even a favorite pet. Don't censor yourself; write down anything that brings you joy or evokes a feeling of gratitude. As you list each blessing, consider sketching simple visual representations that come to mind. For instance, happiness might be a smiling face, family a group of stick figures holding hands, or comfort a cozy armchair.

Step 2: Gathering Your Art Supplies
Once you have a solid list of blessings and some visual ideas, it's time to gather your art supplies. You'll need a variety of colored fine-line markers, as well as some with broader tips for filling in larger areas. Colored pencils (or watercolor pencils) offer additional shading and texture options. Watercolors are also essential, along with a selection of paintbrushes in various sizes – small pointed brushes for detail work and larger flat brushes for washes. Don't forget a regular pencil for sketching, an eraser, a water container, and paper towels for blotting. Finally, designate a comfortable and well-lit workspace to spread out your materials.

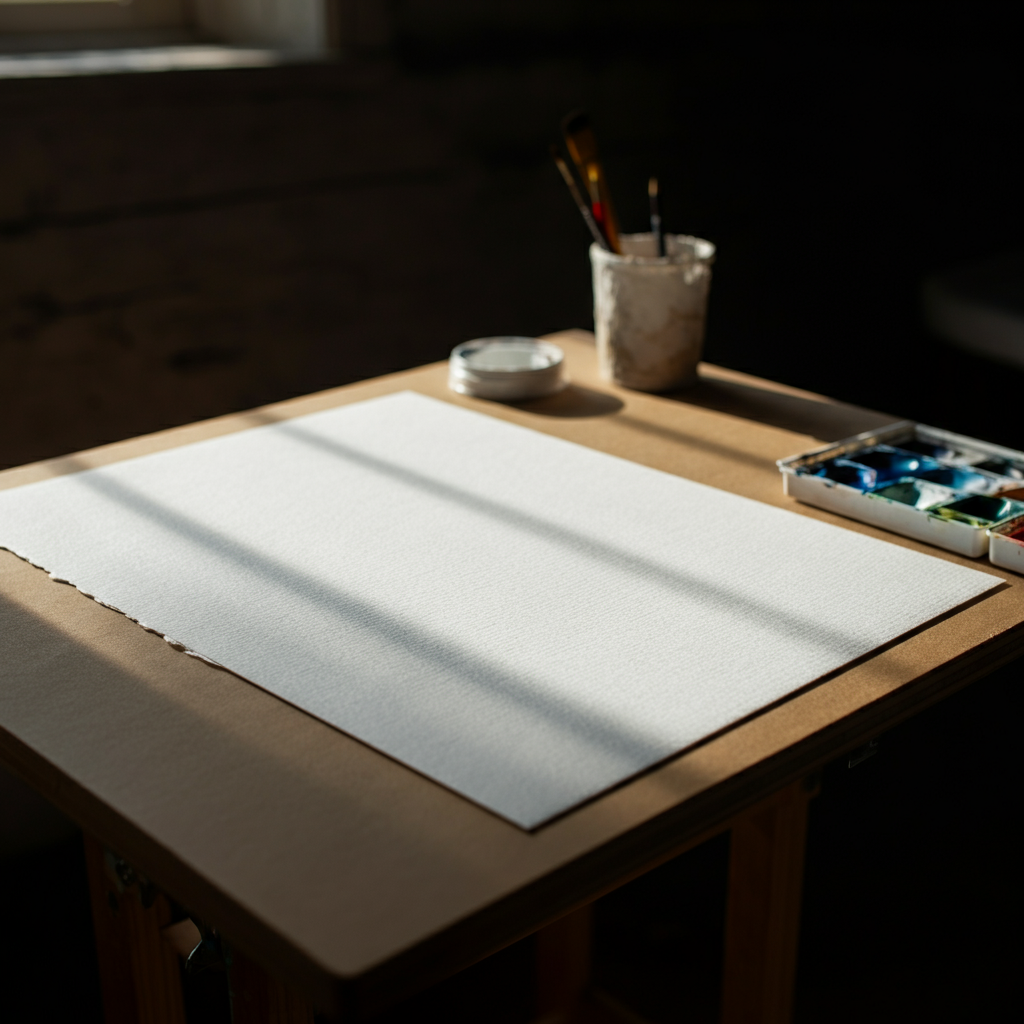
Step 3: Preparing Your Watercolor Paper
Select a piece of watercolor paper that is rectangular in shape. Since your artwork will be a "quilt," it's best to orient the paper vertically, mimicking the look of a bed quilt. The size is up to you, but a good starting point is 9" x 12" or larger. This will provide ample space for listing and illustrating your blessings. Thicker watercolor paper (140lb or higher) is recommended, as it can handle the wet media without buckling excessively. Avoid using thin paper, as it will likely warp and make it difficult to work with.
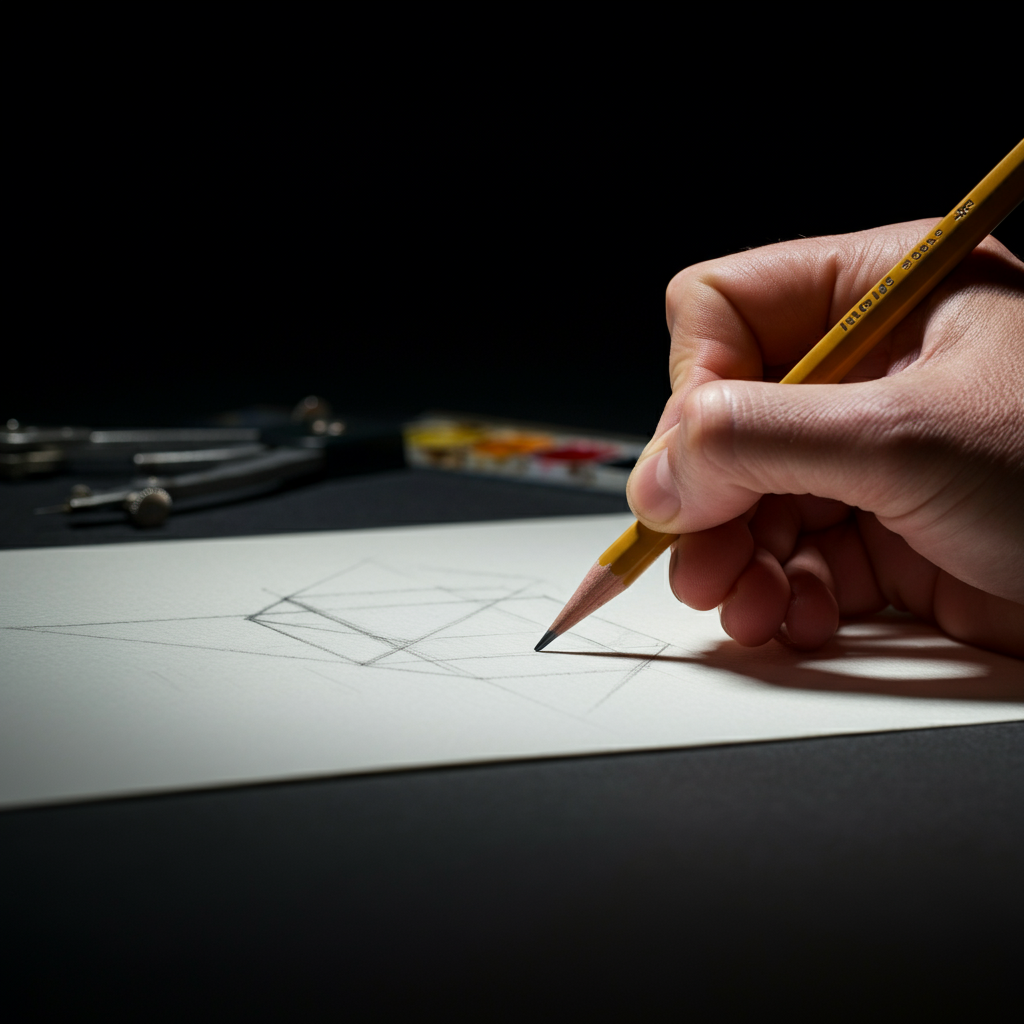
Step 4: Planning Your Quilt Layout
Lightly sketch out your quilt pattern on the watercolor paper using a pencil. Divide the sheet into various shapes and sizes, mimicking the look of individual quilt patches. Feel free to use a ruler and protractor for geometric shapes, or opt for a more free-form "crazy quilt" design with random patches of varying sizes and colors. Include a border around the edges to frame your artwork. Consider having a larger, more prominent patch in the center to serve as a focal point for your overall theme.
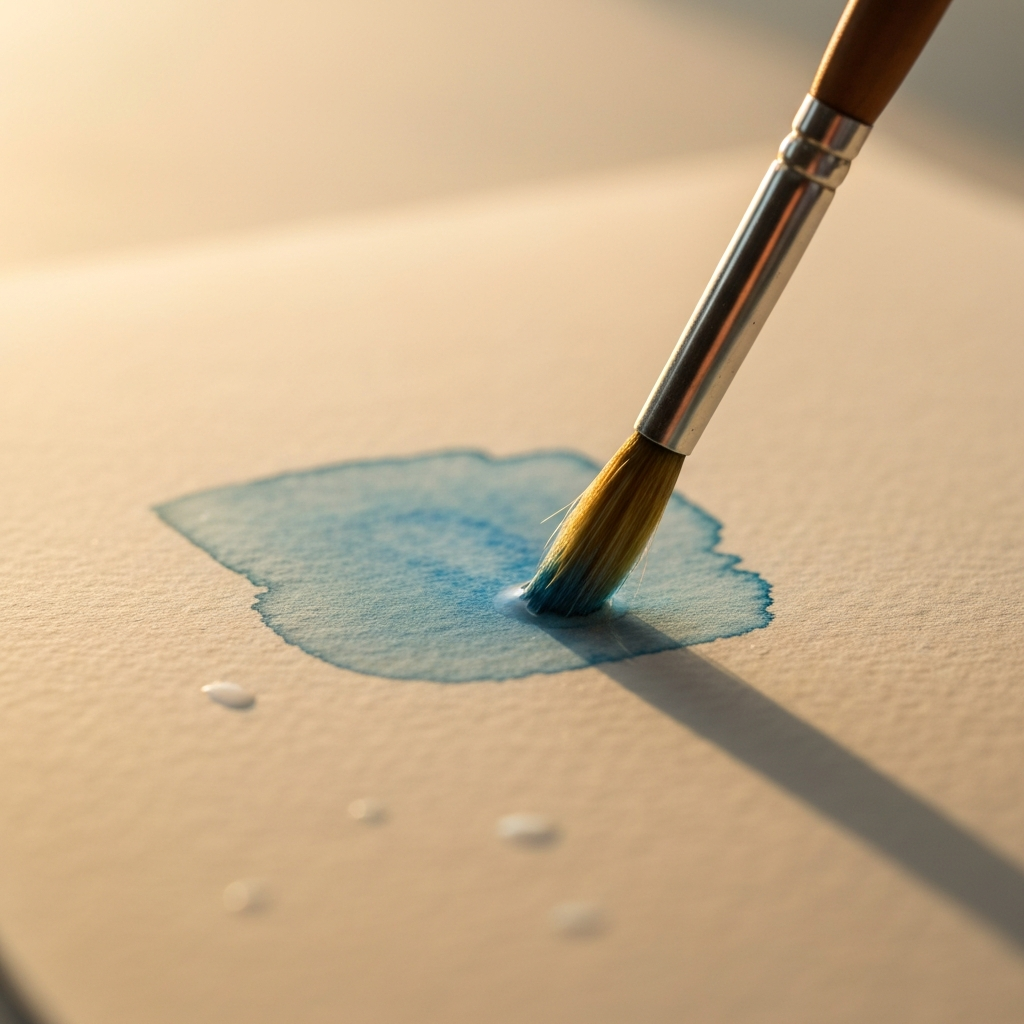
Step 5: Applying an Underpainting
Before adding details, create a subtle underpainting using watercolors. Dilute your paints with plenty of water to achieve a light, translucent wash. Tint different areas of the quilt with various pale colors, creating a soft and harmonious background. Alternatively, you can use light-colored markers to achieve a similar effect. Ensure the underpainting is completely dry before proceeding to the next step. This will prevent colors from bleeding and smudging.
Step 6: Detailing Each Quilt Patch
Now comes the fun part – filling each quilt patch with your blessings! Using your pencil, lightly sketch the visual representations you brainstormed earlier. Don't be afraid to add written words, phrases, or quotes that express your gratitude. Once you are happy with your sketches, use your colored markers, colored pencils, and watercolors to bring your designs to life. Experiment with different color combinations and textures to create a visually appealing and unique quilt. If you make a mistake, don't panic! Embrace it as an opportunity to get creative and find a solution.

Step 7: Adding Finishing Touches and Embellishments
Once you've filled each patch with your blessings, step back and assess your artwork. Add any finishing touches or embellishments that you feel are needed. Consider outlining certain areas with a fine-tipped black marker to add definition and contrast. You can also add patterns, such as flowers, checks, stripes, or polka dots, to enhance the visual interest. To further enhance the "quilt" effect, add trompe l'oeil stitches using your markers. Various stitch styles, such as running stitch, satin stitch, or zig-zag stitch, can be replicated with your marker.

Step 8: Review and Final Adjustments
Let your artwork dry completely. It is beneficial to distance yourself from it for a few hours or even overnight and then view it with fresh eyes. At this stage, you can identify any areas that need further adjustment or improvement. Make any necessary additions, changes, or refinements to pull the entire piece together. This is your last chance to perfect your Thankfulness Quilt, so take your time and ensure you are completely satisfied with the final result.
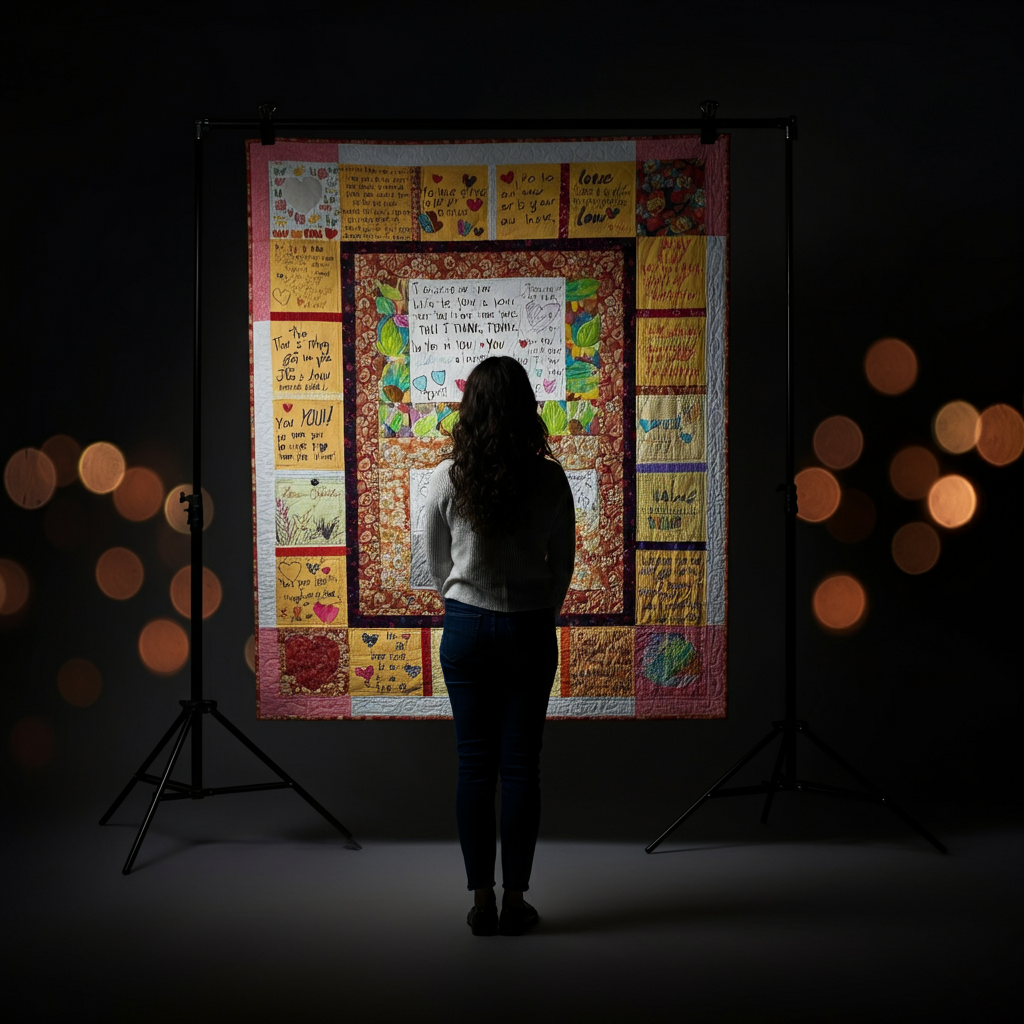
Step 9: Displaying Your Thankfulness Quilt
Now that your Thankfulness Quilt is complete, it's time to display it proudly! One creative way to showcase your artwork is to hang it on a cord stretched horizontally, mimicking a clothesline. Small clothespins can be used to attach the quilt to the cord. Displaying your Thankfulness Quilt not only serves as a personal reminder of your blessings but also allows you to share your innermost thoughts and happiness with others, sparking meaningful conversations and inspiring gratitude.
Tools or Materials Required
- Watercolor paper (9" x 12" or larger, 140lb or higher)
- Pencil and eraser
- Fine-line markers (various colors)
- Broad-tip markers (various colors)
- Colored pencils (or watercolor pencils)
- Watercolors
- Paintbrushes (various sizes)
- Water container
- Paper towels
- Ruler, protractor, or other drafting tools (optional)
Common Mistakes to Avoid
- Using thin paper that warps easily.
- Not allowing the underpainting to dry completely before adding details.
- Being afraid to make mistakes and experiment.
- Rushing the process and not taking the time to reflect on your blessings.
Pro Tips
- Experiment with different color combinations and textures to create visual interest.
- Use stencils or templates to create more complex shapes.
- Consider adding metallic accents with gold or silver markers for a touch of elegance.
- Frame your finished Thankfulness Quilt for a polished and professional look.
FAQ Section
Q: What if I'm not a "good" artist?
A: This project is about expressing gratitude, not achieving technical perfection. Focus on conveying your feelings and don't worry about your artistic skills.
Q: Can I use different mediums besides watercolors and markers?
A: Absolutely! Feel free to incorporate any art supplies you enjoy, such as acrylic paints, collage materials, or even fabric scraps.
Q: How do I protect my finished Thankfulness Quilt?
A: You can spray it with a fixative to prevent smudging or fading. Framing it behind glass is also a good option.
Conclusion
Creating a Thankfulness Quilt is a rewarding and meaningful way to express gratitude and reflect on the good things in your life. By following these steps, you can create a beautiful and personalized piece of art that serves as a lasting reminder of your blessings. Remember to embrace the creative process, experiment with different techniques, and most importantly, have fun! This project is about celebrating gratitude, so let your heart guide your hand.