The classic umbrella, a symbol of protection and sometimes a touch of whimsy, is a fantastic subject for artists of all levels. Whether you're a complete beginner or a seasoned illustrator, mastering the art of drawing an umbrella will add a valuable skill to your repertoire. This guide breaks down the process into manageable steps, focusing on achieving a realistic and visually appealing representation.
We'll begin by establishing the basic structure and gradually build upon it, paying attention to the subtle curves and details that give an umbrella its characteristic shape. Remember, practice is key! Don't be discouraged if your first attempt isn't perfect; keep experimenting and refining your technique. With a little patience and these expert tips, you'll be drawing beautiful umbrellas in no time.
This tutorial will cover everything from the initial sketch to adding color and shading. Get ready to unleash your creativity and bring this iconic accessory to life on paper!
Step 1: Gather Your Materials
Before you begin, it's essential to have the right tools at your disposal. A simple pencil (an HB or 2B is ideal), a good quality eraser, and a sheet of drawing paper are the bare essentials. For coloring, consider using colored pencils, markers, or even watercolors, depending on your preferred style. A ruler can be helpful for drawing straight lines for the umbrella's shaft, but it’s not strictly necessary if you prefer a more freehand approach.

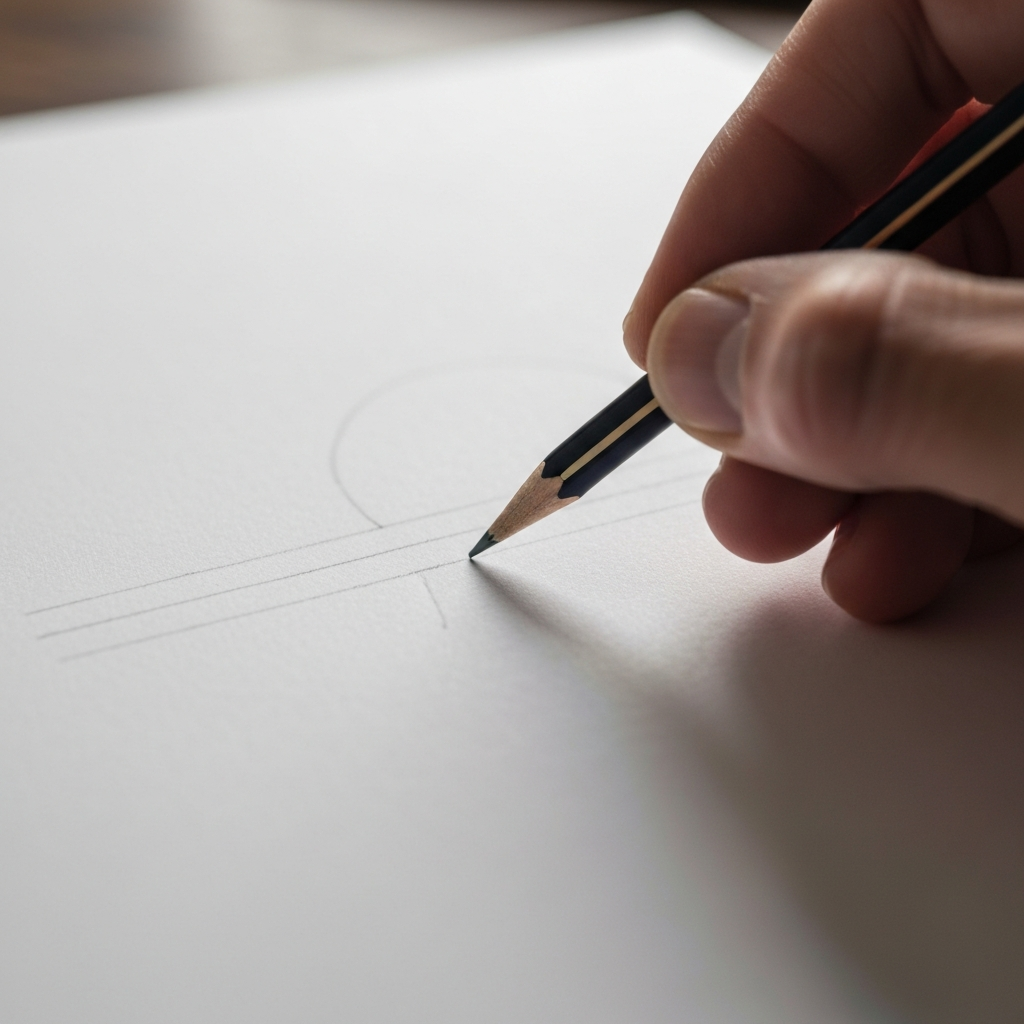
Step 2: Sketch the Basic Lines
Start by lightly sketching two lines. One longer, vertical line will represent the umbrella's shaft, and a shorter line perpendicular to it will represent the spike. These lines will act as your guide to determine the size and proportions of the umbrella. It's crucial to keep these lines light, as they will be erased later. Consider the angle at which the umbrella is held, as this will affect the overall perspective. Don't be afraid to experiment with different angles to find what looks best.
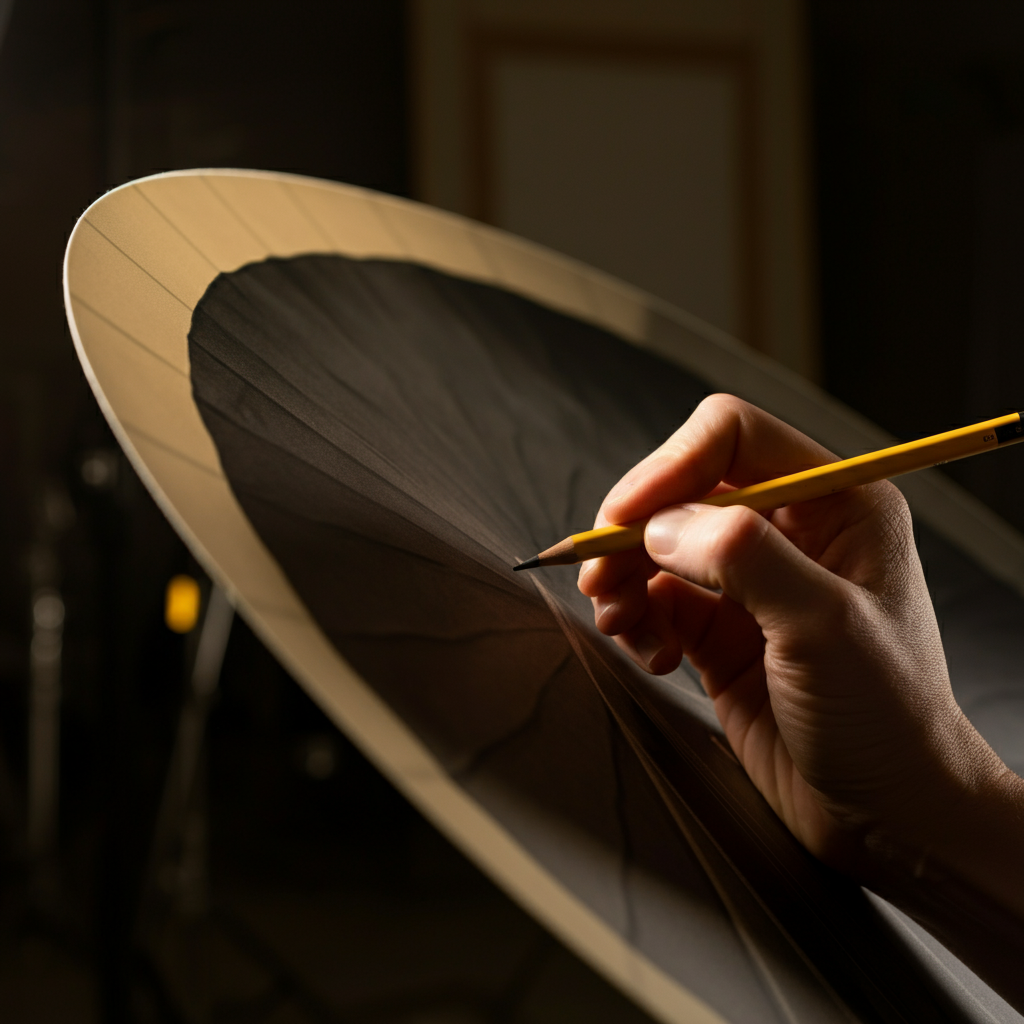
Step 3: Outline the Umbrella's Shape
Now, sketch the outer shape of the umbrella canopy. Think of it as an inverted bowl or a rounded triangle. Umbrellas come in various shapes, from gently curved to more angular, so feel free to experiment. Make sure the canopy is symmetrical around the central shaft unless you're deliberately aiming for a more dynamic, asymmetrical composition. Pay attention to the connection point between the canopy and the shaft; it should appear secure and natural.
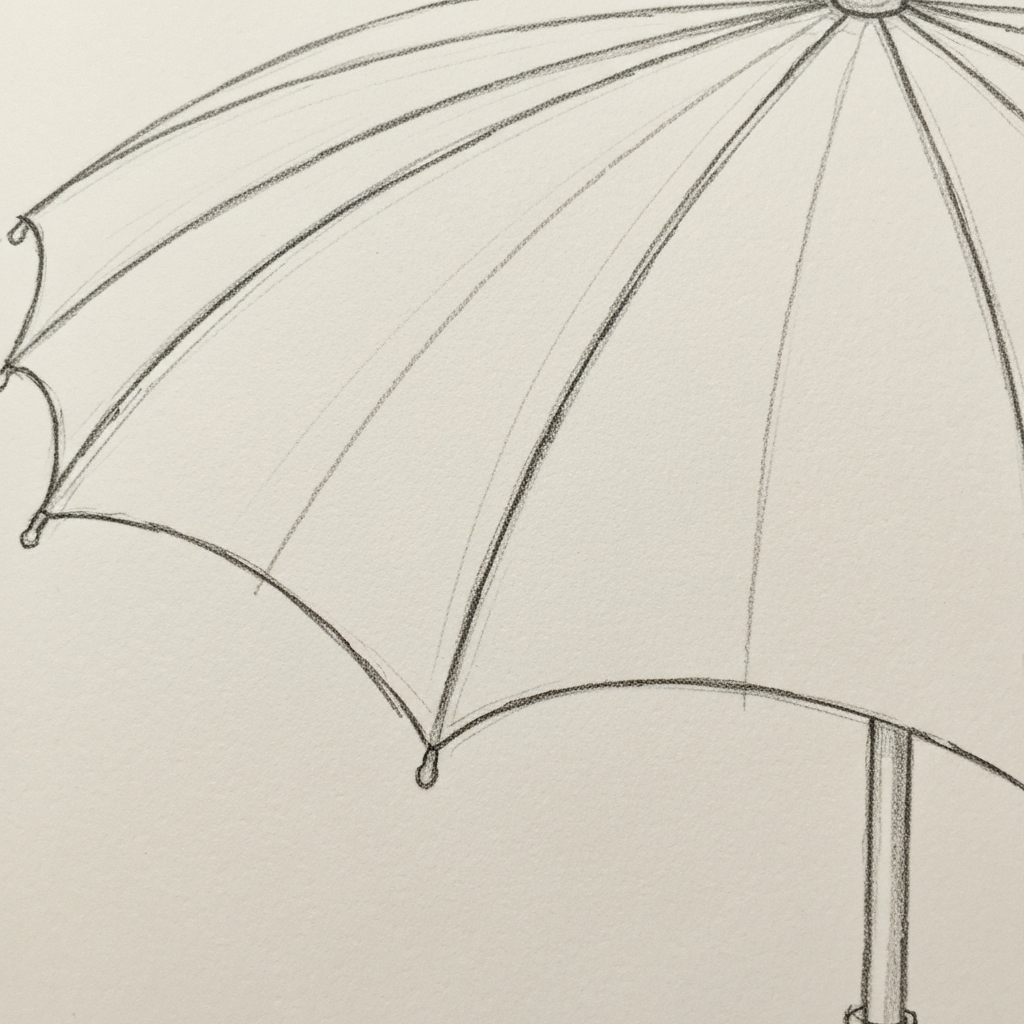
Step 4: Indicate Rib Placement with Dots
Umbrellas have a series of metal ribs that provide support and give them their shape. To represent these, lightly mark the locations of the ribs with small dots along the inside of the canopy outline. Space the dots evenly, keeping in mind that the middle ribs will typically be slightly lower than the ones on the sides, contributing to the umbrella's three-dimensional appearance. This step is crucial for creating a realistic structure.
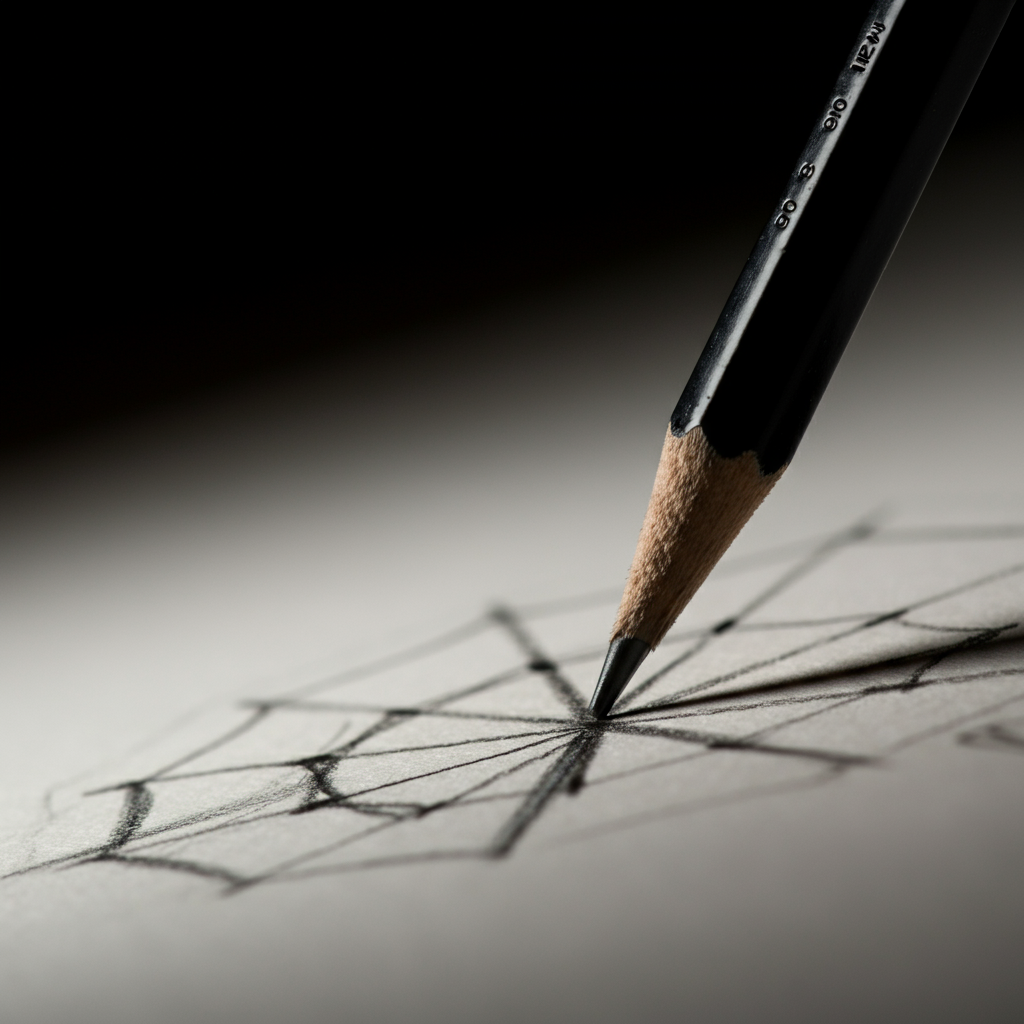
Step 5: Draw the Umbrella Ribs
Connect the dots you created in the previous step with gently curved lines. These lines represent the umbrella's ribs. Remember to make the central ribs longer and slightly more curved than the side ribs. The lines should converge at the top of the shaft. The curves of the ribs give the umbrella its characteristic rounded shape. Pay close attention to the perspective, making sure the ribs recede realistically into the distance.
Step 6: Add the Bottom Edge Detail
The bottom edge of an umbrella is usually scalloped or has a slight curve between each rib. Add these details by drawing short, curved lines that connect the bottom of each rib. These lines should curve upwards slightly, creating a gentle, flowing effect. This small detail adds a lot to the overall realism of the drawing. Consistency in the curve of each scallop is important for a polished look.
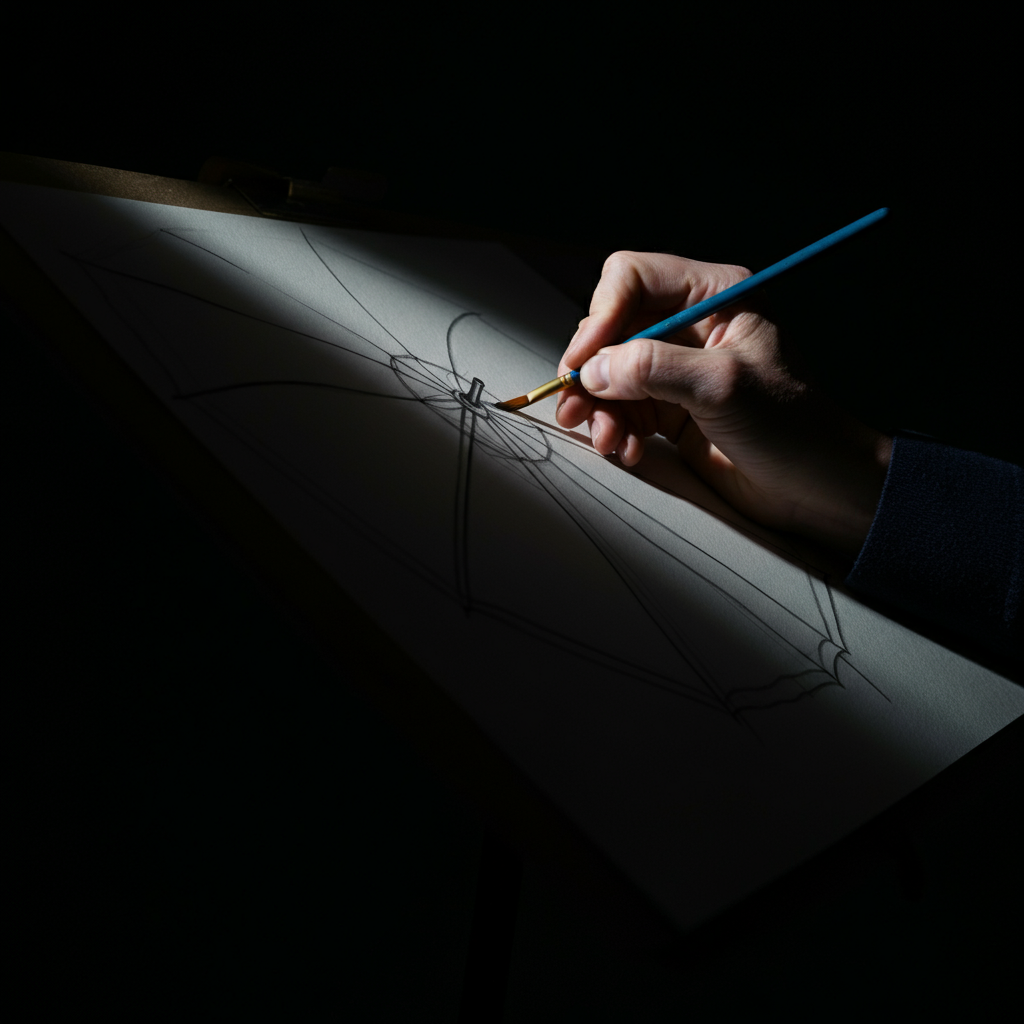
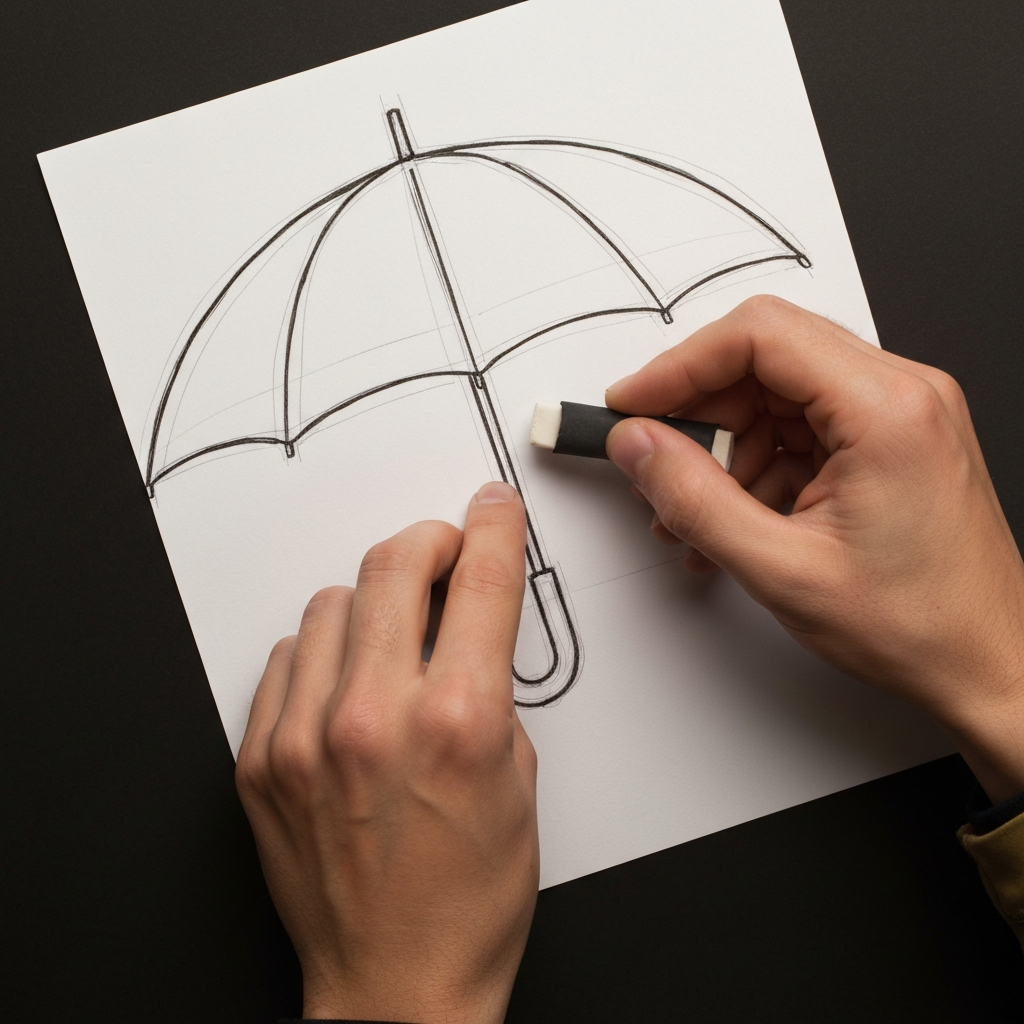
Step 7: Refine the Outline and Erase Guidelines
Now that you have the basic structure in place, it's time to refine the outline. Go over the lines you're happy with, pressing down a bit harder with your pencil to create a bolder, more defined shape. Erase any unnecessary guidelines, such as the initial vertical and horizontal lines, and any stray marks. Be careful not to smudge the drawing while erasing. A kneaded eraser is particularly useful for lifting graphite without damaging the paper.
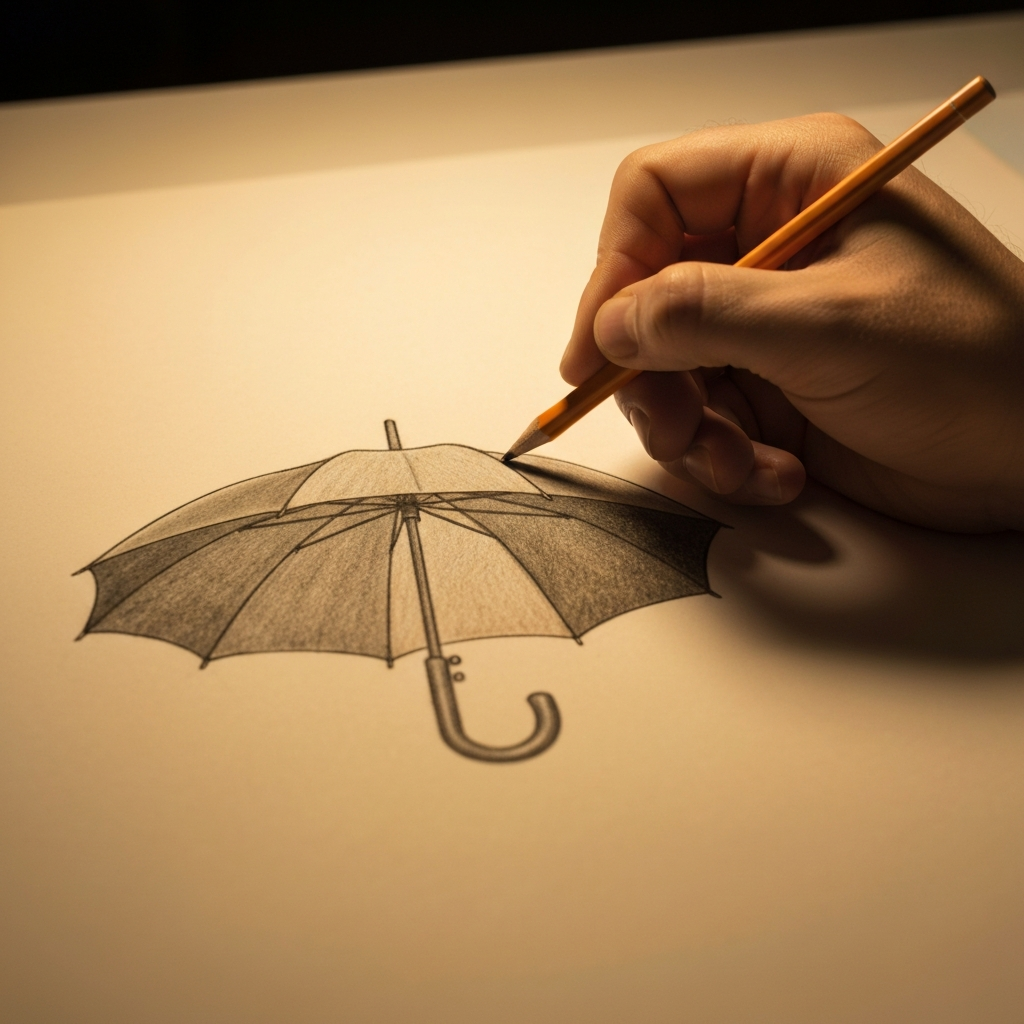
Step 8: Add Color and Shading (Optional)
If you want to add color and shading, now is the time. Decide on your color scheme and begin layering your colors gradually. Consider the light source and add shadows accordingly to give the umbrella volume and depth. Experiment with different shading techniques, such as hatching, cross-hatching, or blending, to achieve the desired effect. Remember that darker colors create shadows, while lighter colors highlight areas that are catching the light.
Pro Tips
- Practice drawing circles and curved lines separately. This will help you improve your control and accuracy when drawing the umbrella canopy.
- Use reference images. Looking at real umbrellas can provide valuable insights into their structure and details.
- Don't be afraid to experiment with different styles and techniques. The most important thing is to have fun and develop your own unique artistic voice.
Common Mistakes to Avoid
- Making the umbrella canopy too flat. The canopy should have a noticeable curve to it.
- Drawing the ribs too straight. The ribs should be gently curved to follow the shape of the canopy.
- Forgetting to erase the guidelines. Leaving the guidelines in can make the drawing look messy and unfinished.
FAQ Section
Q: What's the best type of pencil to use for drawing an umbrella?
A: An HB or 2B pencil is a good all-around choice for sketching and outlining. For adding darker shades, you might want to use a softer pencil like a 4B or 6B.
Q: How can I make my umbrella drawing look more realistic?
A: Pay attention to the details, such as the shape of the canopy, the curve of the ribs, and the way light and shadow interact with the surface. Using reference images can be extremely helpful.
Q: What if I'm not good at drawing straight lines?
A: Don't worry! You can use a ruler or other straight edge to help you draw straight lines for the umbrella's shaft and ribs. However, try to practice drawing freehand straight lines as well, as this will improve your overall drawing skills.
Conclusion
Drawing a classic umbrella is a rewarding artistic endeavor that can be mastered with practice and attention to detail. By following these steps, you can create a realistic and visually appealing representation of this iconic accessory. Remember to focus on the basic shapes, proportions, and the subtle curves that give an umbrella its characteristic form. Don't be afraid to experiment with different styles and techniques to find what works best for you. Happy drawing!