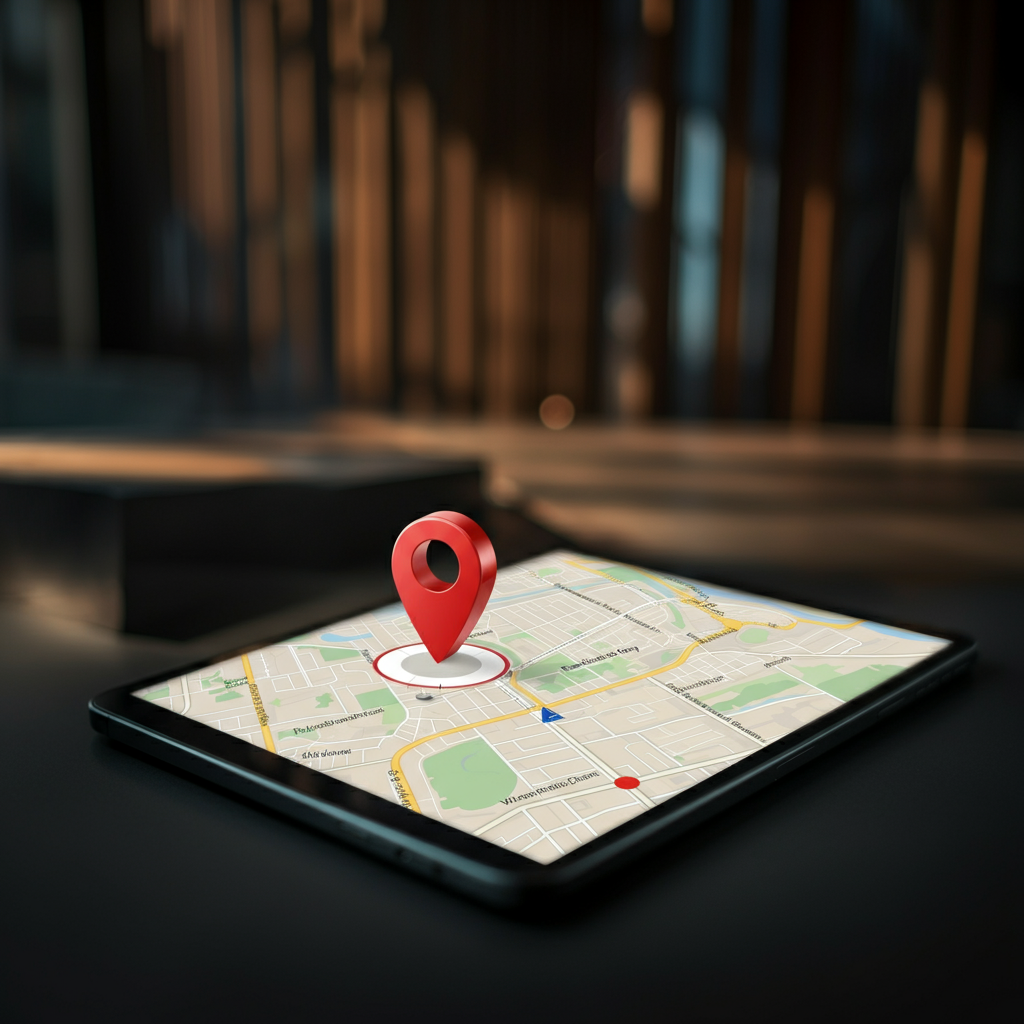
In today's hyper-connected world, reaching customers with the right message at the right time is paramount. Geofencing, a location-based marketing technique, offers a powerful solution for businesses looking to engage potential customers in real-time. By creating a virtual boundary around a specific geographic area, you can trigger targeted messages and offers to individuals who enter that zone. This approach is particularly effective for brick-and-mortar stores seeking to drive foot traffic and boost sales. The geofencing market is rapidly growing, showing how vital this technique is becoming.
This guide will walk you through the essential steps of setting up geofences for your business, focusing on popular platforms like Google Ads, Facebook, Instagram, and Snapchat. We'll cover the technical aspects, practical considerations, and common pitfalls to avoid, ensuring you can leverage the power of geofencing to its fullest potential. Understanding how to effectively target customers based on their location can significantly impact your marketing ROI.
Whether you're a seasoned marketer or just starting out, this guide will provide you with the knowledge and tools you need to implement successful geofencing campaigns. Get ready to unlock a new level of precision and engagement in your marketing efforts!
Step 1: Defining Your Geofence Strategy
Before diving into the technical aspects of creating a geofence, it's crucial to define your strategy. What are you hoping to achieve with your geofence campaign? Are you aiming to drive foot traffic to your store, promote a specific product or service, or increase brand awareness? Clearly defining your objectives will guide your targeting and messaging decisions. Consider your target audience, their behaviors, and their motivations. For example, if you're a coffee shop near a university, you might target students during class breaks with a promotion for a discounted latte. This is an important first step that many forget when setting up their geofence campaigns.

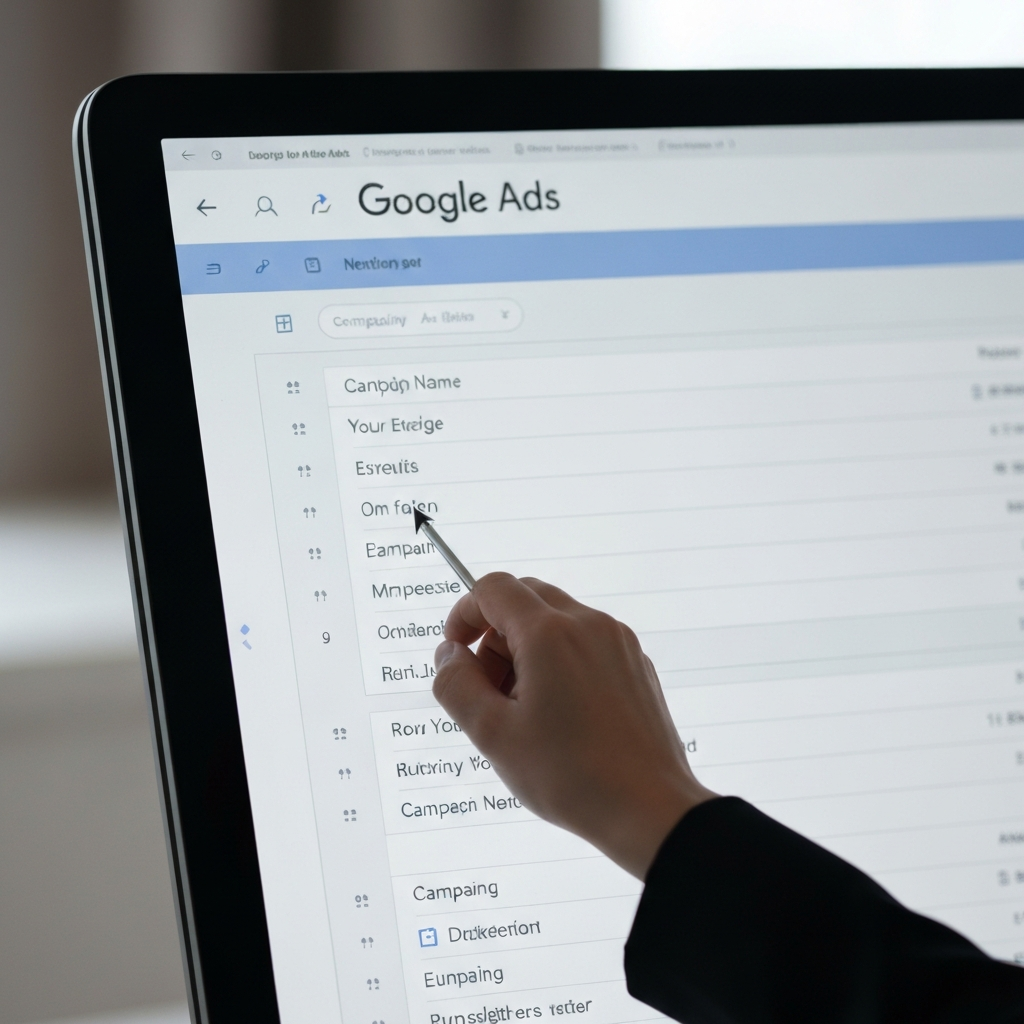
Step 2: Creating a Geofence for Google Ads
2.1: Selecting Your Campaign
First, navigate to the settings page of your Google Ads account. You will see a variety of campaigns, including search, display, and YouTube campaigns. Choose the campaign you would like to adjust by selecting the campaign you want to modify from the dashboard. Remember to choose a campaign that aligns with your defined geofencing strategy. For instance, a display campaign might be ideal for showcasing visually appealing advertisements to users browsing websites within your geofence. Alternatively, search campaigns would be useful when someone is actively looking for a business like yours.
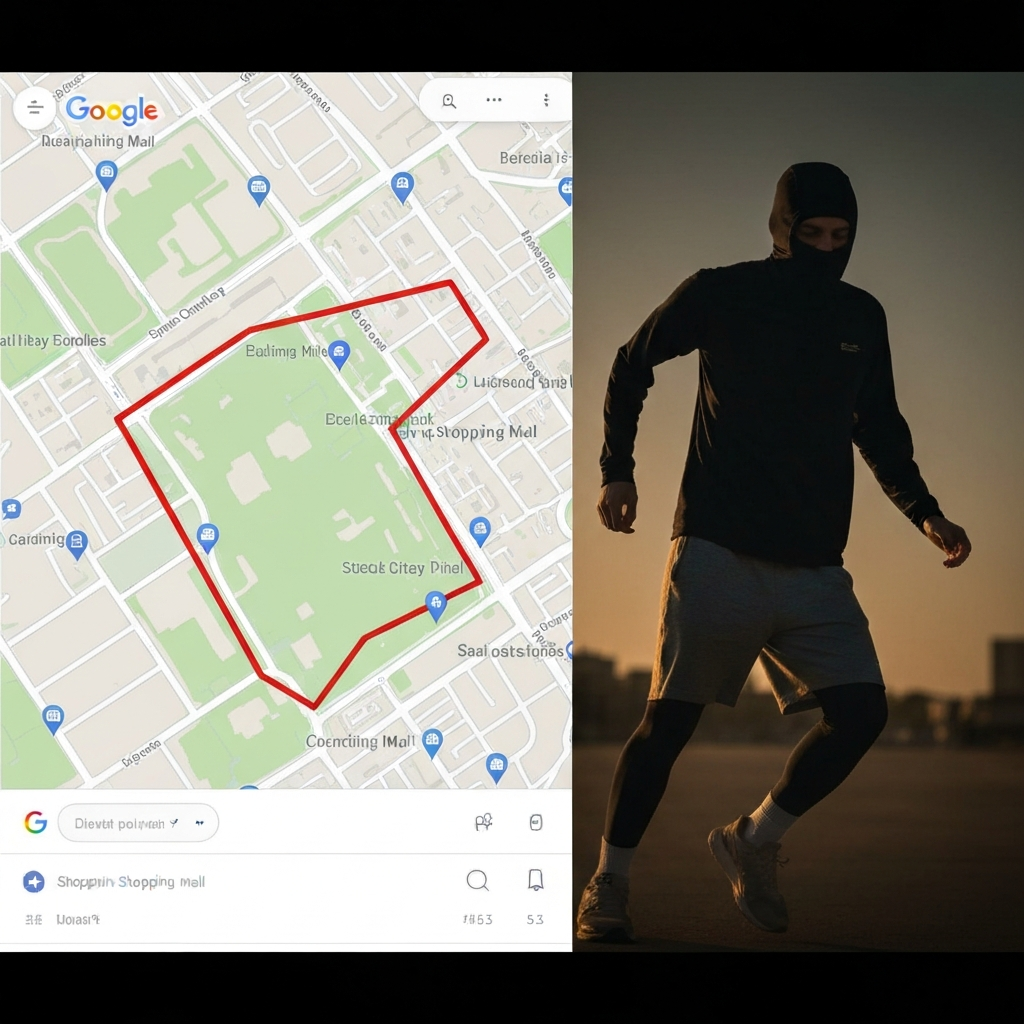
2.2: Targeting a Specific Location
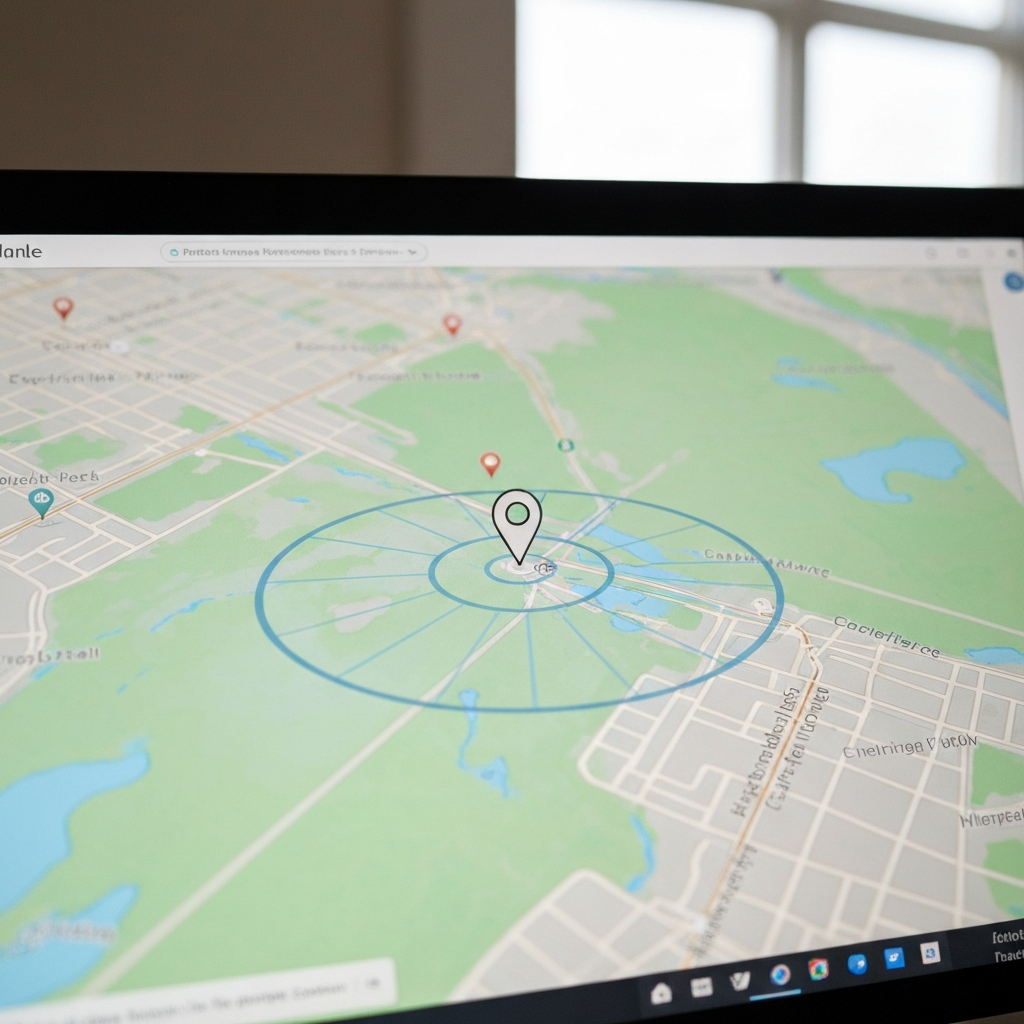
Next, specify the geographic area you want to target. Google Ads offers various geo-targeting options, including country, state, city, zip code, and radius targeting. Break down your location specifically into country > state > city > DMA > metro > zip code > radius. For optimal precision, use a combination of these options. You can draw a custom shape on the map to create a more complex geofence that matches the specific area you wish to target. Consider the size of your target location; a densely populated area requires a smaller radius than a rural location. Be mindful of over-targeting, which can lead to wasted ad spend and irrelevant impressions.
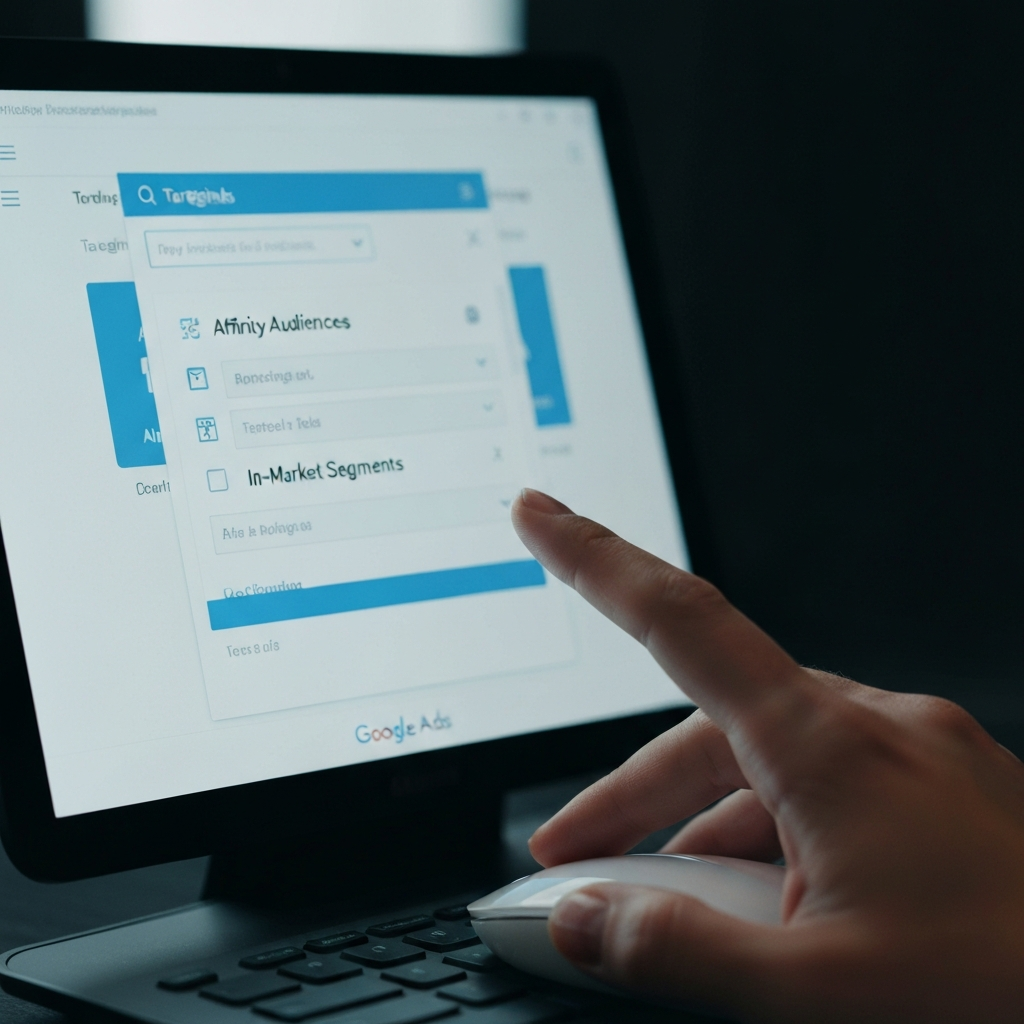
2.3: Applying Additional Targeting Layers
To refine your targeting further, leverage Google's affinity audiences. This feature allows you to target users based on their interests and online behaviors. For instance, you can target individuals searching for specific keywords related to your business or industry. Additionally, you can choose between ‘Location’ or ‘Radius’ options to precisely target your paid Google Ads campaigns within a specific area. You can also exclude specific areas from your targeting if needed. This level of granularity allows you to reach the most relevant audience with your ads. Remember that broad targeting can lead to a lower conversion rate.
Step 3: Creating a Geofence for Facebook and Instagram
3.1: Navigating to the "Audiences" Dashboard
In Facebook Ads Manager, navigate to the "Audiences" dashboard. Here, you can create and manage your target audiences for both Facebook and Instagram campaigns. Include the desired location and drill this down to a much-specified area. Facebook's targeting capabilities are incredibly powerful, allowing you to reach highly specific demographics and interest groups. Familiarize yourself with the various audience options to maximize the effectiveness of your geofencing campaigns.

3.2: Choosing to "Drop Pin"
Within the Audiences dashboard, use the "Drop Pin" feature to pinpoint the exact location for your geofence. Get to the exact location that meets your desired parameter and make sure you pinpoint it. This allows you to create a highly localized geofence around a specific business, event, or landmark. Carefully consider the placement of your pin, as it will determine the center point of your geofence. Ensure the pin is accurately placed to avoid targeting unintended areas.
3.3: Selecting a Specific Radius
Once you've dropped your pin, select the desired radius around the location. The minimum radius you can set on Facebook is 1 mile. If you want a smaller radius, you can add as many location exclusions as you want within the 1-mile radius. Be aware of the limitations regarding minimum radius sizes. A smaller radius will provide more targeted results, while a larger radius will reach a broader audience. Test different radius sizes to determine what works best for your specific needs. If your business is in a dense urban setting, consider a smaller radius. If it is in a suburb or rural area, a larger radius may be necessary to reach a sufficient audience.
Step 4: Creating a Geofence for Snapchat
4.1: Accessing Filters and Lenses
On Snapchat, start by tapping the gear icon in the upper-right corner of the screen. From there, you can select “Filters and Lenses”and then “Get Started”. This will lead you to the geofilter creation tools. Snapchat's geofilters are a creative way to engage users at specific locations. Understanding how to create and customize these filters is crucial for successful Snapchat geofencing campaigns.

4.2: Moving Onto Your Geofence
After selecting filters and lenses, you will arrive at the location setting tab, where you can see the default square geofence surrounding your present location. This initial geofence serves as a starting point for customization. Take your time to create a geofence that suits your requirements. You can adjust the size and shape to fit.
4.3: Adjusting the Geofence Shape
Tap and hold one of the white circular handles on the default geofence. You can drag them into place to setup specific geofences. This allows you to customize the shape of your geofence to fit irregular boundaries, such as a park or a specific building. Carefully adjust the handles to ensure your geofence accurately reflects the desired location. Take advantage of the ability to create custom shapes to avoid targeting unintended areas.
Tools or Materials Required
- Google Ads Account
- Facebook Business Manager Account
- Snapchat Account
- A clear understanding of your target audience
- A defined marketing budget
- Location data for your target areas
Common Mistakes to Avoid
- Setting too broad a geofence, resulting in wasted ad spend.
- Failing to optimize your ad creative for mobile devices.
- Ignoring analytics and not tracking campaign performance.
- Over-targeting and bombarding users with too many messages.
- Setting up geofences without a clear strategy or objective.
Pro Tips
- A/B test different ad creatives and targeting options to optimize campaign performance.
- Use location extensions in Google Ads to provide users with directions to your store.
- Segment your audience based on demographics and interests for more targeted messaging.
- Offer exclusive deals and promotions to users within your geofence.
- Monitor your campaign performance closely and make adjustments as needed.
FAQ Section
Q: What is the ideal size for a geofence?
A: The ideal size depends on your specific goals and target area. Generally, smaller radii are more effective in densely populated areas, while larger radii may be necessary in rural locations.
Q: How much does it cost to create a geofence?
A: The cost varies depending on the platform you use and the scale of your campaign. Google Ads and Facebook Ads operate on a bidding system, so your costs will depend on the competition for your target audience. Snapchat charges a fee for geofilter usage.
Q: Can I track the performance of my geofence campaign?
A: Yes, all major advertising platforms provide detailed analytics to track the performance of your geofence campaigns. You can monitor metrics such as impressions, clicks, conversions, and ROI.
Q: What are some ethical considerations for geofencing?
A: It's important to be transparent with users about your use of location data and to obtain their consent before tracking their location. Avoid using geofencing to target sensitive locations such as hospitals or places of worship.
Q: Is geofencing only for large businesses?
A: No, geofencing is accessible to businesses of all sizes. Even small businesses can benefit from the targeted reach and engagement that geofencing provides.
Conclusion
Creating a geofence for your business is a powerful way to connect with potential customers in real-time and drive targeted engagement. By following the steps outlined in this guide, you can effectively leverage platforms like Google Ads, Facebook, Instagram, and Snapchat to reach your desired audience and achieve your marketing objectives. Remember to define your strategy, refine your targeting, and continuously monitor your campaign performance to maximize your ROI. With careful planning and execution, geofencing can be a game-changer for your business.