Accurately determining the heating and cooling loads of a building is crucial for selecting the right HVAC system. An undersized system will struggle to maintain comfortable temperatures, while an oversized system can lead to energy waste and humidity problems. While rule-of-thumb methods using BTU per square foot exist, they often lack the precision needed for optimal system design. TRACE 3D Plus is a powerful software tool that allows for a detailed and accurate load calculation by considering various factors, including building materials, weather data, occupancy schedules, and internal heat gains.
This guide provides a step-by-step approach to conducting a load calculation using TRACE 3D Plus. It assumes you have access to architectural plans and specifications for the building in question. By following these instructions, you can generate a comprehensive load report that will aid in selecting the appropriate HVAC equipment. Remember that accuracy depends on the quality of input data; take your time and double-check your entries. The resulting load calculation will provide valuable insights into the building's energy performance.
Before we begin, ensure you have a licensed copy of TRACE 3D Plus installed on your computer and have access to the necessary building plans. Let's begin!
Step 1: Creating a New Project and Defining Building Location
The first step is to create a new project within TRACE 3D Plus and define the building's location. Open TRACE 3D Plus and select "New Project." In the project setup window, enter the project name, client information, and project location. Selecting the correct location is paramount because TRACE 3D Plus relies on local weather data to accurately estimate heating and cooling loads. You can either enter the latitude and longitude coordinates manually or use the built-in map to pinpoint the location. Once you've specified the location, TRACE 3D Plus will automatically download the corresponding weather data.

Step 2: Importing and Tracing the Building Floor Plan
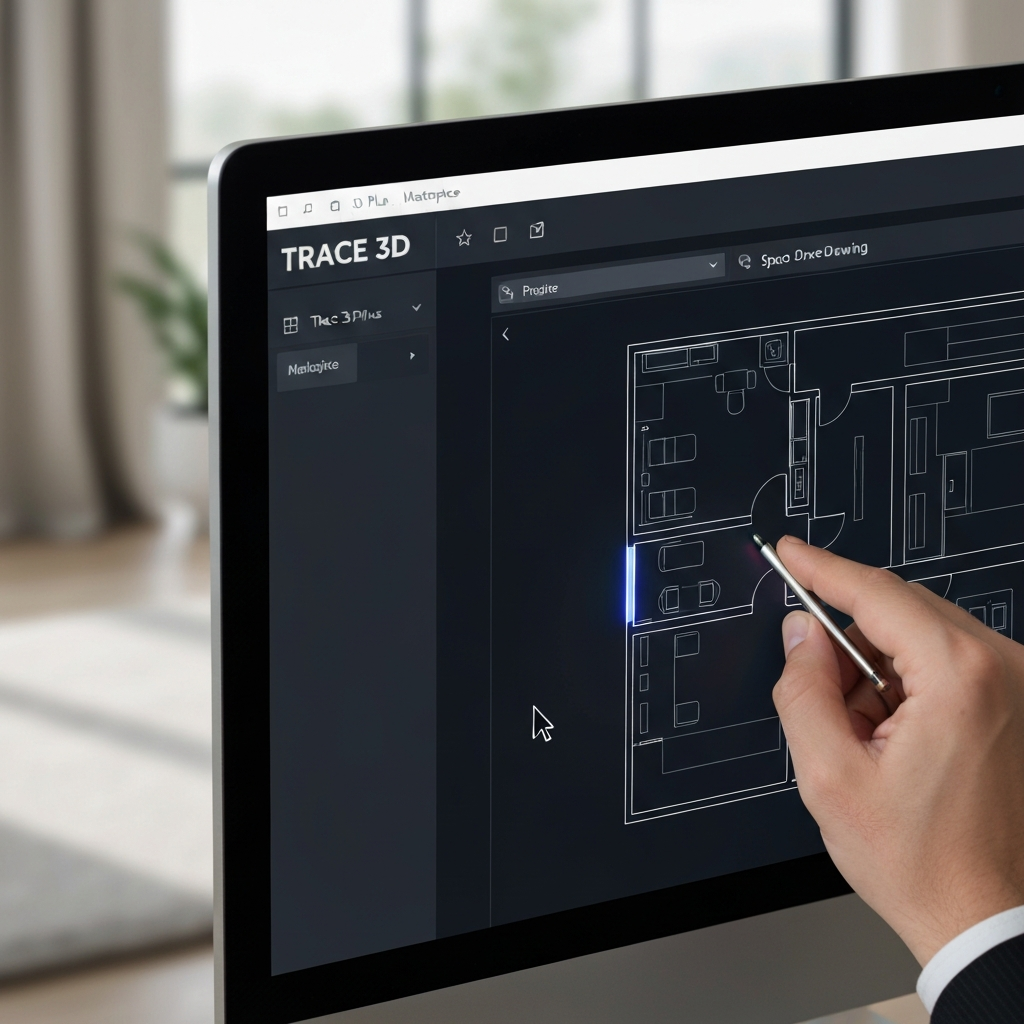
Next, you'll import the building floor plan into TRACE 3D Plus and trace the spaces. TRACE 3D Plus supports various file formats for importing floor plans, such as DWG and DXF. Import the floor plan by going to the "Building" tab and selecting "Import Floor Plan." Once the floor plan is imported, use the "Space Drawing Tool" to trace the individual spaces within the building. Ensure that you accurately trace the perimeter of each space, as this directly affects the calculated area and volume. Pay close attention to complex geometries and curved walls. Zoom in for detail where needed.
Step 3: Defining Space Types and Properties
After tracing the spaces, you need to define the space types and assign their properties. Select each space individually and use the "Properties" tab to define its type (e.g., office, conference room, hallway). TRACE 3D Plus comes with a library of predefined space types with associated default settings for occupancy, lighting, and equipment loads. Modify these default settings as necessary to reflect the actual conditions within the space. Also, specify the ceiling height, floor construction, and any other relevant properties in this step.

Step 4: Creating and Assigning Constructions
Now, create and assign constructions for walls, roofs, floors, and windows. In the "Library" tab, navigate to the "Constructions" section. Here, you can define the thermal properties of each building element based on its material composition. Input the thickness and thermal conductivity of each layer of the wall, roof, floor, and window assemblies. Refer to the architectural specifications for accurate construction details; using incorrect R-values will skew the load calculation. After creating the constructions, assign them to the corresponding building elements using the "Properties" tab for each space or surface.

Step 5: Defining Internal Loads and Schedules
Defining internal loads and schedules is crucial for capturing the heat generated by occupants, lighting, and equipment. Navigate to the "Library" tab and select "Schedules." Create schedules that represent the occupancy, lighting, and equipment usage patterns for each space type. Then, in the "Internal Loads" section, define the heat gains associated with occupants, lighting, and equipment. Carefully consider the operating hours and usage intensities of each internal load source. A common mistake is overestimating or underestimating these loads, leading to inaccurate results. Assign these loads and schedules to the appropriate spaces using the "Properties" tab.

Step 6: Running the Load Calculation and Analyzing the Results
With all the necessary data entered, you can now run the load calculation. Go to the "Analysis" tab and select "Run Load Calculation." TRACE 3D Plus will process the data and generate a load report. This report provides a detailed breakdown of the heating and cooling loads for each space and for the entire building. Carefully review the report to identify areas with high loads and potential opportunities for energy efficiency improvements. The report also provides information on peak loads, which are essential for selecting the appropriate HVAC equipment capacity. Pay attention to both sensible and latent heat gains.

Step 7: Refining the Model and Optimizing System Design
The initial load calculation is rarely the final step. After analyzing the results, you may need to refine the model and explore different design options to optimize system performance. Experiment with different building materials, window types, and shading strategies to reduce heat gains and losses. Consider the impact of orientation and shading on solar heat gain, which can significantly affect the cooling load. Adjust occupancy schedules and internal load settings to reflect realistic operating conditions. Re-run the load calculation after each modification to assess the impact on the overall loads. This iterative process allows you to identify the most effective strategies for minimizing energy consumption and optimizing HVAC system design.

Pro Tips
- Always validate your input data with on-site measurements or historical energy consumption data whenever possible.
- Use the built-in reporting features of TRACE 3D Plus to generate customized reports tailored to your specific needs.
- Explore the advanced features of TRACE 3D Plus, such as energy simulations and life-cycle cost analysis, to gain a deeper understanding of the building's energy performance.
- Keep your TRACE 3D Plus software up to date to benefit from the latest features and bug fixes.
Common Mistakes to Avoid
- Failing to accurately define the building's location, leading to incorrect weather data.
- Entering inaccurate construction details for walls, roofs, floors, and windows.
- Overestimating or underestimating internal loads and occupancy schedules.
- Ignoring the impact of solar shading on heat gain.
- Failing to properly validate the input data with on-site measurements or historical energy consumption data.
FAQ Section
- Q: How often should I update the weather data in TRACE 3D Plus?
- A: It's recommended to update the weather data at least annually to ensure accuracy, especially if there have been significant climate changes in your region.
- Q: Can I use TRACE 3D Plus for existing buildings?
- A: Yes, TRACE 3D Plus can be used for both new and existing buildings. For existing buildings, you may need to gather additional data on building materials and operating conditions.
- Q: How do I account for thermal bridging in my load calculation?
- A: TRACE 3D Plus allows you to define thermal bridges in your construction assemblies. Refer to the software's documentation for detailed instructions on how to model thermal bridges accurately.
Conclusion
Conducting a load calculation using TRACE 3D Plus provides a robust and accurate method for determining the heating and cooling requirements of a building. By following the steps outlined in this guide, you can effectively utilize the software to generate detailed load reports that will aid in selecting the appropriate HVAC equipment and optimizing building energy performance. Remember that accurate input data and careful analysis of the results are crucial for achieving reliable and meaningful outcomes. Regular updates to weather data, and the use of the software's advanced features, will further enhance the accuracy and value of your load calculations, contributing to more efficient and sustainable building designs.