Changing the oil filter on your BMW E36 is a crucial part of regular maintenance, ensuring optimal engine performance and longevity. A clean oil filter removes contaminants from the engine oil, preventing premature wear and tear on vital components. This guide will walk you through the process step-by-step, providing clear instructions and expert tips to help you complete the task safely and efficiently.
The E36, produced between 1990 and 2000, is a popular choice for enthusiasts, but like any car, it requires proper care. Regularly changing the oil and filter is one of the easiest and most effective ways to maintain its health. We will cover everything from identifying the correct filter to properly disposing of the used oil. Even if you've never worked on a car before, this guide will give you the confidence to tackle this essential maintenance task.
Before you begin, gather all the necessary tools and materials. Working in a well-lit and organized space is crucial for a smooth and safe experience. Let's get started!
Tools or Materials Required
- New Oil Filter (Correct for your E36 engine)
- New Engine Oil (Correct viscosity and specification for your E36 engine)
- Oil Filter Wrench or Socket (Specific to your filter housing)
- Socket Wrench Set (Including 12mm and 22mm sockets)
- Oil Drain Pan
- Jack and Jack Stands or Ramps
- Gloves
- Rags or Shop Towels
- Funnel
- Torque Wrench
Step 1: Identify Your Engine Type
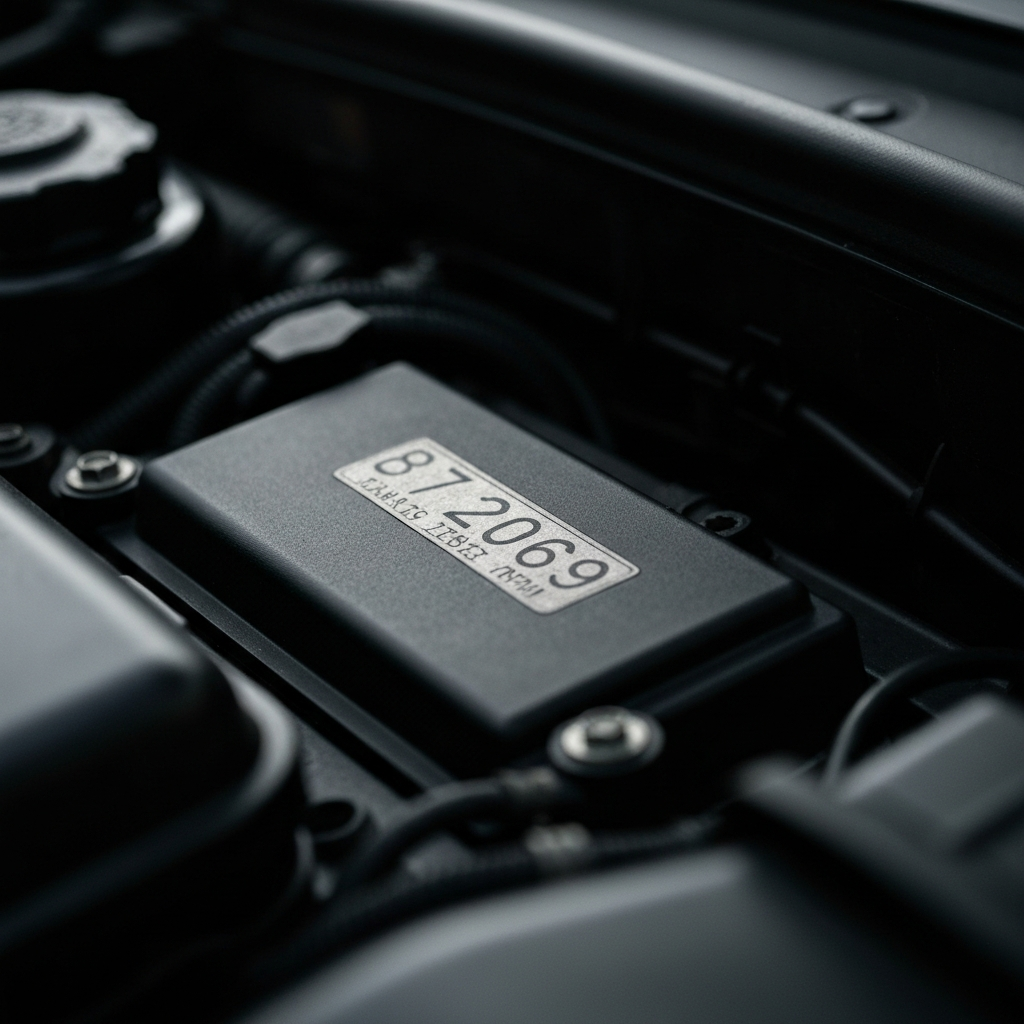
Before purchasing a new oil filter, you need to determine which engine your E36 is equipped with. The E36 came with both 4-cylinder and 6-cylinder engine options. While the filter housing location remains consistent, the filter itself will differ. Look at the engine layout – the 6-cylinder engines are noticeably longer. Consult your owner's manual or check the engine bay sticker for the engine code for definitive identification. Knowing this will ensure you purchase the correct oil filter.
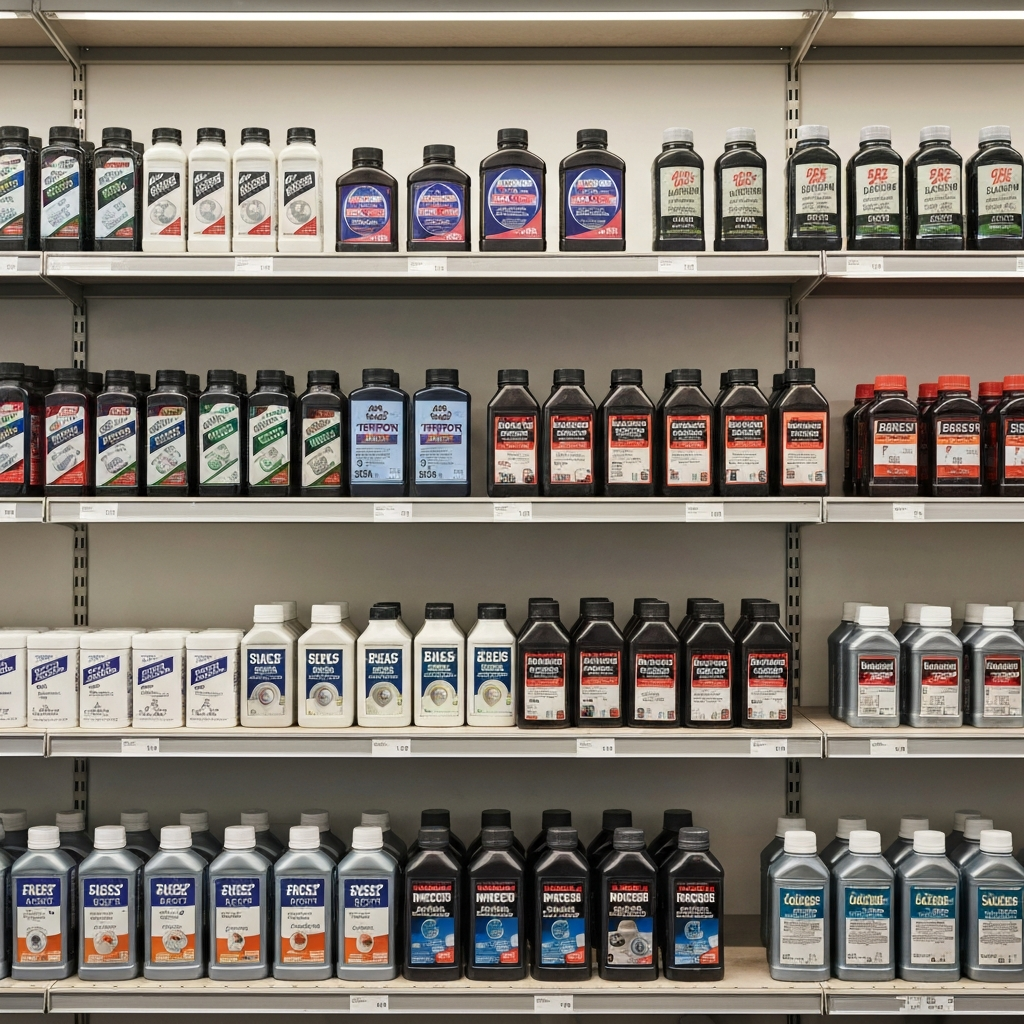
Step 2: Purchase the Correct Oil Filter and Oil
Once you've identified your engine type, head to your local auto parts store and purchase the correct oil filter. Many filters may appear to fit, but using the wrong one can lead to inadequate filtration and potential engine damage. Use the parts store's catalog system (either electronic or physical) to specify your E36's make, model, and year. This will ensure you get the correct filter. While you're at the store, also purchase the correct type and quantity of engine oil recommended for your E36. Using the recommended oil viscosity is critical for proper engine lubrication.
Step 3: Prepare and Lift the Vehicle
To access the oil drain plug and filter housing, you'll need to safely lift your E36. Park the car on a level surface and engage the parking brake. You can use either a set of ramps or a jack and jack stands. If using a jack, ensure you lift the car at the designated jacking points and always use jack stands for safety. Never work under a vehicle supported only by a jack! Once the car is securely raised, double-check the stability before proceeding.

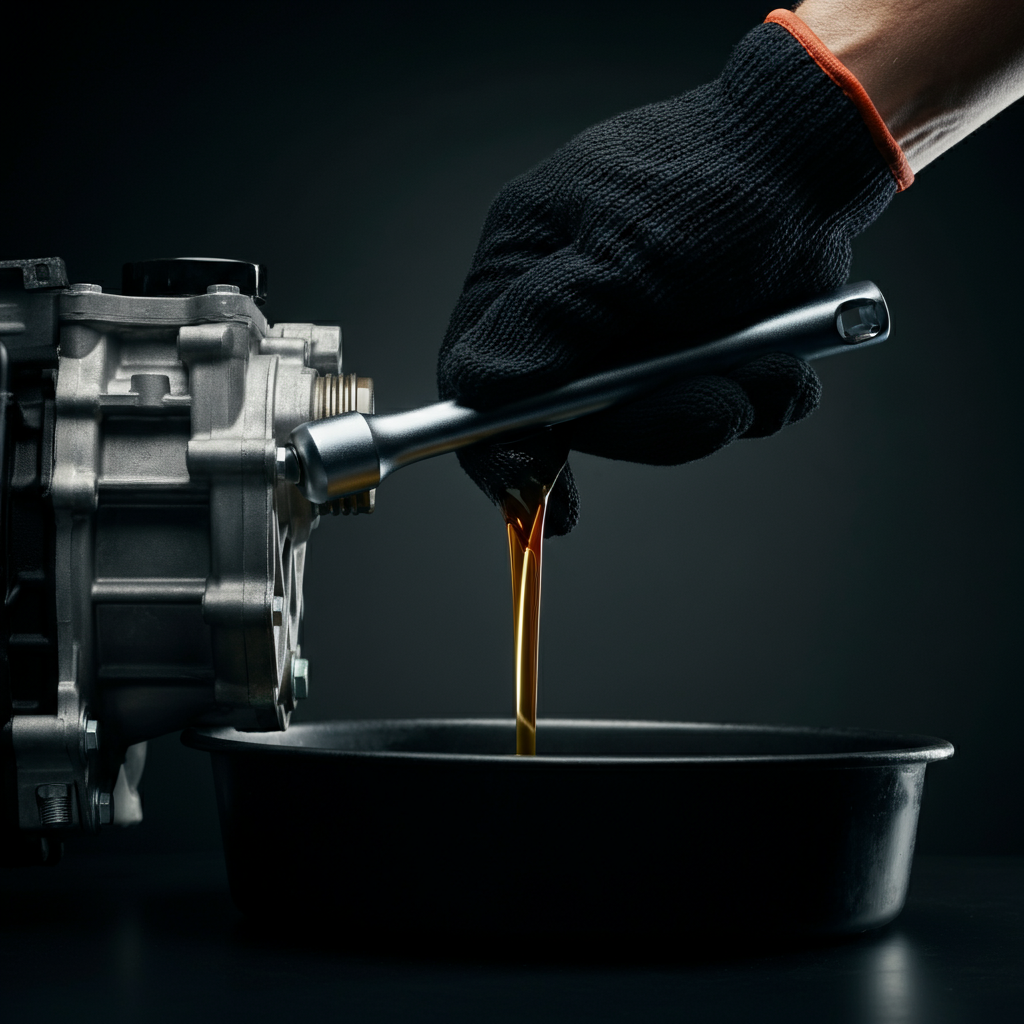
Step 4: Drain the Old Engine Oil
With the car safely lifted, locate the oil drain plug on the bottom of the oil pan. Position the oil drain pan underneath the drain plug. Use the correct size socket (typically 12mm for 4-cylinder models and 22mm for 6-cylinder models) to loosen and remove the drain plug. Be careful, as the oil may be hot. Let the oil drain completely, which typically takes around 30 minutes. To speed up the draining process, remove the oil filler cap and the oil filter cap to allow air to flow more freely.
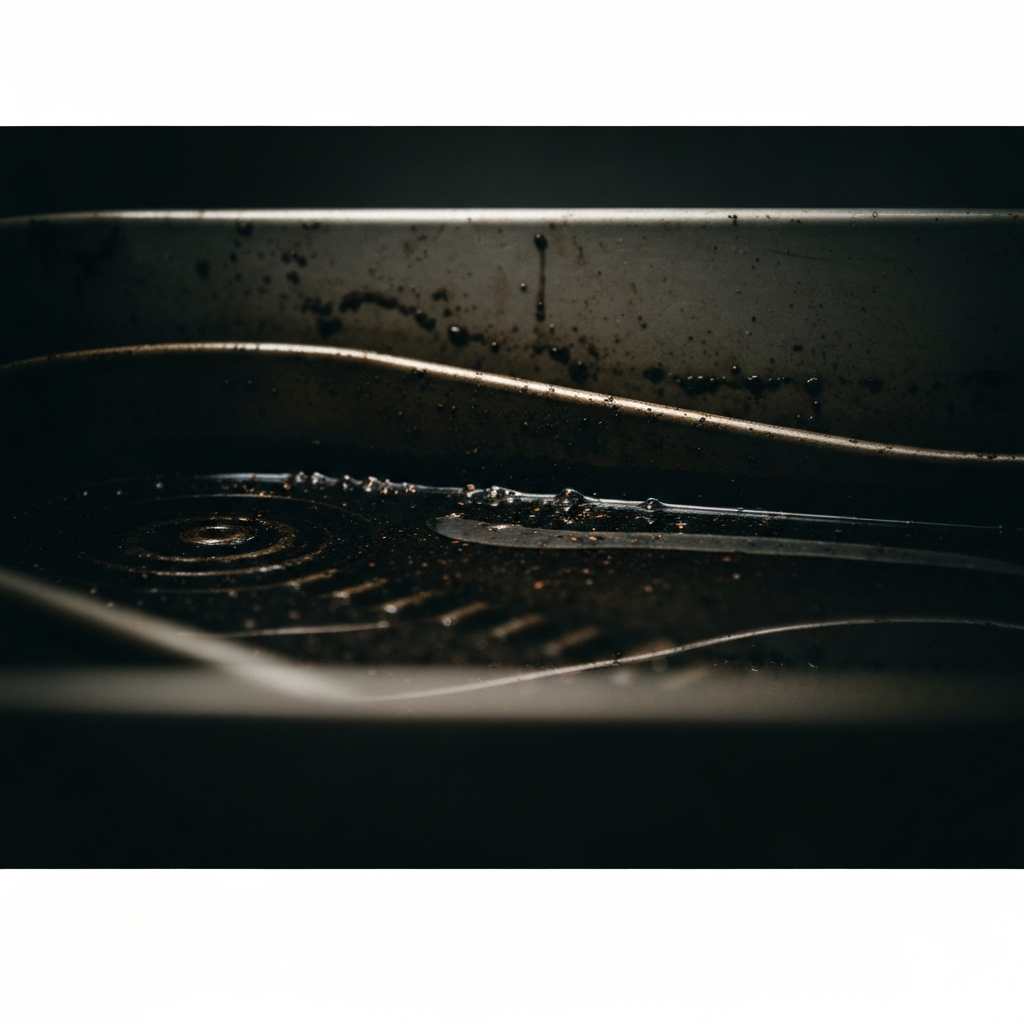
Step 5: Inspect the Drained Oil
While the oil is draining, take a moment to inspect its appearance. The condition of the used oil can provide valuable insights into the health of your engine. Ideally, the oil should be dark but relatively clean, with no visible contaminants. Coolant mixed in with the oil (a milky or frothy appearance) could indicate a head gasket failure. Metal shavings in the oil suggest internal engine wear, which may require further investigation.
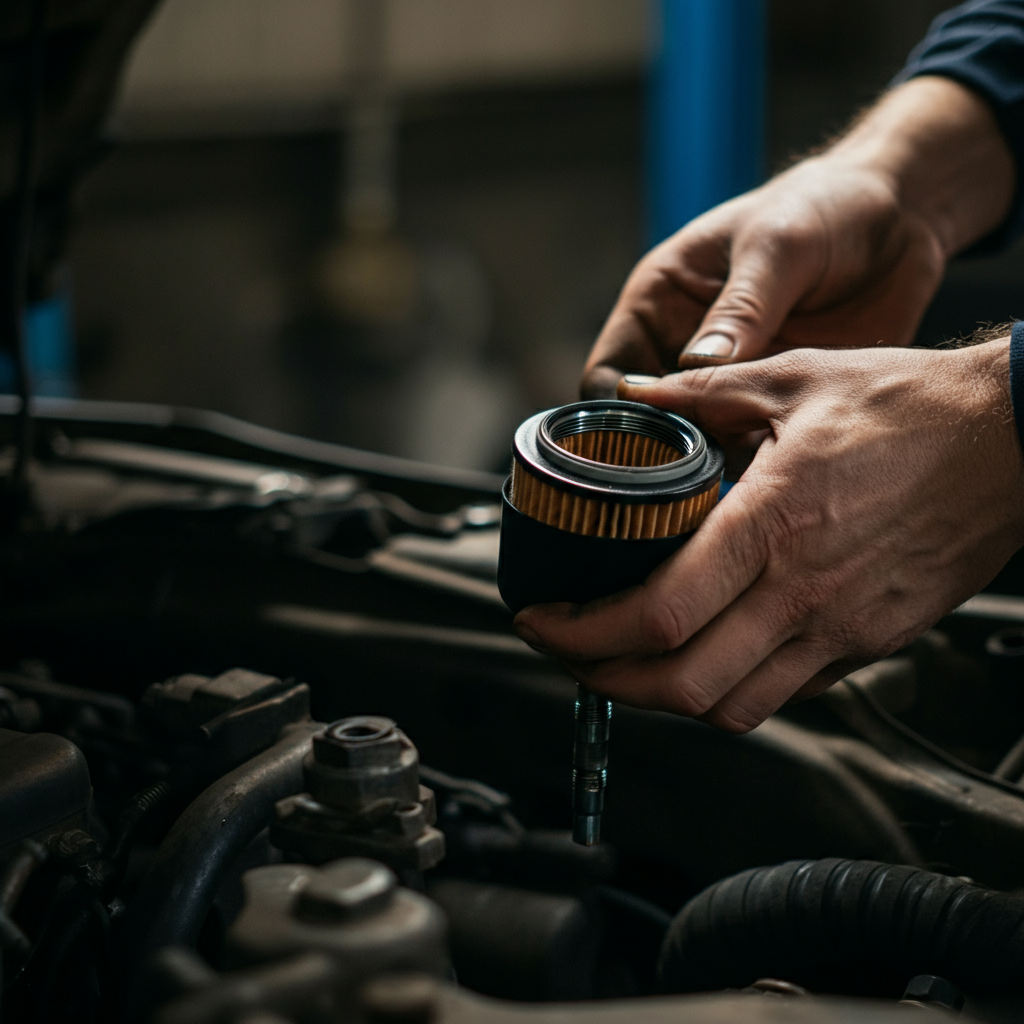
Step 6: Locate and Access the Oil Filter Housing
The oil filter housing is located at the front of the engine on both 4-cylinder and 6-cylinder E36 models. Use an oil filter wrench or socket to loosen and remove the filter housing cap. Some models may use a simple through-bolt instead of a traditional cap. Be prepared for some residual oil to spill when you remove the cap, so have rags or shop towels handy.
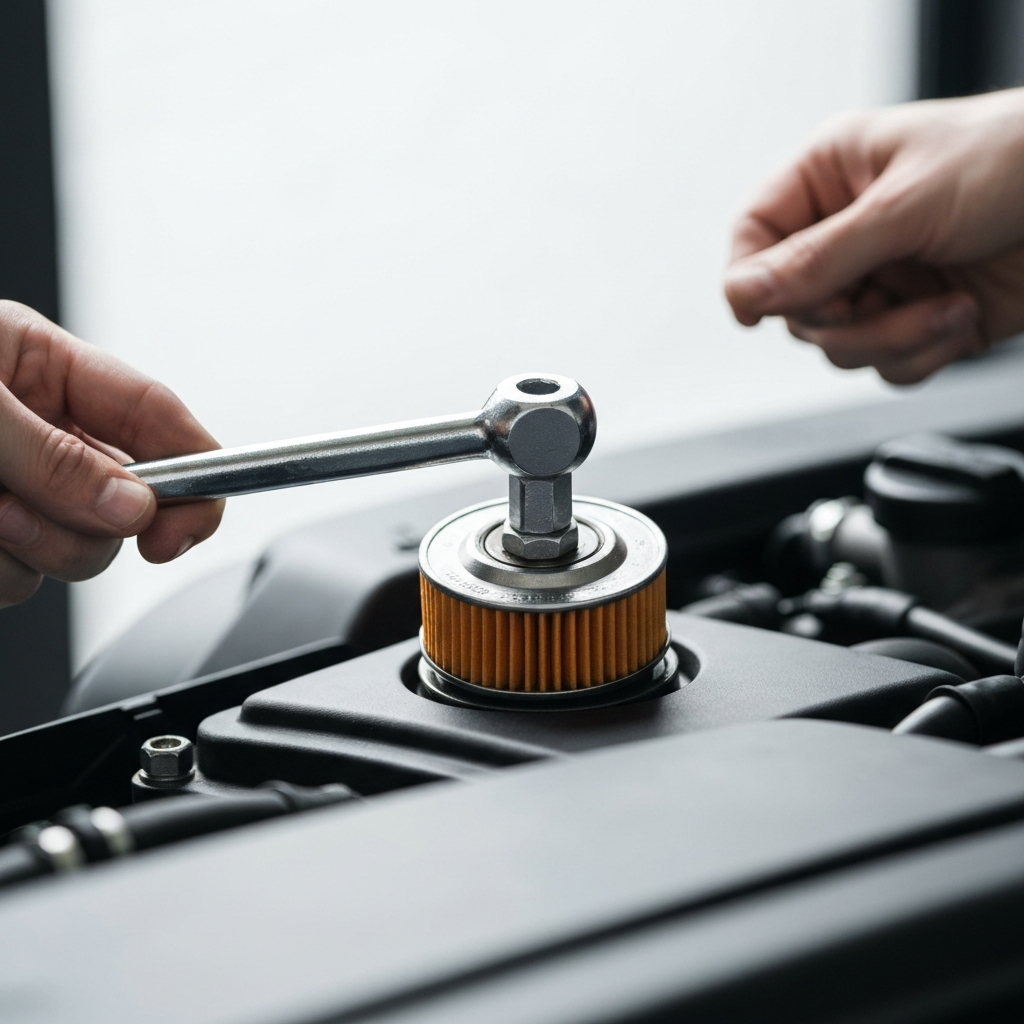
Step 7: Replace the Oil Filter and O-Rings
Carefully remove the old oil filter from the housing cap. Inspect the cap for O-rings (small rubber seals). Most replacement oil filters come with new O-rings. If the old O-rings are cracked, brittle, or damaged in any way, replace them with the new ones. Lubricate the new O-rings with fresh engine oil before installation to ensure a good seal. Install the new oil filter onto the housing cap.
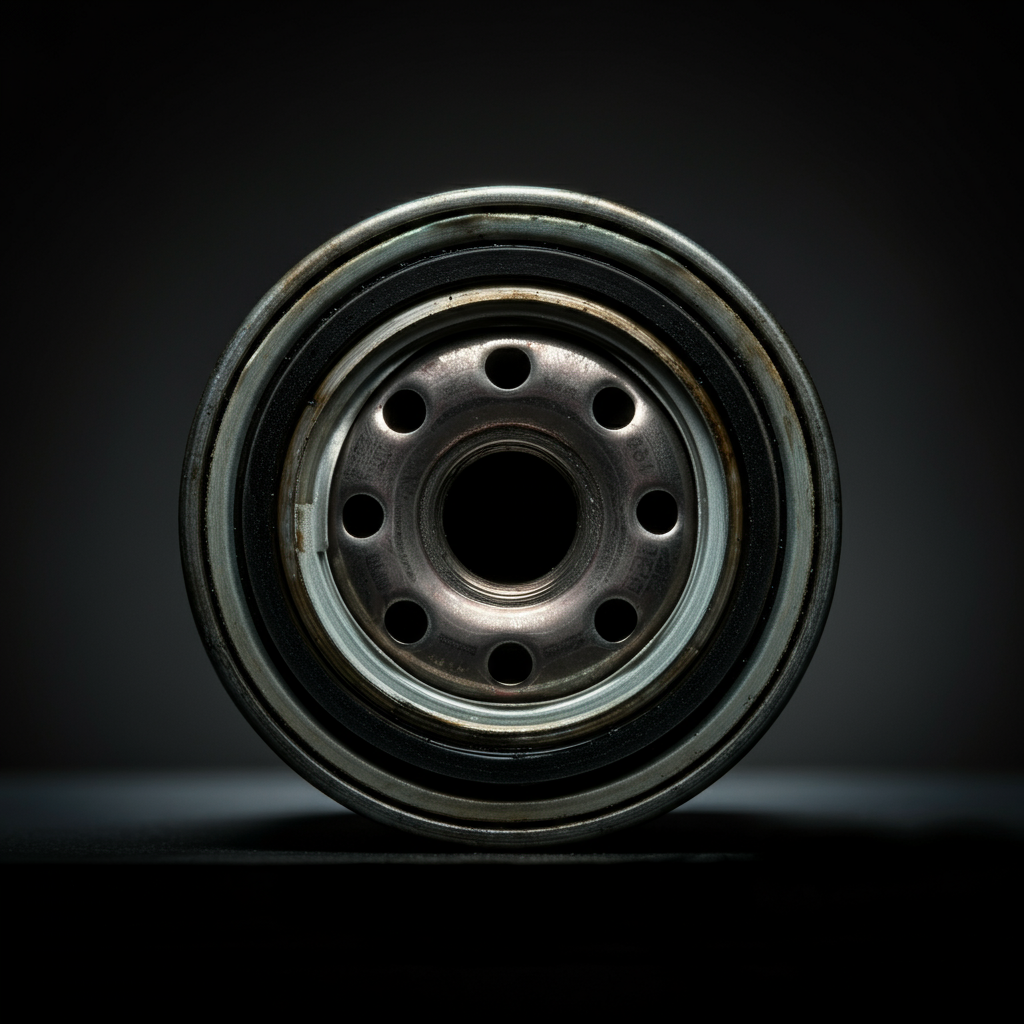
Step 8: Inspect the Old Filter
Before disposing of the old filter, take a quick look at it. While you're already replacing it, paying attention to any abnormal wear or debris caught in the filter can provide clues about potential engine issues. Normal wear will show a uniformly dirty filter. Large particles or unusual debris should prompt a more thorough inspection of the engine.
Step 9: Reinstall the Drain Plug and Filter Housing
Once the oil has finished draining, clean the oil drain plug and inspect the O-ring or crush washer. If it's damaged, replace it. Reinstall the drain plug and tighten it to the manufacturer's specified torque using a torque wrench. Over-tightening the drain plug can damage the oil pan. Next, carefully reinstall the oil filter housing cap with the new filter and O-rings. Hand-tighten it initially, then use the oil filter wrench or socket to tighten it to the specified torque. Again, avoid over-tightening.
Step 10: Add New Engine Oil
Locate the oil filler cap on top of the valve cover and remove it. Using a funnel, pour the correct amount of new engine oil into the engine. Consult your owner's manual or the oil bottle for the recommended quantity. It's always better to start with slightly less oil and then check the dipstick and add more as needed. Replace the oil filler cap.
Step 11: Start the Engine and Check for Leaks
Before lowering the car, start the engine and let it idle for a minute or two. This will allow the new oil to circulate and the new filter to become saturated. While the engine is running, carefully inspect the oil drain plug and the oil filter housing for any leaks. If you spot any leaks, immediately shut off the engine and tighten the drain plug or filter housing as needed. Continually monitor the oil pressure light on your dashboard; if it doesn't go out within a few seconds, shut off the engine immediately and investigate.
Step 12: Lower the Vehicle and Check the Oil Level
Once you're confident there are no leaks, carefully lower the vehicle. Allow the engine to cool down slightly, then check the oil level using the dipstick. Add more oil as needed to bring the level up to the "full" mark on the dipstick. Avoid overfilling the engine, as this can also cause problems.
Step 13: Reset the Oil Service Indicator (If Applicable)
Your E36 may have an oil service indicator on the instrument cluster. The procedure for resetting this indicator varies depending on the model year and options. Typically, it involves using a specific combination of button presses or a diagnostic tool. Consult your owner's manual or a BMW-specific forum for the correct procedure for your car. Resetting the indicator ensures accurate tracking of your maintenance intervals.
Step 14: Dispose of Used Oil and Filter Properly
Proper disposal of used engine oil and the old oil filter is crucial for environmental protection. Do not pour used oil down the drain or into the ground. Many auto parts stores and recycling centers accept used oil and filters for recycling. Take your used oil and filter to one of these facilities for proper disposal.
Common Mistakes to Avoid
- Using the wrong oil filter or engine oil.
- Over-tightening the drain plug or oil filter housing.
- Forgetting to lubricate the O-rings.
- Overfilling the engine with oil.
- Not properly disposing of used oil and filter.
- Working under a vehicle not properly supported by jack stands.
Safety Considerations
- Always wear gloves to protect your hands from oil and chemicals.
- Work in a well-ventilated area.
- Be careful when handling hot oil.
- Never work under a vehicle supported only by a jack.
Pro Tips
- Lightly lubricate the new oil filter's rubber gasket with fresh oil before installation.
- Use a quality oil filter wrench for easy removal and installation of the filter housing.
- Keep a log of your oil change intervals to ensure consistent maintenance.
FAQ Section
- How often should I change the oil filter on my E36?
- It is generally recommended to change the oil filter every time you change your engine oil, which is typically every 5,000 to 7,500 miles.
- What type of oil should I use in my E36?
- Consult your owner's manual for the recommended oil viscosity and specification for your specific engine. Using the correct oil is crucial for optimal engine performance and longevity.
- How much oil does my E36 need?
- The oil capacity varies depending on the engine. Consult your owner's manual for the exact amount.
Conclusion
Changing the oil filter on your BMW E36 is a relatively straightforward task that can significantly improve your engine's performance and longevity. By following these step-by-step instructions and heeding the safety precautions, you can confidently perform this essential maintenance task yourself. Regular oil and filter changes are key to keeping your E36 running smoothly for years to come.