Creating your own motocross jumps can be an incredibly rewarding experience, allowing you to customize your riding terrain and push your skills to the next level. However, it's crucial to approach jump construction with careful planning, proper techniques, and a strong emphasis on safety. A poorly constructed jump can lead to serious injuries. This guide will walk you through the necessary steps to build safe and fun motocross jumps, from site selection to final shaping.
Before you even start moving dirt, consider your riding ability and the skill levels of anyone else who might use the jumps. Start small and gradually increase the size and complexity as your confidence and skills improve. Remember, it's always better to err on the side of caution. Rushing the process or building jumps beyond your capabilities is a recipe for disaster.
This guide provides a basic framework; adapt it to your specific needs and circumstances. Building jumps is part science, part art, and a whole lot of hard work. Let's get started!
Step 1: Site Selection and Planning
The first and perhaps most crucial step is choosing the right location for your jump. Look for an area with ample space, good drainage, and suitable soil. Avoid areas near obstacles like trees, fences, or rocks. Consider the prevailing wind direction and how it might affect your jump trajectory. You need enough run-up space (approach) and landing space, typically at least 50 feet, but more for larger jumps. Check local regulations and obtain any necessary permits before you begin construction. The ideal location often mimics what's already successful – abandoned motocross areas are ideal for inspection.

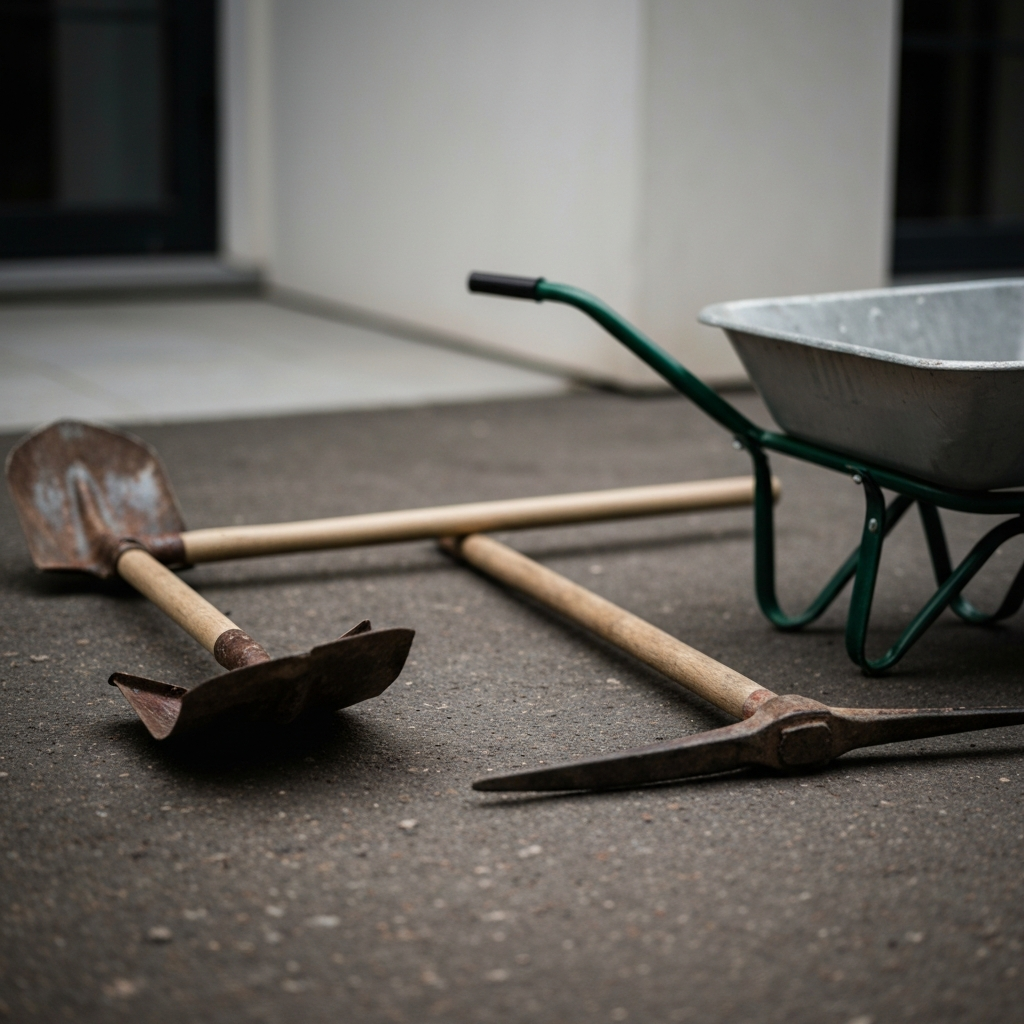
Step 2: Gathering Materials and Tools
You'll need a good supply of dirt, preferably a clay-based soil that packs well. Topsoil is less desirable as it doesn't hold its shape as effectively. Avoid using dirt with large rocks or debris. As for tools, a shovel is essential, a pickaxe can be helpful for breaking up hard ground. A wheelbarrow will assist in transporting materials. A tractor or skid steer loader significantly speeds up the process, especially for larger jumps. Also, consider using a water source and compactor to properly prepare the dirt you will work with.
Step 3: Building the Base
Start by creating a solid base for your jump. This is the foundation upon which the entire jump's stability depends. Clear any vegetation or loose debris from the area where the jump will be located. Begin piling the dirt into a rough mound, keeping in mind the desired height and shape of your jump. Pack the dirt down firmly as you build up the base. Applying water in layers during the compaction process will significantly increase the jump's structural integrity.
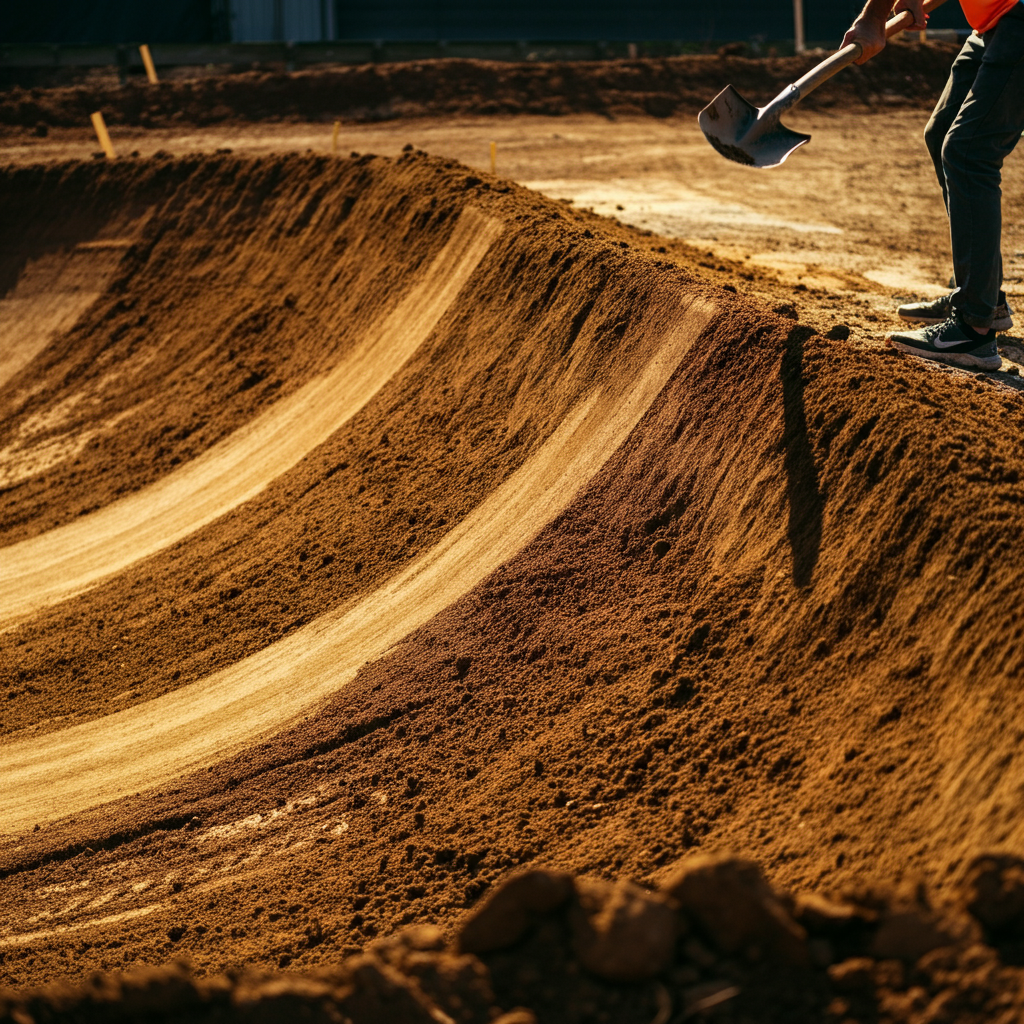
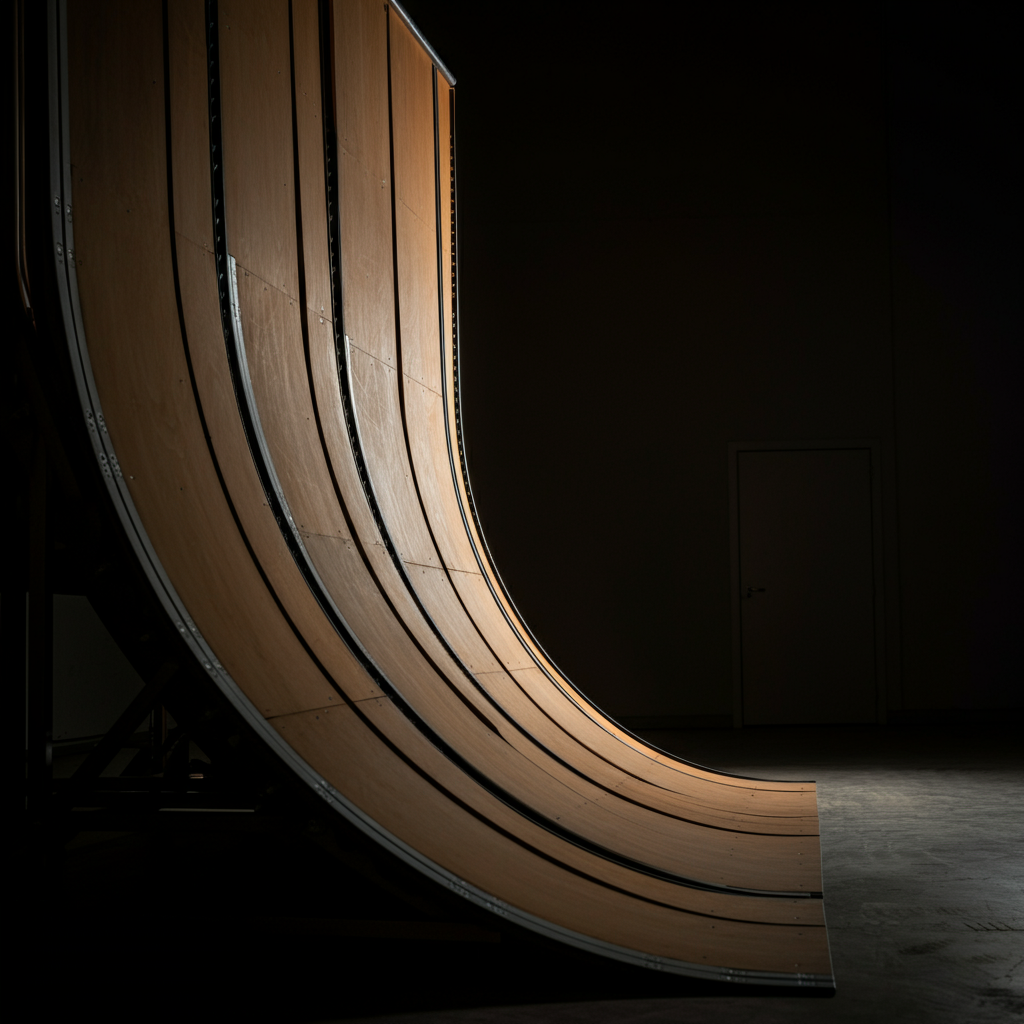
Step 4: Shaping the Ramp
Now comes the critical part: shaping the ramp. The angle and curvature of the ramp will determine the trajectory and feel of the jump. A steeper ramp will launch you higher and require more skill to land safely. A more gradual ramp will result in a lower, longer jump. The “kicker” or lip of the jump should be smooth and consistent. A slight upward curve is generally preferred, as it provides a more controlled launch. The goal in this step is to make a triangular prism shape.
Step 5: Creating the Landing
The landing is just as important as the ramp. It should be smooth, consistent, and angled to match the trajectory of the jump. The landing area should be at least as wide as the jump itself. The most common mistake is a landing that slopes in the opposite direction, which will increase the likelyhood of a harsh impact. The area around the landing should be cleared from vegetation.

Step 6: Testing and Refining
Once the jump is built, it's time to test it out. Start slow and gradually increase your speed as you become more comfortable. Pay close attention to how the jump feels and adjust the shape as needed. If the jump is too steep, you can flatten the ramp slightly. If it's too soft, you can add more dirt and pack it down. Iterate until you're satisfied with the jump's performance. Start small, test often, and adjust accordingly. Make sure you are jumping responsibly.

Safety Considerations
Always wear appropriate safety gear, including a helmet, goggles, gloves, and protective clothing. Inspect the jump before each use and repair any damage. Never jump alone, and always have someone spot you. Be aware of your surroundings and other riders. Don't attempt jumps beyond your skill level. Avoid jumping in wet or icy conditions. Post warning signs if the jump is accessible to the public.
Common Mistakes to Avoid
One of the most common mistakes is not properly compacting the dirt, which results in a jump that crumbles over time. Another mistake is building a jump that's too steep or too large for your skill level. Avoid using materials other than dirt, such as wood or metal, as these can be dangerous. Neglecting the landing area is also a common error.
Pro Tips
Consider using a water truck or sprinkler to keep the dirt moist, which will help it pack better. Add a layer of gravel or sand to the base of the jump to improve drainage. Use a laser level to ensure the ramp and landing are properly aligned. Consult with experienced riders or jump builders for advice and guidance.
FAQ Section
Q: How high should I make my jump?
A: Start with a jump that's no more than 2-3 feet high and gradually increase the height as your skills improve.
Q: What kind of dirt should I use?
A: Clay-based soil is best, as it packs well and holds its shape. Avoid using topsoil or dirt with large rocks.
Q: How do I maintain my jump?
A: Regularly inspect the jump for damage and repair any cracks or erosion. Keep the landing area clear of debris.
Conclusion
Building motocross jumps requires careful planning, proper techniques, and a strong emphasis on safety. By following the steps outlined in this guide, you can create fun and challenging jumps that will enhance your riding experience. Remember to start small, test often, and always prioritize safety. With a little effort and patience, you'll be building jumps like a pro in no time. Always ride within your limits.