The Schengen Area, a zone comprising 27 European countries, allows passport-free movement to over 400 million EU citizens and non-EU nationals. Securing a Schengen Visa opens doors to exploring diverse cultures, landscapes, and histories across nations like Germany, France, Italy, and Spain. However, the application process can seem daunting. This comprehensive guide provides you with the knowledge and practical steps needed to navigate the process successfully.
Applying for a Schengen Visa requires meticulous preparation and attention to detail. Understanding the specific requirements of the embassy or consulate where you're applying is crucial. This guide aims to demystify the application process, offering clear instructions, expert tips, and highlighting common pitfalls to avoid. By following these steps, you can increase your chances of a successful visa application and embark on your European adventure with confidence.
Whether you're planning a leisure trip, a business venture, or visiting family and friends, this guide will walk you through each stage of the application, from determining your eligibility to submitting your completed application package. Let’s begin!
Step 1: Determine if You Need a Schengen Visa
The first crucial step is to ascertain whether you actually require a Schengen Visa. Many nationalities are exempt from visa requirements for short stays (up to 90 days within a 180-day period) for tourism or business purposes. Citizens of countries like the United States, Canada, Australia, and Japan, for example, do not typically need a visa for short stays. However, it's imperative to confirm your specific situation based on your nationality and the purpose of your trip. You can use online tools provided by Schengen Area countries' embassies and consulates to verify your visa requirements.

Step 2: Identify the Correct Schengen Country to Apply To
Choosing the right country to apply to is vital. If you plan to visit only one Schengen country, apply to that country's embassy or consulate. If you intend to visit multiple Schengen countries, apply to the embassy or consulate of the country where you will spend the *longest* duration. If you'll spend an equal amount of time in multiple countries, apply to the embassy or consulate of the first country you will enter. This "main destination" rule is a key factor in determining where to lodge your application. Incorrectly identifying the main destination can lead to application rejection or delays.

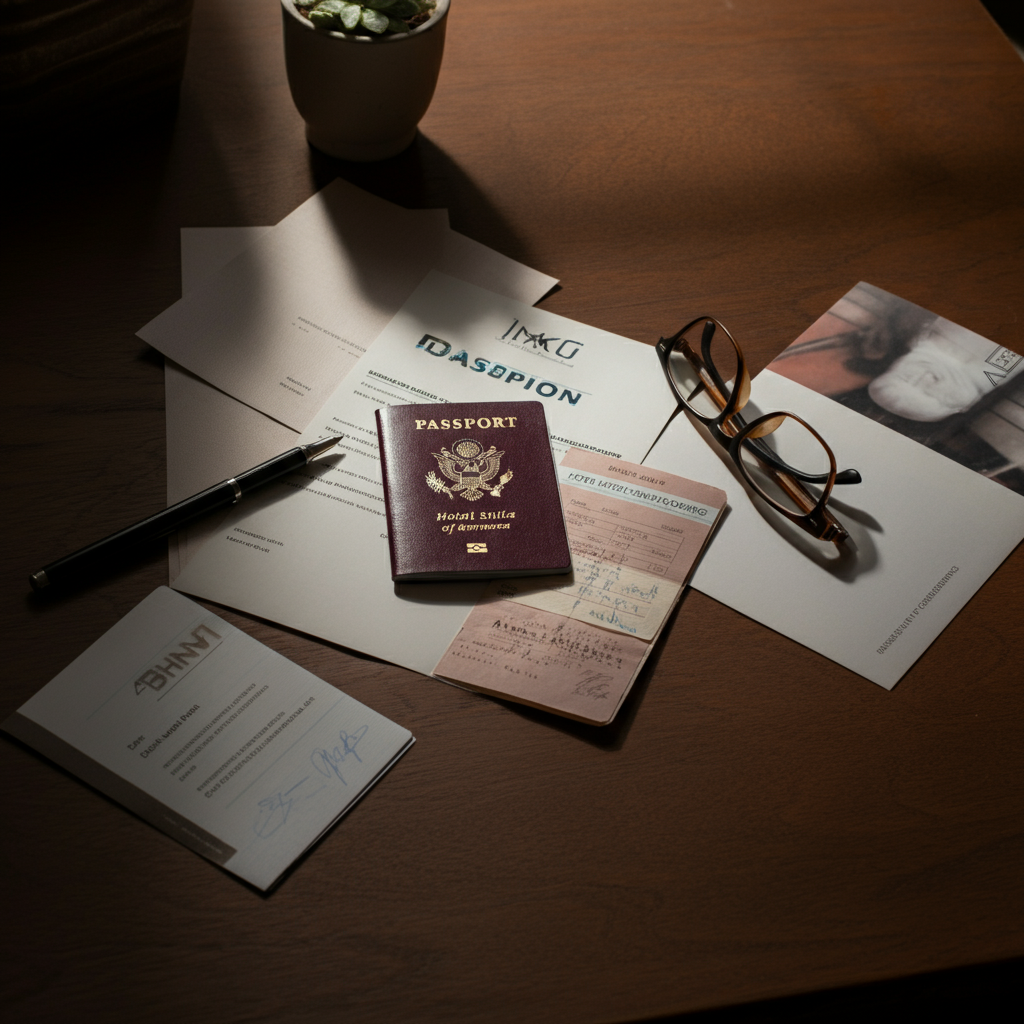
Step 3: Plan Your Trip and Gather Supporting Documents
Detailed trip planning is essential. Book your flights and accommodations provisionally (ensure bookings are refundable or modifiable). Gather all necessary supporting documents, including your passport (valid for at least three months beyond your intended stay), a completed application form, passport-sized photographs, travel itinerary, proof of accommodation (hotel reservations, rental agreements, or invitation letter if staying with friends/family), proof of sufficient funds (bank statements), and travel medical insurance covering the entire Schengen Area with a minimum coverage of €30,000. The specific document requirements may vary depending on the embassy/consulate, so always consult their official website for the most up-to-date information.
Step 4: Complete the Schengen Visa Application Form
The Schengen Visa application form is standardized across all Schengen countries. You can typically download it from the website of the embassy or consulate where you're applying. Complete the form accurately and legibly, providing all required information. Be prepared to answer questions about your personal details, travel history, purpose of visit, and financial situation. Double-check all information before submitting, as even minor errors can lead to delays or rejection. Some countries may offer the option of completing the application online.

Step 5: Schedule an Appointment and Submit Your Application
In most cases, you will need to schedule an appointment to submit your application in person at the embassy, consulate, or a designated visa application center. Appointment slots can be limited, especially during peak travel seasons, so book well in advance. When attending your appointment, bring all your original documents and photocopies as required by the embassy/consulate. Be prepared to answer questions about your trip and provide any additional information requested by the visa officer. Arriving late for your appointment or failing to bring all the required documents is a common mistake that can lead to rescheduling or application refusal.
Step 6: Pay the Visa Fee
A non-refundable visa fee is required to process your application. The fee amount varies depending on your nationality and the type of visa you're applying for. Payment methods may include cash, credit card, or bank transfer, depending on the embassy/consulate's policies. Ensure you have the correct amount and acceptable form of payment when you attend your appointment. Keep a copy of your payment receipt as proof of payment.

Step 7: Biometrics and Interview (If Required)
As part of the application process, you will likely need to provide biometric data (fingerprints and a photograph). This is usually done at the time of application submission. In some cases, you may also be required to attend an interview with a visa officer. The interview is an opportunity for the officer to clarify any questions they may have about your application and assess your intentions. Answer all questions honestly and concisely, and provide any supporting documentation requested.

Step 8: Await the Visa Decision
After submitting your application, you will need to wait for the visa decision. Processing times can vary depending on the embassy/consulate, your nationality, and the complexity of your case. Typically, it can take anywhere from 15 to 30 days, but it's advisable to apply well in advance of your planned travel dates. Avoid contacting the embassy/consulate repeatedly to inquire about the status of your application, as this can delay the process. You will be notified when a decision has been made and instructed on how to collect your passport and visa (if approved).

Common Mistakes to Avoid
- Submitting incomplete or inaccurate application forms.
- Failing to provide all required supporting documents.
- Not having sufficient funds to cover your expenses during your trip.
- Booking non-refundable travel arrangements before your visa is approved.
- Applying to the incorrect Schengen country.
- Not having adequate travel medical insurance.
- Providing false or misleading information.
FAQ Section
- How long is a Schengen Visa valid for?
- A Schengen Visa typically allows you to stay in the Schengen Area for up to 90 days within a 180-day period.
- Can I extend my Schengen Visa?
- Extending a Schengen Visa is generally difficult and only granted in exceptional circumstances, such as force majeure or humanitarian reasons.
- What happens if my Schengen Visa application is rejected?
- If your application is rejected, you will receive a written explanation outlining the reasons for the refusal. You have the right to appeal the decision.
- Can I travel to non-Schengen countries with a Schengen Visa?
- A Schengen Visa is generally not valid for travel to non-Schengen countries, even if they are located in Europe. You will need to check the visa requirements for each country you plan to visit.
Conclusion
Applying for a Schengen Visa requires careful planning and meticulous execution. By understanding the requirements, gathering the necessary documents, and avoiding common mistakes, you can significantly increase your chances of a successful application. Remember to consult the official website of the embassy or consulate where you're applying for the most up-to-date information and specific instructions. With proper preparation, you can unlock the doors to exploring the wonders of the Schengen Area and create unforgettable travel experiences.